Pop Up Box Card Wedding Hearts

Hi:

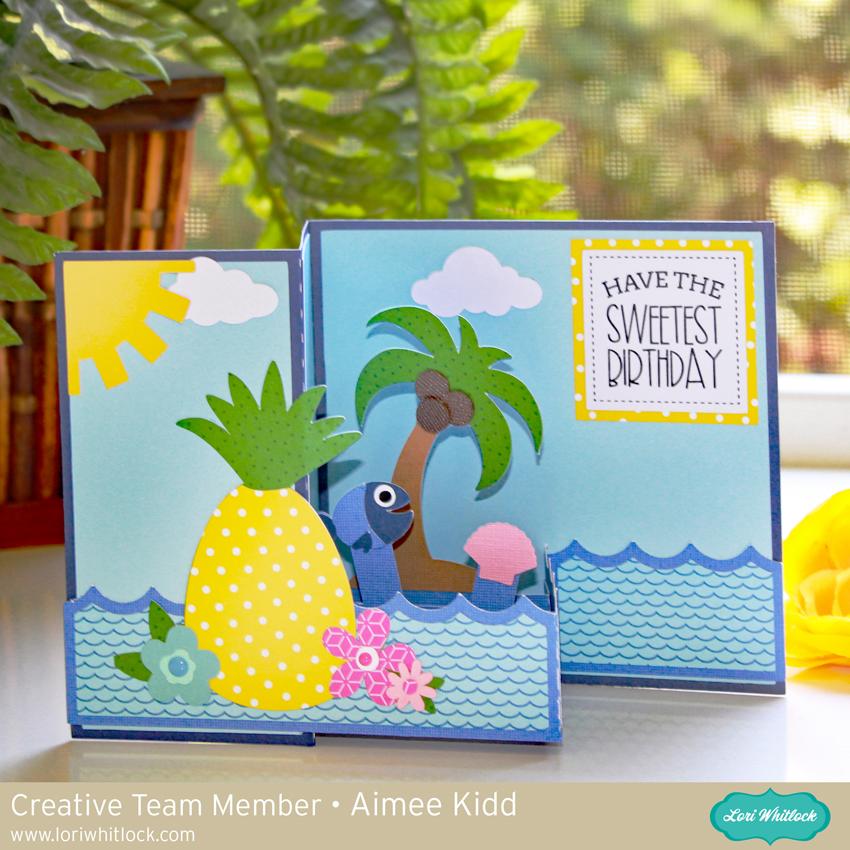
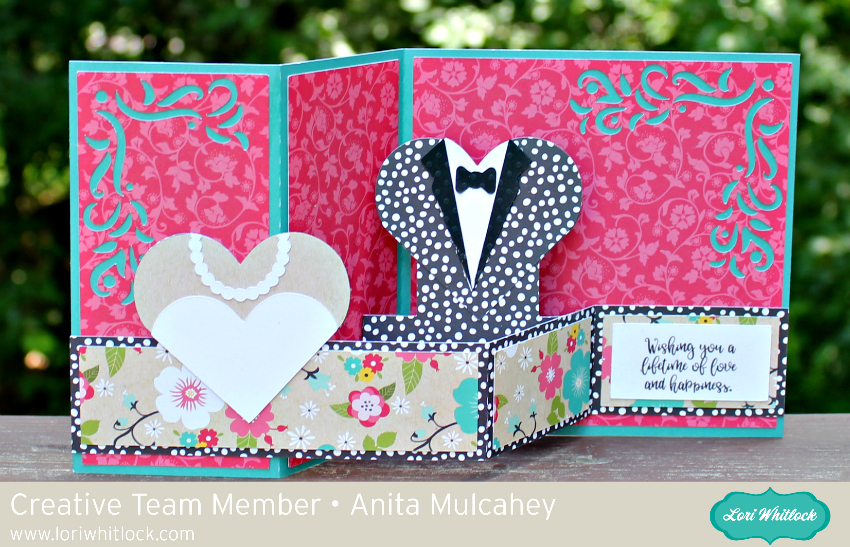
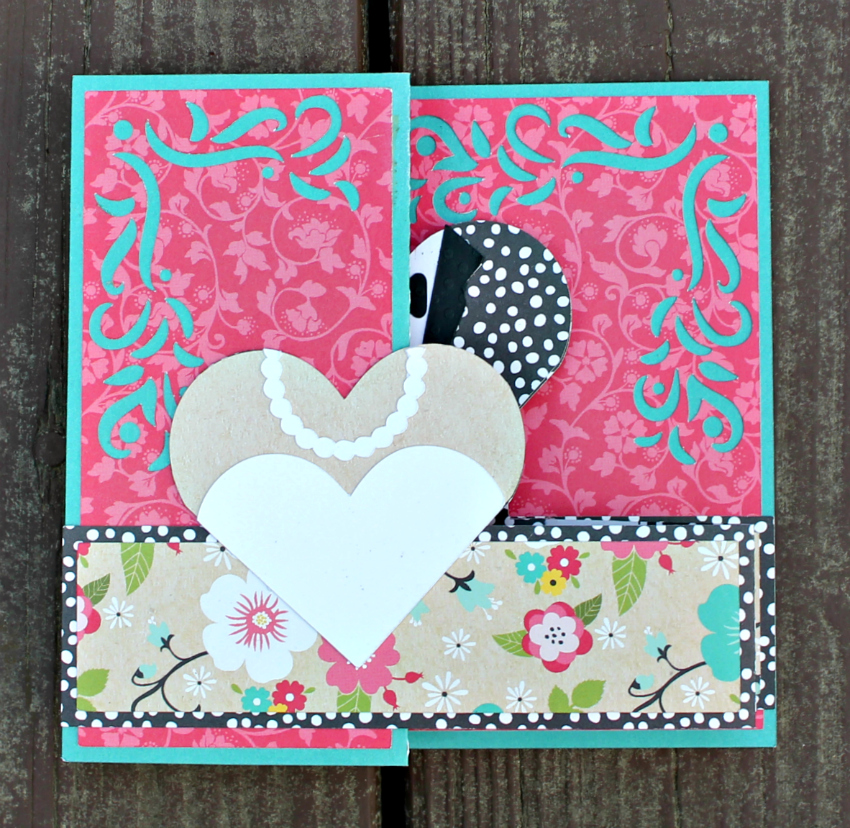
Anita here with a card I made for my best friend’s daughter who just got engaged.  I love the pop up box cards.  They look so cool when they are open and they fold flat to mail.  There are so many different card styles to choose from in Lori’s store.  I used one of Lori’s new collection called Forward with Faith from Echo Park.  You can find the cute file which is called Pop Up Box Card Wedding Hearts here in Lori’s store and here in the Silhouette store.

Here is the card folded and ready to mail.  Be sure to check out Lori’s store for all your summer celebration needs.

Hugs,

Anita

Summer Magnetic Bookmarks with Lori Whitlock SVG Cutting Files

Hello friends! Aimee here with a tutorial on making some fun Summer magnetic bookmarks! My daughter is a voracious reader so every Summer I get her a handful of books to read over Summer break. This year I thought I would make her some bookmarks to go with those books.

Lori has a lot of fun and cute Summer files to choose from. I chose Popsicle (Lori’s shopSilhouette Store) , Ice Cream Cone ( Silhouette Store), and Watermelon Shaped Card (Lori’s shopSilhouette Store).

I opened the 3 Popsicles file to show you how to take a cut and make it into a fold over bookmark.

To get the basic shape of the popsicle, I opened the Trace option and highlighted the shape and clicked on “trace outer edge”. That will give me the entire shape of the popsicle to create the base of the bookmark.

Then I duplicated the shape, flipped the one vertically, aligned it with one above the other, and then welded both pieces together. After I cut that piece out, all I have to do is fold it in half and add the decorative top layer.

If you would rather try your hand out with something a little easier you could always use one of Lori’s card svg files.

Now comes the easiest part of this tutorial and that’s adding magnetic strips to the insides of the bookmarks. I have a roll of sticky back magnetic strips so I just cut a couple of pieces off and added them to each one.

And now comes the funnest part of this tutorial and that’s decorating each bookmark.

I used some stickers and die cuts from Lori’s new I Love Summer collection to make my bookmarks pretty! That’s all from me today! Hope everyone is having a great Summer!

Camera Box SVG Cut File Assembly Tutorial

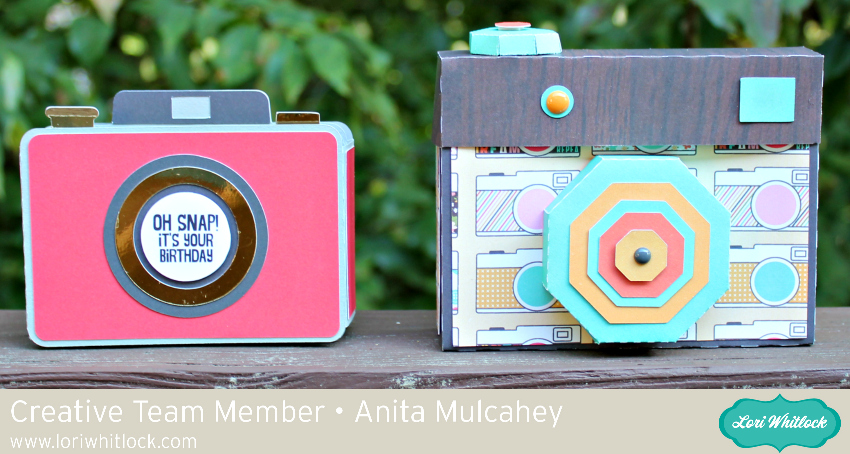
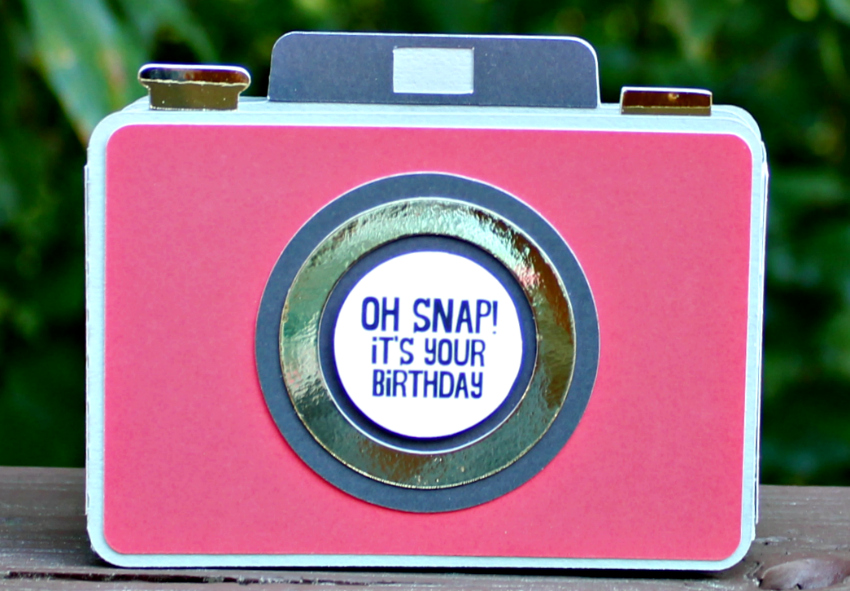
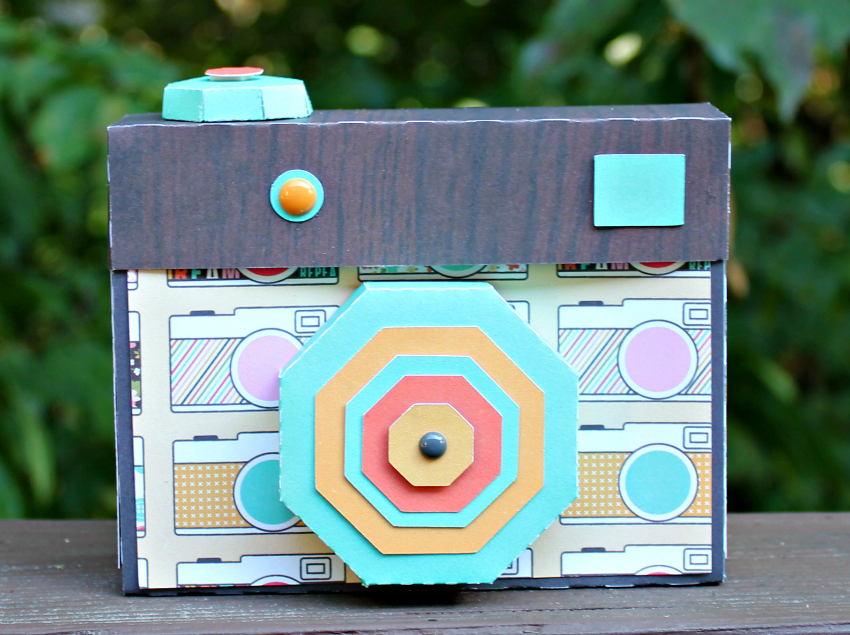
Hi there friends! Brandie here with a tutorial for the Camera Shaped Box (SVG, Silhouette). This little box is darling and would make a cute gift box, décor piece, or to hold a mini album! I will be placing pictures from a vacation in mine and setting it on the bookshelf with my other photo albums.

I wanted my box large enough to hold 4×6 pictures. I added a 4×6 rectangle then I selected all of  the camera images and enlarged until the rectangle fit inside the middle box shape.

For the lens and top dial. I folded all of the score lines as mountain folds.  I then applied a small amount of  liquid glue to the triangle tabs. The triangle tabs attach to the rectangle next to it creating a corner of the octagon. Once the octagon is complete I folded the tabs in creating a base for the bottom of the octagon box. I applied liquid glue to one of tabs and anchored the bottom piece of the octagon box. After the anchor was secure I applied glue to the remaining tabs and folded the bottom into place. Hold the octagon for a few seconds while the glue takes hold.

Each of the octagons has a layering piece. The large octagon has four layers and the small octagon has one. I inked around the edges of the octagon and applied the layers with liquid glue.

While the box was still flat I glued the decorative panels into place. I then folded all the score lines into mountain folds. I glued the smallest tabs into place first creating the base of the box. The remaining open side of the camera body is a little shorter so I applied glue to the side of body flap rather than the tabs.

The lid only has four tabs to glue and no decorative panels. I applied glue to the tabs and tucked into place.

With the lid on the box I glued the two octagons into place as well as the viewfinder rectangle and flash circle

 I also added a few little things to embellish my camera box. All of the papers and embellishments are from the Echo Park collection I Love Summer.

That’s it for me. Thanks for stopping by and  I hope you all are enjoying your summer!

Brandie

Birdhouse Explosion Box Cut File

Hi everyone!  Corri here today sharing my version of Lori’s new Birdhouse Explosion Box (SVG, Silhouette).    This box is so cute!  The adorable birdhouse falls open when the lid is removed revealing a bird in the center with a couple of pockets for messages or gift cards. 

I used paper from the Echo Park – Forward with Faith Collection.  The colors in the collection are beautiful and really pop with the black accents.

The cute file includes two print and cut sentiments… “Hello Friend” and “Happy Birthday” but this card would be perfect for so many occasions.  I think it would be really cute as a housewarming card.  You could even add a gift card to one of the pockets.    I decided to leave my sentiment portion empty for now until I decide who to give this to.

These explosion boxes are so fun to make!  They have a huge impact and look like you put a lot of work in.  Stop by the shop to see all the new explosion boxes.


Easy Paper Flower Tutorial with Michelle

Hello Crafty Friends! Michelle here with you today to share a paper flower tutorial to make what could be the world’s easiest paper flower, but no one will know that except for you! You don’t need any tools or any experience to create this full, lush, dimensional bloom. You just need your electronic cutting machine and Lori’s cute cut files! Let’s get started!

Lori Whitlock Easy Paper Flower Tutorial DIY with Michelle Zerull

For this flower, I used “3D Flower 43” that can be purchased at the Lori Whitlock SVG Shop or at the Silhouette Design Store. The flower looks different in the photo, but that’s only because we’re using the super easy construction method. Download all of the files and cut them out in your choice of colors. I made mine pink to coordinate with the paper from Lori’s “I Love Summer” Echo Park Paper Collection. Even the tag matches. Isn’t that the cutest?

Cut out all of your petals and group them by size. You should have five groups of three.

Starting with the smallest group, curl the petal strips that are the same size, upward with your fingers and glue them on top of each other as shown. Don’t stress about the curling them because we have more to do with them anyway and the curling will barely show. Use whatever glue you’re comfortable with. A fast drying glue, or hot glue is recommended. Glue all five groups in this manner.

Place your index finger in the middle of each petal, and gently pinch the petal ends so the form a “cup”. Do this to each group and set aside.


Pinch the “leaves” together just as you did with the petals. Your groups will look like the above photo. But we still need to complete the center!

The center will be completed in two steps. First, glue the two sides together. Do not fold a crease in the strip. Instead gently hold the the sides together until the glue sets, and move down along the sides until it is all glued together.

Add a line of glue down the cut edge and gently roll the strip. I tried to keep my roll tight. You can roll it tight, or loose. It’s up to you! When it’s all rolled up, set it aside to dry.

While your center is drying, start combining your petal sets. I started with my smallest set and glued it to the set that’s a little bigger, by placing a drop of glue in the middle and holding it down with finger as shown. Make sure your glue has taken hold before adding your next set. For best results, stagger the petal placement so that they are not right on top of each other.

Finish the flower by placing your center in the middle and by adding your leaf piece to the back.

I cut my flower in the dimensions shown when I opened my file. It makes an impressive size! You can scale the size of your flower up or down depending on the project. These would be great for wall decor or used in place of a bow like I made mine. In fact, I scaled up the size of my gable box in order to accommodate the flower’s width. I used the Gable box here in the Lori Whitlock SVG Shop, and also found in the Silhouette Design Store.


That’s it! You are going to impress everyone with your flower making skills!

Have fun!