Button Card Tutorial

Lori has some fun new button cards in her shop.  The whole collection can be found here. They are also available individually in the Silhouette Design Store.


This card is called the Flower Card Button (SVG, Silhouette).  I’m going to share a quick tutorial using Cricut Design Space.  You can create this card with the Silhouette as well.  When you upload and open the image in Design Space, it looks like this:

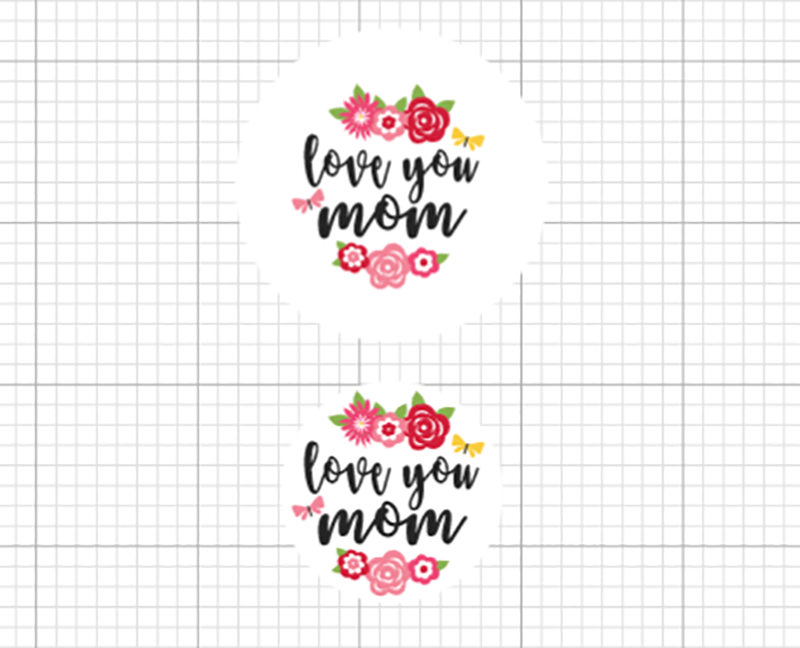
Ungroup the pieces of the card.  Now let’s look at the button sentiment.  Lori has included a circle that is the size of  the medium We R Memory Keepers button (37 mm).  A smaller circle is also included that could be used instead of a button if you did not have a button maker.  Both Mom and Mum are included in the file.


If you want to change any of the colors on the button, this is the time to do that.  Once you have the colors, it is time to flatten the image for Print then Cut.  Select one of the circles and all the pieces in it like shown, and click Flatten (bottom right of screen).

You know you have the file flattened correctly when it looks like this on your screen:
And in your layers, the image looks like this.

Sometimes when flattening files, you might need to ungroup before you flatten. This file is ready to print then cut.  After printing and cutting, you have all your pieces:
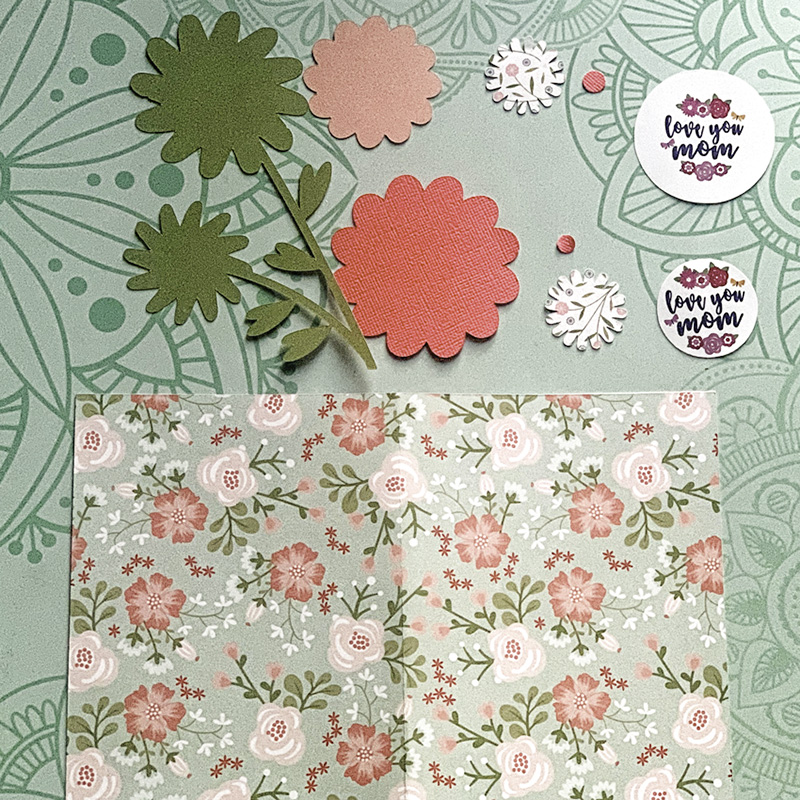
The flower parts are easy to assemble on the card.   If you have a Button press, make a button.

You can make the button with the pin in the back so it can be worn or attached to something else.  Or you can take the pin out, so it will just be an embellishment on the card. I made both to show you.

I decided to use the button without the pin back for the card.  I love the dimension it adds.  If you don’t have a button press, you can use the included smaller circle and mount it to chipboard and/or a pop dot.
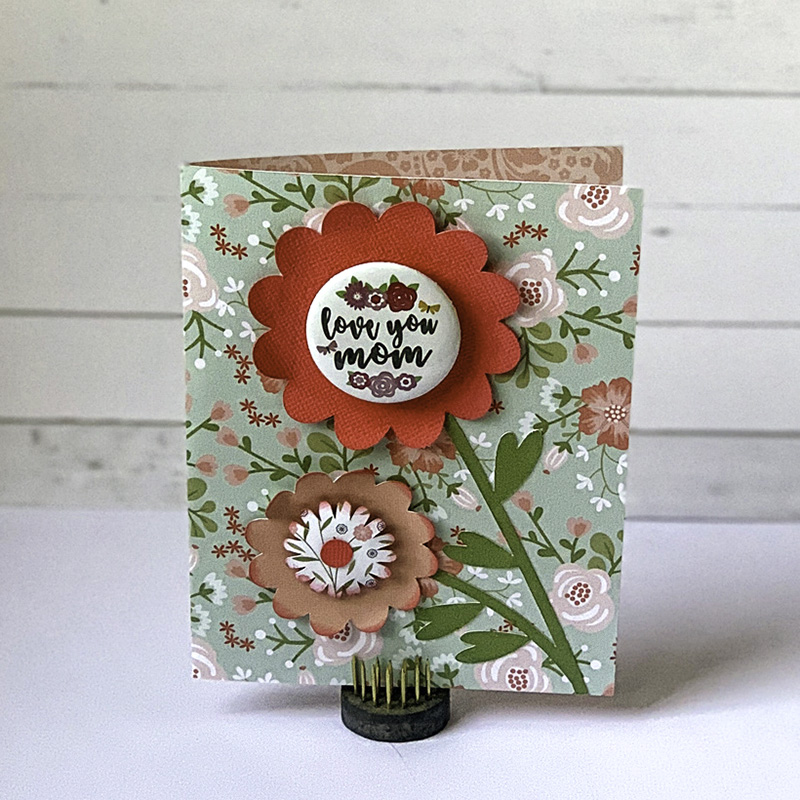
I used papers from Lori’s Our Wedding Collection. I hope you enjoy this tutorial for the Button card.  The real question is, Do you call the item in this file a button or badge? Or something else?

Have a great day!
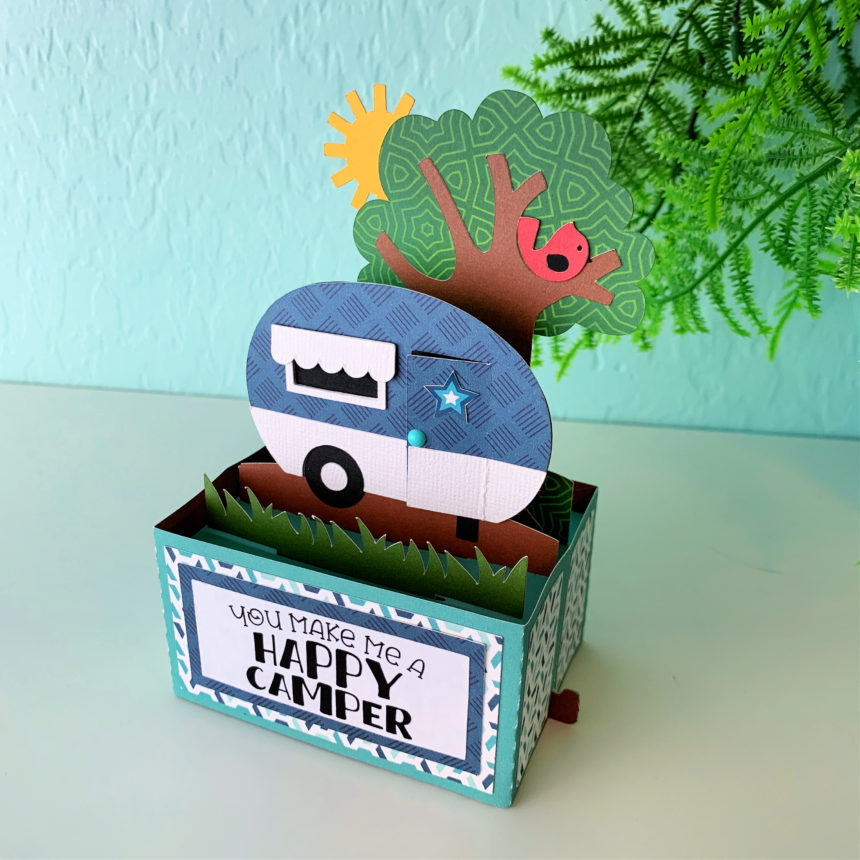
Happy Camper Pop Up Card

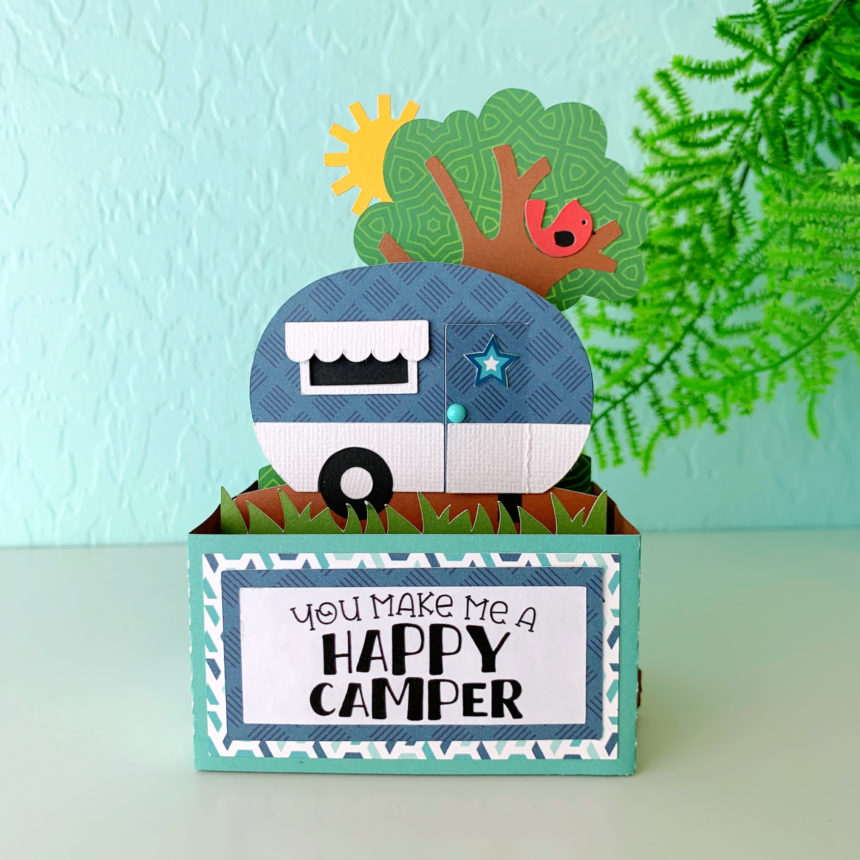
Hi there friends and happy Monday! I’m sharing the Rectangle Pop Up Card Camper with you today. You can find this card in Lori’s shop and in the Silhouette Design Store.  This card comes together quickly. My only suggestion is to use a sticker maker of the smaller cut images like the window frame. If you need help with the assembly Lori has a video tutorial here.

I used papers from the Summer Adventure collection by Echo Park Paper Co.

That’s it for me today! Thanks for stopping by.
Brandie

Box Card Envelope Flowers

Hi there friends and Happy Wednesday!

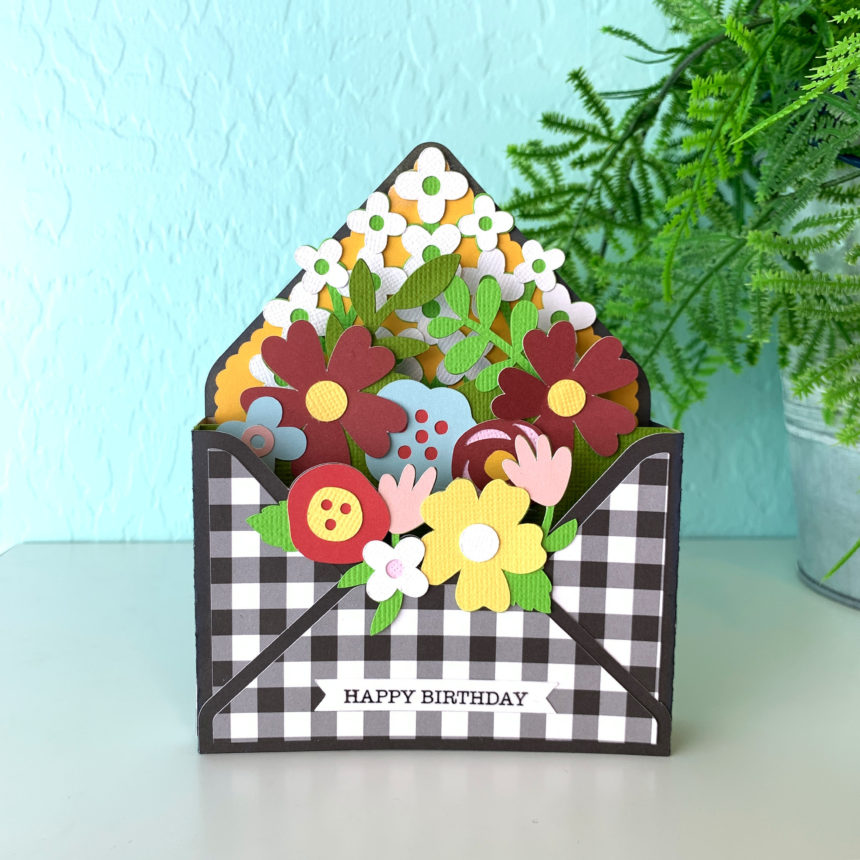
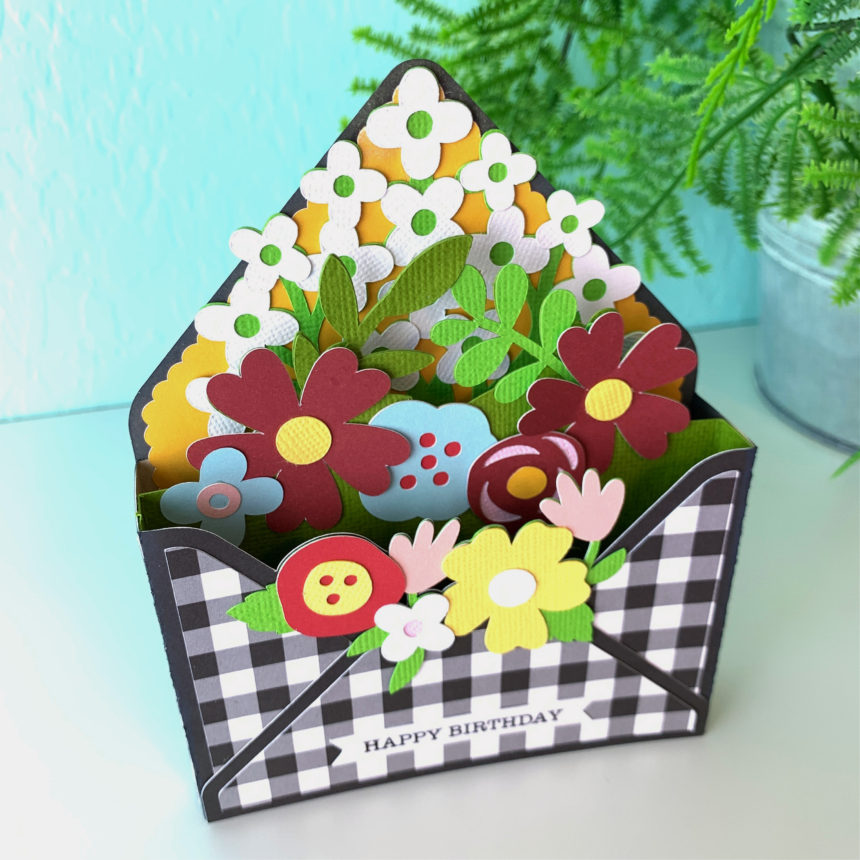
I am loving the envelope box cards Lori has been adding to the shop and couldn’t miss the chance to share another one with you. This is the Box Card Envelope Flowers (SVG, Silhouette). I love how customizable they are. The file comes with the happy birthday sentiment but this can easily be changed to a thank you, thinking of you, I love you, or anything else you may need.

The papers I used are from the A Magical Place collection by Echo Park Paper.

I hope you all are doing well. Thanks for stopping by!

Brandie

Chick Hexagon Pop-up Card

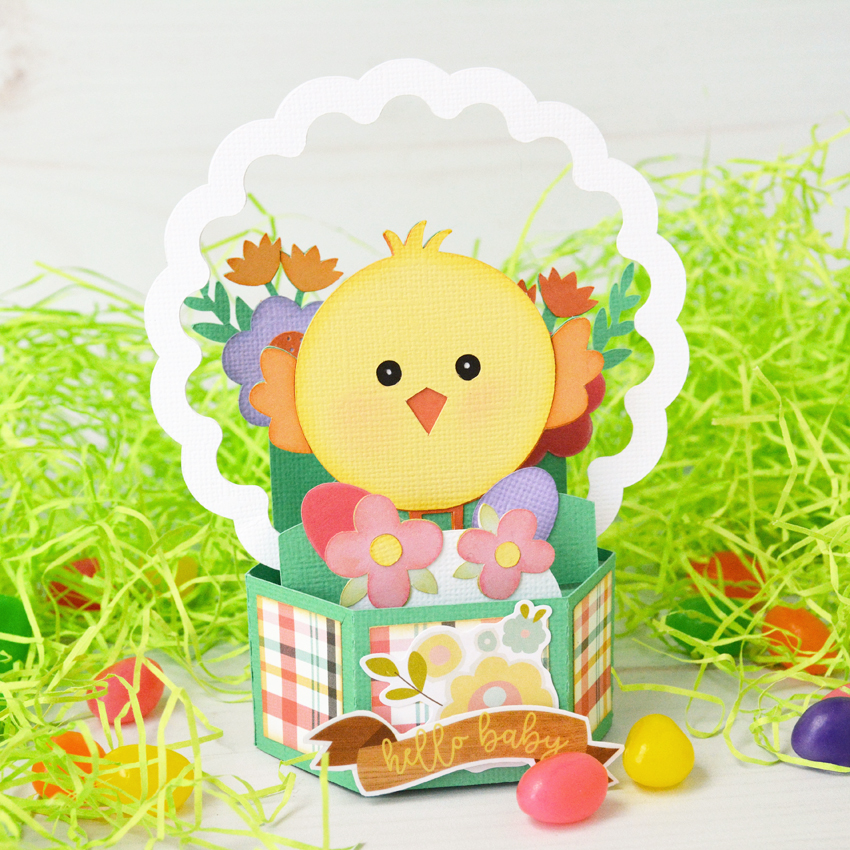
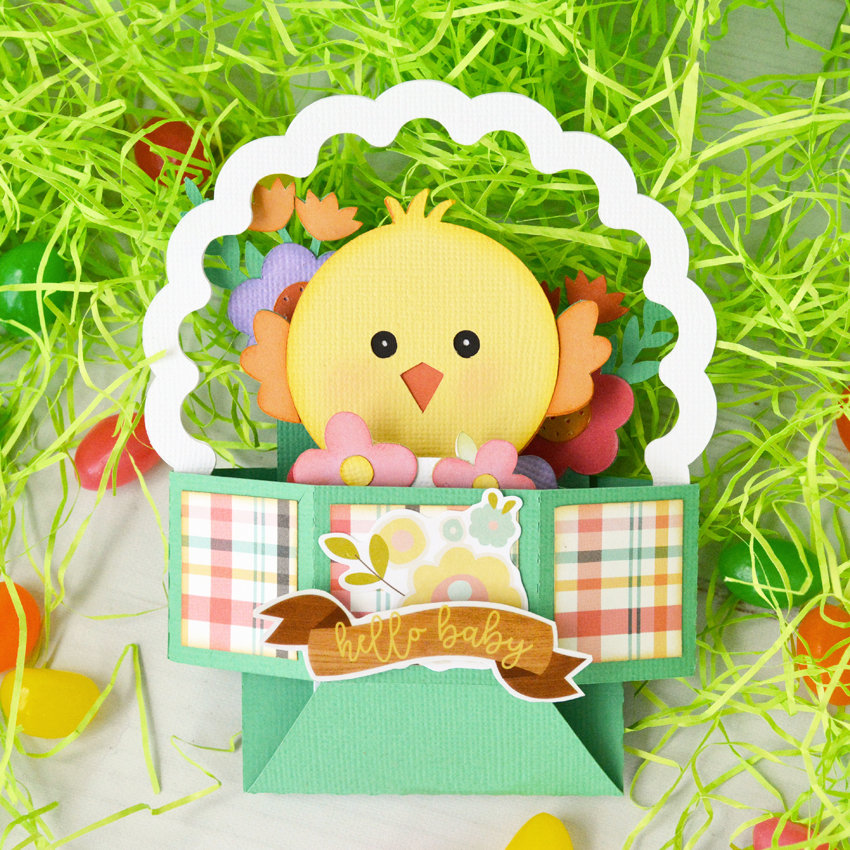
Hello everybody, Marcia here today. I am so excited, I am a (great) auntie again! My niece’s family just got bigger with the addition of a sweet little girl. I needed a welcome baby card to send her along with my baby gift. This new Hexagon Pop Up Chick Card (SVG, Silhouette) caught my eye. I love how bright and cheery it is. Despite being an Easter card, if I added a baby sentiment I thought it would work. I used the Lori Whitlock I Love Crafting collection along with some cardstock.

Stop by the Lori Whitlock YouTube tutorial for instructions on how to assemble the hexagon pop up cards. Don’t worry about how you will mail it, because these awesome cards fold flat and fit in an A2 envelope!

There are lots more pop up card designs in the shop. Be sure to check them all out. Thanks so much for stopping by. Have a great week.

~Marcia

Bunny Banner Home Décor

Hello crafty friends! Aimee here today. Easter is a little over a week away and I have been a busy little bee decorating my house with bunnies, Easter eggs, and springy flowers. After a long cold and dark Winter, I am ready for some light and refreshing pastel colors and happy little bunnies!

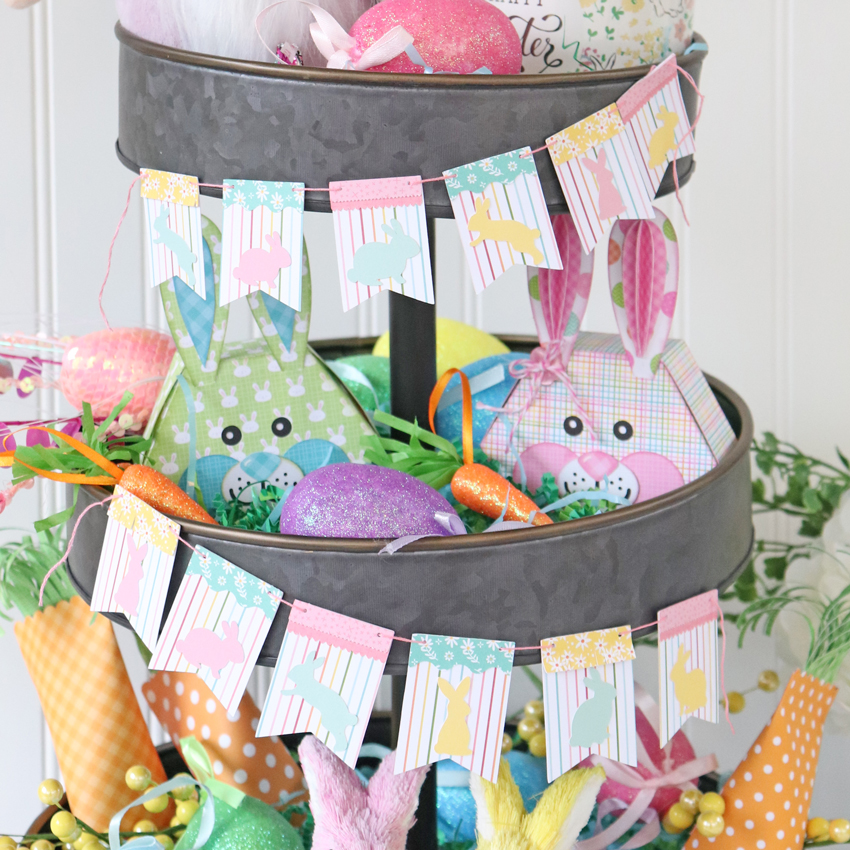
Today I wanted to share an idea of using some of Lori’s svg files to help you along with your Spring/Easter decorating. On my beautiful tiered tray set I have 4 different files. There are the adorable boy and girl Hexagon Easter Bunny Boxes (Lori’s Shop, Silhouette) and the Carrot Favor Boxes (Lori’s Shop, Silhouette) which I made a couple of years ago and held onto because they are just too stinking cute and I couldn’t give them away. But today I want to show you how I made the sweet little bunny banner that is draped on my tiered tray set. I made a quick little tutorial on how to create this banner using the Layered Bunting 2 (Lori’s Shop, Silhouette) and the Easter Bunny Set (Lori’s Shop, Silhouette). In this picture below you can see just how much paper projects can add to home decorations. And I am LOVING how adorable the banner turned out! If anyone is interested, I used Lori’s Echo Park Easter Wishes and All Girl collections for this project.

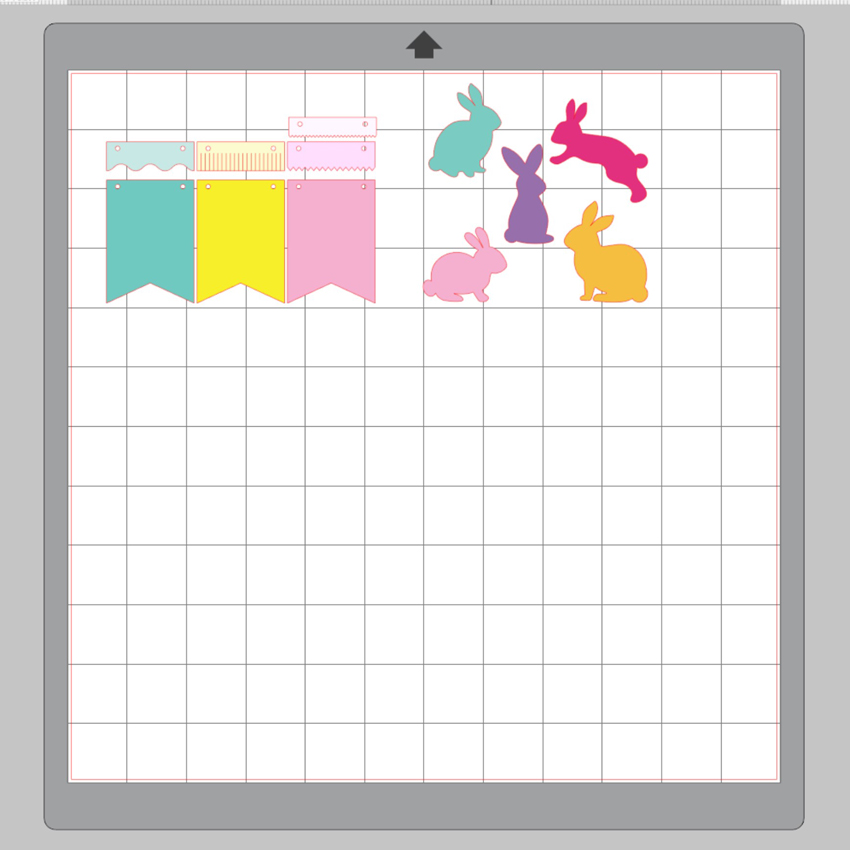
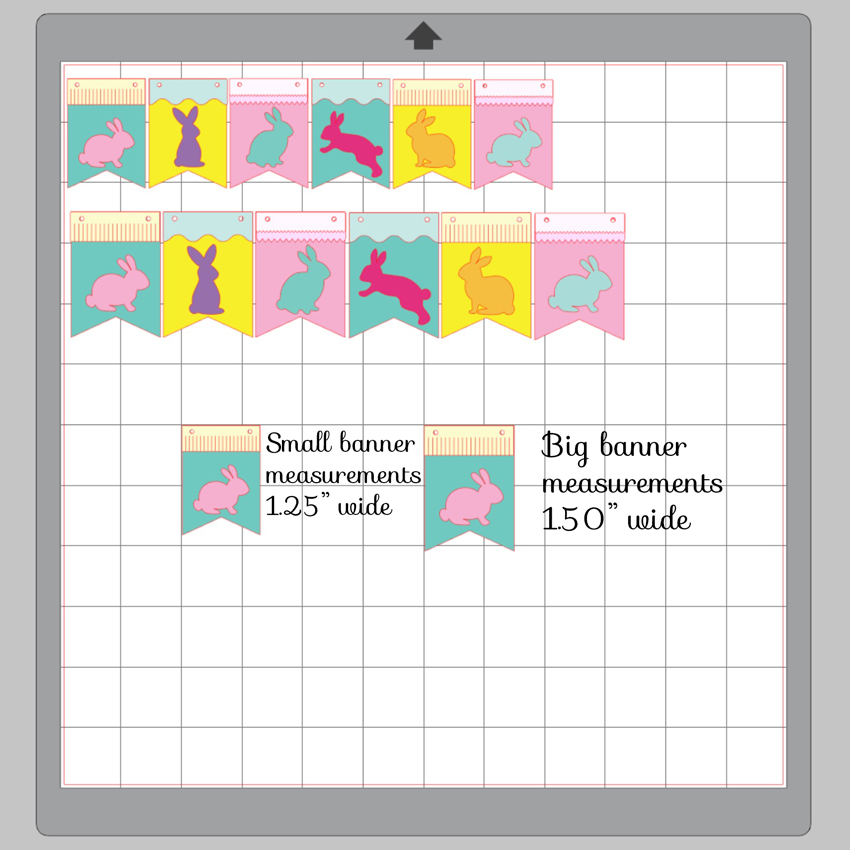
To get started, I pulled up both of the files to get an idea of how they would fit together. When you pull the banner pieces up you will see just an outline. I colored them in for my tutorial.

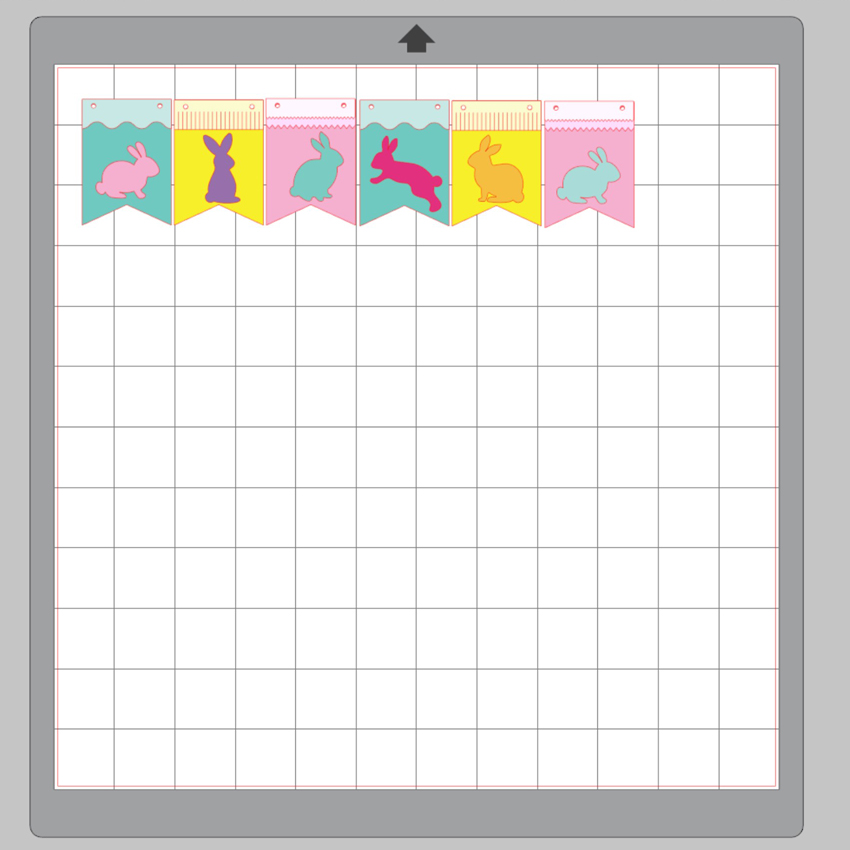
I knew I would need at least 6 banner pieces so I duplicated the banner pieces and added the bunnies to each to get an idea of what it would look like and what colors I wanted to use.

And also I needed 2 banners for the layers  of my tiered tray set but I wanted one of them to be bigger for the middle layer. So I duplicated the entire banner set and then resized it to make it bigger. As you can see in the picture, the small banner pieces measure 1.25″ wide and the big banner pieces measure 1.50″ wide. These can be resized to fit any project you may have.

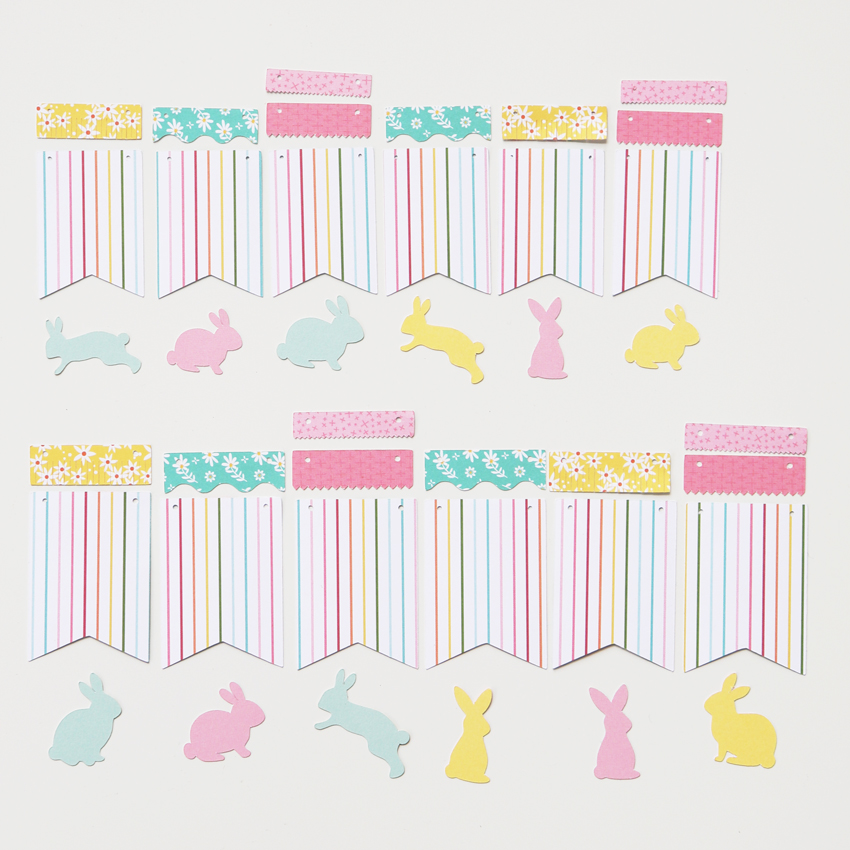
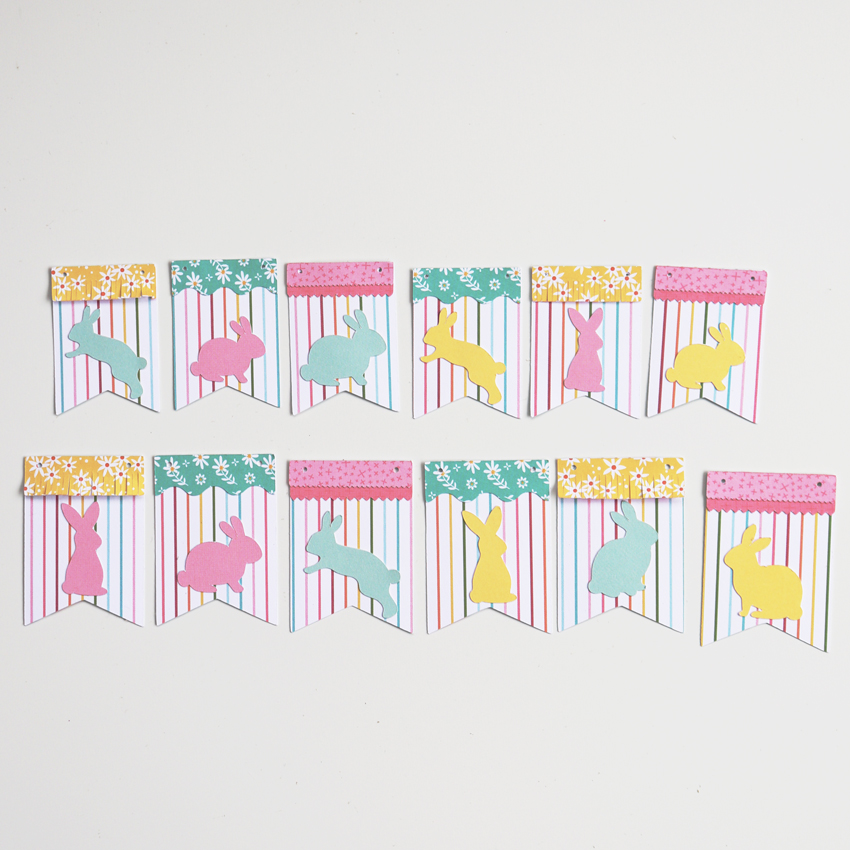
Here you can see all of the pieces cut out using different patterned papers. Now to start adhering all of these pieces together. A quick tip…glue the top of the banner pieces before the bunny rabbits! That way you’ll know where to place the bunny without over lapping the pieces.

Now that all of the pieces are adhered together we can start stringing them together.

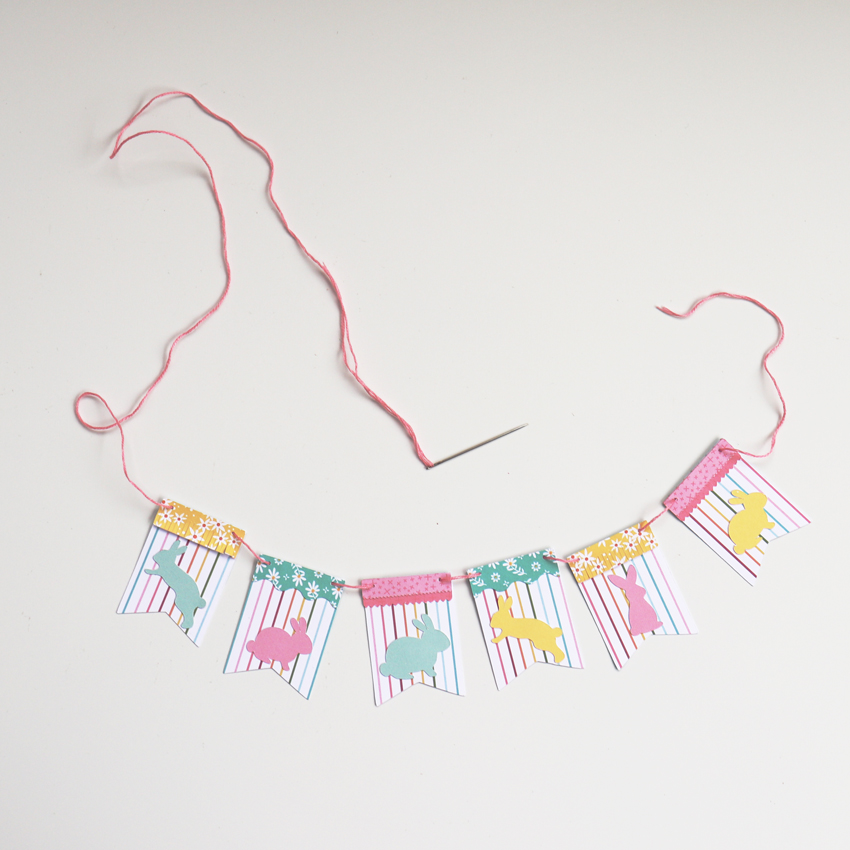
For this step, I used some pink floss and a needle. I wanted to use some twine but the holes in the banner pieces are so small it would not work. But I’m liking the pink floss and think it actually looks better and the needle made it quick and easy to assemble the banner.

Once you have all of the banner pieces assembled, tie a small knot on each end to keep the pieces from sliding off.

To attach the banners to my tiered tray I used some very sticky tape runner to the tops of the banner pieces.  And now it’s ready to be set out for all to admire! I sent pictures to my sister and she gushed over it!

So that’s all from me today! I really hope everyone is happy and healthy and ready to brightened up their space with a beautiful and cheery bunny banner!

Happy Easter to all!

Aimee