Hello crafters! Traci here and today I’m sharing a cute little scrapbook that I made with Lori’s new cutting file called Hidden Binding Mini Album Telephone (SVG, Silhouette). This Thursday (April 25th) happens to be National Telephone Day, so … I thought it would be a fun project to make!
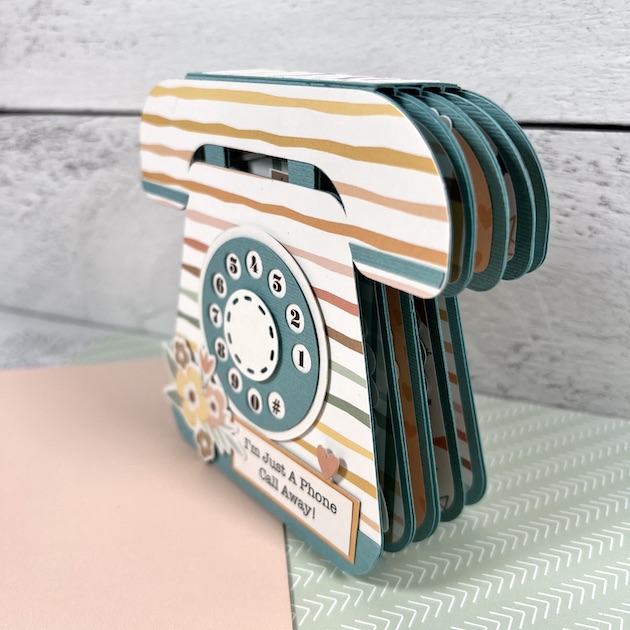
I started by using Bazzill card stock in whirlpool for the base, then added some pattern papers from Echo Park’s Our Baby Girl and Boy Collections. I used the generic prints from both so this album could be given to anyone. On the cover, I added a few stickers and a title next to the old fashion rotary dial. So cute!
This album uses a hidden binding technique to secure the pages and it allows enough room in between for pop dots and embellishments. It lays perfectly flat when closed. You can watch the assembly tutorial for it over on Lori’s YouTube Channel here.
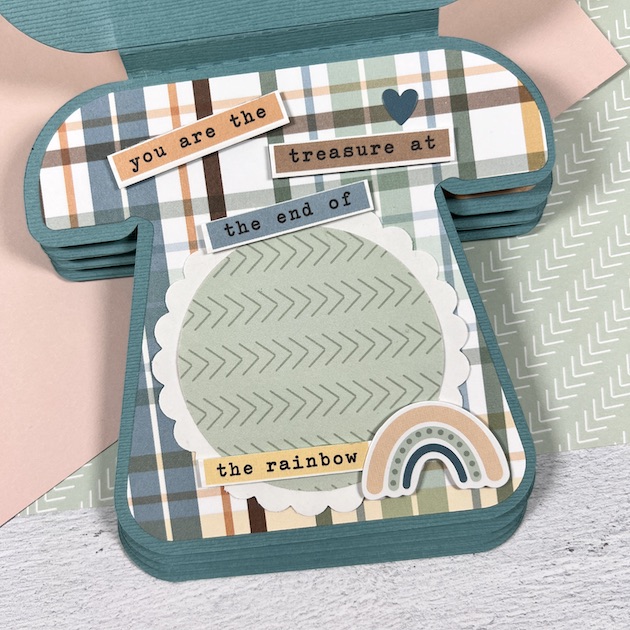
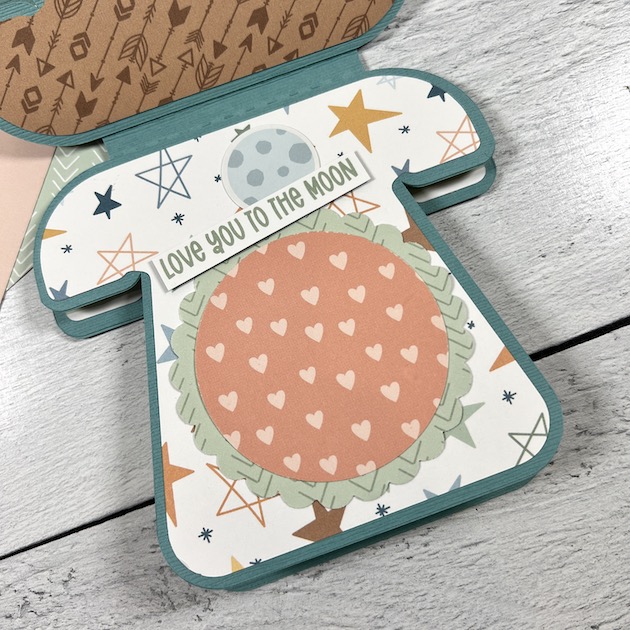
There are 5 double-sided pages, including the front cover. I layered each one with a different patterned paper and some cute circular photo mats. I used a 3″ scalloped circle punch and a 2.5″ circle punch for those.
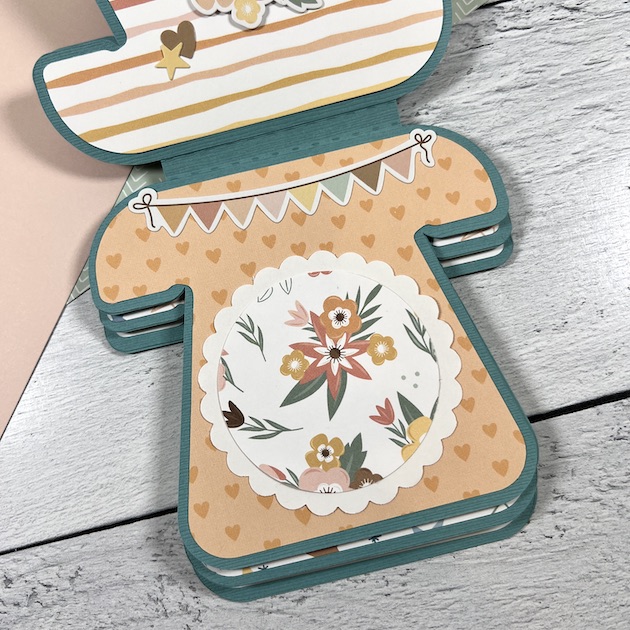
I added a journaling card and some stickers on this page, but the next one is my favorite …
Isn’t she pretty? I love the soft feminine colors and the flowers paired with this fun, nostalgic shape.
This mini album would make a great gift idea for Mother’s Day or a birthday. Lori has other hidden binding mini album shapes too, like … a flower, mason jar, camera, bee, house, butterfly, and more! Be sure to check them out in her shop.
I hope you like my version of this cute little telephone scrapbook and it inspires you to create one yourself. I highly recommend!!
Blog * Shop * Facebook * Instagram * Pinterest


.JPG)


.jpg)


.jpg)
.jpg)
.jpg)
.jpg)