Imagine my surprise when I opened my email to find both designers for today used not only the same paper collection, but the same paper. Both of these stunning projects use Lori’s newest paper line Reflections by Echo Park. Great job ladies. First up is Brigit.
Hi everyone, I have a wonderful project life box from Lori’s shop that stores 4 x 6 photos and 3 x 4 life cards. This box would make a wonderful gift or use it yourself to keep your project life cards nicely organized.
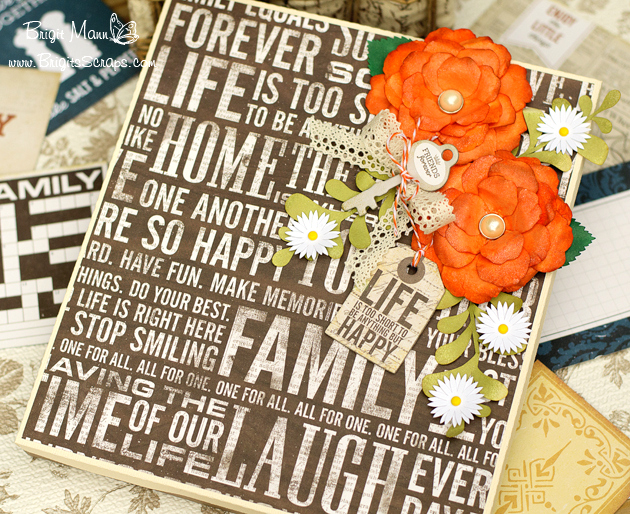
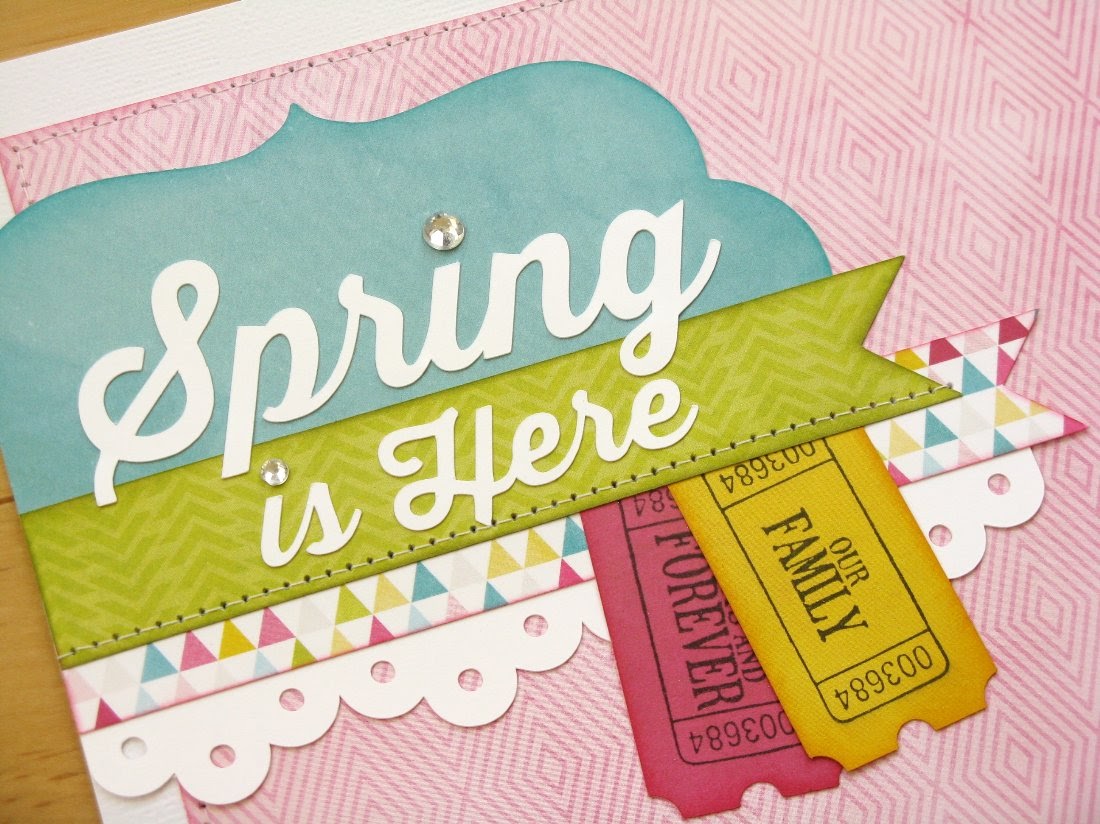
The pretty paper is from Echo Park’s Reflections designed by Lori. This is such a gorgeous collection with rich beautiful colors, it’s perfect for Project Life layouts.
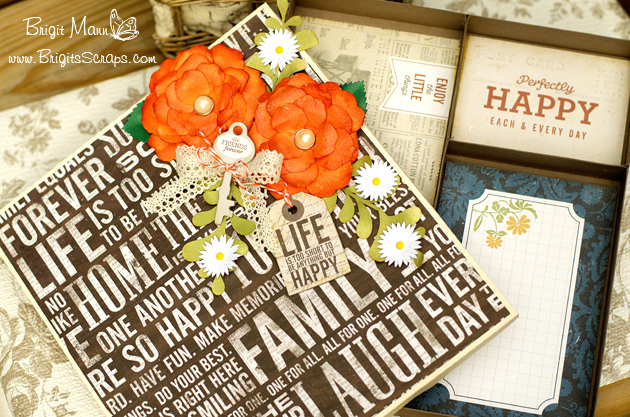
The inside of the box has divider sections, I used two 4 x 6 and two 3 x 4 but it fits three 3 x 4 and one 4 x 6 also, I can’t wait to fill this up.
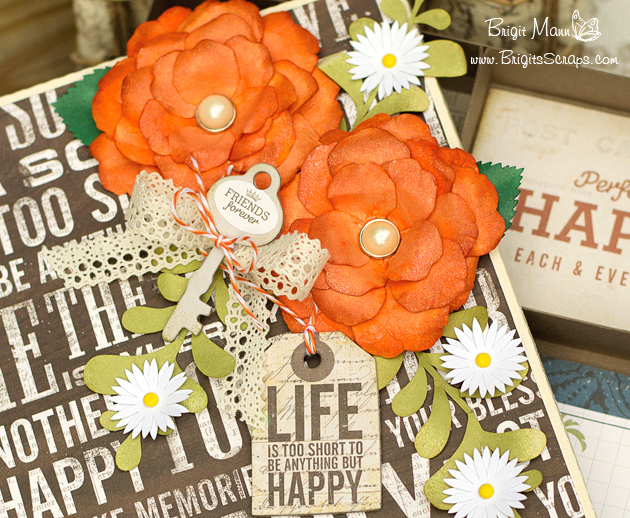
These roses, also from Lori’s shop go together so beautifully, they are all individual petals, I colored mine with distress ink and some glimmer mist. For the little white flowers I used one from the 5 layering flowers set, duplicating one layer. The lighter green leaves you can find at the Silhouette online Store and the darker green come with the roses. The key and tag are from the Reflections 6 x 12 chipboard accents and the pearls are in the decorative brads set that match. I also used some crochet ribbon and Orangesicle Trendy Twine.
Thanks for stopping by, I hope you’ve enjoyed my project, you can visit me at http://www.brigitsscraps.com.
Thanks Brigit, next we have this adorable mini album by Christine.
One of the first classes I ever taught in scrapbooking was a mini album class. We used paper bags. Remember those? Well, whatever materials I use, mini books always hold a special place in my heart. They’re just so little and cute. So I am always thrilled when Lori puts another mini album file in the store. The mini album I am showing you today is called the 4×4 Accordion Envelope Mini Album.