Hi Everyone! Are you looking for some last minute ideas for Christmas? I thought it would be fun to gather a number of fun projects using Lori Whitlock and Doodlebug Cut files as well as my paper collections for Echo Park Paper! These would all make a great last minute gift for friends and family. I’ve included links to both my SVG shop and the Silhouette Store for each project when available so getting started is easy! Take a peek!

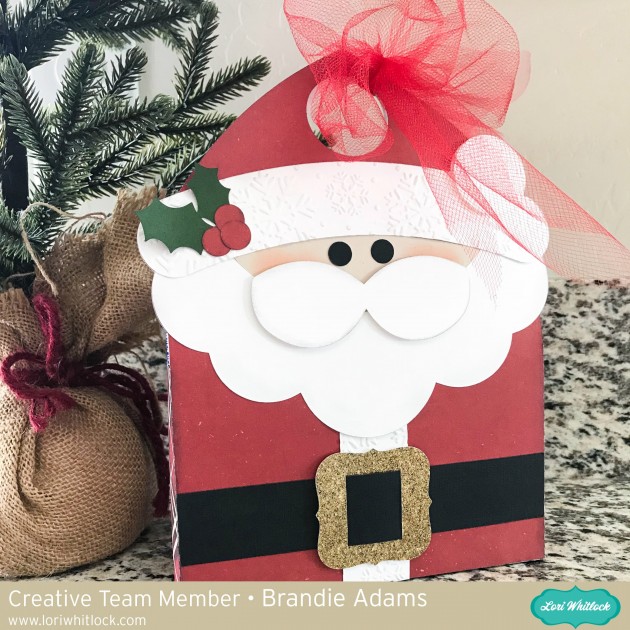
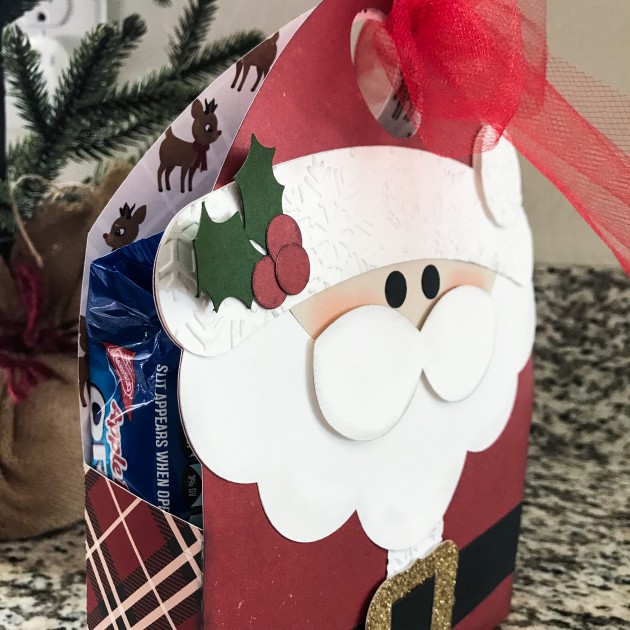
Santa Pyramid Box (SVG File, Silhouette)

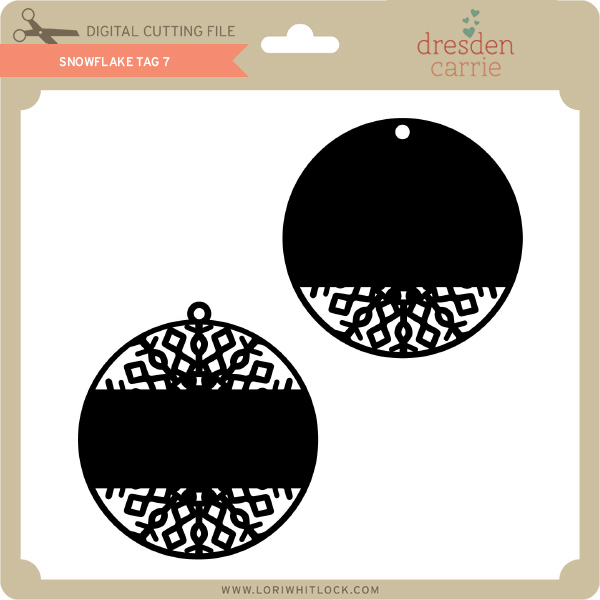
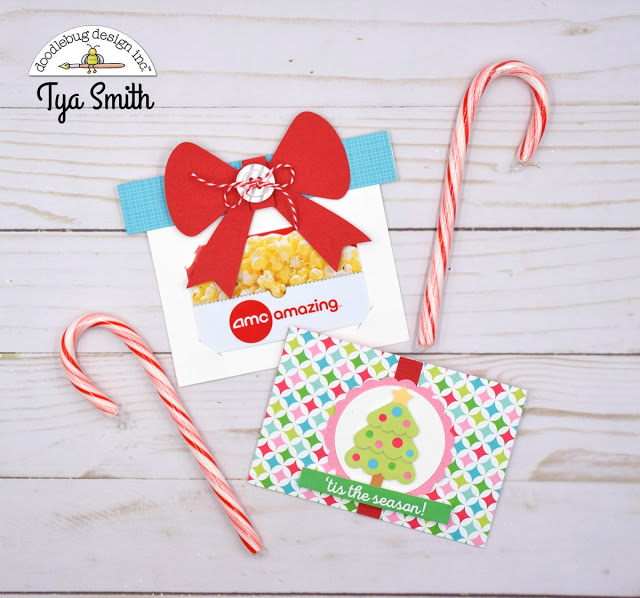
Both Tag and Card made using The Santa 2 file (SVG File, Silhouette)
")
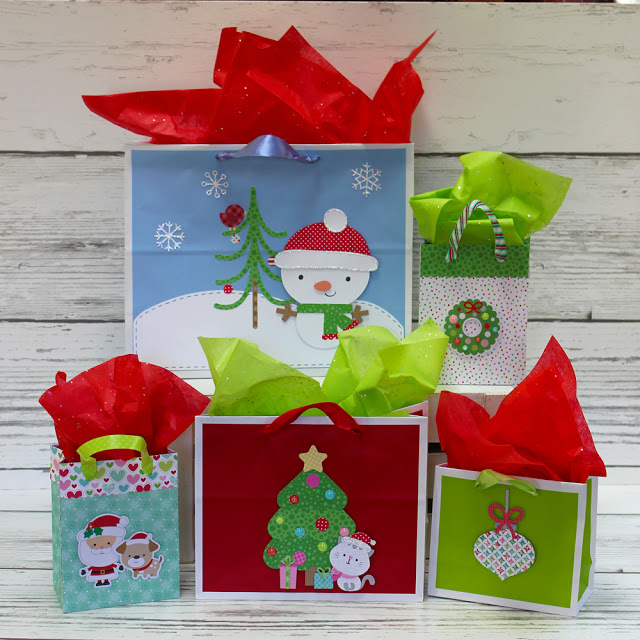
3 Boxes with Tote (SVG File, Silhouette)

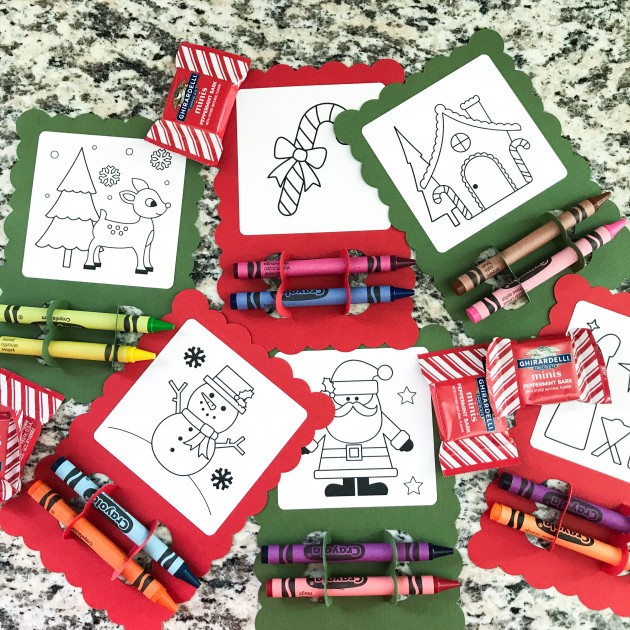
Made from the A2 Chalkboard Easel Card (SVG File, Silhouette) and embellishments from Echo Park’s The Story of Christmas Collection

Tic Tac Wrap Snowman (SVG File, Silhouette)

Mitten Gift Card Holder (SVG File, Silhouette)

Penguin Candy Hugger (SVG File, Silhouette)
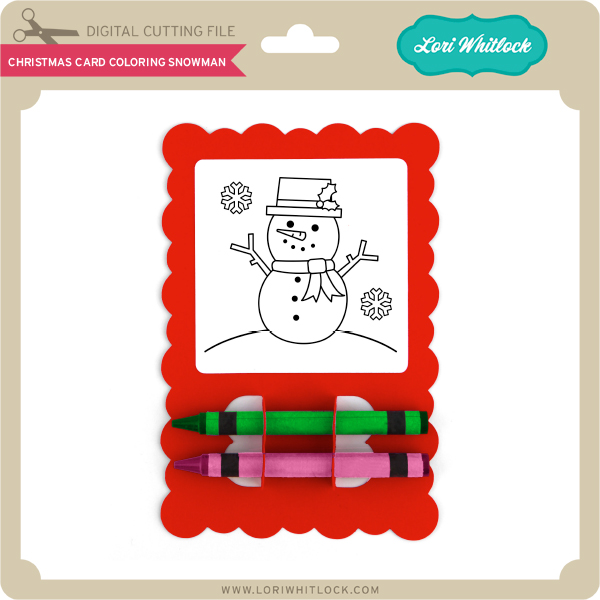
Snowman Candy Hugger (SVG File, Silhouette)
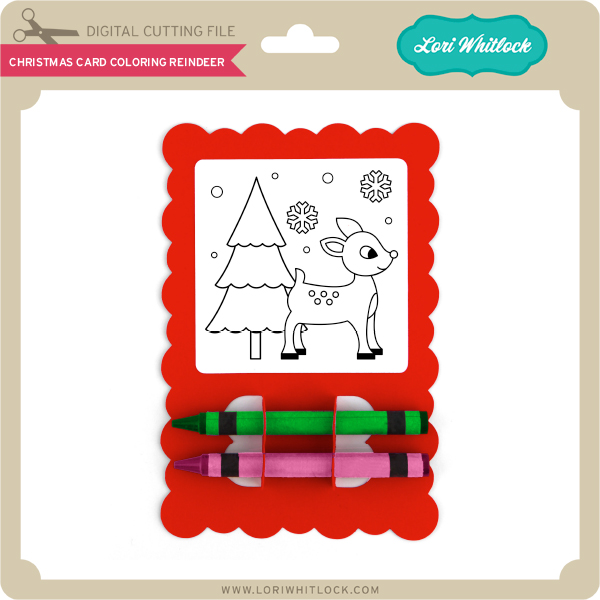
Reindeer Candy Hugger (SVG File, Silhouette)

3D Poinsettia (SVG File, Silhouette)

Mistletoe 2 (SVG File, Silhouette)
Favor Box Bracket Flap (SVG File, Silhouette)

Nativity Circle (SVG File, Silhouette)

Shadowbox Gift Card Bag Reindeer (SVG File, Silhouette)
Shadowbox Gift Card Bag Snowman (SVG File, Silhouette)
Tic Tac Wrap Snowman (SVG File, Silhouette)
Tic Tac Wrap Tree (SVG File, Silhouette)

Wooden Crate 2 (SVG File, Silhouette)
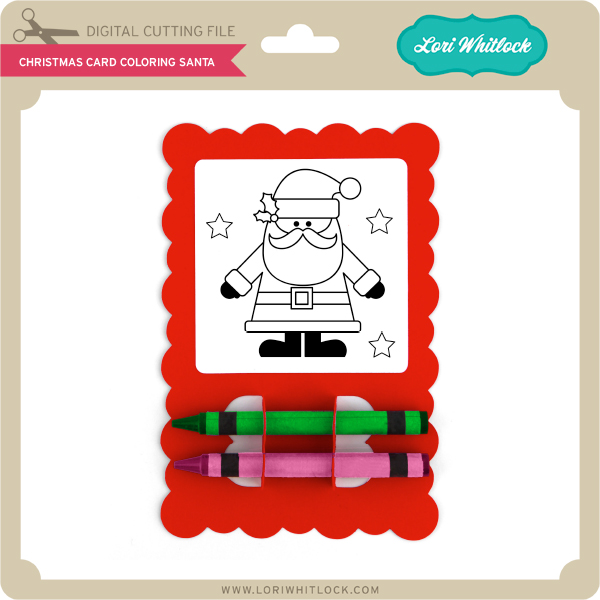
#10 Christmas Santa Card (SVG File, Silhouette)

Cookies For Santa (SVG File, Silhouette)
Santa’s Milk (SVG File, Silhouette)

Nativity 3 (SVG File, Silhouette)
These next few projects are from the Echo Park Paper Design Team using my Echo Park Collections. I’ve linked to the original posts.
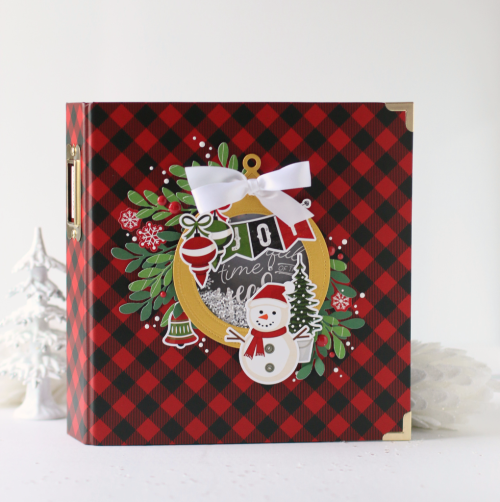
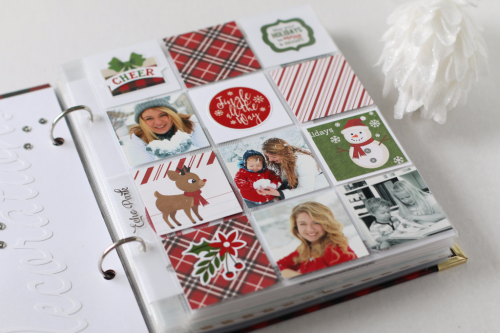
December Daily using A Perfect Christmas Collection

Christmas Card using A Perfect Christmas
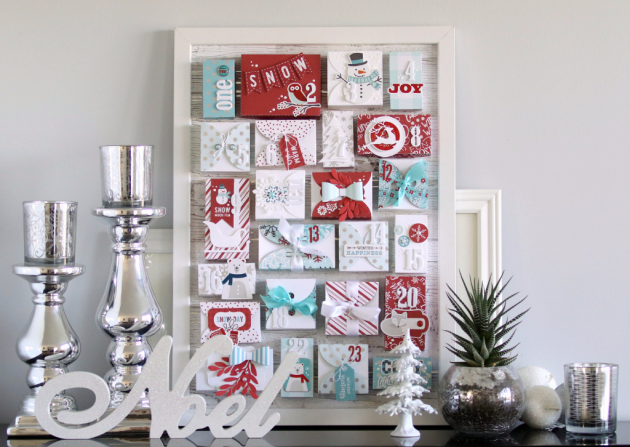
Beautiful Countdown Calendar using A Perfect Winter
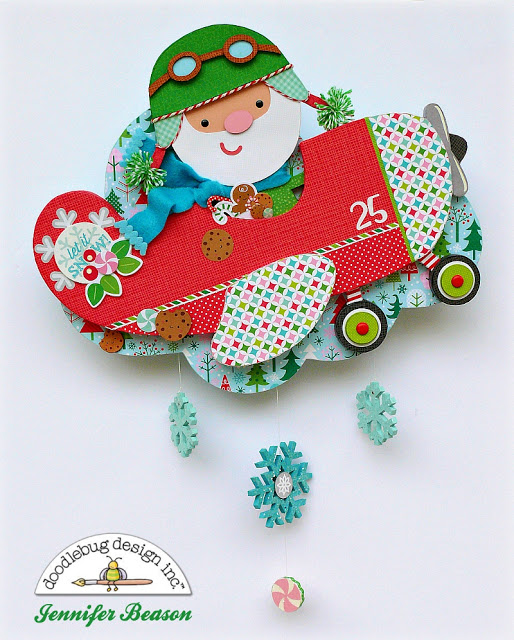
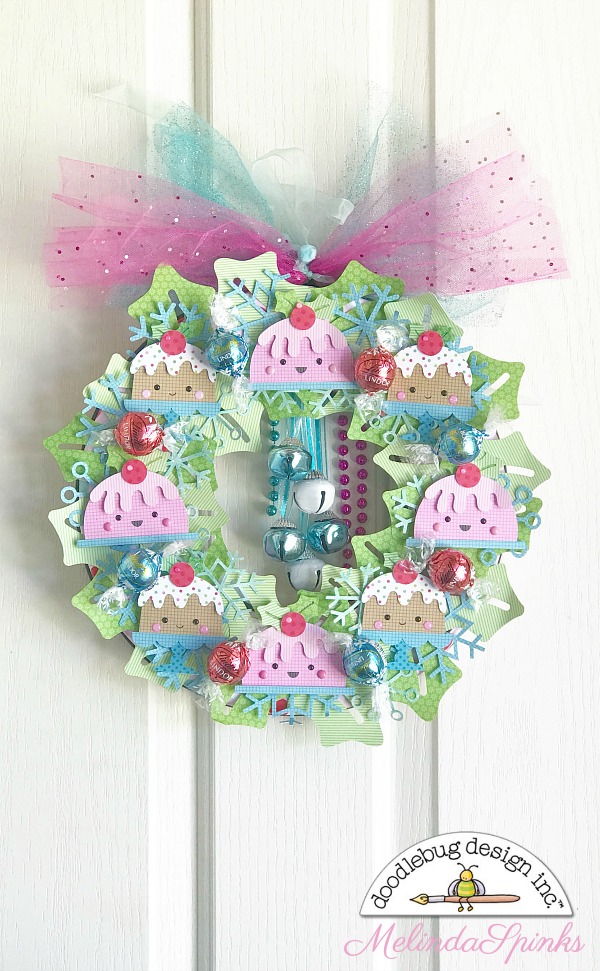
These fabulous projects were found on the Doodlebug Design Blog using both my SVG files and Doodlebug SVG files which are available in my shop here. For details, I’ve included links to the original posts.
I hope you’ve been inspired to be creative this Christmas! Have a wonderful day!