Watering Can Bouquet Box Card tutorial with Cathy

I love all of Lori’s box cards, they are super cute, fold flat to mail and are super easy to put together.  I thought I would walk you through the process.  It seems like there are a lot of pieces to cut and put together, but they really are simple and are super quick to assemble with adorable results.

This is Lori’s Watering Can Bouquet card, you can find it here in Silhouette or here in Lori’s shop.  Super cute and perfect for just about any occasion.

I first opened up the file in the picture below, next I sorted the file by color.  I love that Lori designs her files in color, so it is so easy to divide and cut by color.  It makes things go so much faster.

After all my pieces were cut, I inked all the edges with Tim Holtz Distress Inks and scor-tape is your best friend for these box cards, paper thin and super sticky.  First adhere the box of your watering can together and then add then handles and spout to the two pieces with the coordinating slots.

You now should have a shape that looks like the first box below.  Now it’s time to add all your embellishments to your layers, which Lori makes it so easy as she numbers them 1, 2, 3.  Just layer your embellishments following the pattern and picture from the file.  Add scor-tape to each perforated and scored side.  I always start with number 1 and then add number 3.  Then I know that they are perfectly spaced before I add number 2 in the middle.   Run your finger along each side of pieces 1,2,3  to make sure they are really stuck down well.  It really is as easy as 1,2,3!

In no time at all you are done and have the cutest dimensional card ever.  Lots and lots of box cards to choose from in both stores.

May CT Blog Hop and 25% OFF Sale!

Welcome to our  May 2019 Creative Team Blog Hop!  The creative team has been working hard on some new projects to share with you that will get you in the crafting mood. We also have a fun release of new SVG files for you this week and a GIVEAWAY! Be sure to check them out below. Oh, and there is also a FREE FILE for you!

This week we have a 25% OFF SALE going on at Lori’s SVG SHOP. ALL files (and commercial licenses) from Lori Whitlock, Kolette Hall, Doodlebug Design, Bella Blvd., Dresden Carrie, Paige Evans, Pebbles in My Pocket, Rivka’s Renditions and SAS Creative are on SALE now through Saturday, May 18th! Be sure to use coupon code: MAY2019 (case sensitive) at checkout in the SVG SHOP. (Only one coupon code per order allowed)

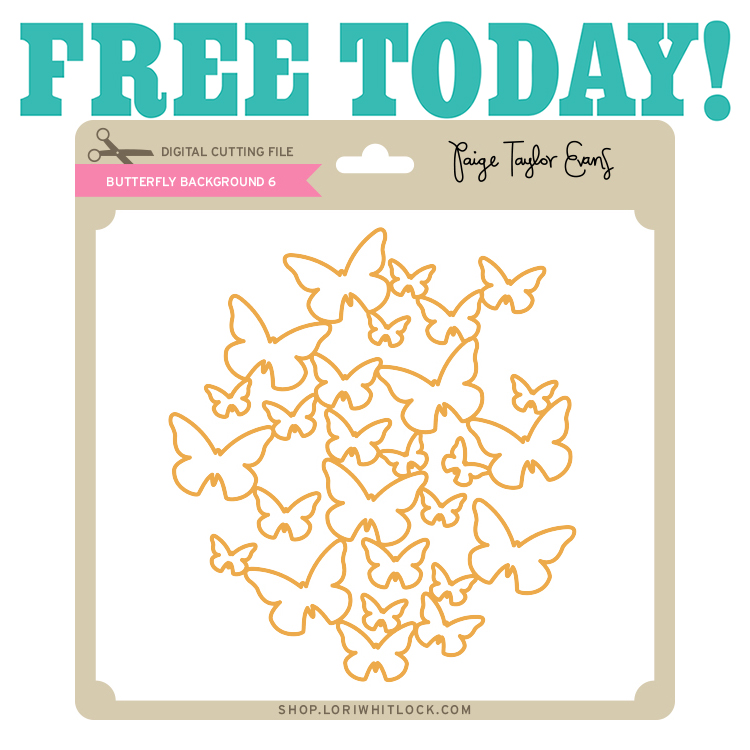
To thank you for joining us in the hop today and sharing the hop with your friends, we have a gift for you! TODAY ONLY, You can download this Butterfly Background 6  file absolutely FREE! Be sure to go grab it while you can.

We have some fun new files this week! Be sure to go shopping while all files are 25% off this week when you use code MAY2019 in my SVG Shop!  And, as always, my new files are available in the Silhouette Design Store as well.

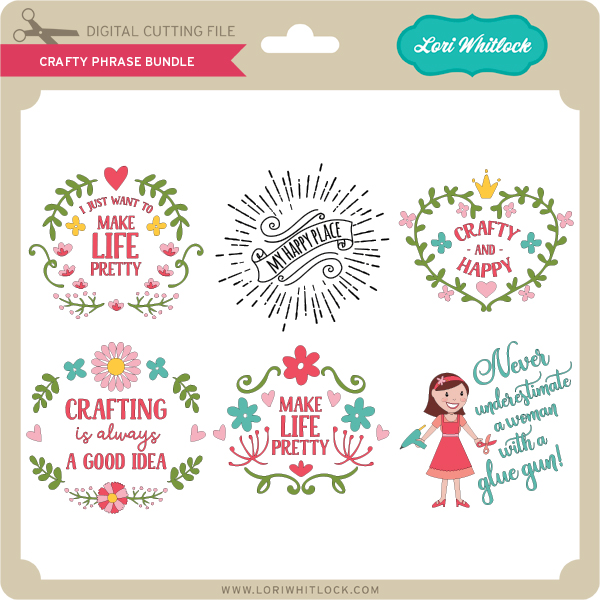
This week I have a fun Craft Phrase Bundle.  We also have new files from Bella Blvd and Pebbles in my Pocket.


a Rafflecopter giveaway

And, last but not least… would you like to see what our amazing team has created? Click the links below for some wonderful inspiration. If you get lost come back here to get on track Lori Whitlock,  Anita Mulcahey  Brandie AdamsMichelle Zerull, Aimee Kidd, Ashley Cook  and Corri Garza !! Thanks again for dropping by! Have a GREAT day!

Snail Mail with Kathy

Hi Everyone! Have you seen the fun spring cards in the shop?  Lori has a fabulous collection of them including this adorable A2 Shaped Card Snail (SVG, Silhouette).  Take a peek…

This little card  so fun and festive and can be used for a number of different occasions.  It even comes with a file for an envelope so you can make one to match!

If you purchase this card as part of the Spring Easter Card Bundle in the Lori Whitlock SVG Shop, you get bonus sentiment files that can help you customize the cards!

That’s it for me today, thanks for stopping  by to peek!

BLOG * INSTAGRAM


Easy Paper Flower Tutorial with Michelle

Hello Crafty Friends! Michelle here with you today to share a paper flower tutorial to make what could be the world’s easiest paper flower, but no one will know that except for you! You don’t need any tools or any experience to create this full, lush, dimensional bloom. You just need your electronic cutting machine and Lori’s cute cut files! Let’s get started!

Lori Whitlock Easy Paper Flower Tutorial DIY with Michelle Zerull

For this flower, I used “3D Flower 43” that can be purchased at the Lori Whitlock SVG Shop or at the Silhouette Design Store. The flower looks different in the photo, but that’s only because we’re using the super easy construction method. Download all of the files and cut them out in your choice of colors. I made mine pink to coordinate with the paper from Lori’s “I Love Summer” Echo Park Paper Collection. Even the tag matches. Isn’t that the cutest?

Cut out all of your petals and group them by size. You should have five groups of three.

Starting with the smallest group, curl the petal strips that are the same size, upward with your fingers and glue them on top of each other as shown. Don’t stress about the curling them because we have more to do with them anyway and the curling will barely show. Use whatever glue you’re comfortable with. A fast drying glue, or hot glue is recommended. Glue all five groups in this manner.

Place your index finger in the middle of each petal, and gently pinch the petal ends so the form a “cup”. Do this to each group and set aside.


Pinch the “leaves” together just as you did with the petals. Your groups will look like the above photo. But we still need to complete the center!

The center will be completed in two steps. First, glue the two sides together. Do not fold a crease in the strip. Instead gently hold the the sides together until the glue sets, and move down along the sides until it is all glued together.

Add a line of glue down the cut edge and gently roll the strip. I tried to keep my roll tight. You can roll it tight, or loose. It’s up to you! When it’s all rolled up, set it aside to dry.

While your center is drying, start combining your petal sets. I started with my smallest set and glued it to the set that’s a little bigger, by placing a drop of glue in the middle and holding it down with finger as shown. Make sure your glue has taken hold before adding your next set. For best results, stagger the petal placement so that they are not right on top of each other.

Finish the flower by placing your center in the middle and by adding your leaf piece to the back.

I cut my flower in the dimensions shown when I opened my file. It makes an impressive size! You can scale the size of your flower up or down depending on the project. These would be great for wall decor or used in place of a bow like I made mine. In fact, I scaled up the size of my gable box in order to accommodate the flower’s width. I used the Gable box here in the Lori Whitlock SVG Shop, and also found in the Silhouette Design Store.


That’s it! You are going to impress everyone with your flower making skills!

Have fun!