Hi, fellow crafters!
There is something magical about creating a mini album that feels like summer in your hands, and this one does exactly that with Lori’s new Echo Park collection, Our Groovy Summer collection.
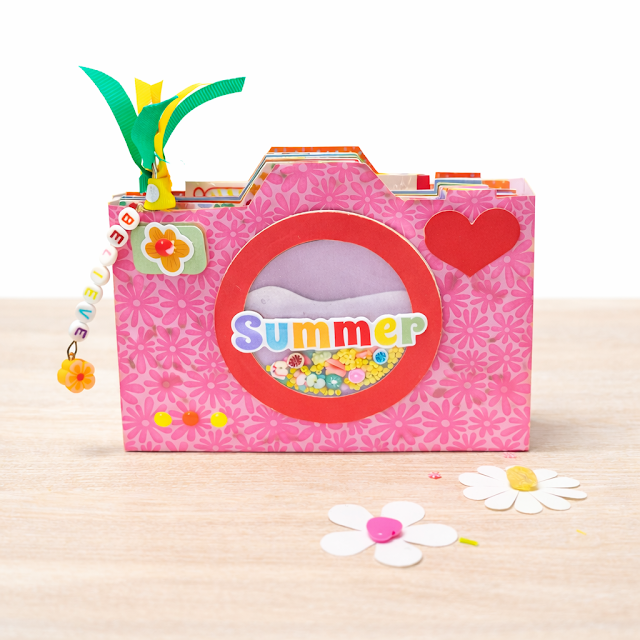
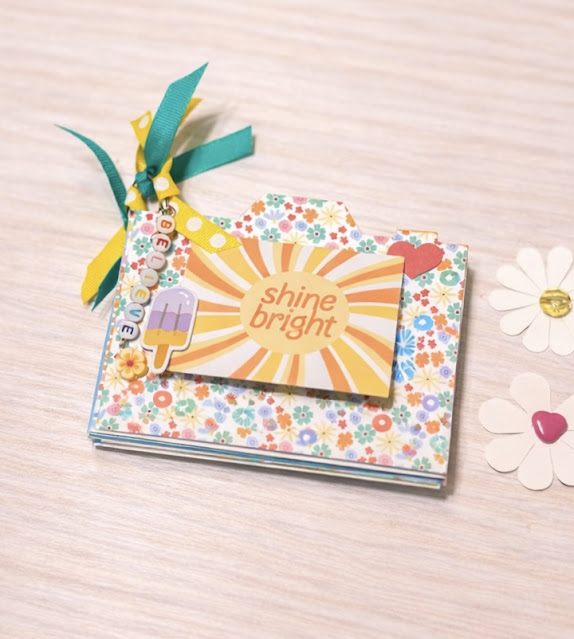
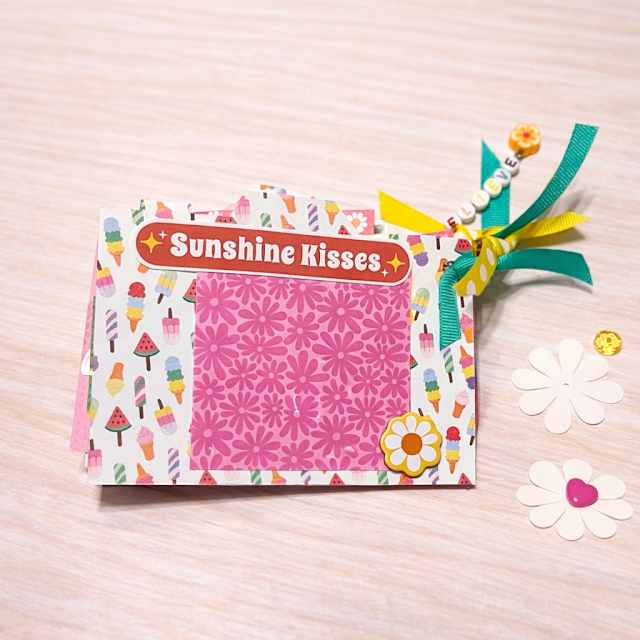
The bright pink floral camera box with the cheerful shaker lens filled with tiny colorful embellishments, this little album is bursting with happy vibes. A little Summer title sets the tone and a playful beaded charm and ribbons add that handmade touch. It’s a project that makes me instantly smile.
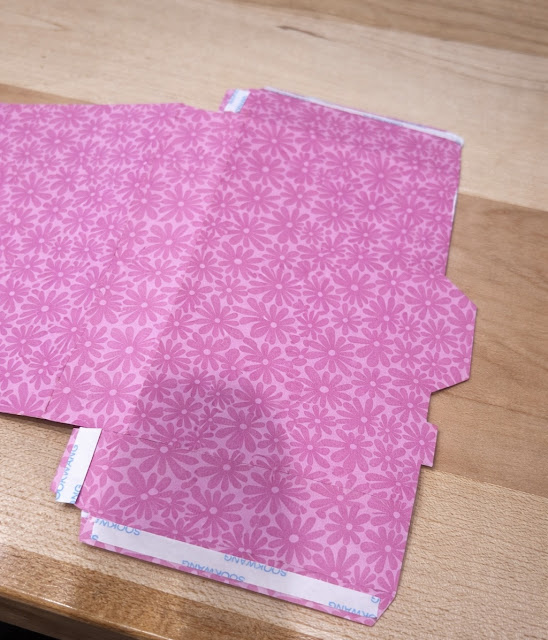
Start with your camera mini album (SVG, Silhouette). Cut the box out and then cut your six pages for the inside. Now for these, I took out the two holes on the side. Just ungroup and pull those little holes out. I knew I wanted the album to just be bound with a book ring…so that is why I took them out. I just took them out of one, then duplicated it so I had six pages. You can see this is the photos below.
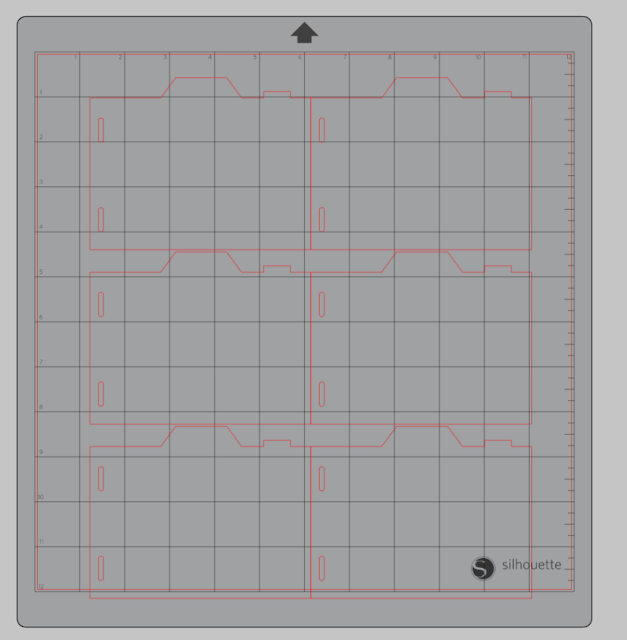
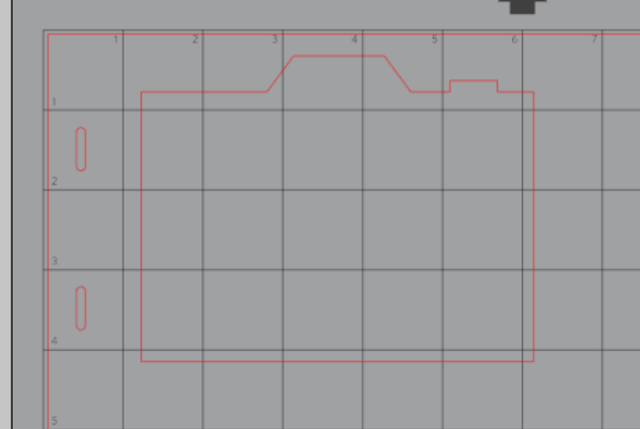
Here is your box and pages.
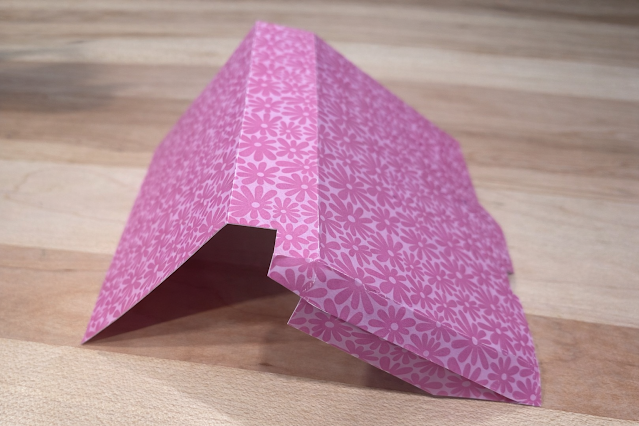
Fold your box on the score lines.
Next, add adhesive and put your box together.
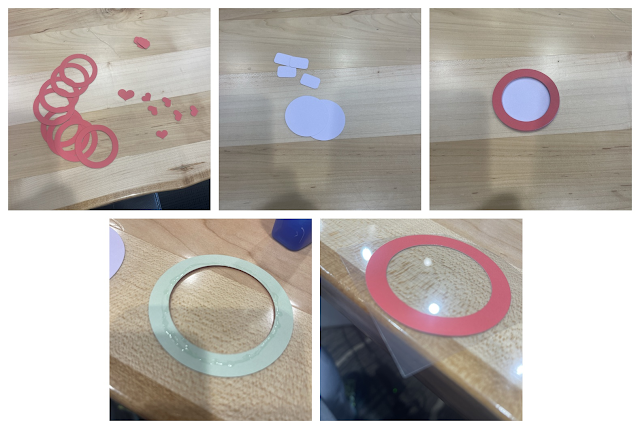
Next, cut the lens out. I turned this into a shaker lens. I cut 8 of the rings and one circle for the back. You want to stack and glue 7 of the rings together, so that you have some depth for your shaker bits and glue to the solid circle. And on the last ring add a piece of transparency behind it, then fill your shaker (which I forgot to take a photo of) and glue the transparency-topped ring over your shaker.
The adhere your lens to the front on the box and finish embellishing it with some of the fun pieces from the collection.
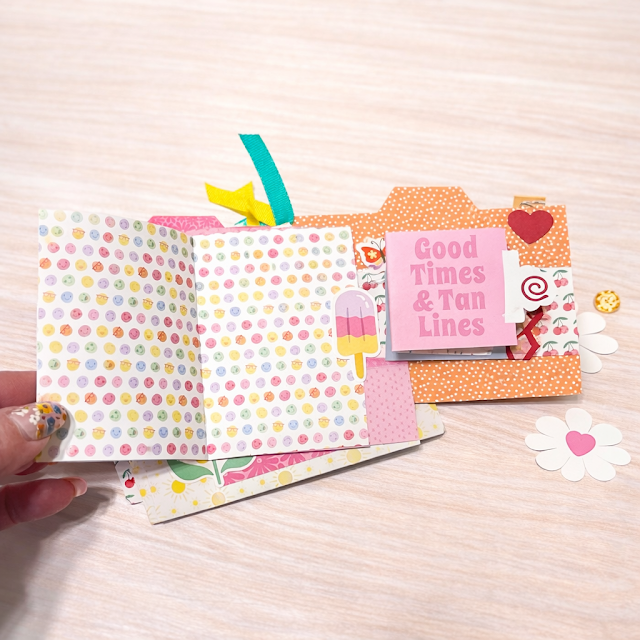
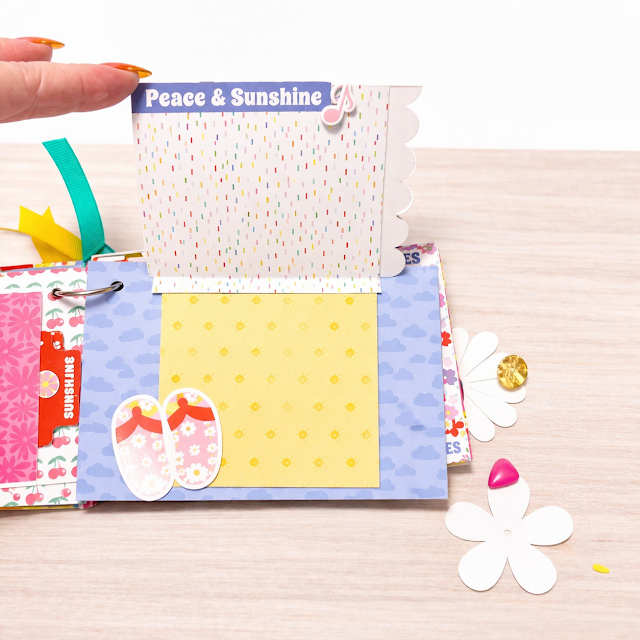
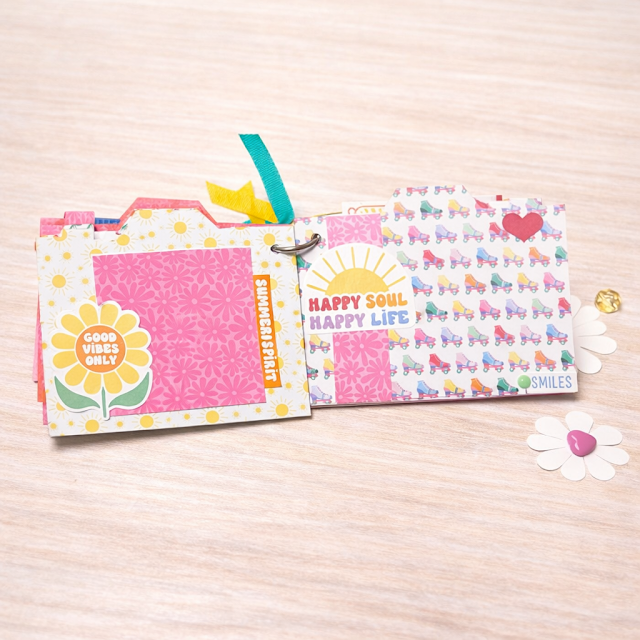
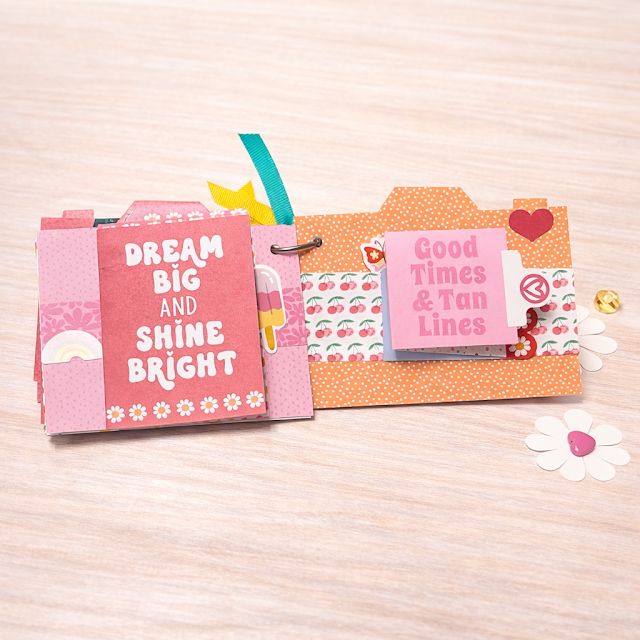
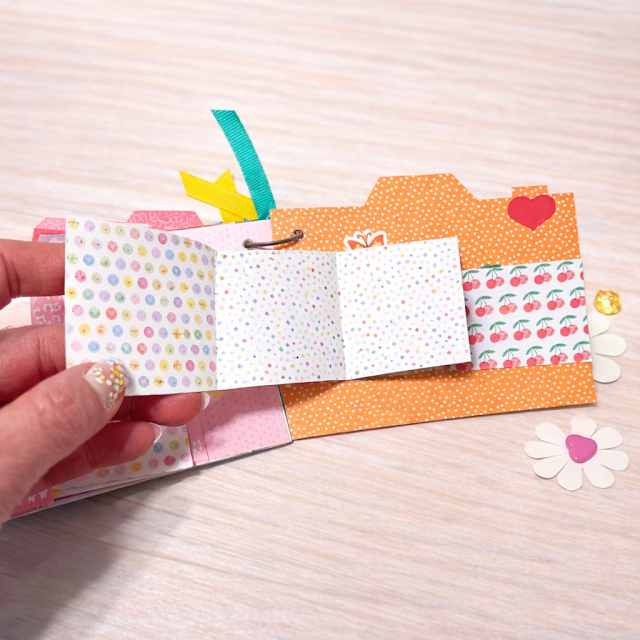
Then punch a hole in the upper left corner of your six pages with a hole punch so that you can bind them with a book ring after all your pages are embellished. Tie a few ribbon pieces and maybe add a cute little charm.
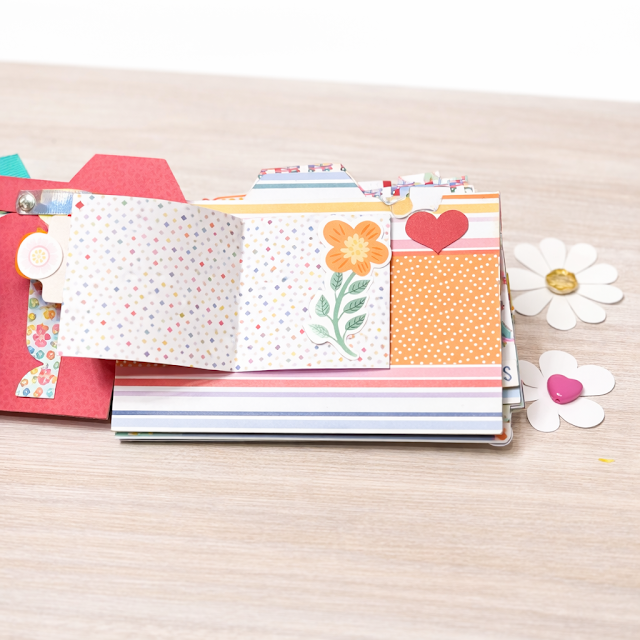
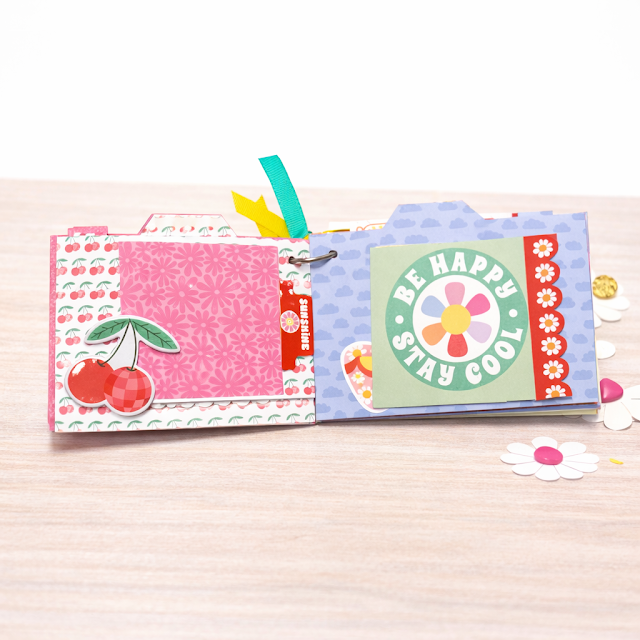
Then just start creating and making this mini your own. You can see my pages below.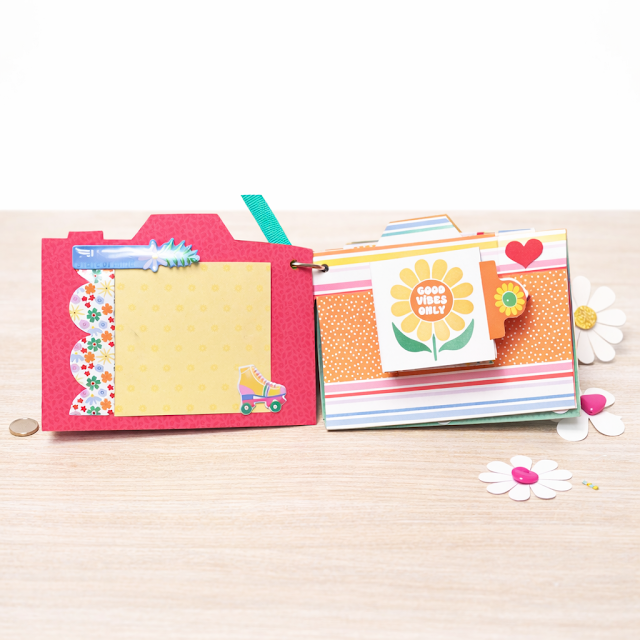
It’s a pretty quick little project and a super groovy collection to create a little mini that feels like bottled sunshine. I had so much fun bringing it to life.