All Friday $5 Bundles are Back for 3 Days ONLY!

Hi Everyone! For 3 days only, we are bringing back every single one of our past Friday $5 Bundles!!! So, if you’ve missed some bundles, now is your chance to get them!  That’s 84 Bundles, all at over 49% off!  They will only be available now until Midnight, Sunday, May 24th so be sure to take advantage of this fabulous special!  These SVG files can be used with Cricut Explore, Silhouette Studio (with the Designer Edition upgrade), Scan N Cut, and any other cutter that will work with SVG files. Help spread the word by telling your friends!

Have a great day!

Guest Designer Moriah McDonald

Happy Shiny New Day Friends!  It’s Moriah Macdonald from Fuzzy Slippers Designs fluttering by today to share my Butterfly Card Set made using Lori’s Butterfly Shaped Card (SVG, Silhouette).  I am so super excited to join all of you today and to share my creations thanks to Lori’s amazing cut files!! Every year around this time I start wishing for all things flowers and butterflies.  It can be a bit tricky up here in New England cause we had snow and then were 80’s all just last week!  While I wait for the butterflies to show up in real life, I can quench my desires with these SUPER EASY and SUPER FUN cards.  I think we can all use a little easy these days. Am I right?!?

Look at all the parts you get when you download this Butterfly Shaped Card (SVG, Silhouette)! It will cut you the fold-over card, a butterfly base, the smaller shaped butterfly that you cut from pattern paper and mount on the base, and the butterfly abdomen.  All are sized to cut an A2 card, so all you need to do is decide with pattern papers to use!!! (Full disclosure-that was THE HARDEST PART for me. LOL!)

Pro-tip Number One- The abdomen of the butterfly is a little larger on the bottom.  Play around with it BEFORE you glue to make sure you have figured out which end is up. I glued the abdomen onto the pattern paper and then glued all of that to the white butterfly base.

Pro-Tip Number Two- When you go to glue everything to the card base, add the glue to the foldover card.  In order for the foldover to work the wings need to be shorter on the foldover base.  That means your pretty butterfly that you just glued together in the previous steps is going to stick out over the top of the foldover and you don’t want the very tips of the butterfly wings to have sticky glue and mess up your beautiful creation! 

Easy-peasy right?!? These would make a great craft kit to occupy the kiddos!  Cut all the parts and the next rainy day pull out the kit.  The kids can put together the cards and then write notes to loved ones to drop in the mail. The size is just right for an “I love you” or “Happy Birthday” message from a kiddo.  Everyone loves happy mail!!!

Hope you were inspired to try this! Please tag me if you do @fuzzyslippersdesigns. I’d LOVE to see your butterfly creations!!!

Happy Crafting!

Moriah

DIY Doormat with Ashley

You probably have seen the popular DIY coir doormats around.  I tried my hand at one using a font from Lori’s shop. I used the Monogram Family 7 Font.

SVG  / Silhouette

I didn’t use the circle part, so I just deleted those parts.

For our last name Cook and the numbers, I used the font Georgia–a font I have in my library. I used freezer paper as a stencil and outdoor paint on the mat. I used a 24 inch long mat, so I could cut the stencil in one piece from the freezer paper.  I carefully removed the freezer paper and placed it on the mat as the stencil.  I then used a stencil brush to paint.  I also used a skinny brush for some of the parts that are very skinny.  I let the black dry, then I used the banner part of the stencil to add Cook in white paint. I used some straight pins to hold down some of the skinny edges and the middles of the letters.  Stick the straight pins down at an angle and push them in as far as you can, so they don’t get in the way of the painting.  And just throw away the freezer paper stencil and straight pins once finished painting.

A fun way to pep up our front porch. Lori has several fonts and quote files that would be great on a doormat!

~Ashley

Tuesday New SVGs & a Free File!

ALL WEEK, this SVG file is FREE with any $1.99 purchase!

Hi Everyone! We have a FREE file with purchase all this week! Simply add this Flexi Card Congrats Grad file  to your shopping cart along with ANY $1.99+ purchase from the SVG Shop and this file is yours FREE. Be sure to use Coupon Code: CONGRATS (case sensitive) at checkout. This offer is good through next Sunday.

(Your cart must reach at least $3.98 before the coupon will be applied and then $1.99 will be subtracted from your total at checkout. The files will be available for immediate download after you pay for your order by visiting MY ACCOUNT>COMPLETED ORDERS>ORDER DETAILS inside of your account. Only one discount code per order allowed.)

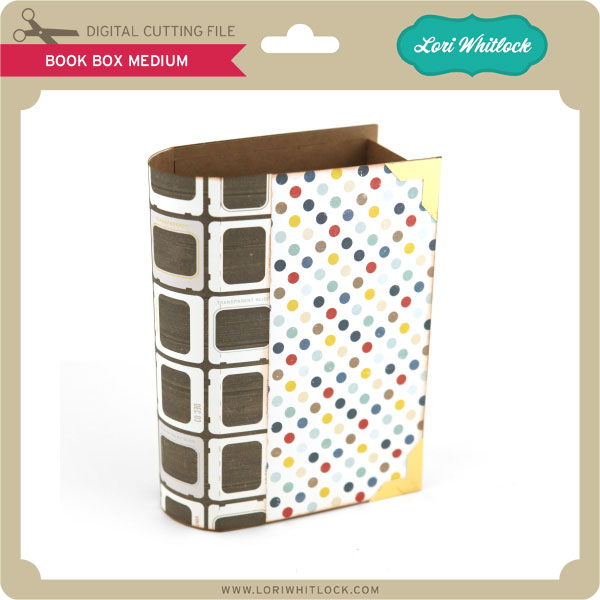
 

In addition, don’t forget about this special ! You can get this Free Kit of the Month with any $20 purchase (Purchase must be in one transaction.) Simply add the 2020 May Kit of the Month to your shopping cart along with ANY $20.00+ purchase from the SVG Shop and this file is yours FREE. Be sure to use Coupon Code: MAY20KOTM (case sensitive) at checkout. This offer is good through May 31, 2020.

(Your cart must reach at least $27.95 before the coupon will be applied and then $7.95 will be subtracted from your total at checkout. The files will be available for immediate download after you pay for your order by visiting MY ACCOUNT>COMPLETED ORDERS>ORDER DETAILS inside of your account. Only one discount code per order allowed.)

Check out the new SVG files releasing this week!  Just like always, the NEW SVG files will be ON SALE 25% OFF through the weekend in the SVG Shop! These downloads include SVG files that may be used with Cricut Explore, Silhouette (Designer Edition upgrade required), Eclips, Brother Scan and Cut, and any other software that will open SVG files. No coupon code necessary, the newly released files are all discounted in the shop! Be sure to go get them while they are on SALE this week.

This week I have a new A2 Insert Card Bundle.  We also have files from Jillibean Soup and Paige Evans.


Thanks for visiting the blog today! Please let us know if you need any help with your files. We want to make sure everyone is happy with their purchase. Have a great week! SHOP HERE
Stationery Box

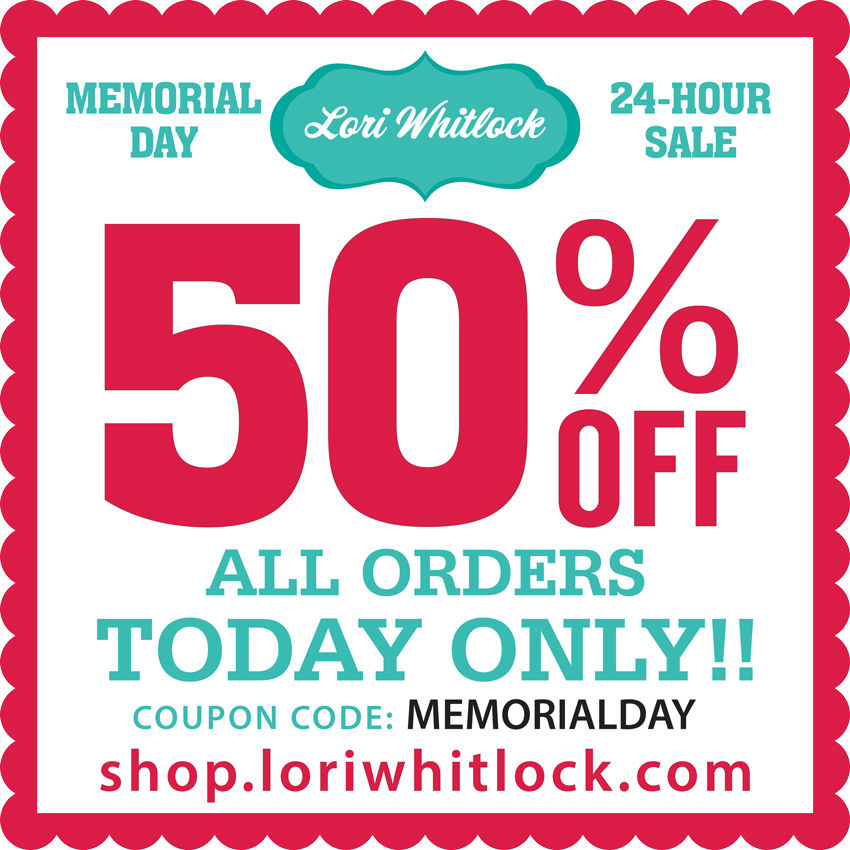
Hi there paper crafting friends!  It’s Michelle Starcher, aka the Bookish Designer, popping in on the blog to share the stationery box I made (SVG, Silhouette).  I decided to make this adorable little card holder for a friend when I ended up with some left over journaling cards from a scrapbook project.  I was able to fit 5 A2 sized cards in the box along with matching envelopes.

If you aren’t sure exactly how to put the box together, Lori has a video tutorial using a box that is similar to this one.  I had to adjust the size slightly to accommodate the size restrictions of my Cricut Maker. However, I was still able to make the box using one sheet of paper on a 12×12 cutting mat.

Although the  box is made to store a set of A2 sized cards and envelopes, you could use it to give a gift card or small gift.  Since they store flat, you can make several of them and simply pop them open when you’re ready to use them.

Until next time,

Michelle