January 2025 Blog Hop

We’re so excited to kick off the January 2025 Creative Team Blog Hop and start the year off with a bang! Our talented team has been busy crafting beautiful new projects that are sure to inspire your creativity during this cozy winter season.

To make it even more special, we’re offering an exclusive 30% OFF SALE at Lori’s SVG SHOP on all digital files and commercial licenses until Saturday, January 18th! Simply use the code JAN2025 (it’s case-sensitive!) to grab your favorites at a great price.

But that’s not all! We’ve also got a special freebie and an exciting giveaway waiting for you.

So grab a cup of cocoa, get comfy, and dive into the creative fun. Let’s make 2025 a year full of crafting joy!

As a big thank you for joining the hop and spreading some New Year cheer, we’ve got a special gift just for you! For TODAY ONLY, you can snag this adorable A2 Center Step Card Flower Pot SVG file completely FREE. Just add it to your cart, and it’s yours at checkout—no strings attached!

NEW Files!

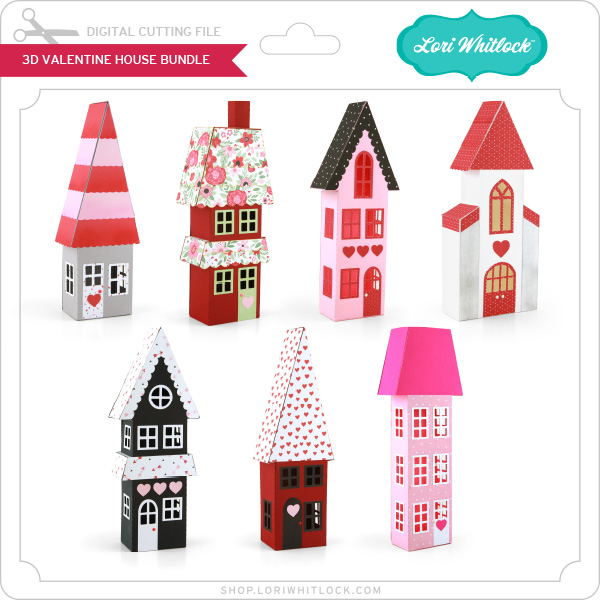
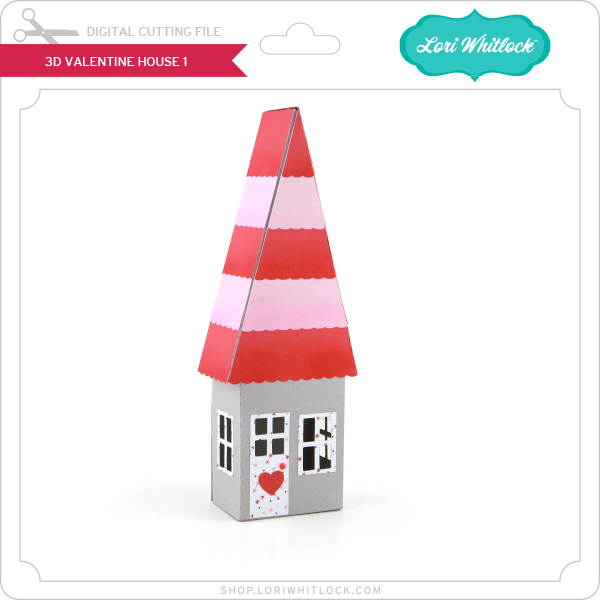
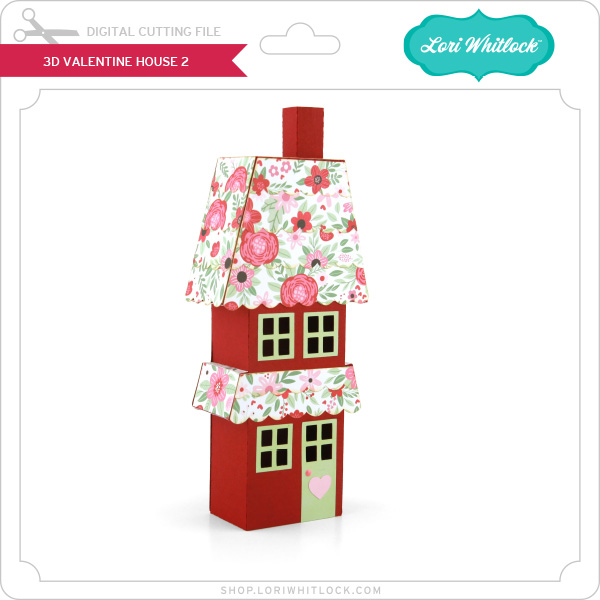
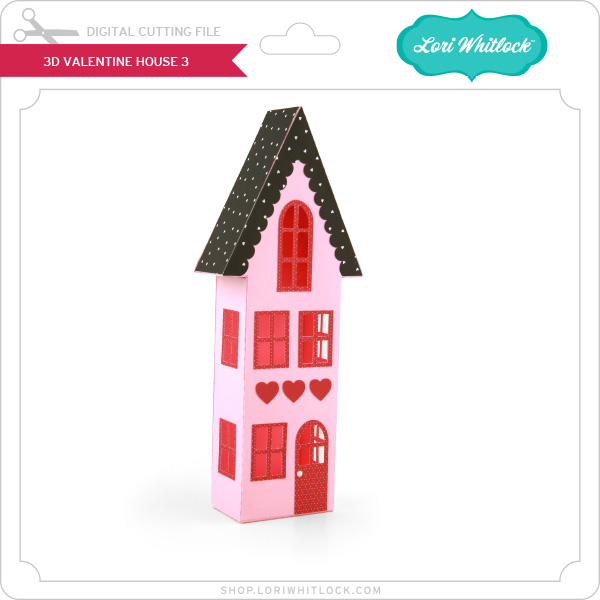
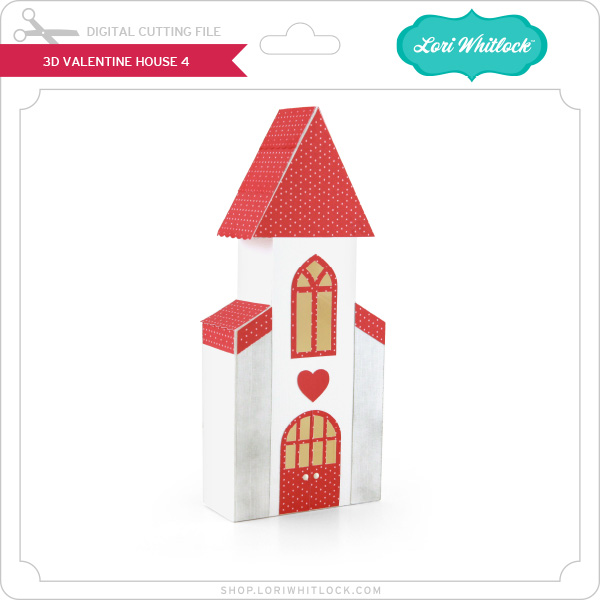
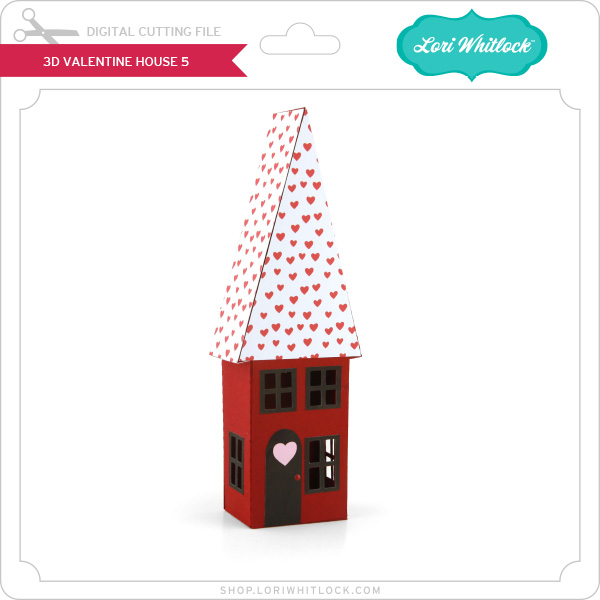
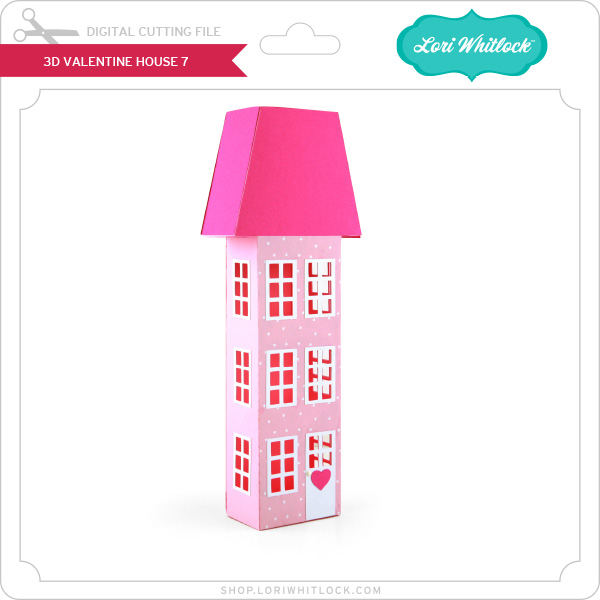
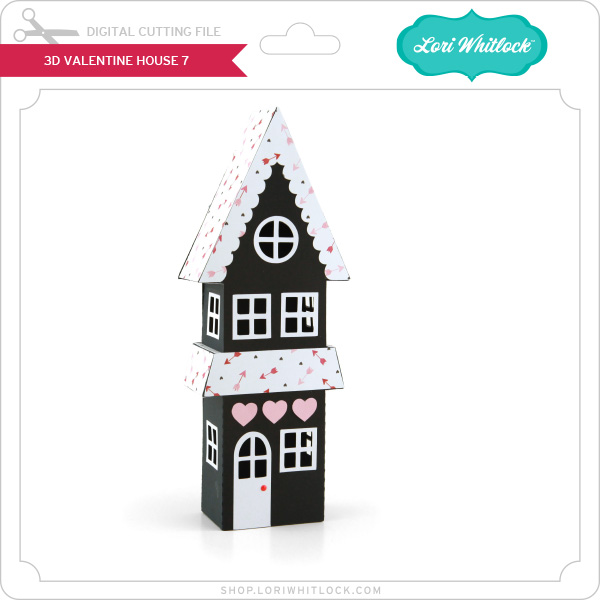
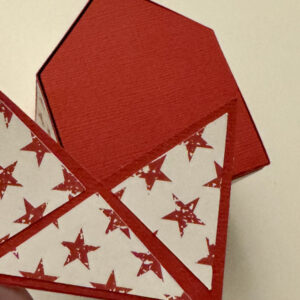
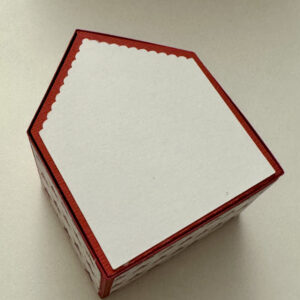
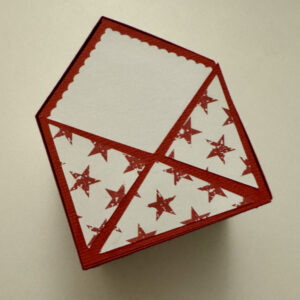
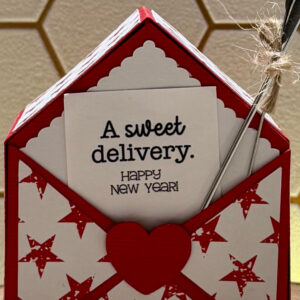
This week, I’m thrilled to introduce a brand-new creation just in time for the upcoming Valentine season: the 3D Valentine House Bundle! This charming set includes everything you need to craft an enchanting 3D Valentine’s display. Whether you’re making a cute gift for a loved one or creating a sweet addition to your home decor, these SVG files will bring plenty of love and creativity to your crafting this season. It’s 30% off this week with code: JAN2025

***CLICK HERE TO SEE ALL THE NEW FILES***

How about a giveaway? You’re in luck! Enter our giveaway below, and we’ll be announcing the winner on the entry form right here on this blog post. Keep an eye out for an email if you’re the lucky winner!

a Rafflecopter giveaway

And, last but certainly not least… ready for some amazing inspiration? Check out the creative projects from our talented team! Just click the links below for some wintery crafting magic. If you get lost, no worries—just come back here and pick up where you left off: Lori Whitlock (you are here), Traci Penrod,  Brandie Adams, Ashley Cook, Cathy Harper, Chelsea VanWyk, Sue Kment, Noelene Apap.

Thanks again for dropping by! Have a GREAT day!

~Lori


Snowflake Lace Album Tutorial

Hello friends! Traci here and today, I’m sharing a winter mini album that I made with one of Lori’s amazing cutting files called Snowflake Lace (SVG, Silhouette). I used it to create the front and back covers and a few pretty pages inside. I love its intricate design and it made such a beautiful little scrapbook!


Snowflake Lace Winter Scrapbook Mini Album by Artsy Albums


First, I’ll explain how I created the covers, then we can take a look inside.


To start, I resized the Snowflake Lace cutting file to 6×6
inches and duplicated it for a front and back cover.


Since I wanted my back cover to be solid, I removed the
lace from the second shape. To do this, I highlighted the shape, right
clicked, and hit release compound path. 

To start, I resized the Snowflake Lace cutting file to 6×6 and duplicated the file for a front and back cover.


I wanted my back cover to be solid, so I needed to remove the
lace in the second shape. To do this I highlighted the shape, right
clicked, and hit release compound path. 


Now the outside square is removed from the lace snowflakes. I
deleted the design and kept the newly created solid back cover. Then I cut
both pieces out of white acrylic
, but … you could easily use white card stock or chipboard instead.


In the file, there is a perfect spot in the lace for the binding ring to go through. You’ll need to punch a hole in the solid back cover if you’re using card stock or chipboard.


Once the covers were done, I cut the inside pages out of white card stock. I cut 6 solid pages and 2 lace pages. Since the design is a bit intricate, I set the machine to cut
“heavy textured card stock” with 2 passes. Now … time to decorate!


Snowflake Lace Winter Scrapbook Mini Album with snowmen and jewels


Isn’t this lace cover so pretty?!! I added some die cuts, a few sparkling jewels, and a title from the Doodlebug Design, Winter Wonderland Collection.


Snowflake Lace Winter Scrapbook Album Page with a cute yeti and a fox
Inside, I covered each of the white pages with pattern papers, photo mats, stickers, and more die cuts.


Snowflake Lace Winter Scrapbook Album Page with flowers and a ski lift

Here, I created a fold-out page and added a photo mat on the front flap with a ski lift die cut piece.


Snowflake Lace Winter Scrapbook Album Page with a yeti, a pocket, and a snowman

Open that fold-out and there’s a cute pocket inside with a fun snowman flip-up card on the front. I added a die cut in the pocket for journaling but extra photos can also be saved here.


Snowflake Lace Winter Scrapbook Album Page with trees and yetis

This is one of the pretty lace pages that I cut from cardstock. I love it. I added a photo mat to the front and back side. It’s such a beautiful way to highlight your winter photos.


Snowflake Lace Winter Scrapbook Album Page with a pocket, journaling cards, and a cute moose

On this pocket page, I used another one of Lori’s cutting files to create the cute scalloped circle mat.


Snowflake Lace Winter Scrapbook Album Page with a cute moose, trees, and snow


The cutting file is called 4
Scalloped Circles (SVG, Silhouette) and includes the scalloped circle and the plain circle in the center. 


Winter Scrapbook Album Page with a cut-out snowflake lace design
Here’s the 2nd lace page I cut from card stock. Doesn’t it look gorgeous with the pink paper behind it?


Winter Scrapbook Album Page with a cut-out snowflake lace design


I had so much fun creating this winter mini album with Lori’s Snowflake Lace cutting file. The delicate pattern is so lovely and it made such unique album covers and pages. 


I hope you’ll try this project. It could be made with any paper collection and would also make a wonderful Christmas scrapbook. Until next time, happy scrappin’!

Blog * Shop * Facebook * Instagram * Pinterest
Envelope Slide Box Tutorial Cameo Pro MK2

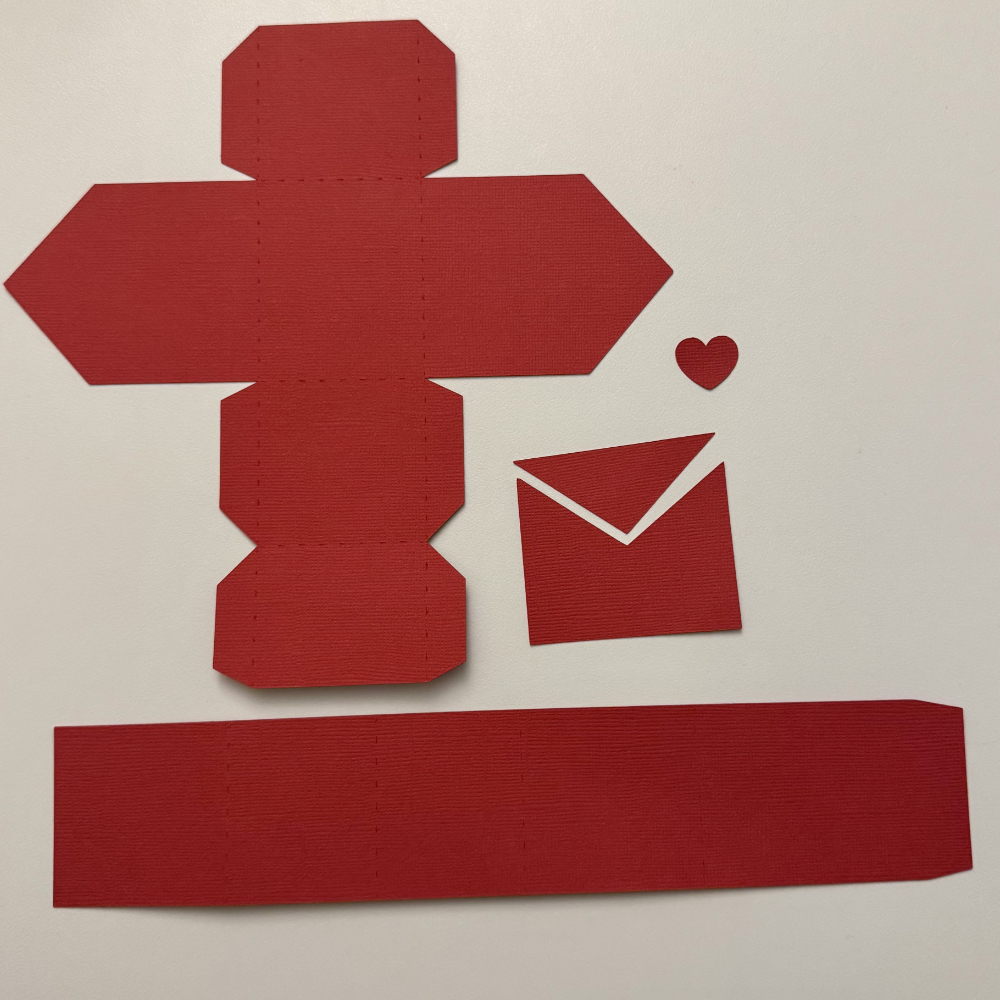
Hello everyone! Tamara here today, to share this cute Envelope Slide Box.

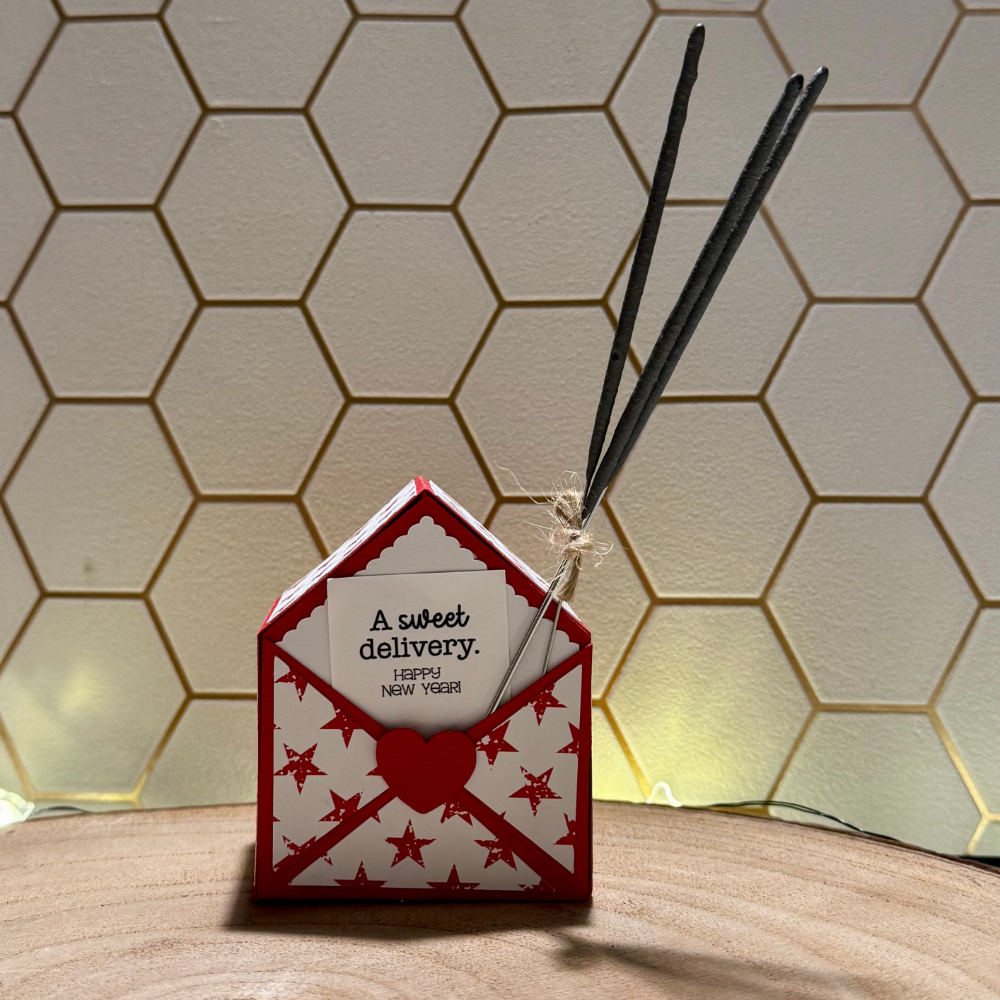
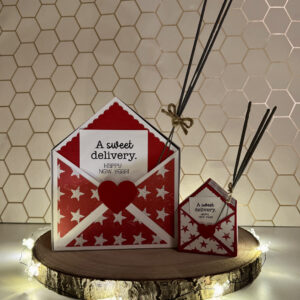
I had so much fun creating the Envelope Slide Box by Lori! Originally designed as a Valentine’s Day project, I decided to transform it into a New Year’s themed creation. The box is perfectly sized to hold two chocolate bonbons – a sweet treat for any celebration!

Go to the files SVG or Silhouette

I crafted the first version using my Silhouette Cameo 5 and 12”x12” paper. But of course, I couldn’t resist trying it again with my brand-new Silhouette Cameo Pro MK2!

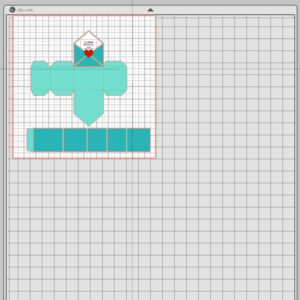
Look at the difference in Silhouette Studio!

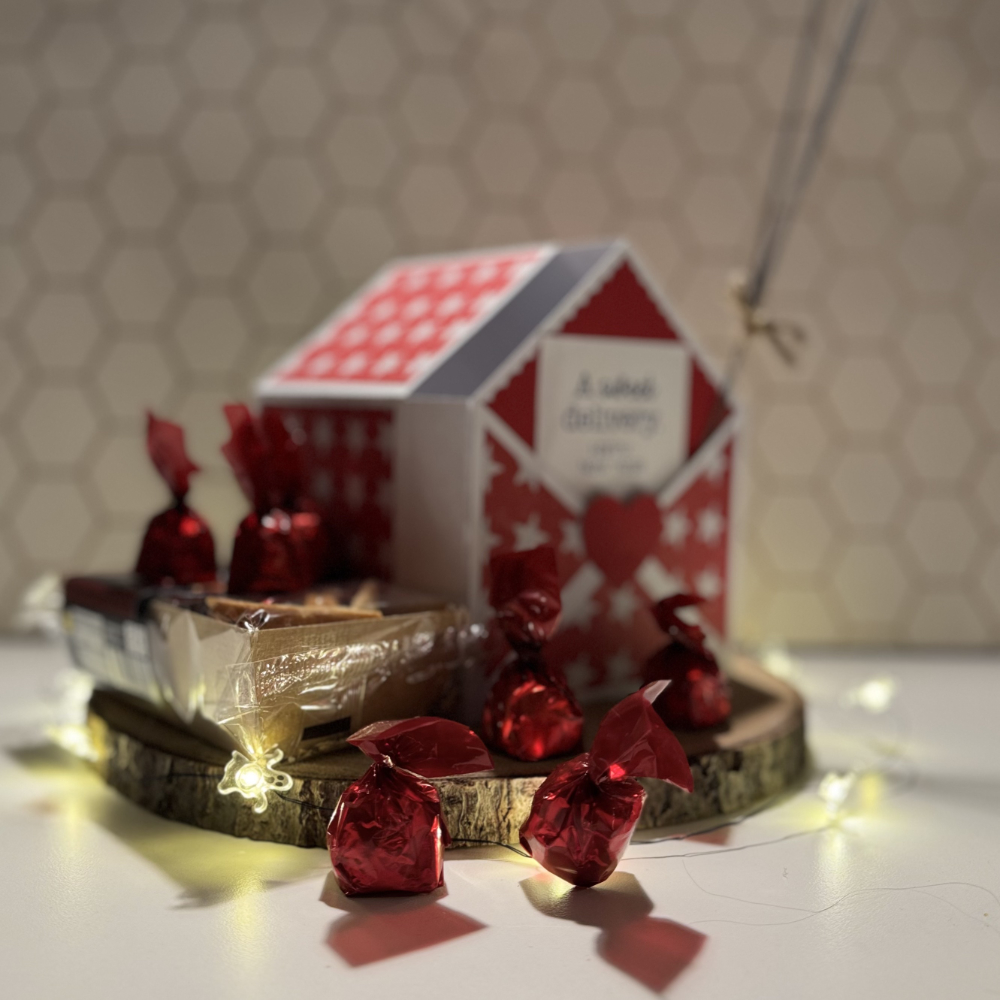
And let me tell you, this design looks absolutely stunning in a larger size. And look at what you can put inside this bigger size box, a full pack of cookies and a handful of chocolate bonbons!


This file is super quick to make and can easily be adapted to suit any occasion. It’s definitely one of my favorites ( I keep saying this with every project I make)!

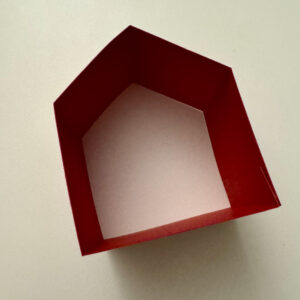
step 1, cut all the pieces.

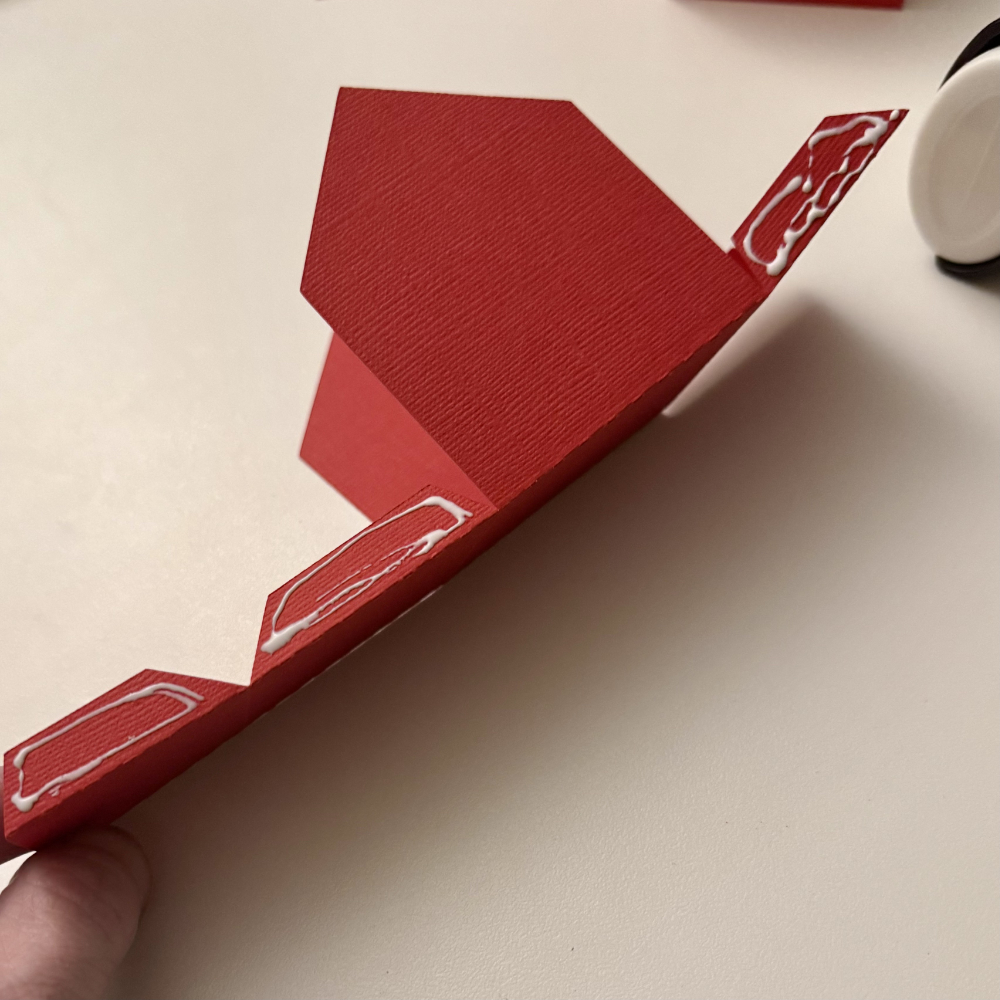
Step 2, glue the box together.

step 3, glue the wrap together.

Step 4, start decorating.


Step 5, add the little note in the envelope.

With this project, I’m wrapping up my final blog post for 2024. Wishing you all a very happy and creative 2025! 🎉

Tamara

Quick Tips for Last Minute Gift Tags

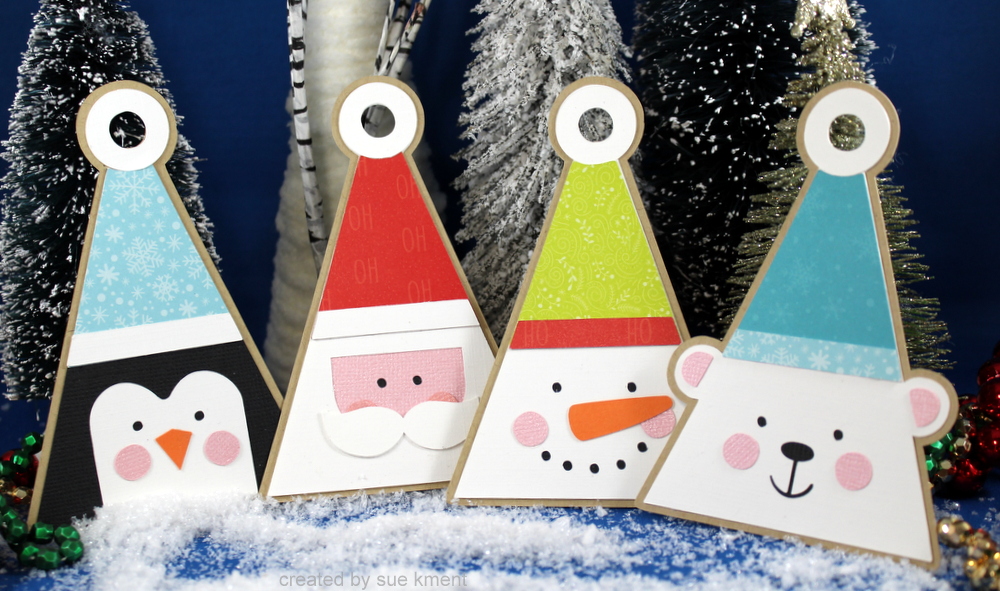
Hello there! My tutorial today is not on construction of a file but is more about time savings! We are all busy this time of year so I am going to show you how I whip up a few cute Lori Whitlock gift tags in minutes!
I chose a set of tags that were same style, different design. That’s not necessary but makes for fast tracking your project if your time is limited and you want to add a special touch to your gifts. I doubled all the pieces to make 2 sets of tags.
Christmas Tag Santa (Lori Whitlock SVG, Silhouette)
Christmas Tag Penguin  (Lori Whitlock SVG, Silhouette)
Christmas Tag Polar Bear  (Lori Whitlock SVG, Silhouette)
Christmas Tag Snowman  (Lori Whitlock SVG, Silhouette)
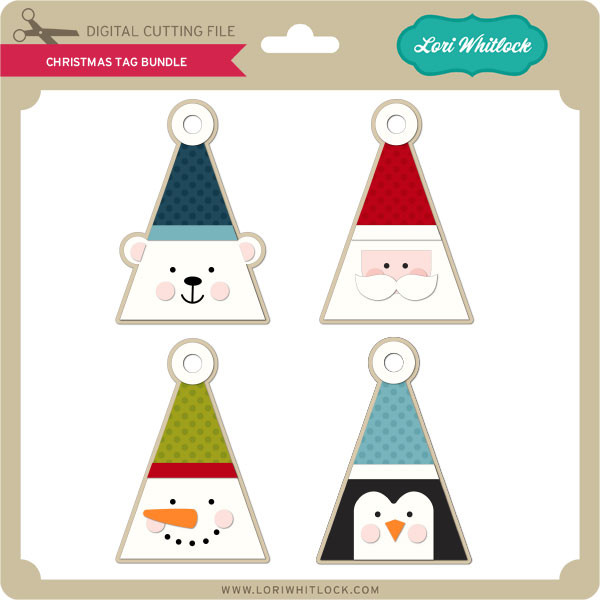
In the Lori Whitlock Store you can also buy all of these tags as a bundle HERE.

Christmas Tag Bundle


I opened each tag file and made a copy of each one. (Ctrl + arrow button). One of them I keep grouped and resize it very small  and pull it off to the side(will use for reference only). The second one I ungroup (rt click on file, choose ungroup)
Once ungrouped, I pull each color off to the side. Repeat 3 more times with the other files.
You can see above that I have all 4 grouped files resized to a very small size and set off to the side for reference. This allows you to refer to them after cutting so you can re-group the misc pieces back to the Santa, penguin, snowman and polar bear tag. In this instance, the bear is the only one that has ears, so he’s easy to spot! All the other tan backgrounds are exactly the same size and shape. Very convenient!
By doing this, you can cut one mat of tan and another of white, pink, orange, and black. You can see I also used  four different colored 6×6 patterned papers on my first mat -all my hats done at once. Another space saver! I normally have two mats ready for a project so that I can have the second mat ready to load and cut while I am clearing the other mat off. Quite a time saver.
As usual, I always make duplicate of the small pieces in case I lose one. Never fails something disappears! Also if you want your hat bands to be white, add them to the white group.
From there just match up the pieces of each different design and glue up. It takes minutes to glue them all up. I timed myself to see how long it took me- literally less than 2 minutes for each one, and that was while being distracted watching a Hallmark movie LOL! I think it took me 15 minutes to glue up all 8 tags.
I hope you can find a few minutes to make some cute little  gift tags-Lori has so many cute sets to choose from!
💕Sue Kment

5×5 Christmas Mini Album with Traci

Hello everyone! Traci here and today, I have a cute little Christmas scrapbook to share with you titled Eat, Drink, and Be Merry. I made it using one of Lori’s fabulous cutting files called 5×5 Mini Album with Gusset Pages (SVG, Silhouette) and it’s the perfect small size for gift giving this holiday season!

Eat, Drink, and Be Merry Christmas Mini Album

Lori’s files make it so easy to create the sweetest handmade presents and this one was super simple.
Eat, Drink, and Be Merry Christmas Mini Album


The album is made with a cover piece and 3 gusseted pages (which gives you 6 scrapbook pages inside). To start, I cut the base out of white cardstock then decorated the pieces with paper and embellishments from the Bella Blvd, Merry Mingle Collection. 

Eat, Drink, and Be Merry Christmas Mini Album

Here is a photo of the gusseted edges. The white pages go in the cover piece and the holes line up perfectly for binding. 

Eat, Drink, and Be Merry Christmas Mini Album


I ran 3 strands of twine through the
cover and each page, then tied them in a cute knot on the inside.


Eat, Drink, and Be Merry Christmas Mini Album Page with colorful ornaments, polka dots, and macaron cookies

Next … the decorating! I layered the pages
with 12×12 pattern papers, photo mats, and colorful embellishments.
And that was it! See? Sooo simple and such a fun project! 

Here are the other pages for some holiday inspiration …


Eat, Drink, and Be Merry Christmas Mini Album Page with cute houses, santa driving a car, and a tree


Above, you can see the first gusset where I tied the pink and white twine.
Eat, Drink, and Be Merry Christmas Mini Album Page with a pink house, colorful string lights, and pink stars


Eat, Drink, and Be Merry Christmas Mini Album Page with colorful stripes and a pink cocktail


Eat, Drink, and Be Merry Christmas Mini Album Page with colorful cocktails, blue stars, and a tree
Eat, Drink, and Be Merry Christmas Mini Album Page with a pink car, colorful gifts, and a tree


Eat, Drink, and Be Merry Christmas Mini Album Page with colorful lights and stars

While I decorated this mini album in a festive Christmas theme, the cutting file is literally a blank canvas and could be designed with ANY paper collection. Imagine winter, Valentine’s Day, spring, Easter, Mother’s Day, or … anything! I love Lori’s projects … the possibilities are endless. 💕


Blog * Shop * Facebook * Instagram * Pinterest