3D Witch’s Hat Tutorial

Happy almost Halloween!  My very favorite time of the year to paper craft.  I just love all things Halloween….seriously my favorite holiday.  I have a fun, simple quick project for you.  Just a few simple steps and you have a cute little decoration to add to your décor.  I started with Lori’s 3 D Witch Hat (SVG, Silhouette).  It’s a simple file  to cut, only 3 colors!  After cutting, this is what you will have.

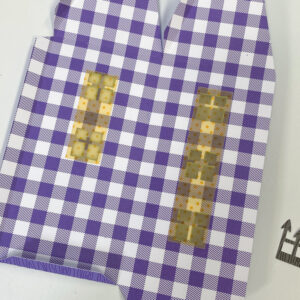
Next, I just inked the edges of my patterned paper.

Fold up all the tabs of the brim of the hat.

Add your pattered paper circle to the brim.

Now your ready for the rest of the hat.  I ran my black card stock over the edge of my table a few times to get a nice curve and break down the fibers in the card stock to make it roll easier.

Then add double sided tape to your seam and roll until you have a cone shape….

Like this….

Now insert your cone into the brim of the hat, with all of those tabs going up.

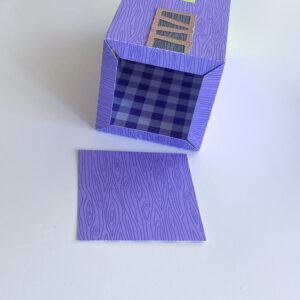
One by one, I glued the tabs with some strong glue.  Then add your band for the hat around the bottom of the cone and over those tabs and adhere.  Yes, I forgot to take the last picture.

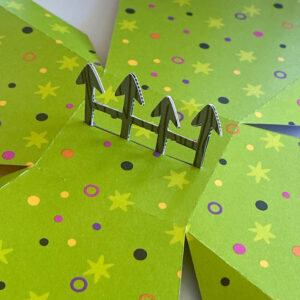
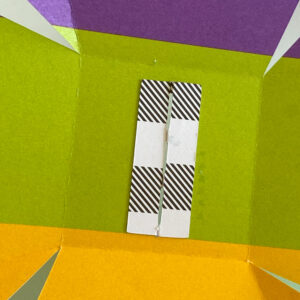
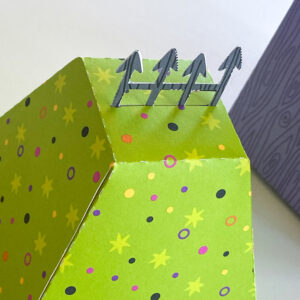
Then I just added some fun embellishments with a few pop dots and a little baby powder for they wouldn’t stick in certain places.!

It just makes me happy. I love it!

Here’s a little close up of the scene.  EEEEEKKKKKKK!  So cute! 

Thank you for stopping by ~Cathy


Tuesday New SVGs & a Free File + 15% Off Physical Products!

ALL WEEK, this SVG file is FREE with any $1.99 purchase!

Hi Everyone! We have a FREE file with purchase all this week! Simply add this Box Card Envelope Pumpkin file to your shopping cart along with ANY $1.99+ purchase from the SVG Shop and this file is yours FREE. Be sure to use Coupon Code: HAPPYFALL (case sensitive) at checkout. This offer is good through next Sunday.

(Your cart must reach at least $4.48 before the coupon will be applied and then $2.49 will be subtracted from your total at checkout. The files will be available for immediate download after you pay for your order by visiting MY ACCOUNT>COMPLETED ORDERS>ORDER DETAILS inside of your account. Only one discount code per order allowed.)

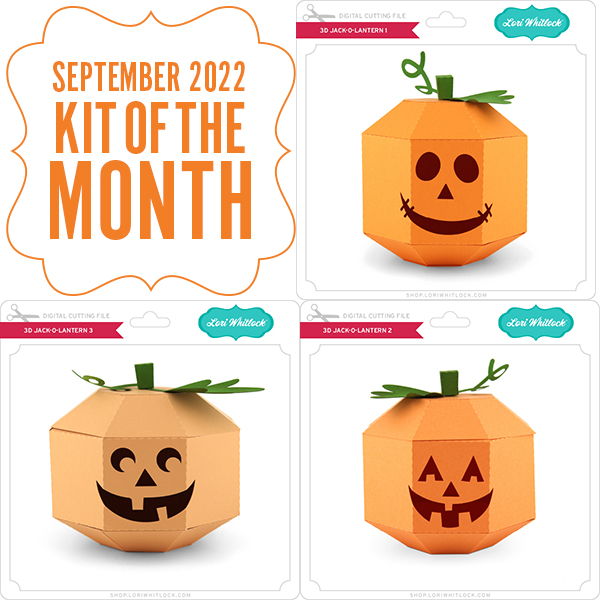
In addition, don’t forget about this special! You can get this Free Kit of the Month with any $20 purchase (Purchase must be in one transaction.) Simply add the 2022 September Kit of the Month to your shopping cart along with ANY $20.00+ purchase from the SVG Shop and this file is yours FREE. Be sure to use Coupon Code: SEP22KOTM (case sensitive) at checkout. This offer is good through September 30, 2022.

(Your cart must reach at least $27.95 [including the Kit of the Month] before the coupon will be applied and then $7.95 will be subtracted from your total at checkout. The files will be available for immediate download after you pay for your order by visiting MY ACCOUNT>COMPLETED ORDERS>ORDER DETAILS inside of your account. Only one discount code per order allowed.)

Check out the new SVG files releasing this week!  This week we have some new Christmas in July files. The NEW SVG files will be ON SALE 25% OFF through the weekend in the SVG Shop. These downloads include SVG files that may be used with Cricut Explore, Silhouette (Designer Edition upgrade required), Eclips, Brother Scan and Cut, and any other software that will open SVG files. No coupon code necessary, the newly released files are all discounted in the shop! Be sure to go get them while they are on SALE this week.

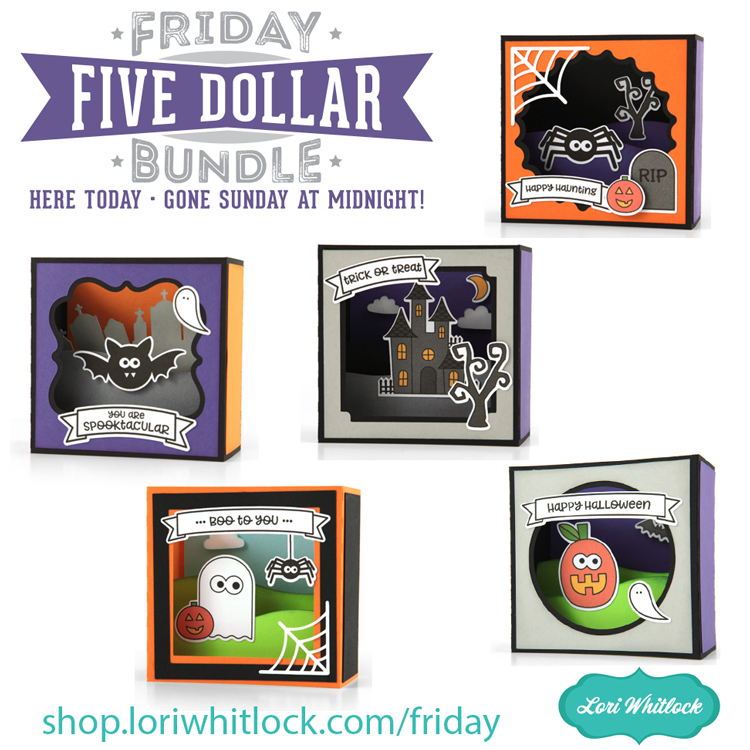
This week I have a new Halloween Décor Bundle.  We also have files from Bella Blvd., Jillibean Soup, Pebbles in My Pocket and Quietfire.

CLICK HERE TO GO TO NEW FILES

Also, don’t forget, there’s a sale happening now in the Lori Whitlock Shop!  Get 15% Off All Physical Paper Products through Saturday, September 24th when you use code SAVE15 at checkout!

Thanks for visiting the blog today! Please let us know if you need any help with your files. We want to make sure everyone is happy with their purchase. Have a great week! SHOP HERE

30% Off SVGs Ends Tomorrow!

Are you crafting this weekend??  Maybe getting ahead on your Halloween decorating?  Don’t miss out on the September Sale in the Lori Whitlock SVG Shop! All SVGs, Fonts, Pattern Fills and Commercial Licenses are 30% off when you use code SEP2022 at checkout! Don’t wait! Sale ends tomorrow!

It’s the perfect time to get started on your Halloween paper crafting!  Check out these fun bundles!

3D Halloween Project Bundle 2
3D Halloween Bundle

SHOP HERE

Have a great day!

30% Off Sale on SVGs & 3D Witch Lantern Tutorial

Hello everyone! Marcia here today. Since Halloween is just around the corner, I thought I would get a jump on making some fun décor items.  I found this spooktacular 3D Witch Lantern (SVGSilhouette) in the shop and had to make it!  There are similar lanterns with pumpkins, bats, haunted house, etc… so you could make a variety to set up all over your home. They are designed with an opening in the bottom so that you can place a tealight there to light the lantern up!

Let me show you how easy they are to make.

  1. Select a cardstock color and cut out all the lantern pieces. You will need 2 pieces of 12×12 cardstock.

2.  I like to assemble this from the top down. Glue the 5 D-Rings together. Then create a box with the square top piece to the left of the D-Rings in the above photo. The flat side of the D-Ring fits in the slot in the box. Bend the tabs out. Glue the side of the angled lantern top. Fit the tabs from the box top into the square opening. Flip the top over and glue the tabs one at a time to the inside of the slanted lantern top.

3.  I cut 4 pieces of vellum to place on the back side of the lantern design. Just be sure to apply the glue where it will not be seen. Glue the side of the lantern.

4.  Assemble the base. The small hole is for the tealight to poke through. Glue the sides of the base only, leaving a slot for the bottom panel to slide in and out allowing access to the tealight.

5.  Adhere the slanted lantern top to the tabs at the top of the middle design piece. I did this by applying glue to all 4 tabs at once and then setting the lantern top on over the glue. You can reach inside from the bottom of the middle section to make sure the two pieces adhere nicely. If your hand does not fit, use a bone folder or pencil to reach inside. Glue the bottom of the middle design piece shut. When it is dry, apply glue to the bottom of the middle design piece and fit the hole over the top of the hole in the lantern base. I found this easy to do with a tealight in place so I could be sure I wasn’t covering up too much of the tealight opening. Apply a small bit of pressure to get a good seal. I use a quick dry adhesive when creating 3D projects to reduce the time needed to hold things together until the glue dries.

Allow the adhesive to dry completely before you attempt to pick up the lantern by the D-Rings. I love how this turned out! My photo does not do it justice. I placed a color changing tealight inside … so cool in the dark! I think I will have to make more now. Go check out all the designs in the Lori Whitlock store.

And don’t forget, all SVG files are on sale in the Lori Whitlock SVG shop through Saturday, September 17th when you use code SEP2022 at checkout!


Thanks so much for stopping by.
~Marcia