I love all the tutorials our Creative Team has been making! It’s fun to learn new things! Check out how easy it is to make faux stitching lines on your die cuts. Take it away Brigit…
I love stitching but sometimes I just don’t have the time to pull out my sewing machine so I’ll create it in Silhouette Studio and do a print & cut.
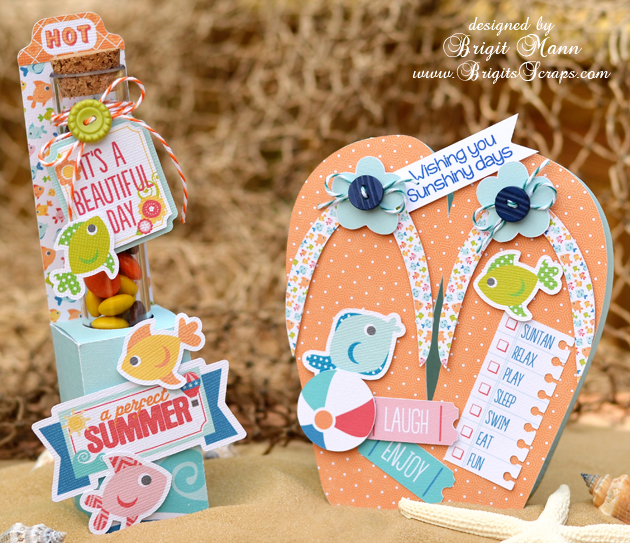
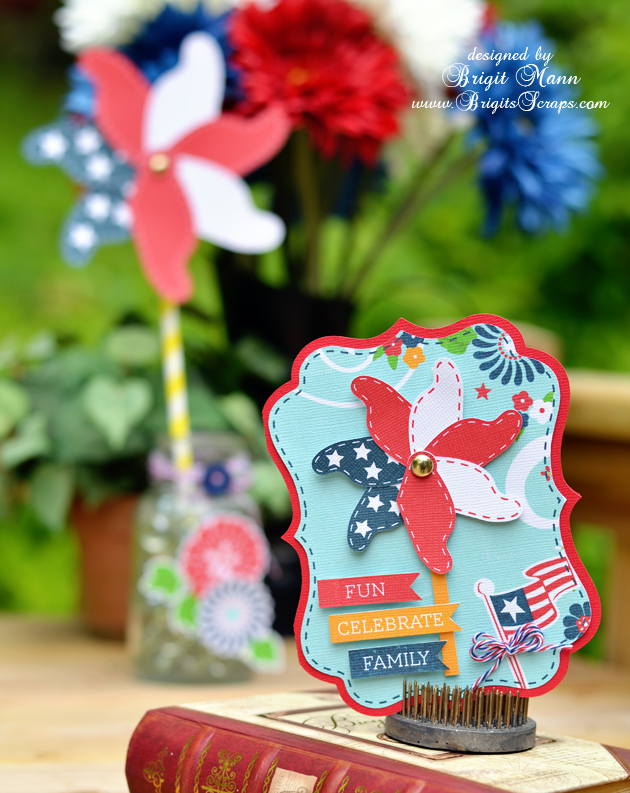
For this project I used Lori’s Bracket Shaped card and the pinwheel from the Layered Shapes along with Lori’s Patriotic Picnic digital collection, which I love!!
First place your card on the mat and ungroup, fill the top layer with your digital paper. Select all, go to Line Color and click none.
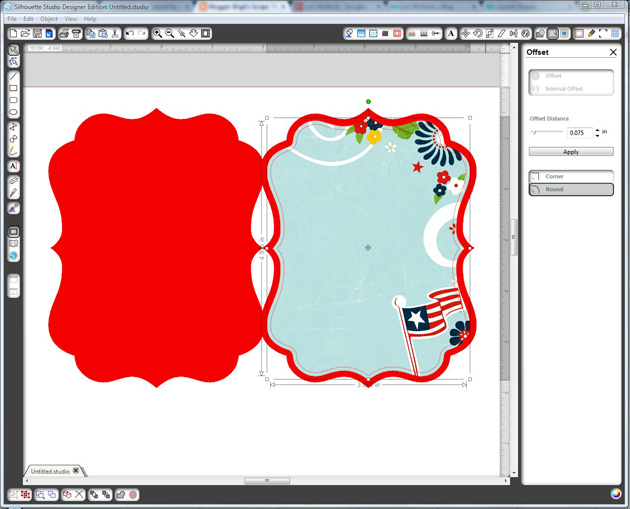
Select your top layer, go to the Offset Window, select Internal Offset and set your offset distance, I used .075.
Now the internal offset you just created should be selected, go to the Line Color and select the color you want for your stitching.

Next go to the Line Style Window, select your dash line and I like to change my line thickness to 1.25pt. Check the Print Lines of Selected Shapes box.
This is important, with the stitching still selected go to the Cut Style Window and choose No Cut, you only want the stitching to print and to cut around the top layer piece.
After that’s complete I like to group the top and stitched layers together.

Here’s a closer look, I used the same steps on the pinwheel, you only need to do one of each color and duplicate to make it easier. I added some stars to the blue to make it look like the American flag.
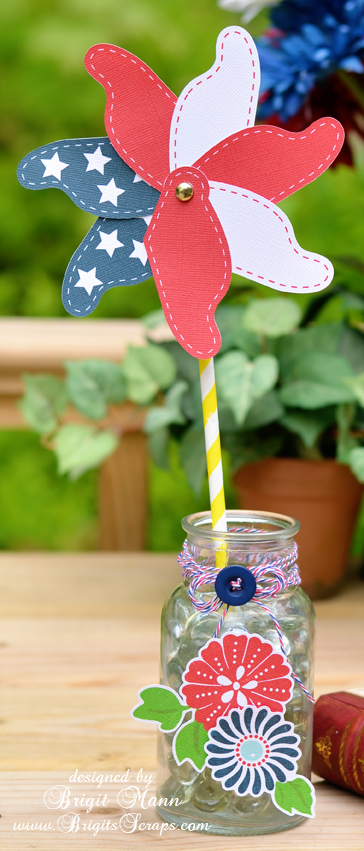
I loved the pinwheel so much I created a larger one on a barber straw and placed it in a glass jar. I added some Stars and Stripes Trendy Twine and a couple of flower elements from the Patriotic Picnic collection.
I hope this tutorial has helped and you get to make some faux stitching on your projects too!!