Tuesday Freebie & 40% Off Sale on ALL SVG Files

Today begins a myriad of Christmas festivities in our neck of the woods and we would like to wish a very MERRY CHRISTMAS and Happy New Year to you!
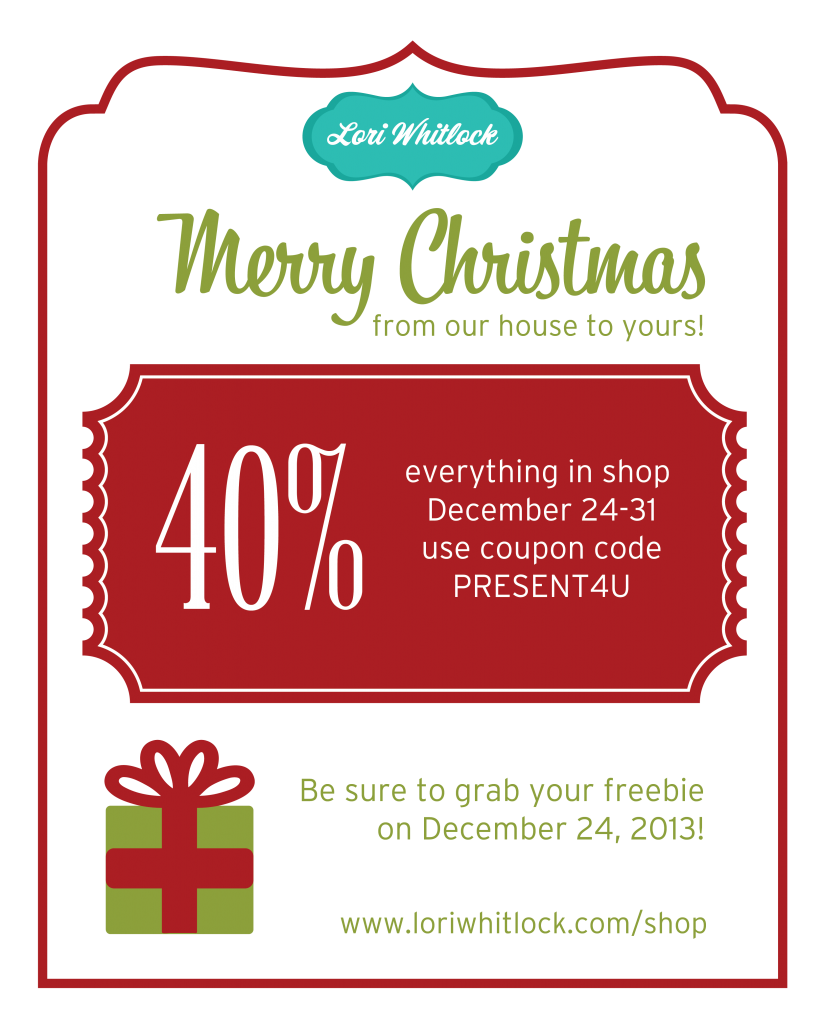
Did you notice the sale that starts today? From Dec 24-31 of 2013 the entire shop is 40% off.  All of Lori and Kolette’s shapes are on sale until the end of the year.

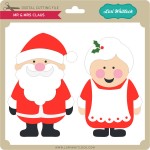
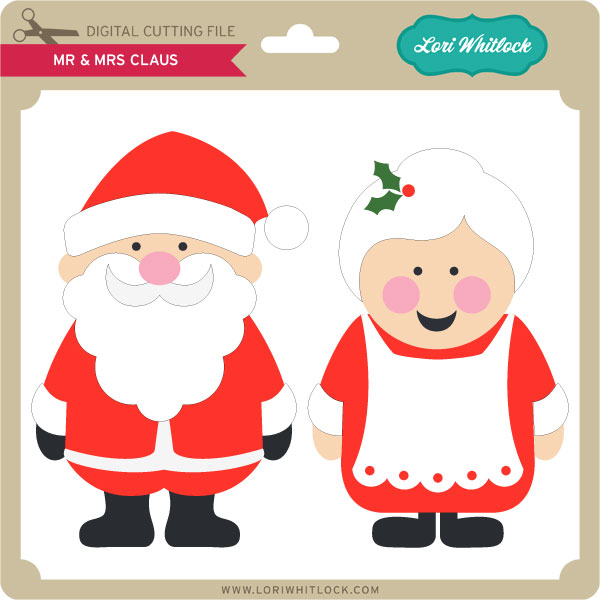
To make it just a bit sweeter, we would love to give you an early Christmas Present too! TODAY ONLY, this Mr & Mrs Claus SVG file is FREE.

Follow this link to download your free gift. This freebie is only good until midnight MST so be fast!

We have many requests for the PDF file for hand cutting, class room projects etc, now many of new shapes will also include a line art PDF as well. Check the description on each shape before making your purchase, if you desire the PDF on an older shape that does not include a PDF let us know. Remember ALL new shapes are on sale for 25% off until Monday of next week, unless their is a sale.

Check out the new files by Lori and Kolette in the shop this week. They will also be on sale at 40% off through the end of the year.
All of Lori’s digital scrapbook files at Jessica Sprague are also on sale for 25-30% off, including her Silhouette Class.

All of these items will be on sale until DECEMBER 31, 2013.
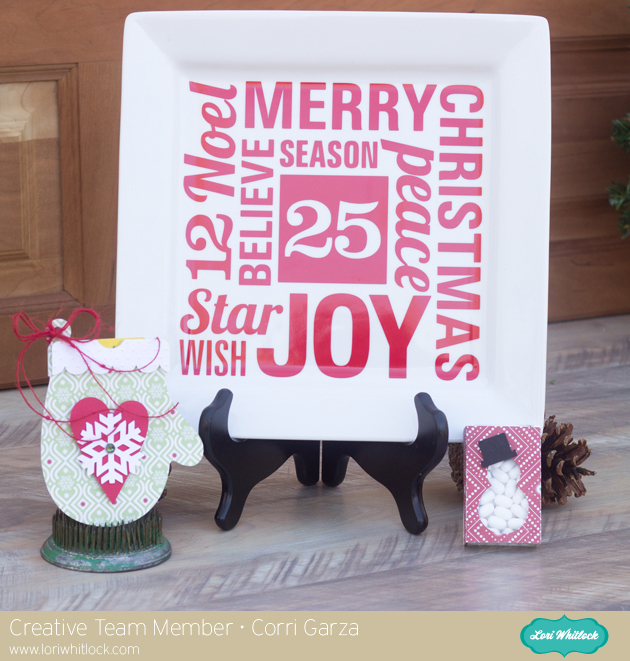
 

Last Minute Christmas Gifts with Corri

Hi everyone!  Corri here with some last minute gift ideas.  It always seem like every year I have an oops moment where I realize I have forgotten someone.  These quick and easy project take just a few minutes to put together and are so adorable.

For my Subway Art plate, I purchase this square plate at Wal-Mart and cut Lori’s square subway art file from red vinyl then applied it to the plate.  You can fill this with cookies and your friend will have a wonderful work of art to keep.

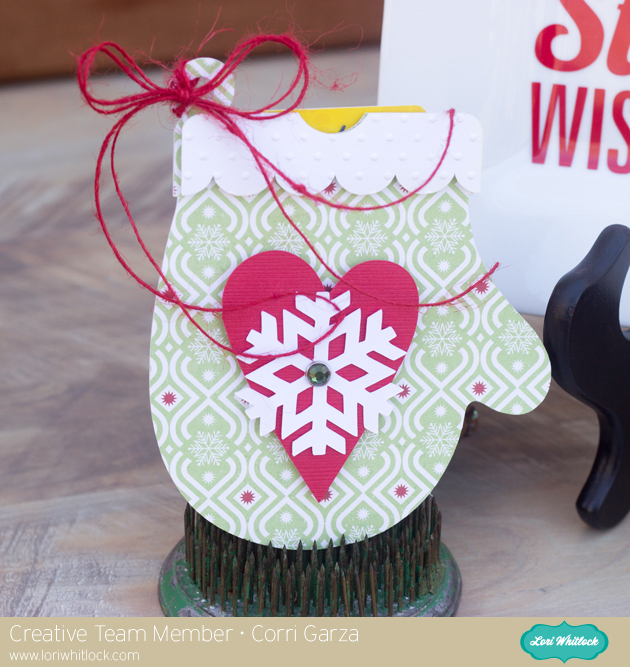
I give a lot of give cards to teachers and have lots of the kids in the family.  This mitten gift card holder is so adorable and could be used for a winter birthday as well.

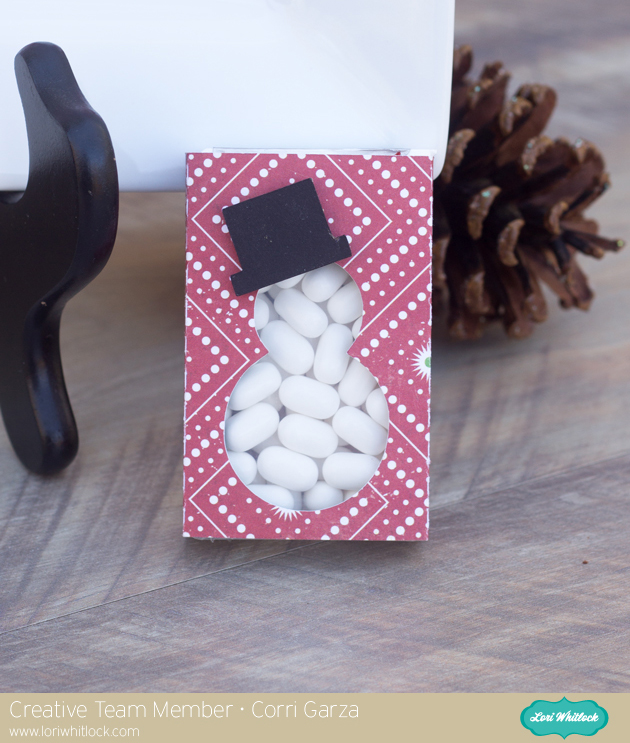
And finally, this Snowman TicTac wrapper is so easy to make and makes a cute stocking stuffer.

Check out Lori’s shop for several other great last minute gift ideas like gum wrapper snowman!

I hope you all have a very, merry Christmas!

Little Black Notebook

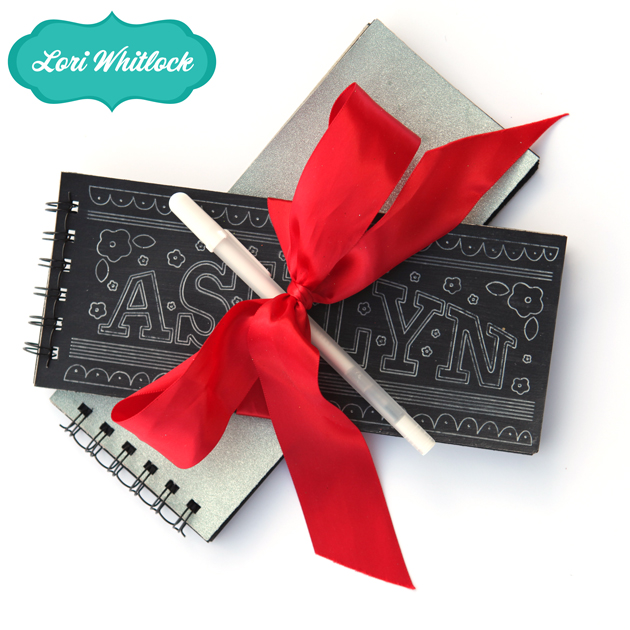
I have a stack of black paper that doesn’t cut very well on my Silhouette machine. It tends to tear. So, I was trying to think of a use for it. My girls like to doodle and love crafts. I decided to make them some unique notebooks for Christmas with black paper and give them a white pen with their books.

I decided I wanted the covers to have a fun chalkboard graphic. I thought they’d LOVE to have their names on them, so I proceeded to design the cover artwork. (You could use any phrase or graphic from your library.)
Next, I loaded black paper into my Silhouette. I replaced the blade with one of Silhouette’s white sketch pens. Then, I changed the cutting setting to SKETCH PEN.
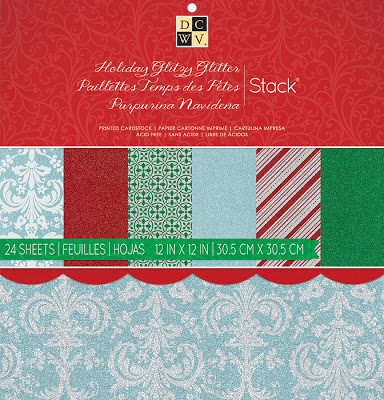
While that was sketching,  and used a paper cutter to trim down the black paper to the desired size. I cut 1 piece of gorgeous Sliver Glitter DCWV paper, from this pad, and 2 pieces of chipboard for the front and back covers.

When the art was done sketching I cut it down with my paper cutter and used Mod Podge to adhere the cover and back cover to the chipboard pieces.
Last,  I used my Zutter to cut and install the wire binding.
And, that’s it. What a simple little project made out of things I already had in my craft room. All I had to purchase was the white pen. I really hope my girls enjoy these little notebooks and that they are not reading this blog post until after Christmas! : )

Silhouette Tutorial with Brigit: Chalkboard Tutorial

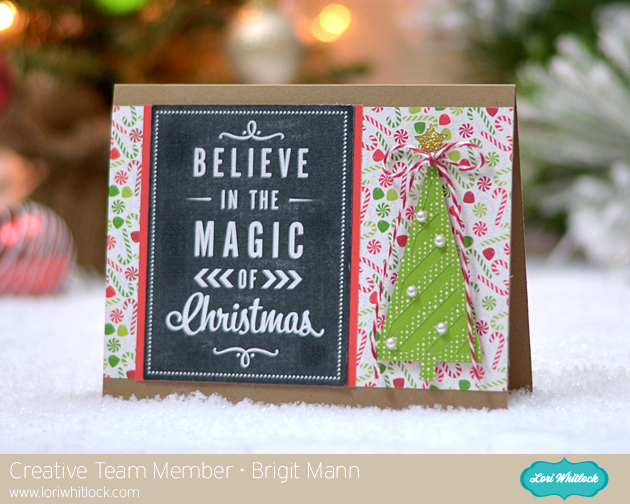
Hi everyone, I made some chalkboard Christmas tags recently and love the technique so much I thought I’d make a chalkboard tutorial using one of Lori’s vinyl phrases and a Christmas card.


I used Lori’s Merry Christmas with Tree card and the Believe in the Magic of Christmas Vinyl.  These phrases for vinyl are just perfect for this chalkboard technique, it’s a quick and simple project.


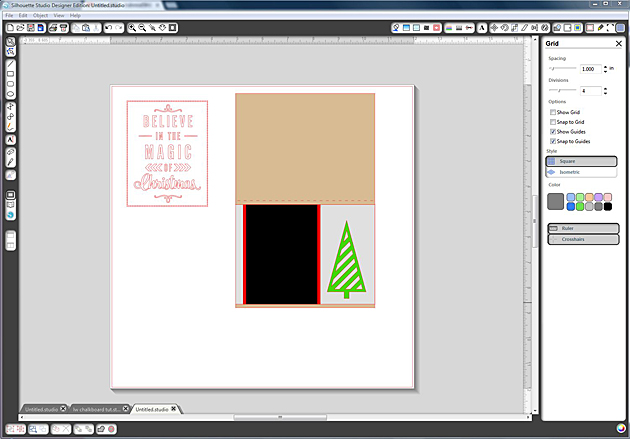
First add your card and phrase to your mat.


I ungrouped the card and assembled how the card would look.

I disregarded the banners and made the tree a little bigger, you could keep the banners but I wanted the chalkboard text to really be the focal point.


Line up the gray, red and black layers so they are aligned together at the top.

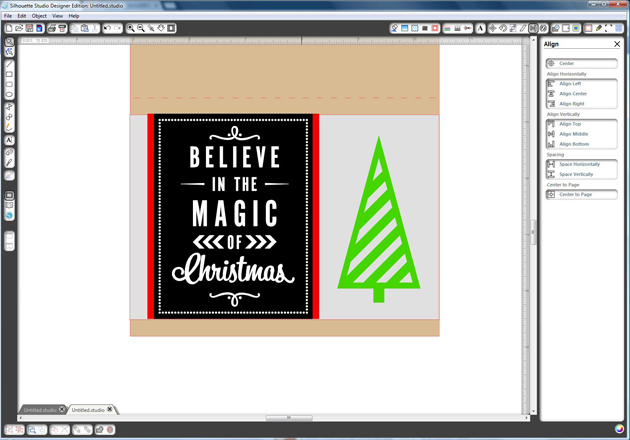
Resize the vinyl text and place it over the black layer.

It’s short so I selected the gray, red and black layers and resized them so the text would have the same black border going around.


You can see in this photo how the vinyl is pretty even against the black layer now.


This next part I had seen someone from Silhouette do in a video.

I really like how it adds a shadow to the text.

Make a copy of the vinyl, select the background one and go to the advanced under the Fill Color Window.

Slide the transparency, I used around  42%.


Center both vinyl pieces and the black layer all together.

Select only the top vinyl layer and move it with your arrow key down three and over to the left three.

Or you can go up and over to the right, whatever your preference is.

There’s your shadow, now group your two vinyl layers and black pieces together.


Move the rest of the card off the mat.

Select the grouped text, go to the Cut Style Window and select Cut Edge.

It should look like the picture above, you only want it to cut around the black.


Now your ready to print n cut.

Under the Registration Mark window check Show Reg Marks.

Under Paper Tools Window select your paper size, I customized mine to save paper.


Take a piece of chalk and go over the whole piece.

Or you can leave more black if you’d like and not as much chalk.

Take a paper towel and removed the excess chalk.

You can keep adding and removing until you get it how you like.

Last I inked the edges with some black ink.


Well I hope you get a chance to use this tutorial to create some chalkboard projects, it really is a lot of fun!


Thanks for stopping by you can visit me at http://www.brigitsscraps.com

Silhouette Class at Jessica Sprague

Did you know Lori has an all new class on using your Silhouette machine? If you have ever wanted to learn more about this amazing machine this is a great class to walk you through all the tools of the basic software while making this adorable project. In this class you will receive many custom shapes only available through this class + a Lori Whitlock font. You provide your own paper and time to cut it and this cute mini album can showcase your favorite photos. This is a self paced class available here at Jessica Sprague. Normal price is $35 but until the end of the month you can pick it up for $26.25.

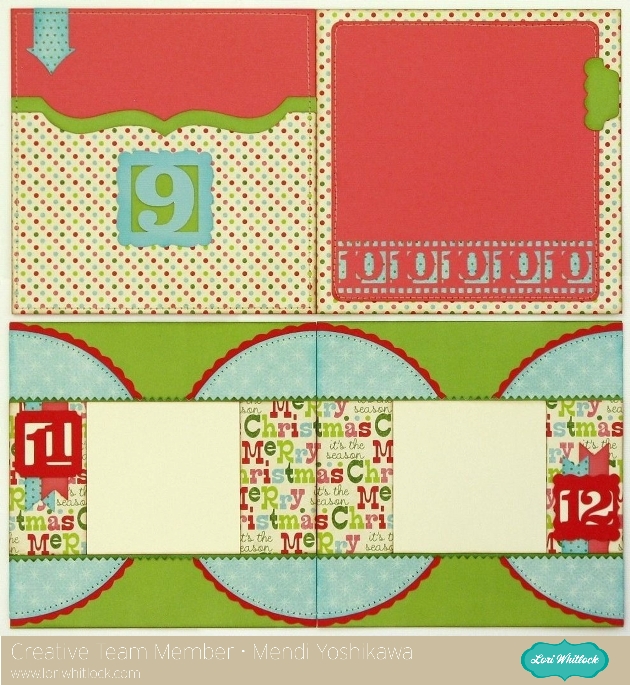
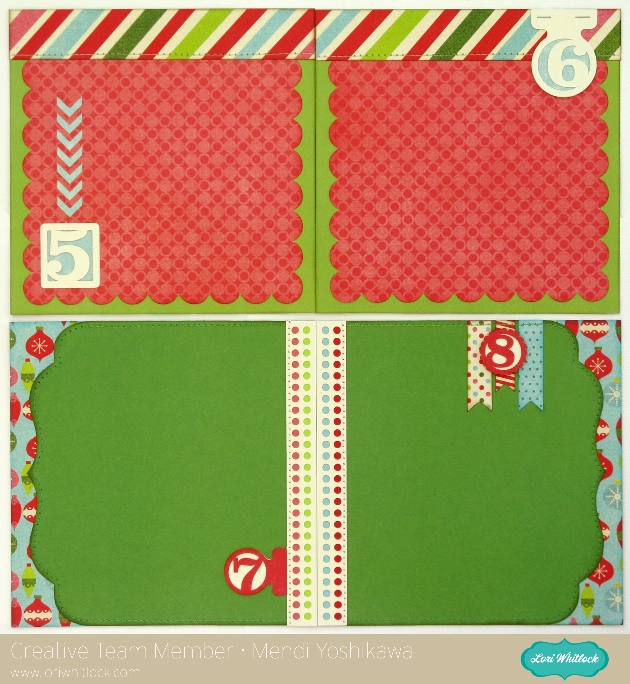
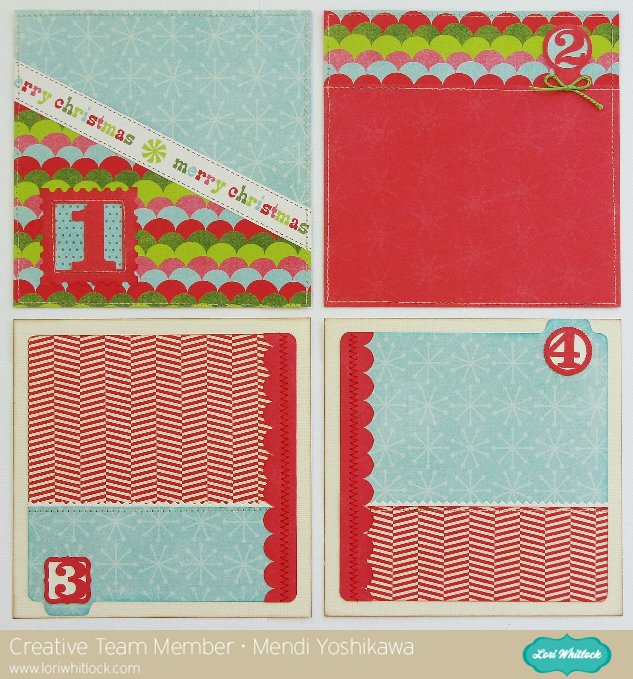
Our talented Creative Team used these files to create books of their own. Mendi adjusted the size of her album and check out a few of her adorable layouts.