Mini Album with Traci

Hi everyone, today I would like to share a project I did with one of Lori’s mini albums.  If you’ve never played with her mini books, I would encourage you to give them a try!
So easy, so fun, and every one of them is super cute!


For my album  I created the cover first using white card stock and an older, but fabulous, paper line that Lori designed for Echo Park called This & That.  I added a cute scallop bordera doily, some twine and chipboard that comes with the paper collection, to finish off the cover.

For the inside pages, I actually cut the shaped pages out of Silhouette chipboard first, and then out of the pattern paper so that each page would be extra sturdy.
I decorated the pages with some more of Lori’s cute cutting files (see links below), and a few stickers and chipboard from the paper collection.

This phrase and flower are a couple of my favorite designs by Lori, so I added them to the opening page 🙂
Here are the other links for shapes used throughout this album:
This Is Where the Story Begins Phrase
Thanks so much for letting me share this album with you!  It might be one of my favorite projects ever!


Silhouette Promotion + Home Sweet Home Banner by Lorrie

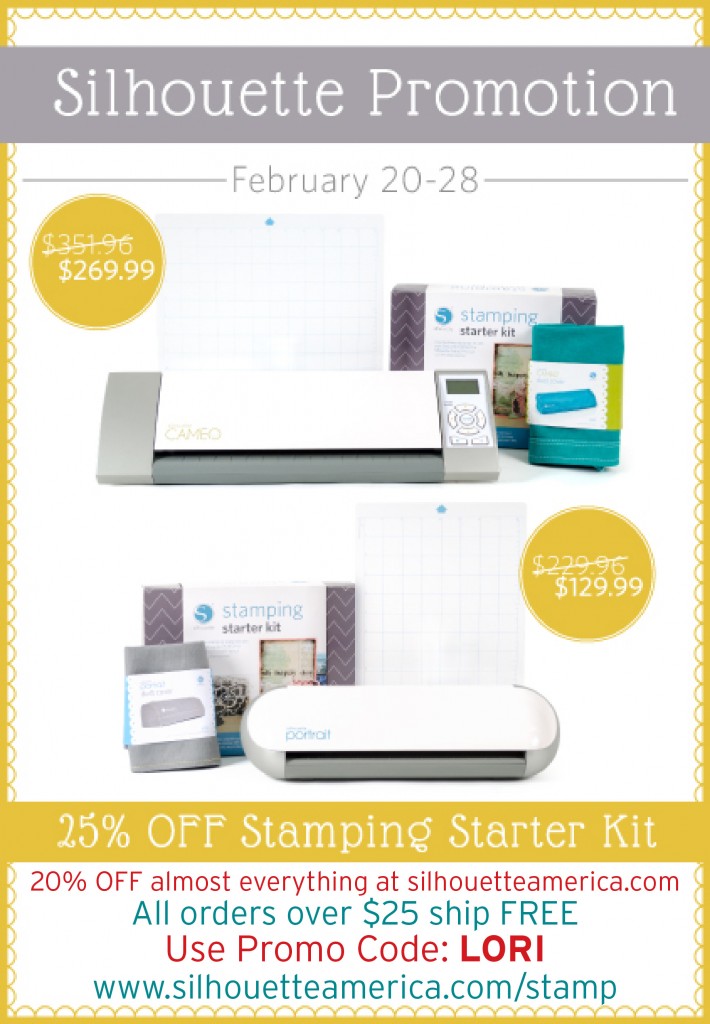
Have you seen the Silhouette Promotion currently going on? SO many things on sale + free shipping on orders over $25. Be sure to use coupon code LORI at www.silhouetteamerica.com/stamp

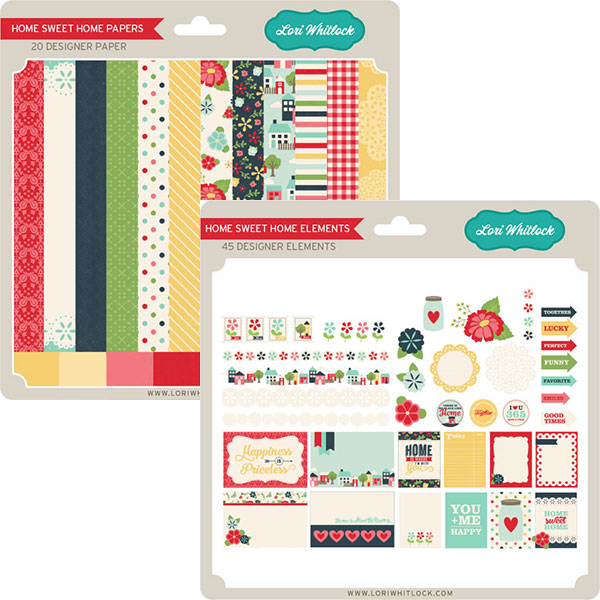
Also yesterday at Jessica Sprague we released Home Sweet Home Collection and Embellishments. They are currently on sale at 25% off through the weekend, both as a collection AND individually.

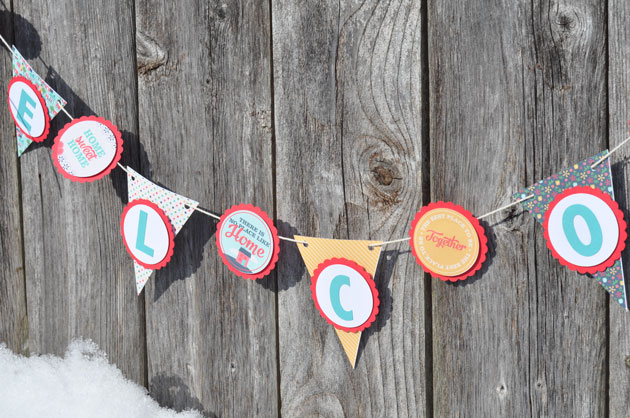
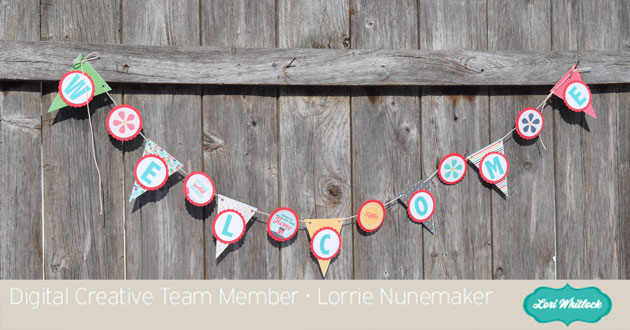
Check out this adorable banner by Lorrie that uses many of these products. I LOVE what she has done and want to make one for my house too.


Tuesday Freebie + New In Shop

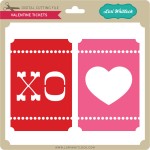
TODAY ONLY, this VALENTINE TICKETS SVG file is FREE with purchase.

With your $3.00 purchase this $0.99 file will be yours free. This freebie is ONLY good until midnight tonight! Please use coupon code TICKET to receive this file for free.


We have many requests for the PDF file for hand cutting, class room projects etc, now many of new shapes will also include a line art PDF as well. Check the description on each shape before making your purchase, if you desire the PDF on an older shape that does not include a PDF let us know. Remember ALL new shapes from Lori and Kolette are normally on sale for 25% off until Monday of next week.

Only a purchase in Lori’s SVG shop will qualify for the free cutting file.

Thank You Card with Natalie

Today’s project is a thank you card.  I saw this in Lori’s store and knew I need to make it.  It was darling.  I made it with Lori’s Reflections collections from Echo Park found here.  The card file is found in her store, here.    I love these card files, they are super easy to put together, and they make such darling cards that everyone loves.  I dressed this one up with some stitching, twine and a thank you sticker.  Perfect for that someone that needs a thank you!
Thanks for stopping by…. Please check Natalie’s blog for her $10 SVG winner. Kimberly Vojacek, congrats on being the winner from Lori’s page. Check your email for details.
Also, if you have been trying to use the coupon code LOVE to get shapes at 30% off, be aware there was a problem and it cut off the sale early. We are extending the sale till MONDAY February 17. If you would like to take advantage of this great sale use coupon code LOVE at checkout to receive the 30% off. 

Silhouette Tutorial with Traci: Making your own Chipboard Embellishments

Hi everyone!  Traci here and I have a fun and easy tutorial to share with you today.  Have you ever been working on a project and didn’t have the perfect embellishment you wanted?  Happens to me all the time!  I’m a big fan of chipboard embellishments — I love the dimension they give to a project.  So today I’m going to show you how easy it is to create your own chipboard embellishments with your silhouette machine using Lori’s fun shapes and digital papers.
The first step is really fun — go through all of Lori’s cute shapes and pick out a handful of fun designs.
These will be print and cut shapes so be sure to size your mat to 8.5×11.
Since we are going to print these out, we want to “fill” them with colors and patterns.  Go to the “Fill Pattern” window and with your shape highlighted, click on some different colors and patterns for each shape.  Lori has some great digital papers too.  You can find them at Snap Click Supply.   If you purchase and download them to your computer, you can drag them right into your shapes.  Many of her digital papers match her Echo Park designs so you can create embellishments that go perfectly with your paper!
I’m using Lori’s “Sweet Memories” papers for my embellishments.
For more information on importing digital papers into your Silhouette software, check out this tutorial.
Tip:  If you try to fill a shape that has a space cut out (for example, the ticket with the star above) the fill pattern may cover the entire shape, including the star.  If this happens, just right click on the shape and click on “make compound path”.  This will usually fix that problem.
If you have any shapes with printed words (see my banner shapes), you will also need to increase the line thickness for the lettering.  Just highlight the word, click on the “Line Style” window, and increase the thickness.  I set mine to 1.25 show that the words print clearly.
Once all of your shapes are filled with pattern, color, or digital paper, it’s time to print.  Be sure to click on the Registration Marks window and “Show Reg Marks”.  You may also have to move your shapes around a bit to make sure they all fit within the registration marks on your paper.
Now that you have everything printed, send it through your Silhouette to cut everything out.
Next, cut the same shapes out of Silhouette chipboard two times (I like the thickness of two layers of chipboard, but one layer would work too).
Glue all of your shapes to their matching chipboard pieces and voila! Adorable chipboard embellishments!
Happy crafting!!
Shapes: