Tuesday Freebie + New in SVG Shop

TODAY ONLY, this PHOTO PROMPT TAGS: Sweet PNG file is FREE.

Remember this freebie is ONLY good until midnight tonight, then it will change to something else. Be sure to come back each day to grab our Photo Prompt Tag freebie.  This file IS NOT an SVG file, but a PNG that is designed to be placed on top of a photo before the photo is printed. You can download the freebie here.


We have many requests for the PDF file for hand cutting, class room projects etc, now many of new shapes will also include a line art PDF as well. Check the description on each shape before making your purchase, if you desire the PDF on an older shape that does not include a PDF let us know. Remember ALL new shapes from Lori and Kolette are on sale for 25% off until Sunday of next week. You can purchase them here.

New this week… Check out these adorable new files!!


Easter Basket Card Set with Lorrie + Daily Freebie

Hi there!  It’s Lorrie here and I’m so excited to join the paper team!

I couldn’t wait to make this easter basket/card set.  It’s super easy using Lori Whitlock’s SVG files.
First I created the basket using the Easter Basket 7.  I didn’t resize or alter it in anyway.  I simply opened it in the Silhouette Software,
separated the pieces by color, cut, then assembled.
Next, I embellished the basket with the 3D Flower Set 11.   I sprayed the flowers with glitter spray before assembling, then secured to the easter basket with the center brad.
I finished it off with a cute little tag tied with baker’s twine.
This card was made with Easel Card Bracket.  I embellished it with Happy Easter sentiment which I made using LW Sugar Font on a banner from the Banner Set 3.  I secured the banner with foam adhesive to support the easel part of the card.
I added extra dimension to all of the flowers by using a pencil to help curl the petals and even added a bit of foam adhesive behind some of the petals just to keep the layers separated.
It’s so fun to make matching gift sets and easy to do just by copying one embellishment to both objects.
Are you ready for your daily freebie? Download it here. Thanks for playing with us this past few weeks. Only a few days left.

Tuesday Freebie + New in SVG Shop

TODAY ONLY, this PHOTO PROMPT TAGS: Start PNG file is FREE.

Remember this freebie is ONLY good until midnight tonight, then it will change to something else. Be sure to come back each day to grab our Photo Prompt Tag freebie.  This file IS NOT an SVG file, but a PNG that is designed to be placed on top of a photo before the photo is printed. You can download the freebie here.


We have many requests for the PDF file for hand cutting, class room projects etc, now many of new shapes will also include a line art PDF as well. Check the description on each shape before making your purchase, if you desire the PDF on an older shape that does not include a PDF let us know. Remember ALL new shapes from Lori and Kolette are on sale for 25% off until Sunday of next week.

New this week… Check out these adorable new files!!


Easter Treat Holder + Card by Corri + Daily Freebie

Hi everyone!  Corri here today sharing an adorable Easter card and treat holder using some of the newest files from Lori’s shop.


I used the Echo Park – Summer Bliss Collection that Lori Designed.  This collection is designed with lots of Summer images but the color work well for Spring projects as well.


I used  Lori’s new Stand Up Card Easter.  These new cards are so fun and I love how they stand up for display.   The Easter Egg Basket is a perfect match for my card.   The file includes layers for the eggs but I left mine simple and selected some cute patterns from the collection.


Be sure to visit Lori’s shop to see all the cute new files added this week.

Don’t forget to grab your freebie here…


Silhouette Tutorial with Brigit: Using Fonts + Freebie

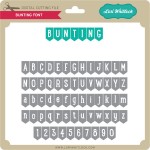
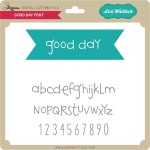
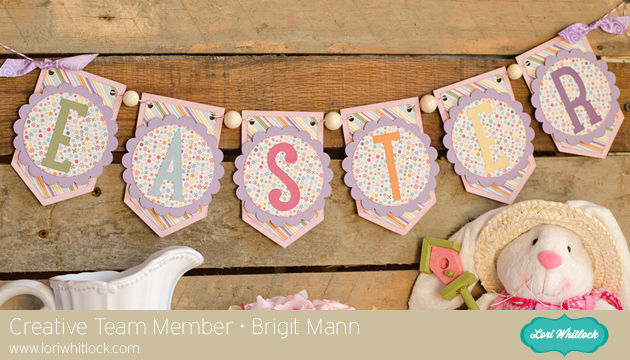
Hi everyone, Brigit here to share a tutorial using Lori’s bunting font to create a fun Easter banner.  Using this font makes it so easy to put any kind of banner together quickly.


If you’ve never installed fonts before, just download to your computer, if it’s zipped extract the files, then right click on the font file and install, it’s that simple.  If you download from the silhouette store it will install it automatically for you.


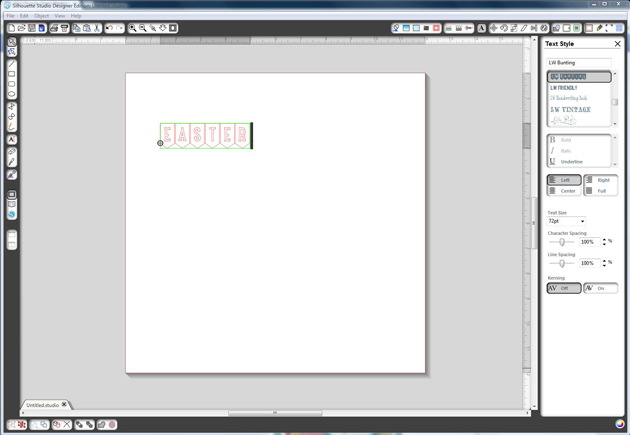
Select the bunting font and type your word out, enlarge to the size you would like your banner, I chose 5.5″h but I ended up selecting all at the end and making it smaller to fit the space where I’m going to display it.


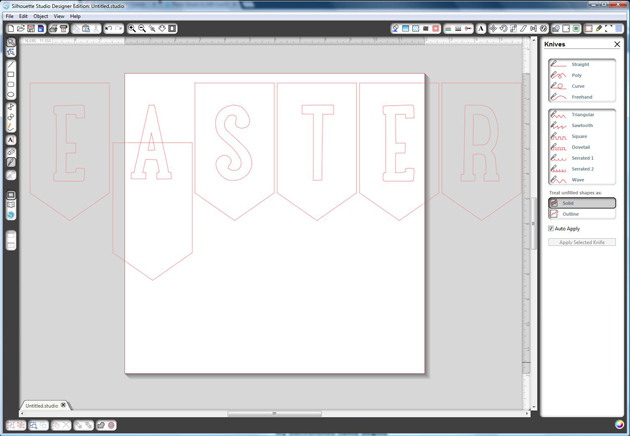
Ungroup and Release Compound Path, you can see in the picture above the bunting is separated now from the fonts.


When you Released the Compound Path you also separated the A and R middle pieces so make sure you select around each one again and Make a Compound Path so they join together.


Because the pieces are large I’m just showing the one bunting piece on the mat but of course you’ll need for each letter.

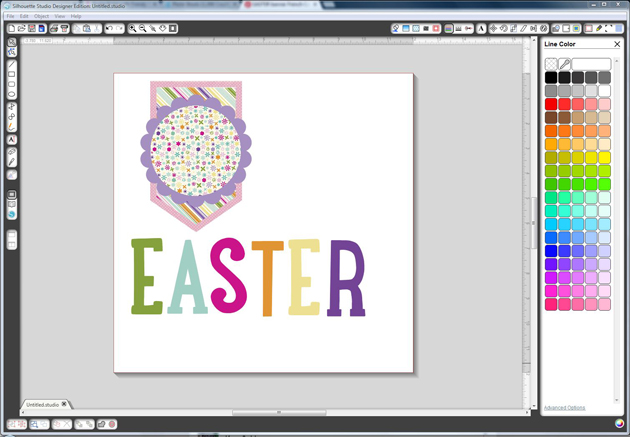
I wanted to add some more layers so I added a shadow offset to the bunting.  Select it, go to the Offset Window choose offset and your size, I left it at the default of .250 but selected corner.

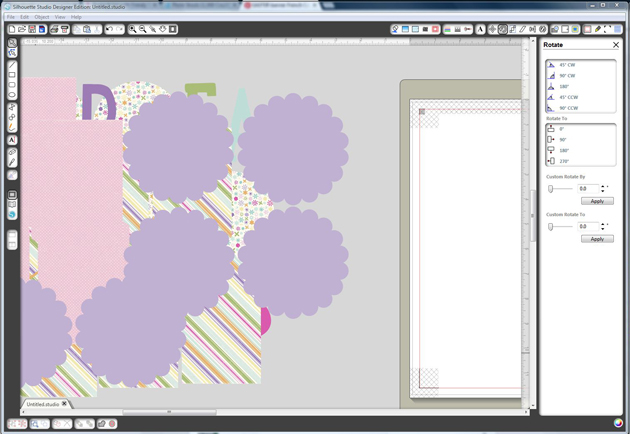
I also added the circle and scalloped circle from the cupcake flags, ungroup and released compound path to remove the lines inside and delete them.

I enlarged the circles so the letters would fit inside, but you can also make the letters smaller so the circles fit inside of the bunting if you’d like.

Now your ready to cutout all your pieces and put your banner together.


A little tip, when cutting a couple of pages I like to group together by what fits on a page if it’s a print n cut or by color if not and keep to the left side of my mat.  As I cut I move the finished one to the right, just keeps it nice and neat.


I hope you’ve enjoyed this tutorial, you can find more of my projects at http://www.brigitsscraps.com.

Thanks for stopping by and have a wonderful day!

Before you take off grab your daily freebie here.