Cards with Cathy + Silhouette Portrait Giveaway

Hi Everyone!  Cathy here sharing a couple of fun cards created with some new Lori Whitlock files and Lori’s Echo Park collection We Are Family.

I used Lori’s Pop Out Card Heart for the first one.  I love these pop out cards…so easy to create and then they fold flat in an A2 sized envelope for mailing.   Perfect!  There 6 different pop out cards to choose from.


Next, I created a card from Lori’s Camera Set using the vintage camera and again, Lori’s Echo Park We Are Family collection.  Love how this turned out.  Such a fun card to give!


Stop by Lori’s Shop to see all the new designs added this week!

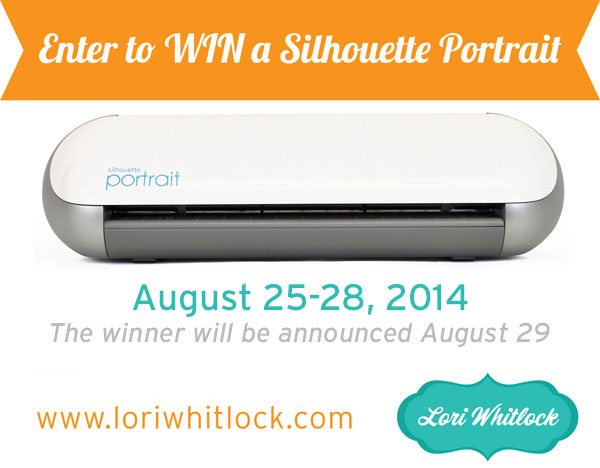
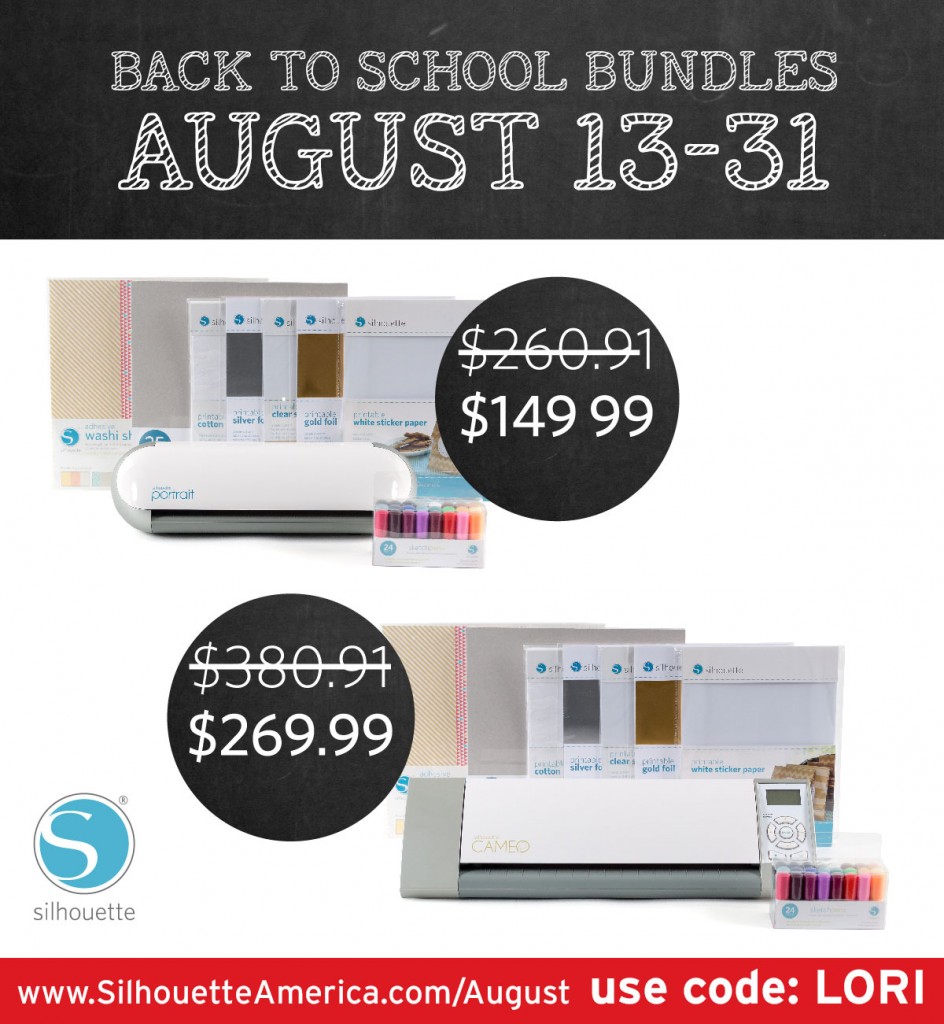
We have a fun surprise for you today! We have a Silhouette Portrait for a lucky winner! The GIVEAWAY ends Thursday night and the winner will be announced Friday! Enter through the Rafflecopter form below. Good luck everyone! And just a reminder, there’s a Silhouette Promo going on right now. If you’re looking for a Silhouette machine, be sure to check out these deals on a machine + a great bundle. Be sure to use promo code: LORI and shop here: www.SilhouetteAmerica/August.

a Rafflecopter giveaway

Silhouette Tutorial: Adding Stitch Lines and Embellishments

Hi everyone!  It’s Traci and I’m so excited to share a tutorial with you today!   For my project, I used several of Lori’s adorable shapes to create the cover for my latest “Artsy Albums” mini album kit.
As you’ll notice, I added some details to my green banner.  Here’s how I got the words to bend along the banner shape, and how I added those cute stitch lines.
First, find a banner shape in Lori’s shop … she has several really cute ones that you can add a title to.
Next, highlight your shape and go to the “Offset” window.  Create an internal offset and set the offset distance to .50.
Now, with your offset line highlighted, open the “Line Style” window and choose a dashed line and set the line thickness to .75.  With the line still highlighted, go to the “Line Color” window and select the color for your dashed “stitched” line.  I chose white for my project.
For the title, use the type tool to add a title for your project.  Highlight the title and change the fill color and size if desired.  Now, with the title highlighted (with green box around it) hover your cursor over the small circle with a cross in it.  Click on the small circle, hold it and drag the title over the curved line of your shape.
Release your cursor, and the words should pop onto your line as shown in the photo below.
Now, notice in the photo above, there is a little grey bar just to the left of the “E” in my title.  If you slide the oval part up and down the bar, your title should move up into your shape, rather than sitting right on the line.  See the photo below.
Now you can treat the shape as a print & cut.  Make sure to go to the “Cut Style” window and make sure the outer edge is all that will be cut.
Lori’s shapes used on this cover:
Thanks for letting me share this fun technique with you!  If you are interested in seeing additional photos of this mini album, or purchasing the kit for yourself, please visit my blog at www.artsyalbums.com or my Etsy shop here.
Traci

New in SVG Shop + Tuesday Freebie

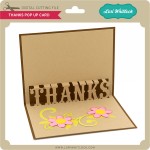
TODAY ONLY, this THANKS CARD 2 file is FREE with Purchase.

Here is a fun Thanks Card to add  to your card collection. Simply add this file: THANKS CARD 2 to your shopping cart along with any $5 purchase from www.loriwhitlock.com/shop and this file is yours FREE.  Be sure to use Coupon Code: THANKS at checkout. The price of the THANKS CARD 2 will be deducted from your total.


We have many requests for the PDF file for hand cutting, class room projects etc, now many of new shapes will also include a line art PDF as well. Check the description on each shape before making your purchase, if you desire the PDF on an older shape that does not include a PDF let us know. With the new Cricut Explore, another request has been for cut size measurements on cards and 3d projects. We are now including those in the zip files as well. If you need measurements for an older file please don’t hesitate to ask by emailing us HERE

New this week… Check out these adorable new files in the SVG Shop, and they are on SALE through the weekend, too!!! Most of these downloads include SVG file, cut size instructions and a PDF for hand cutting if so desired.

School Set with Corri

Hi everyone!  Corri here today sharing a fun gift set for the first day of school.  My daughters first grade teacher is new and is hoping to build her library.  I thought it would be fun to put a Barnes and Noble gift card inside this fun pencil box.


I used the new pencil shaped box and square center step card to create this fun and easy set.  The paper is all from Echo Park.  Stop by Lori’s shop to check out all the new step cards that she just added!

Silhouette Tutorial with Lorrie

Hello there!  It’s Lorrie here with another tutorial using Lori Whitlock Silhouette and SVG files.

Today I’m going to show you how to make this fun Mason Jar Flower Card which could be used for almost any occasion by simply changing the greeting.
In this video we will explore the Node Editing Mode as well as using the pen tool with the Silhouette Cameo or Portrait and Silhouette Studio software.  I prepared the video using the Legacy basic version of Silhouette so that everyone can duplicate the card if they like.