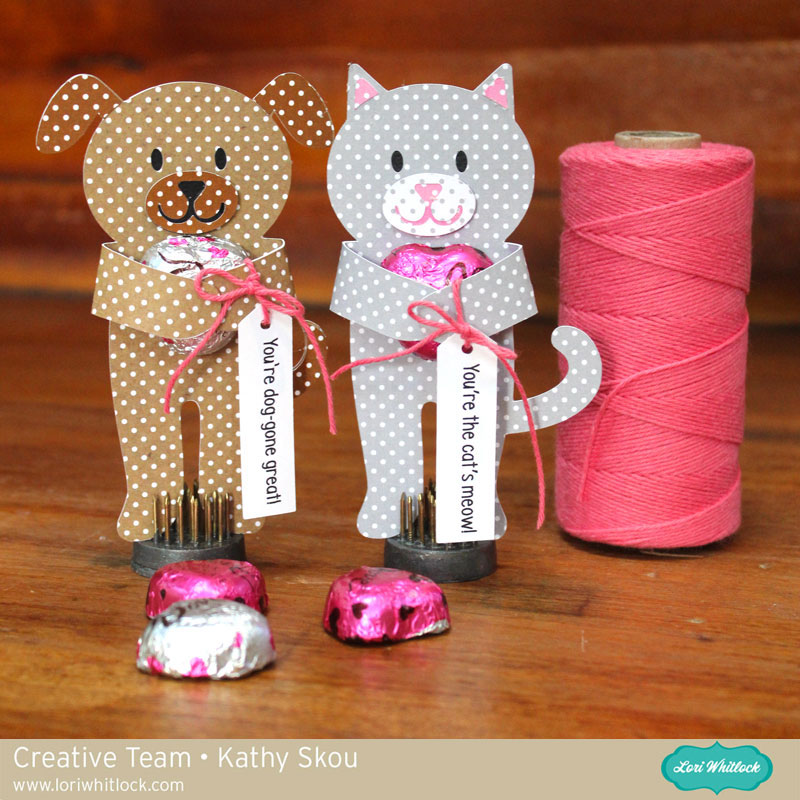
Hi Everyone! It’s Kathy today with a couple of my favorite new files in Lori’s Shop! As soon as I saw these Huggers, I knew I would be making them… take a peek…
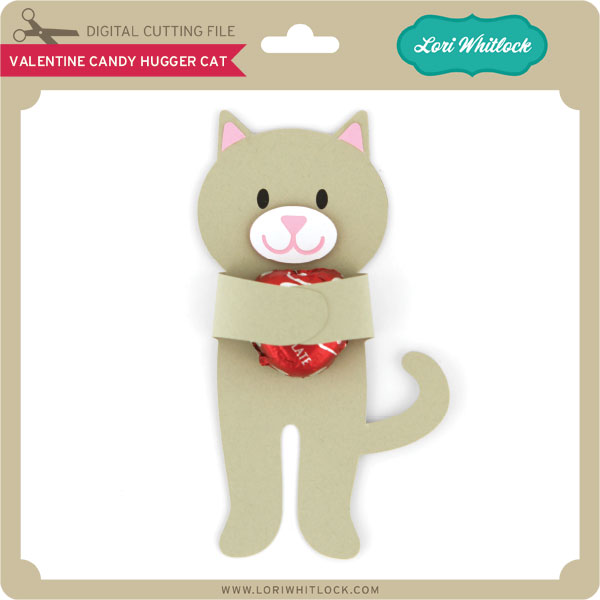
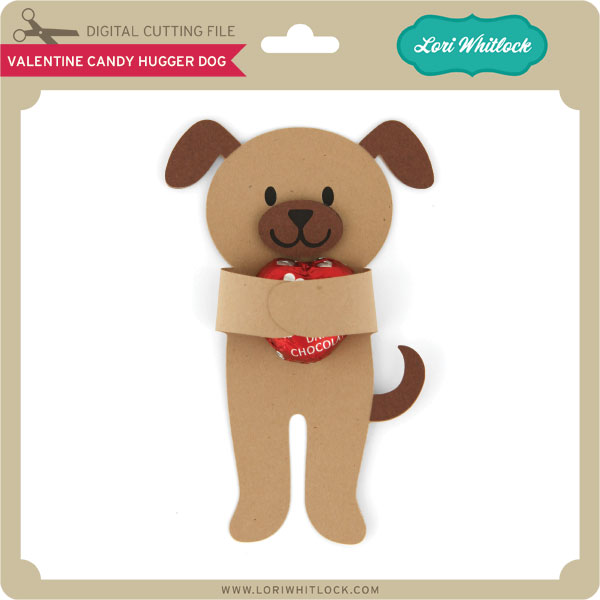
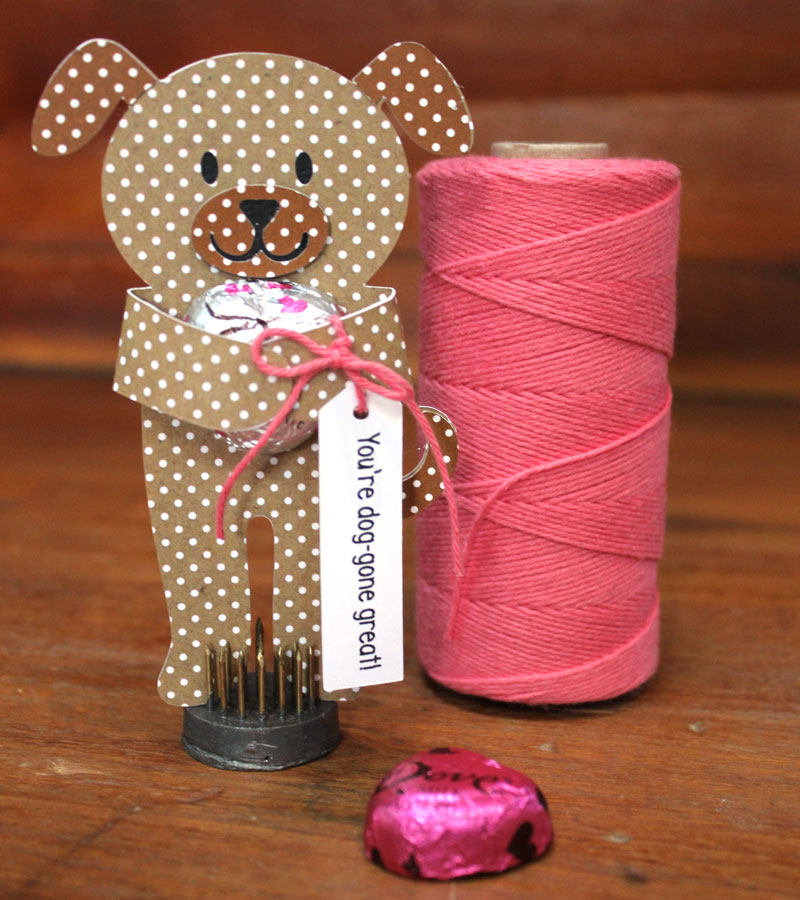
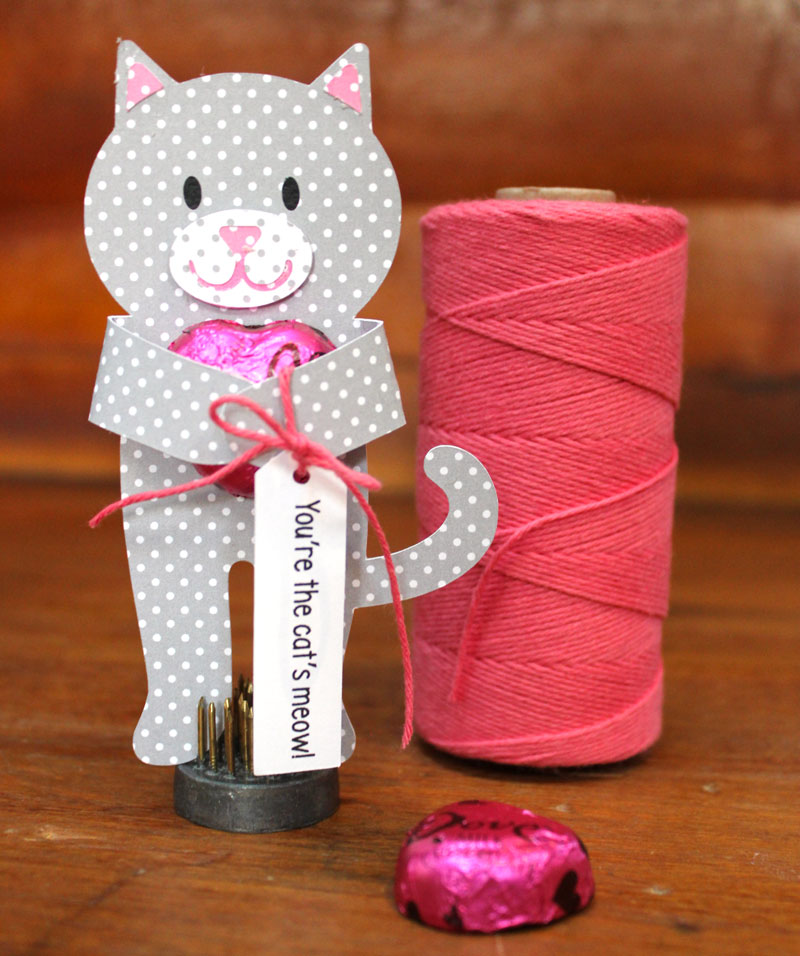
I made the Valentine Candy Hugger Dog (available here in the Silhouette Store) and the Valentine Candy Hugger Cat (available here in the Silhouette Store.) Aren’t they just adorable? I also love the punny print and cut tags that come with the Huggers! Here are some close-ups…
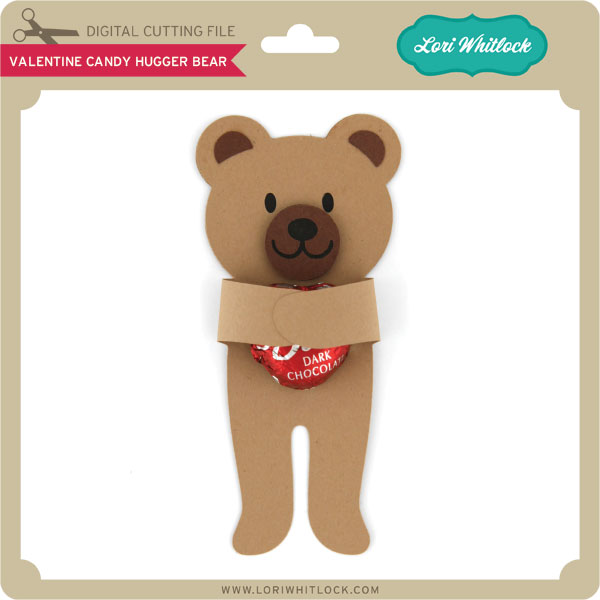
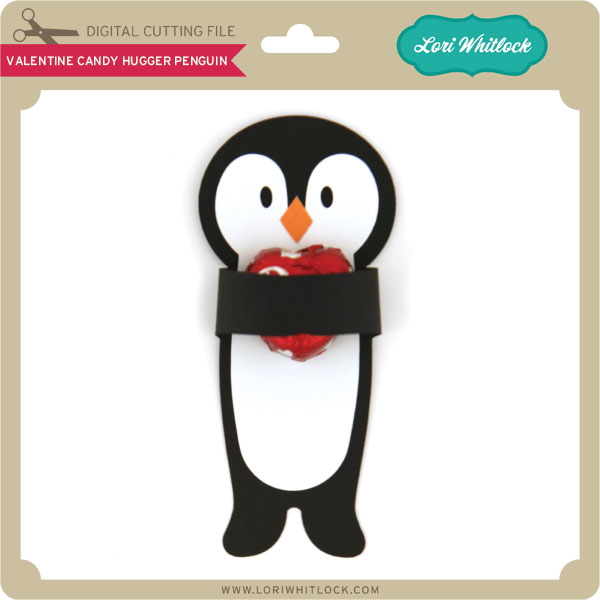
These go together easily and would be perfect for classmates and friends! There is also a Valentine Hugger Penguin and Bear and they are just as adorable as these two! That’s it for me today, thank you for stopping by to peek!
For my first project as a member of Lori Whitlock’s incredibly talented creative team, I am going to walk you through making a box card using the brand new All Occasion Box Cards Cricut cartridge.
In the video tutorial below, I am going to cover importing digital papers for use as patterns on cutting files, importing digital elements to be used as design elements that will be printed and cut out, and sizing box cards using two methods.
Below are closeups of the box card that show the papers and elements used.
The video below is a step-by-step tutorial on how I put this card together in Cricut Design Space and cut all the elements with my Gold Explore Air available on HSN.
You can see the document with sizes for all of the box cards HERE.
Today and Tomorrow, this SVG file is FREE with any $1.99 purchase!
We have a FREE file with purchase Tuesday and Wednesday only! Simply add this adorable Valentine Flower to your shopping cart along with ANY $1.99+ purchase from the SVG Shop and this file is yours FREE. It would be perfect for a child’s Valentine party or a little something for a special friend! Be sure to use Coupon Code: HOWSWEET (case sensitive) at checkout. Hurry! This offer is good Today and Tomorrow only!
(Your cart must reach at least $2.98 before the coupon will be applied and then $0.99 will be subtracted from your total at checkout. The files will be available for immediate download after you pay for your order by visiting the “downloads” section inside of your account.)
We have a great new release of SVG files this week! And, just like always, the NEW files are ON SALE 25% OFF through the weekend in the SVG Shop! These downloads include SVG files for sure and PNG or PDF files when appropriate. No coupon code necessary, the files are all discounted in the shop! Be sure to go get them while they are on SALE this week.
Thanks for visiting the blog today! Please let us know if you need any help with your files. We want to make sure everyone is happy with their purchase. Have a great week!
You’re the first to hear this exciting news… Today I get to announce that my new, on-line Silhouette class with Craftsy, The Next Steps in Silhouette Studiois now live and available for registration!!!! I’m so excited about this class!
My class is designed to enhance your Silhouette Studio skills by teaching you not only the basics of cutting, but how to create custom designs, how to use your software tools to modify images, make you own cut files and more! Topics include: File types for Silhouette Studio, Using Pattern Fills and Tracing, Working with Complex Files, Drawing Tools, Advanced File Edits, Fonts, and Specialty Materials. After taking my class, you’ll have the confidence to go beyond the basics and get the most from your Silhouette! Here’s the intro video that will tell you a little more:
The cool thing is with a Craftsy online class you can take it as many times as you want, whenever you want and access never expires. The cost of the class is regularly $29.99 BUT with THIS link you can get it 50% OFF! This includes: Six video lessons with anytime, anywhere access; Class materials including a supply list, keyboard shortcuts guide and cutting files; Answers to your questions by me in the virtual classroom. Ready to enroll? Click HERE to come join us!
Last week we held a contest to WIN a spot in my brand NEW Next Steps in Silhouette Class, and the winner is… Sonya Mullis!! Congratulations Sonya, look for an email from me with instructions on how to access your free class!
I can’t wait to see you all there! Be sure to go REGISTER!
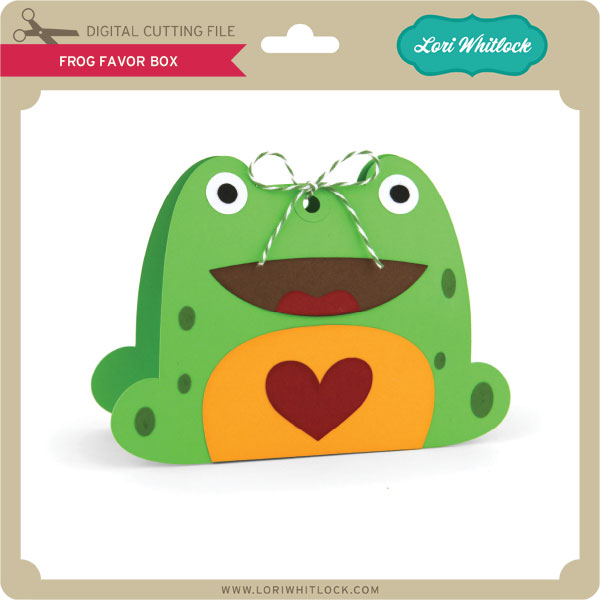
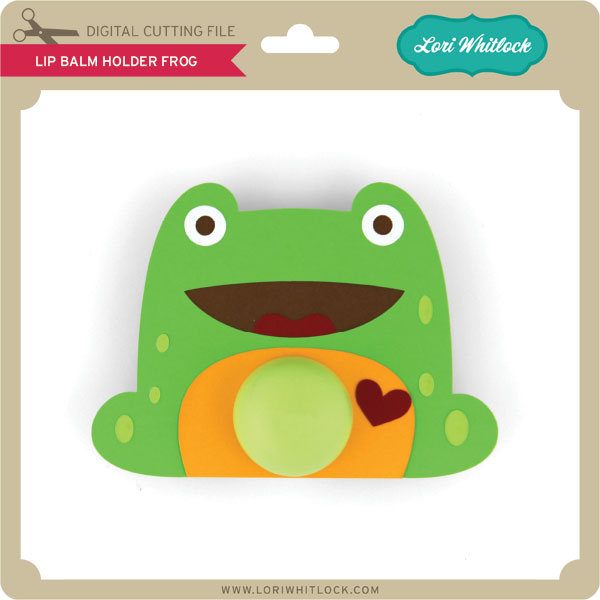
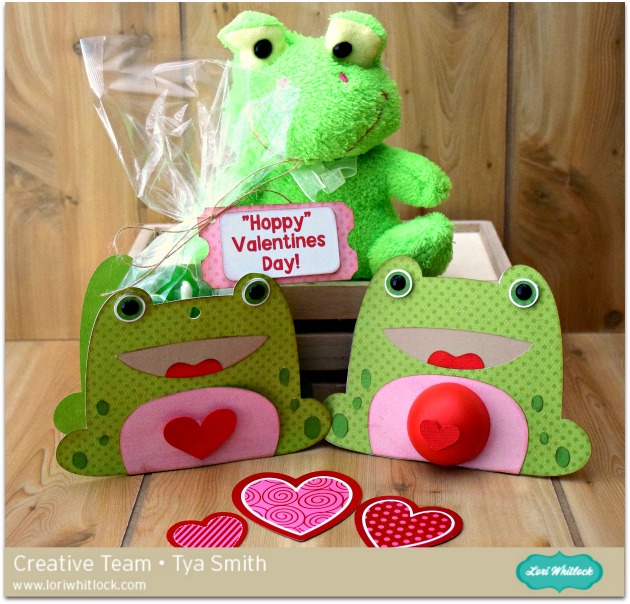
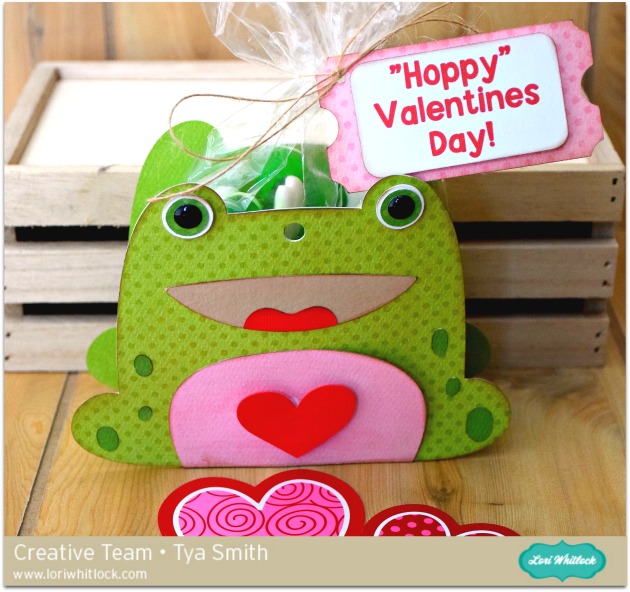
Hi everyone – Tya here with you sharing a fun Valentines Day gift set featuring a couple of new cut files from Lori. Lori has the knack for creating the cutest little critters and when I saw these cute frogs I “jumped” at the chance to create this fun set. I made the Frog Lip Balm Holder and the Frog Treat box.
First up is the Frog Treat Box. I used a basic dot paper in a few different shades for the box. I added some black enamel dot eyes and topped the treat bag filled with what else- gummy frogs- with a print and cut “Hoppy” Valentines Day sentiment using the LW Dandy Font and a ticket shaped tag in the 5 Layered Shapes file.
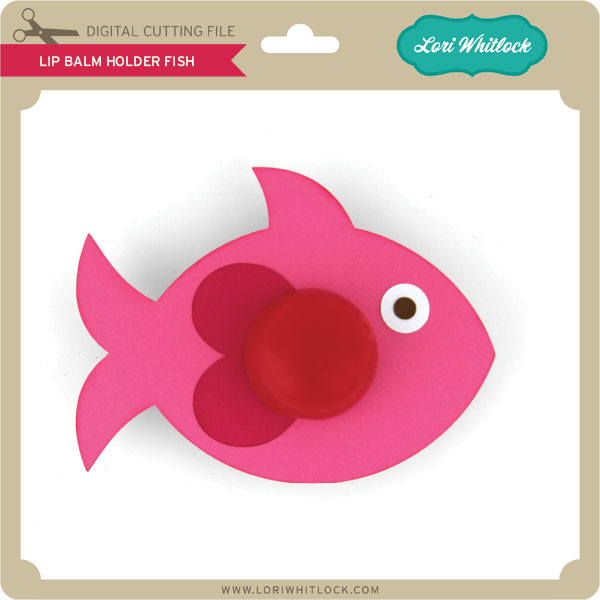
Next up is a fun lip balm holder with the same papers and accents- the red EOS holder was the perfect touch.
Make sure to stop by Lori’s shop and check out all the new Valentines Day critters – http://www.shop.loriwhitlock.com/ – they are so cute and a nice little surprise for your Valentine! Thanks for stopping by!



 4mm permanent honeycomb-dot