3D Daffodil Tutorial with Courtney

Hi everyone! Courtney Lee from Court’s Crafts with a daffodil tutorial! Don’t you just love it when you see daffodil’s pop up all over?! I made this little bouquet with my tiny humans for my mom for Mother’s Day. She’ll just love it.

After importing I colored the parts of the flower as I desired to match a real daffodil.

Next I hit “GO” and then changed the project copies to “4”. As there are double the amount of orange inserts (they make two different sized centers for the daffodil) I had double. Then I just cut the yellow layer twice out of two different patterned papers to get everything I needed for 8 flowers.
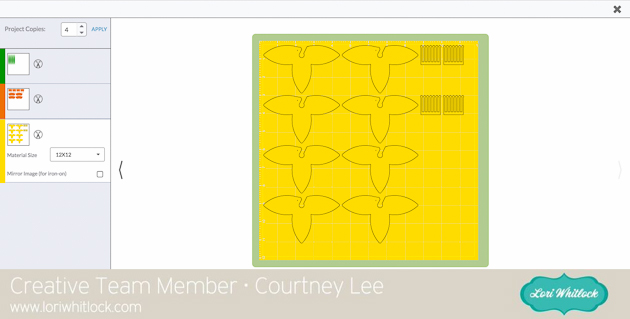
Here they are all cut out.

I put Glossy Accents on the ends of the stamen so that I could pour glitter on them for the “pollen”.

Now you get to overlap the flowers. I used a hot glue gun to make this go really quickly. There is a little dot that is cut on the flower and it shows you how to overlap the edges and by doing so the flower “cups” itself.

Here two of them are done. This will make one flower.

Overlap the two cups and glue together trying to align a hole in the middle for the cup of the daffodil.

Roll the cup around a small pen or pencil and then let it go. There is no right way to do this. You can roll it up tight and make it small or overlap just one scallop and make it big. It will work either way. It is really just personal preference.

Roll the stamen as well and hot glue them both shut.

This is how what you have. Time to put it together!

For the small cup you insert the points THROUGH the flower. They are actually designed to then grip onto your stem (however you decide to do that.) I pulled them through and glued them to the underside of the flower (see next picture). If you are using the wider cup then it folds under itself and sits on top of the yellow part.

Glued to the bottom, but again you can use them to attach to the stem of your choice (floral wire or in my case sticks from the yard).

Then I simply put a lot of hot glue on the bottom of the stamen roll and stuck it down the center of the cup.

Next I took a big glob of hot glue and stuck my stick into it and attached one of the leaves.

Here is what the larger cup looks like and you can see the bottom folded in here and the stamen glued on top.

Here is my vase of daffodils! Aren’t they lovely and bright!?

This is actually going to be really hard to give away! I need to make another set for my craft room. I just love them. It can be spring all year!

Here you can really see the difference in the large and small cups. I think having the mixture is really nice though!

Ahhh. Spring.
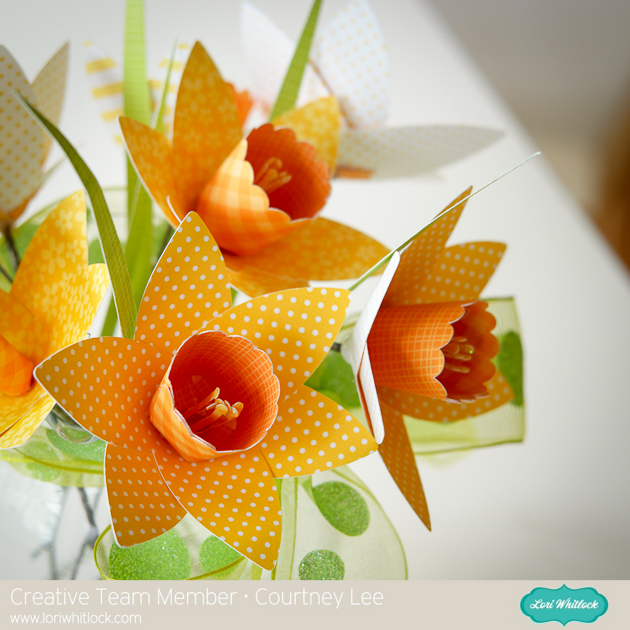
 

3D Daffodil in Lori’s shop

3D Daffodil in Silhouette shop

Tuesday Freebie and New in Shop

ALL WEEK, this SVG file is FREE with any $1.99 purchase!

We have a FREE file with purchase all this week! Simply add this A2 Camera Card to your shopping cart along with ANY $1.99+ purchase from the SVG Shop and this file is yours FREE. Be sure to use Coupon Code: SAYCHEESE (case sensitive) at checkout. This offer is good through next Sunday.

(Your cart must reach at least $3.98 before the coupon will be applied and then $1.99 will be subtracted from your total at checkout. The files will be available for immediate download after you pay for your order by visiting MY ACCOUNT>COMPLETED ORDERS>ORDER DETAILS inside of your account. Only one discount code per order allowed.)
 

In addition, don’t forget about this special ! You can get this Free Kit of the Month with any $20 purchase (Purchase must be in one transaction.) Simply add the 2017 May Kit of the Month to your shopping cart along with ANY $20.00+ purchase from the SVG Shop and this file is yours FREE. Be sure to use Coupon Code: MAYKOTM (case sensitive) at checkout. This offer is good through May 31, 2017!

(Your cart must reach at least $27.95 before the coupon will be applied and then $7.95 will be subtracted from your total at checkout. The files will be available for immediate download after you pay for your order by visiting MY ACCOUNT>COMPLETED ORDERS>ORDER DETAILS inside of your account. Only one discount code per order allowed.)
 
 
Check out our awesome SVG files releasing this week! And, just like always, the NEW files are ON SALE 25% OFF through the weekend in the SVG Shop! These downloads include SVG files for sure and PNG or PDF files when appropriate. No coupon code necessary, the files are all discounted in the shop! Be sure to go get them while they are on SALE this week.
 
Doodlebug Design’s new Hats Off Collection is now available in the shop!


Thanks for visiting the blog today! Please let us know if you need any help with your files. We want to make sure everyone is happy with their purchase. Have a great week!

Confirmation Stand Up Card


Anita here with a really easy card to make that comes with an envelope and is stunning.  It is called 3D Stand Up Card: Easter Cross and you can find it here in Lori’s Silhouette Store.  It is perfect for all those first communions and confirmations that usually happen this time of year.  This is for my nephew who made his confirmation on Saturday.  I used Lori’s brand new Echo Park line called Go.  See.  Explore. to create the card.  I also used some letters from the I Love Family Alpha Sticker Set and used some of her brads from the I Love Winter and Go.  See.  Explore lines and an enamel on the card from the Go.  See.  Explore collections also.  Lori’s collections all mix and match so you are able to combine papers and embellishments from various collections to achieve the look you desire.

Here is a close up of the card.

The cut file to make the envelope is part of this set and so easy to put together.

I used a sticker from Lori’s Echo Park I Love Family collection to seal the envelope closed.  That’s it for me today.  Be sure to check out Lori’s store and her Silhouette Store for all your spring and summer card and gift needs.

Hugs,

Anita

Spring House Box Tutorial with Kathy

Hi Everyone!  It’s Kathy today with a tutorial showing how to assemble Lori’s new Spring House Box (here in the Silhouette Store).  This is such a sweet box that can hold a small gift or some treats!  Take a peek….

It looks like there is a lot to this house, but it’s really pretty simple to assemble.  First, cut all of the pieces…

Next, assemble the main box.  To begin, add the decorative panels, trim, door and window the box piece. It’s easier to do this before the box shape is formed.

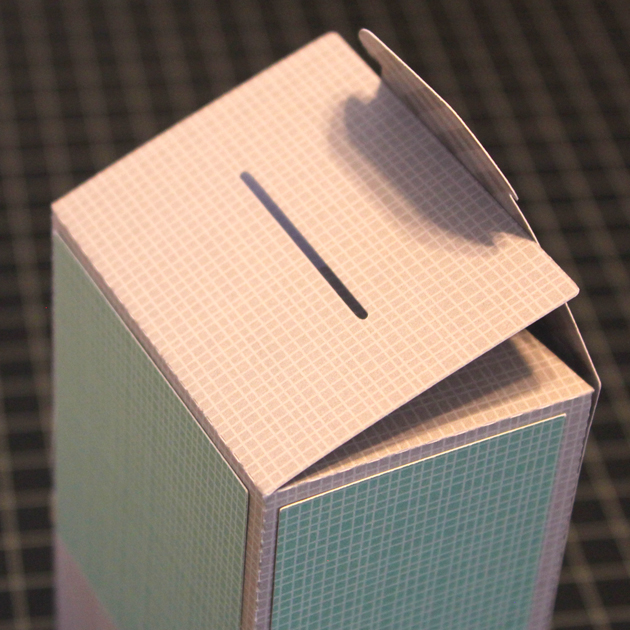
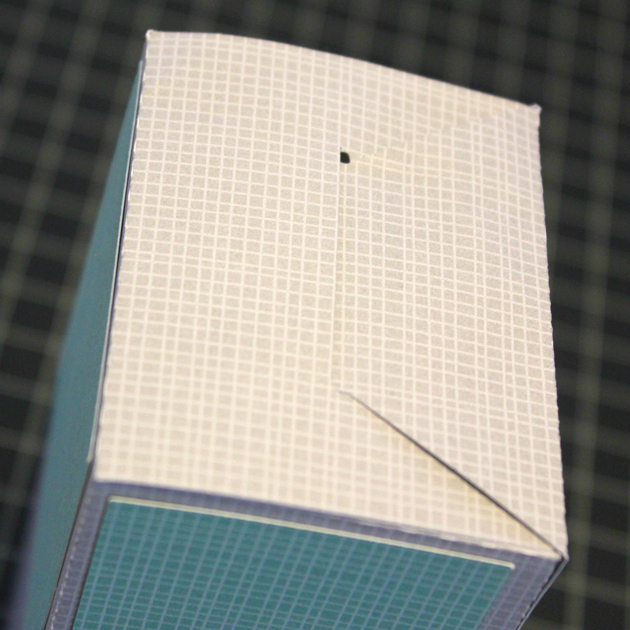
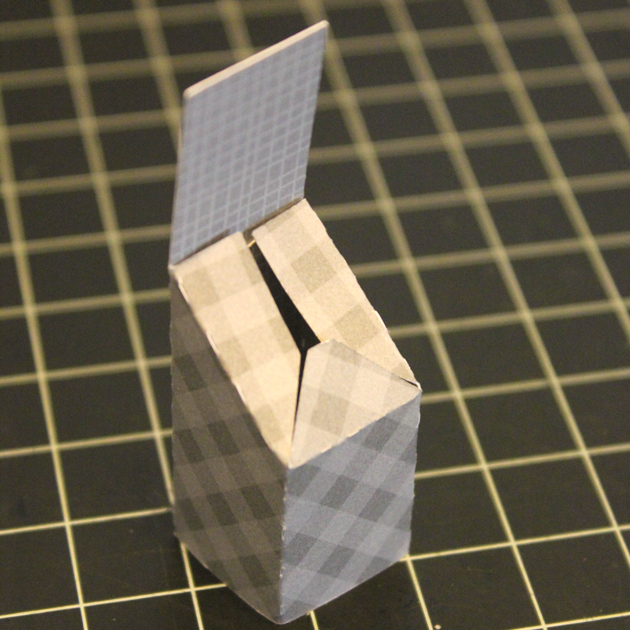
Fold the house on all of the score lines to form the box shape, here is a close-up of how the top of the box is folded.  It folds similar to a milk carton.

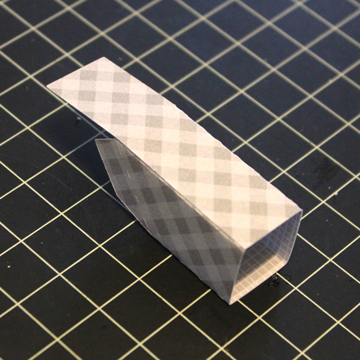
Glue the house box together, tab on the inside of the box.

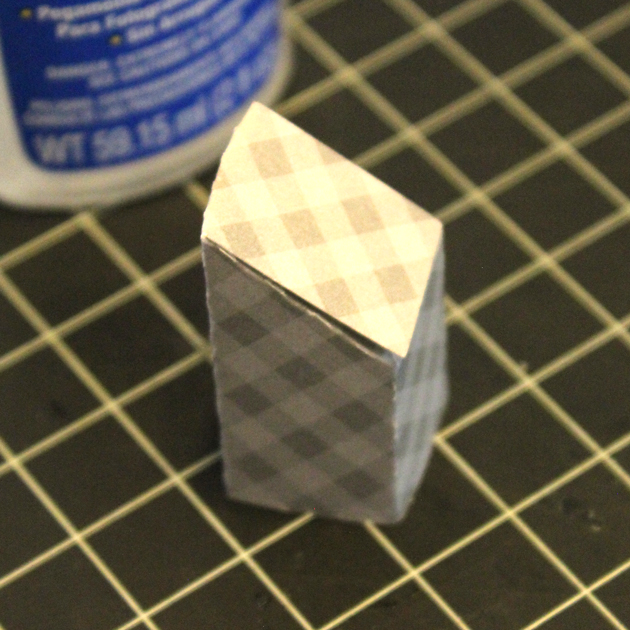
The bottom of the box is not glued, the flaps fold as shown, then the insert the tab into the slot to hold it shut.  This allows you to fill the box from the bottom.

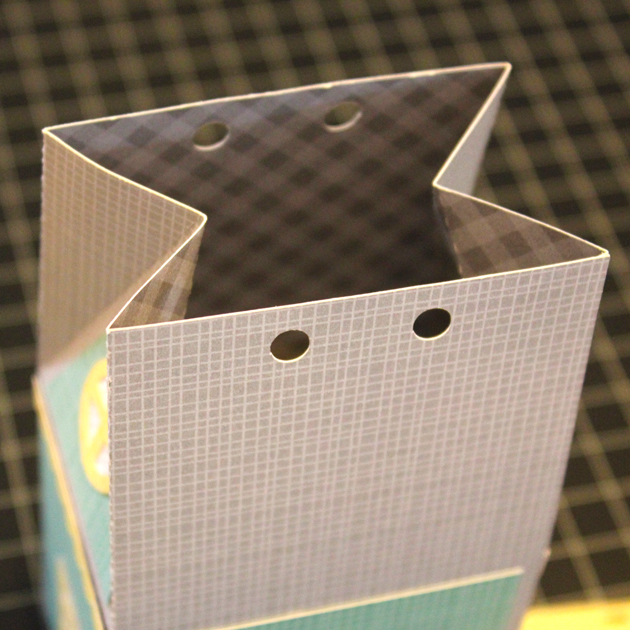
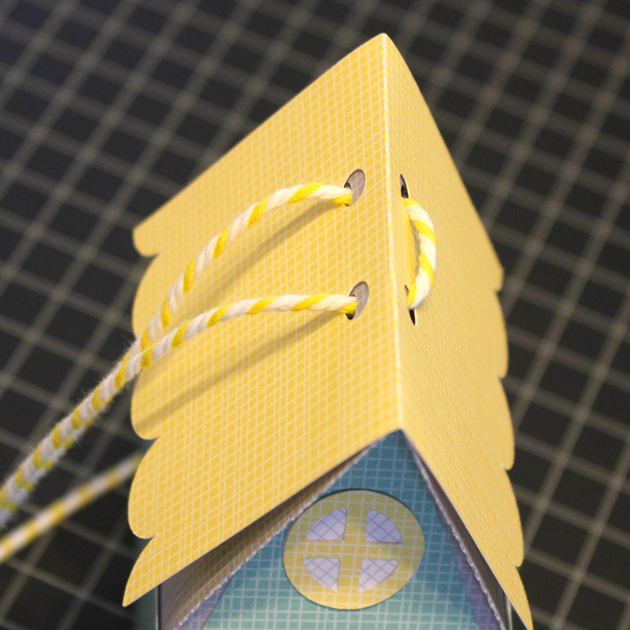
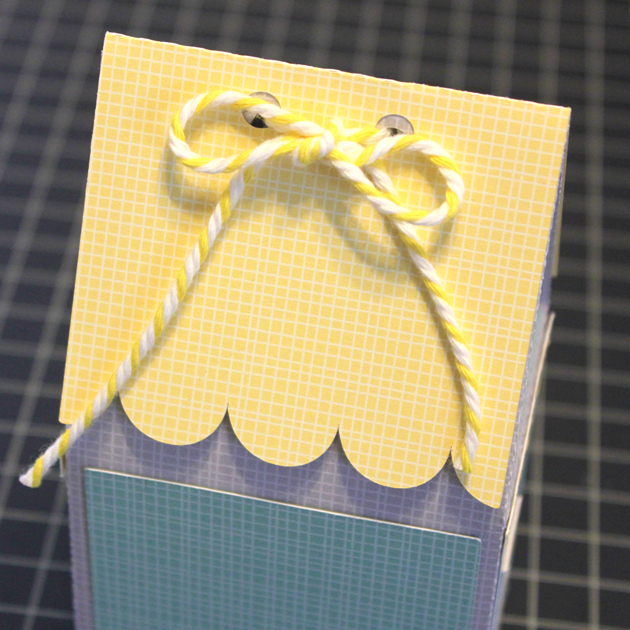
The top of the box is next.  Pinch the top of the box together as shown.  Fold the roof piece along the score line and place over the top of the box aligning the ribbon holes.  Thread a ribbon or twine through the holes and tie a bow to hold it together.

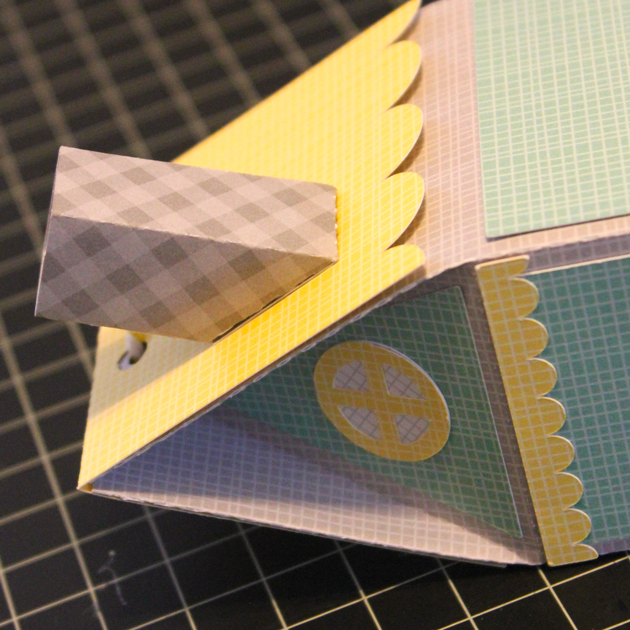
To assemble the chimney, fold the chimney piece into a box shape, and glue, tab inside.  Fold in the tabs on the bottom, and glue shut.  Glue the chimney to the side of the roof, slanted part against the roof.

Next assemble the trees.  The file comes with circles to fill the center of the flowers, I replaced them with enamel dots.

Glue the fence onto the front of the house as shown.  Add the smaller tree afterwards.

The larger tree is glued to the back of the house.  Half of the trunk should stick out on the right side of the house.  You may want to add a couple of glue dots to the branches where they meet the house roof.

And you’re done!

This box could be used for a number of occasions, including birthdays, Mother’s Day or just because!  That’s it for me today, thanks for stopping by to peek!