Flag Day Banner Tutorial With Anita

Hi Everyone:

Happy Flag Day.  Anita here with a banner that you can use for Flag Day as well as for the Fourth of July, Memorial Day and any other day that you want to celebrate our great country.  I used several different cut files of Lori’s to create this banner.

Happy Birthday Banner – 2   SVG,  Silhouette
Layered Pinwheel     SVG,  Silhouette
3D Lori Whitlock Spiral Flower   SVG,  Silhouette
5X7 Box Card 4th of July   SVG , Silhouette
American Flag   SVG,  Silhouette
3D USA Décor Blocks   SVG, Silhouette

I love mix and matching Lori’s cut files to create new projects.  I am going to show you how I prepared the fabric for cutting in my Silhouette machine. 

Here are the supplies that I used for this project.  Terial Magic is a wonderful product that comes in a spray bottle and you can get it on Amazon or at your local quilt shop.  I sprayed the fabric liberally and checked the back side to make sure that it was soaked on both sides.  I hung the pieces on my shower rod  to let them drip to just damp.  I recommend you put something under where you hang the fabric so that it doesn’t make a mess.  It’s sticky, and rubber gloves might have been helpful to use as well.


Here is a photo of the fabric as I was in the process of ironing it.  You can see the bottom left looks still darker and wet and the right part is done and the fabric feels like paper.  I ironed my fabric on a towel to absorb any extra of the Terial Magic Fabric Stabilizer.

You can see how this fabric stands up once it is ironed.

I used the strong grip mat from Cricut and a brayer to make sure that the fabric didn’t move.  You will want to slow down your cutter in addition to choosing fabric as your material to be cut.

I laid out the blocks to see how they would look and switched around the banners and embellishments.

Earlier in the week on Tuesday we had our June blog hop and I have included a photo with the quilt block centerpiece and the banner that I made.  I am going to put this out for the 4th of July.

Hugs,

Anita


June Creative Team Blog Hop and 30% Off All Files!

Welcome to our June 2018 Creative Team Blog Hop! The creative team has been working hard on some new projects to share with you that will get you in the crafting mood. We also have a huge release of new SVG files for you this week and a GIVEAWAY! Be sure to check them out below. Oh, and there is also a FREE FILE for you!

This week we have a 30% OFF SALE going on at Lori’s SVG SHOP. ALL files (and commercial licenses) from Lori Whitlock, Kolette Hall, Doodlebug Design, Dresden Carri, Paige Evans, Rivka’s Renditions and SAS Creative are on SALE now through Saturday, June 16th! Be sure to use coupon code: JUN2018 (case sensitive) at checkout in the SVG SHOP. (Only one coupon code per order allowed)

To thank you for joining us in the hop today and sharing the hop with your friends, we have a gift for you! TODAY ONLY, You can download this Shirt and Tie Pocket Tag file absolutely FREE! Be sure to go grab it while you can.

We have some super fun new files this week! Be sure to go shopping while all files are 30% off this week when you use code JUN2018 in my SVG Shop!  And, as always, my new files are available in the Silhouette Design Store as well.  This week I have two new card bundles!  We also have new files from Kolette Hall and Paige Evans!


a Rafflecopter giveaway
 And, last but not least… would you like to see what our amazing team has created? Click the links below for some wonderful inspiration. If you get lost come back here to get on track Lori Whitlock, Kathy Skou,  Anita MulcaheyBrandie AdamsBrigit Mann,  Michelle ZerullAimee Kidd, and Ashley Cook!! Thanks again for dropping by! Have a GREAT day!

The Sweetest 3D Gift Box with Michelle

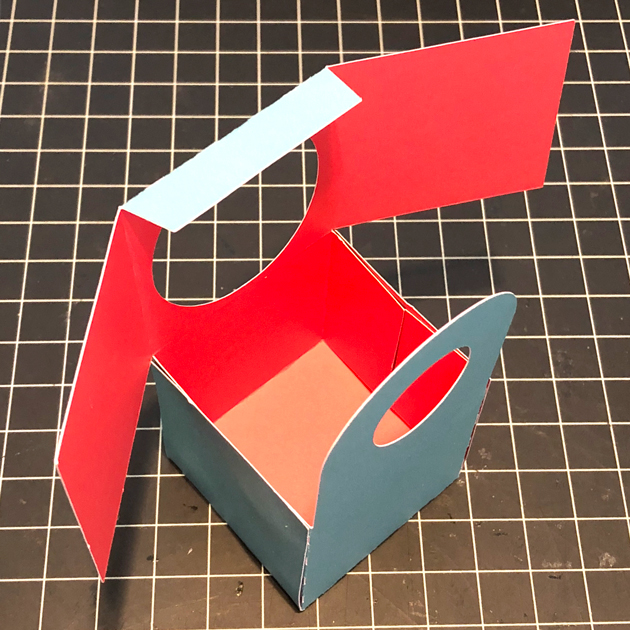
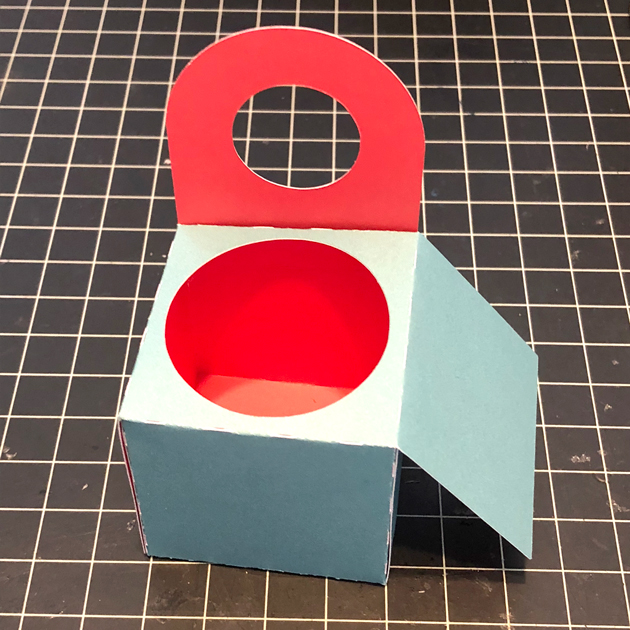
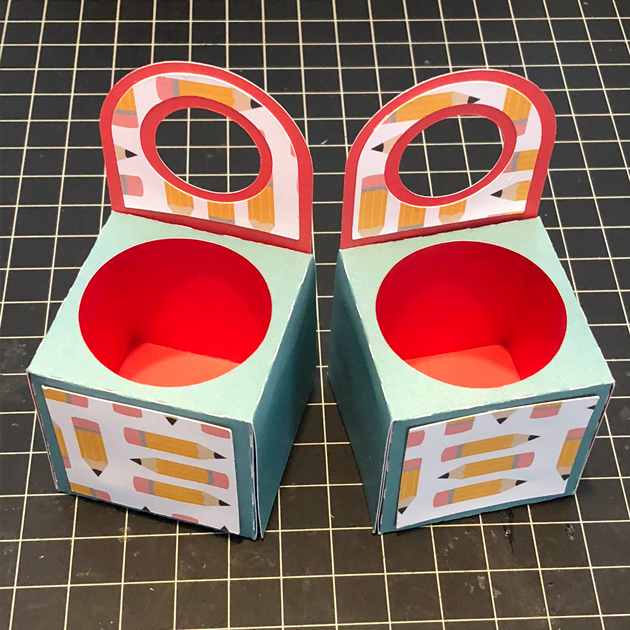
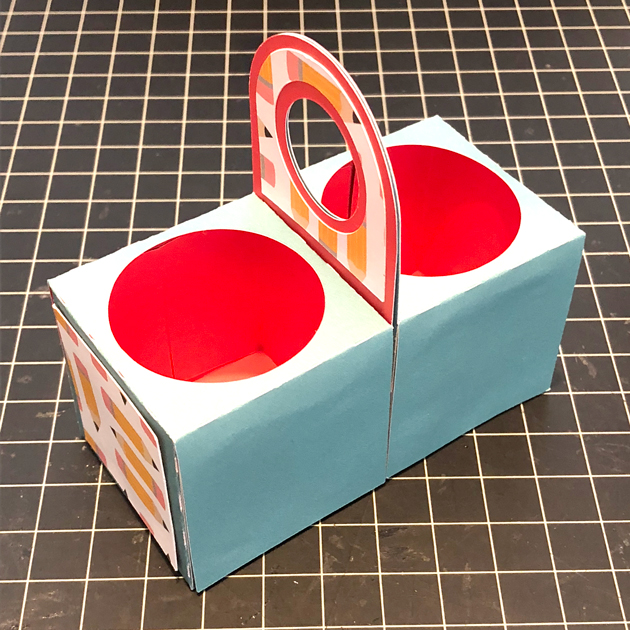
Hello! Michelle here today to share the sweetest little 3D Camper that’s also a clever little gift box!

You can find SVG files to make this 3D Camper at the Lori Whitlock SVG Shop or at the Silhouette Design Store. I used papers from the Sweet Baby Girl line by Echo Park Papers, but I’m certain that this would look great with any papers for any occasion. Lori has a video tutorial that makes this so fun and easy to put together. It’s my new favorite project!  (the 3D Tree is also available here in the Lori Whitlock SVG Shop and at the Silhouette Design Store)

3D Camper Trailer Gift box

There’s so much room the box. Perfectly sized to hold candy and gift cards, or jewelry and small toys. It would also be great for Birthday Party favors. Lori also has a larger 3D Camper that would make a great centerpiece for the party table. That would be such fun party decor! Its so fun to make little things that you know everyone will love.

Thanks for letting me share today.

Happy Crafting!

-Michelle


Doodlebug Design Cut File Feature: Flea Market

Hi Everyone!  Today I’m showcasing another fabulous project using Doodlebug Design’s cut files!  This fun shaker card was created by Kathy Skou for Doodlebug Design.


Kathy used the Jar of Hearts and Flower Cluster files  from the Flea Market Collection to piece this pretty card together.

For more views, see the original post here.   New Doodlebug Design SVG files are being added to the Lori Whitlock SVG Shop on a regular basis, so stop by to see all of the fun SVG files HERE!

Have a great day!

Print n Cut Teacher Cards Tutorial with Brigit

Hello there, here’s a quick tutorial on how I print n cut these Teacher thank you sentiments for cards in Cricut Design Space.

For the A2 shaped box card pencil I ungrouped the whole project, selected the thank you teacher and flatten it.

When it’s unflatten the outlines are gone, but it will still cut out just the oval.

When you make it, you will send to printer first and then place on mat to cut.

The A2 chalkboard teacher card I added one of the teacher thank you tags to the chalkboard piece. When I imported the tags they were black so I ungrouped, deleted the ones I wasn’t using, selected the top layer of the one I wanted, selected arrange at the top and moved to back and changed the color to white.

So now you can see everything on the tag.

I just wanted the thank you to print out on the chalkboard so I moved the apple and deleted the tag, selected the thank you and attached, and changed one of the letters on the thank you to white which changed all of the letters.

I ungrouped the chalkboard card, deleted what I didn’t want to use, resized and center aligned the thank you over the chalkboard leaving room for the apple. I selected both and flatten, now it will print n cut.

I cut out both projects together using my Cricut Maker, this way I could print both thank you sentiments at one time. You can see the two print n cuts below.

I love the ability to print n cut sentiments for my projects, you can create a nice custom fit and it’s super quick and easy.

Here’s a closer look at both cards.

Get the A2 pencil shaped box card at the Silhouette Design Store.

Get the A2 teacher chalkboard easel card at the Silhouette Design Store.

Get the thank you teacher favor tags from the Silhouette Design Store.

Thanks for stopping by and have a wonderful day!