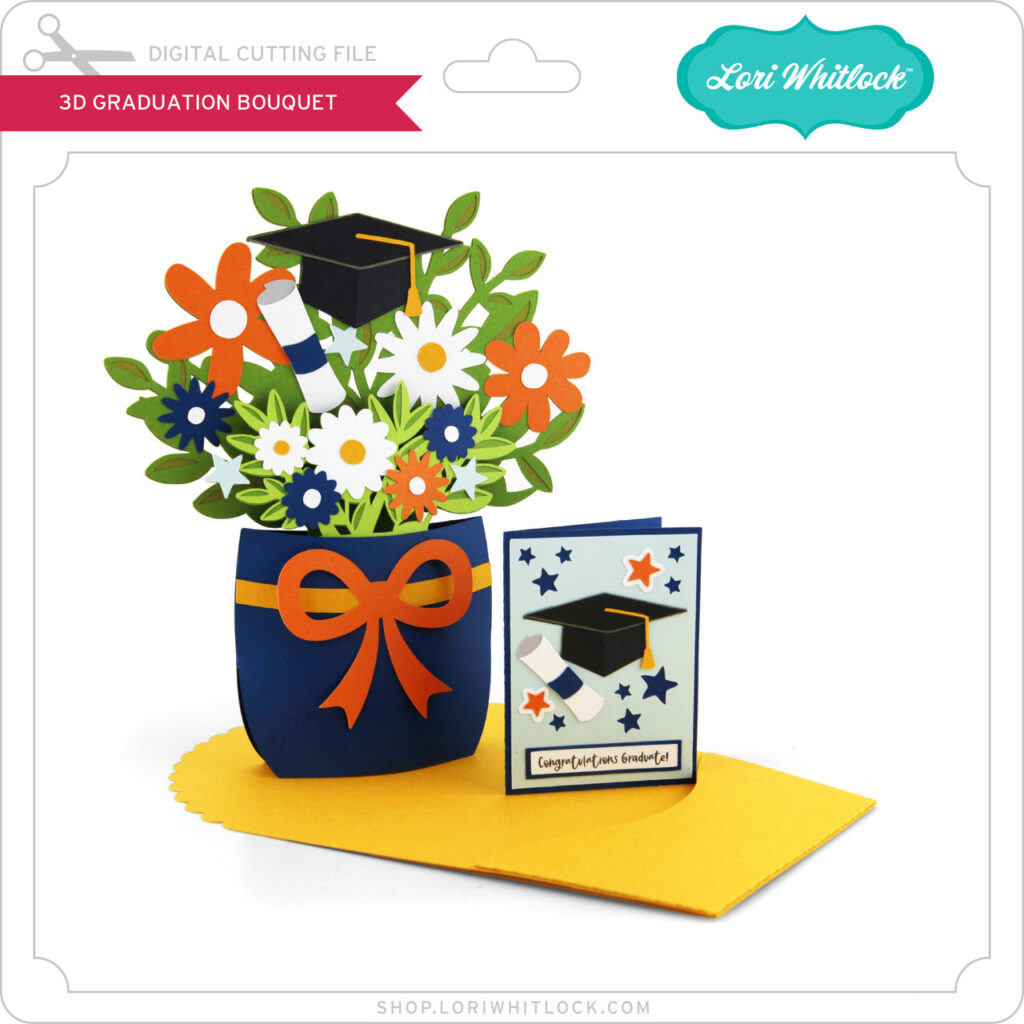
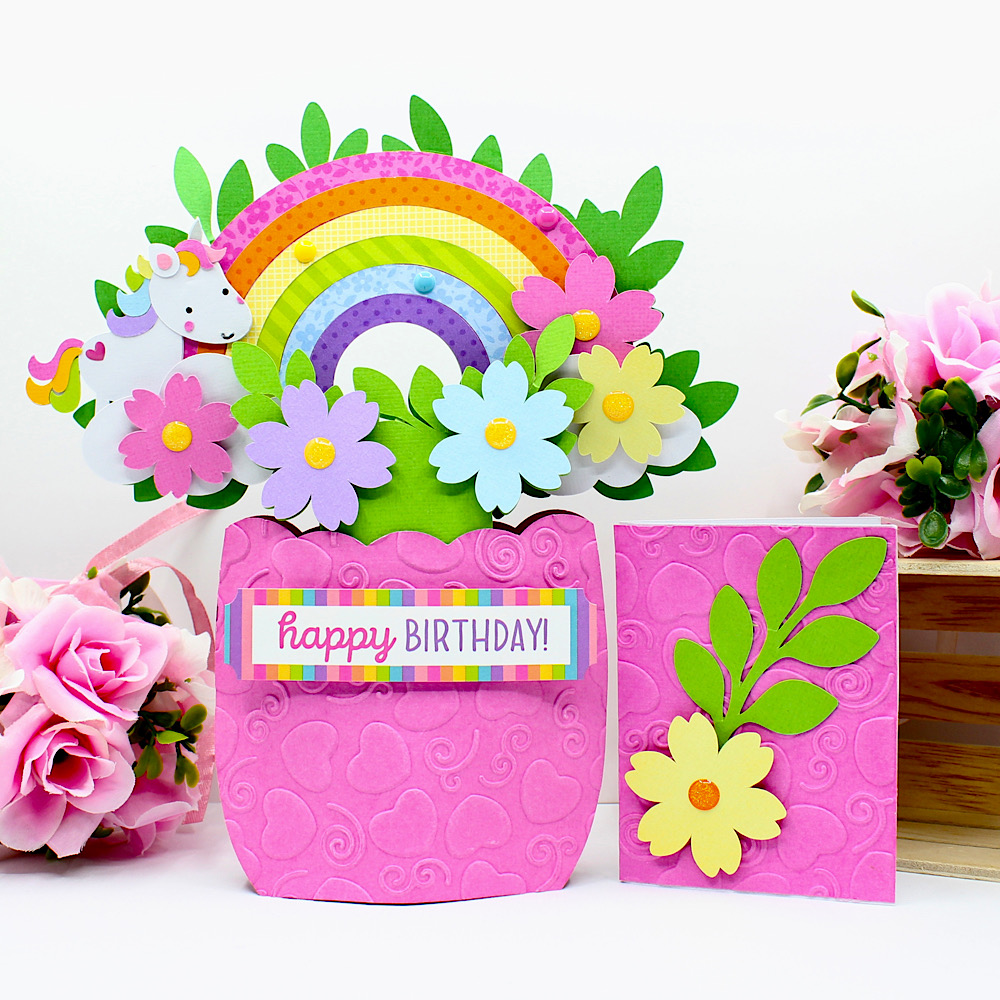
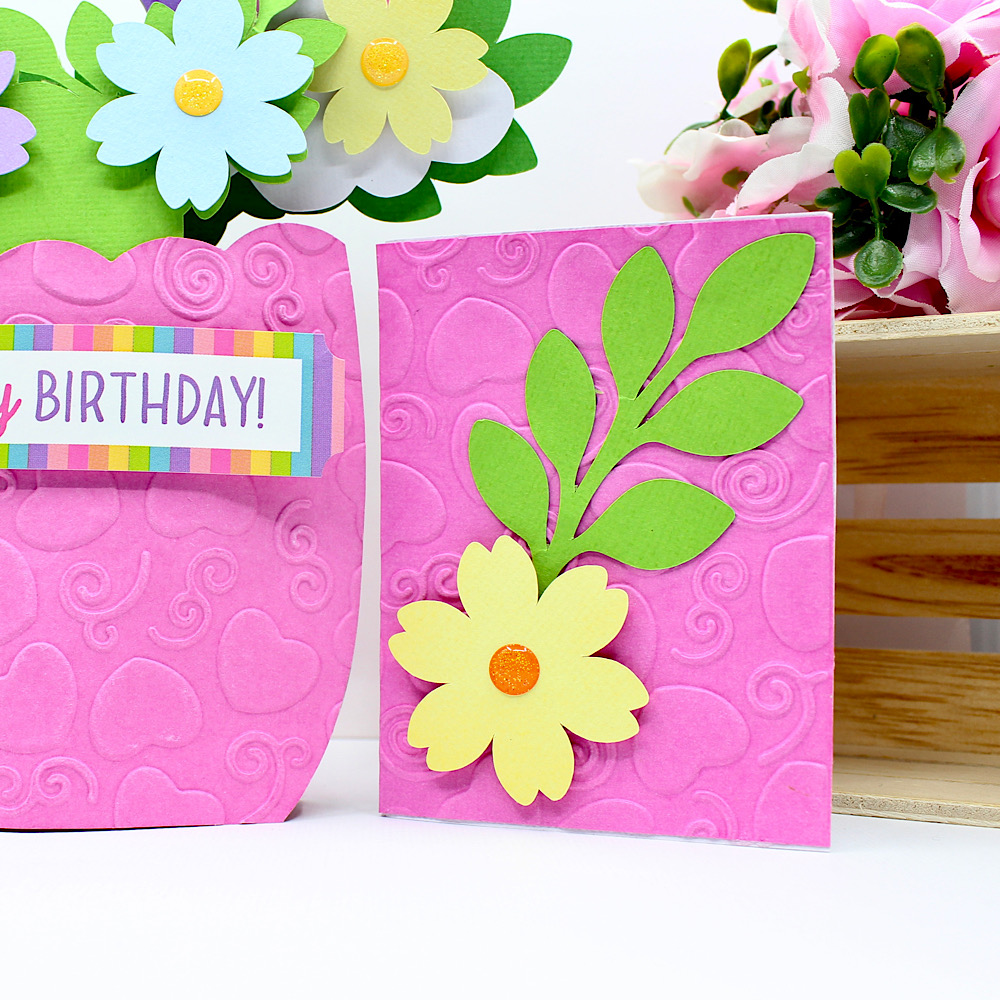
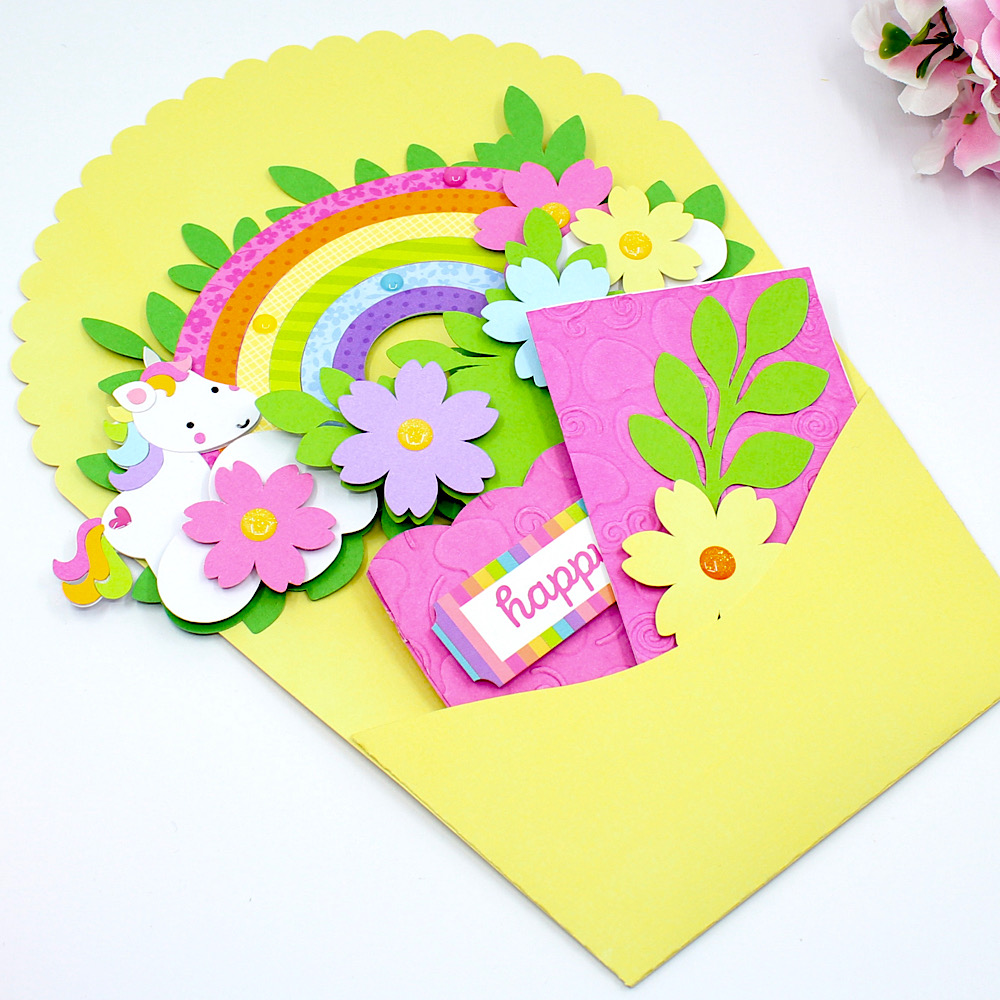
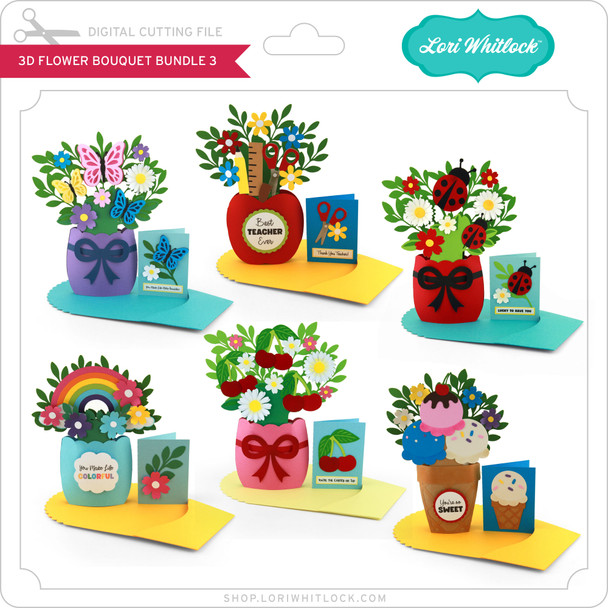
Hello, crafty friends! This is Lindsay, sharing a fun graduation project with you today. My oldest daughter graduated this past weekend, and we have been on the grad party circuit as we celebrate with her friends. It’s so fun to see how each party is uniquely decorated. We’ve also handed out a lot of cards and gifts at each stop. This project makes a beautiful centerpiece or card for that special graduate. The file is called “3D Graduation Bouquet,” and it includes the flowers, envelope, and a mini greeting card (svg, silhouette).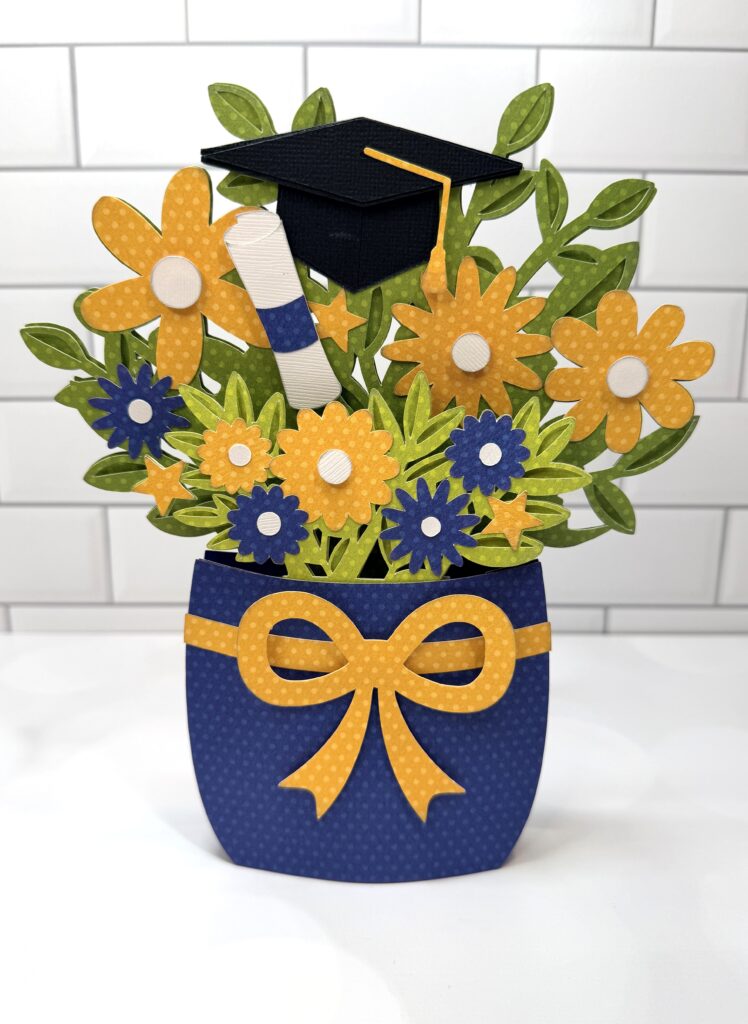
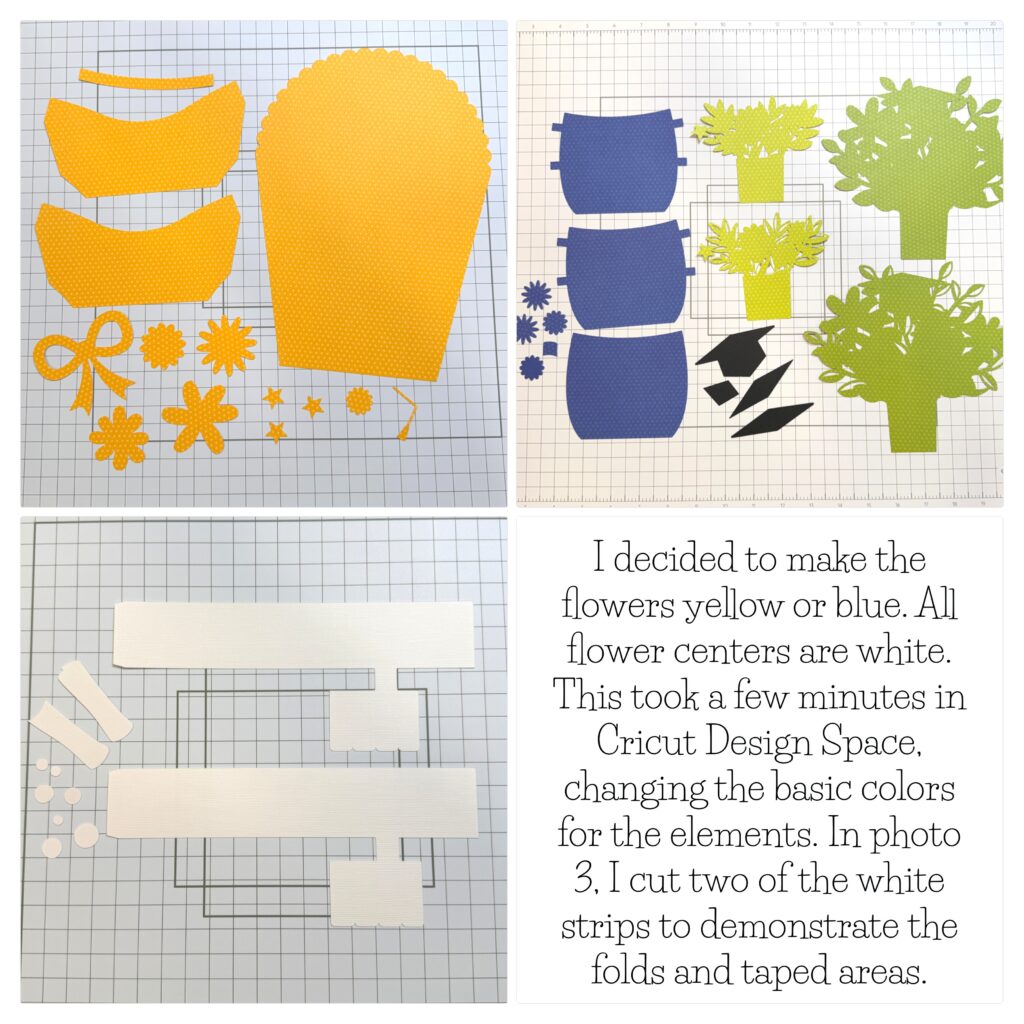
After I uploaded the file into Design Space, I decided to change the flowers to blue and yellow. All of the flower centers are white. This fits with the color scheme for the college that my daughter will be attending in the fall.
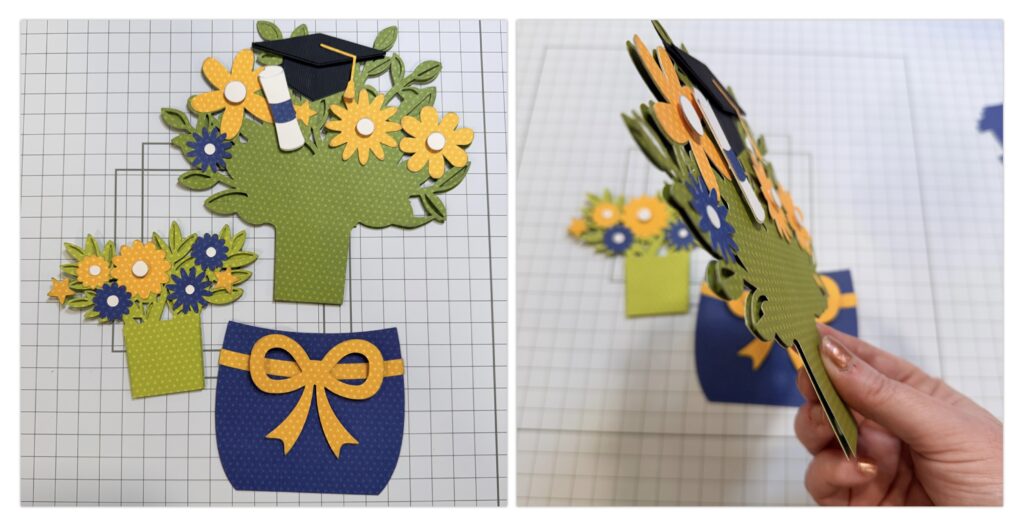
I began by assembling each layer. I used foam adhesive for extra dimension on the bow, flower centers and grad hat. I also popped up the top green layer for each floral bundle.
Next I shifted my focus to the white folding mechanism. This piece helps the bouquet flatten into an envelope, and it also uses a kickstand to keep the bouquet open and standing–perfect for a centerpiece! I used strong tape to hold the pieces together. 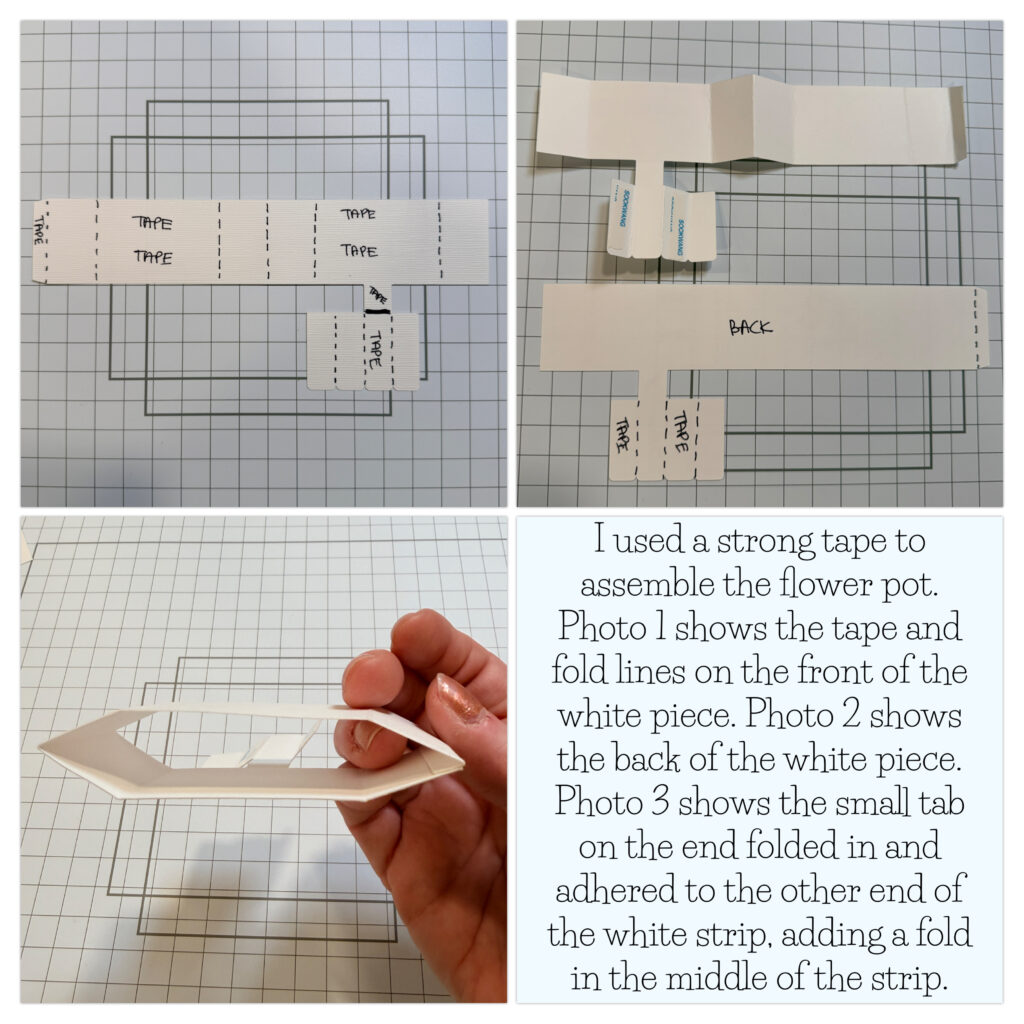
Moving right along, I folded the piece that extends down from the long white strip. I refer to this piece as the kickstand. You will basically accordion fold the tabs until you have one sturdy piece.
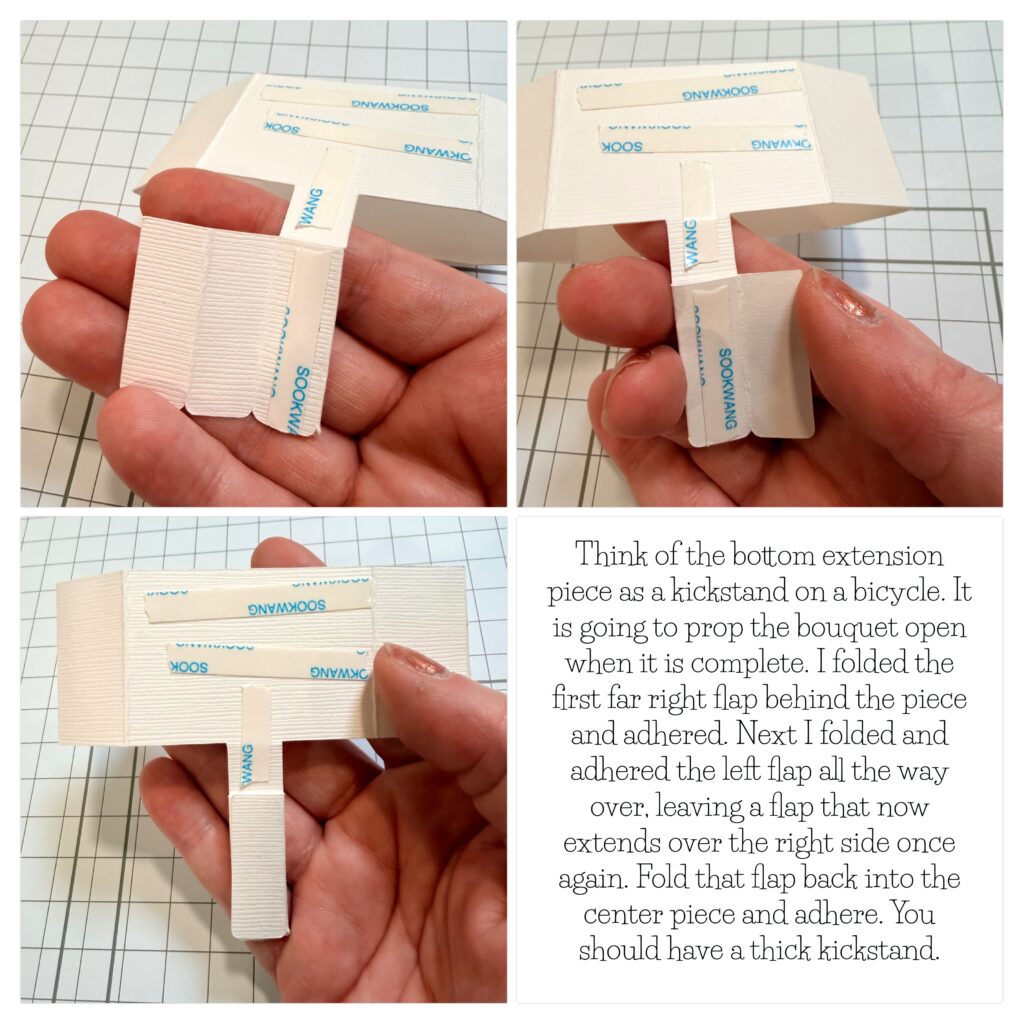
Now it’s time to fold the larger part of the white mechanism and attach it to the blue vase/flower pot base pieces. The kickstand will be even with the bottom of the blue base, but it is not adhered.
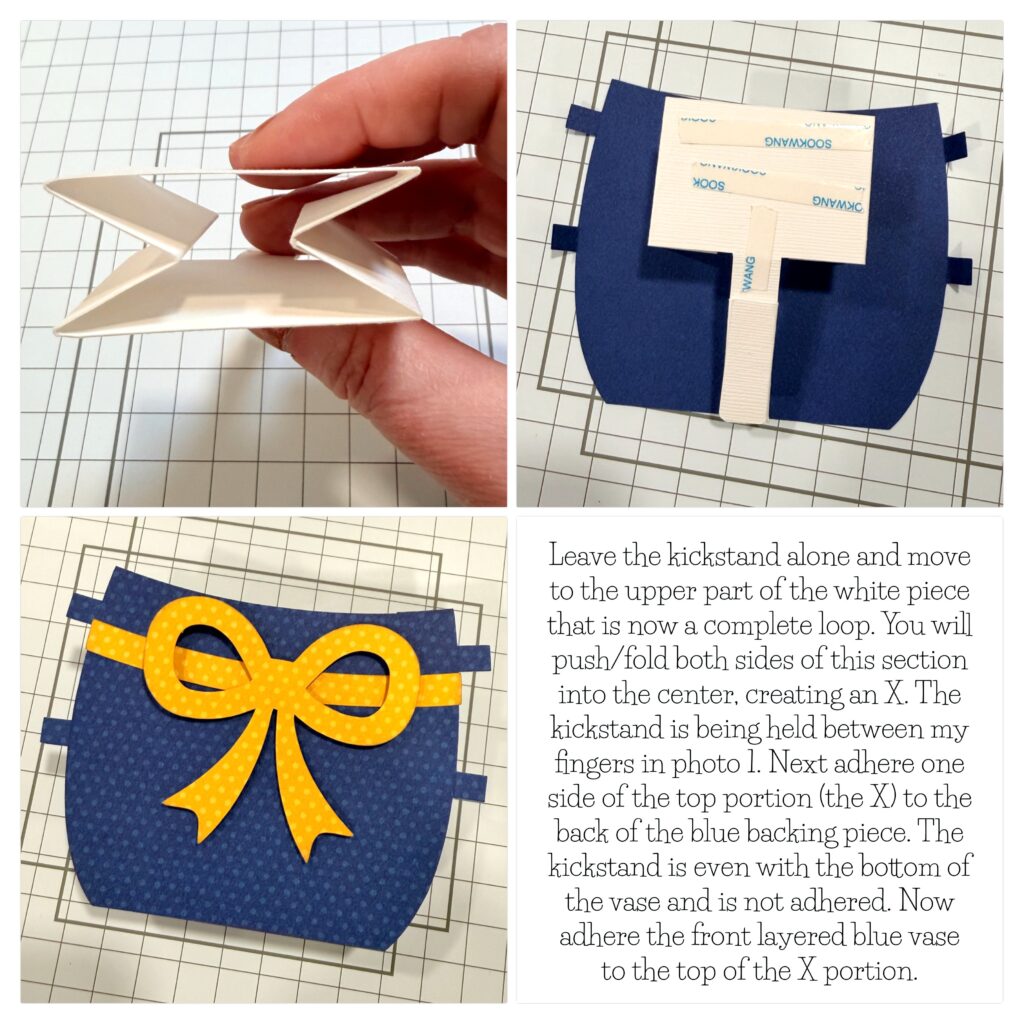
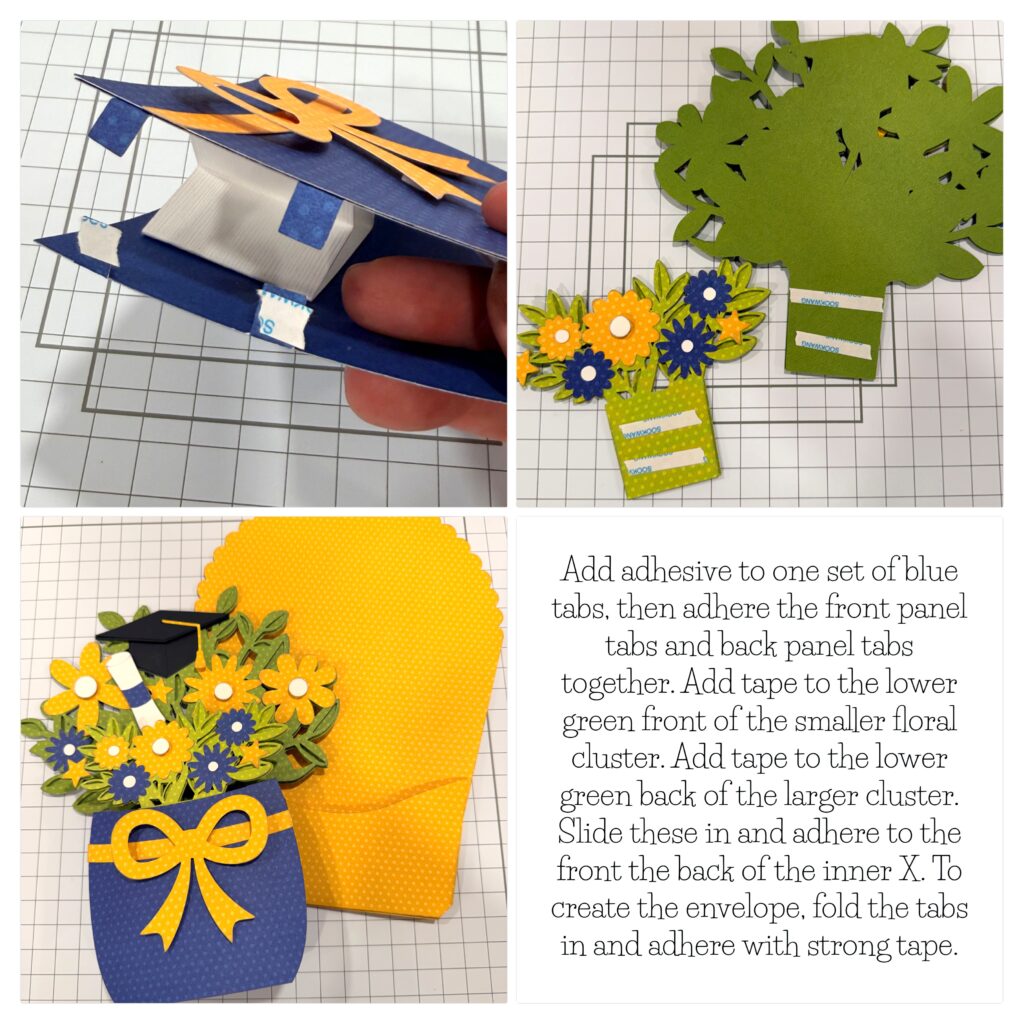
Finally, it all comes together! I added adhesive to one set of the blue tabs, connecting the front and back tabs. I also added adhesive to the front of the smaller floral cluster and the back of the larger floral cluster. These get adhered to the front and back of the white X piece, which is now sandwiched between the blue vase.
I hope this inspires you to create a bouquet card or centerpiece today! This file truly has a wow factor when it is assembled! Click on the picture below, and it will take you right to the file on Lori’s site. Thanks for stopping by the blog today! — Lindsay