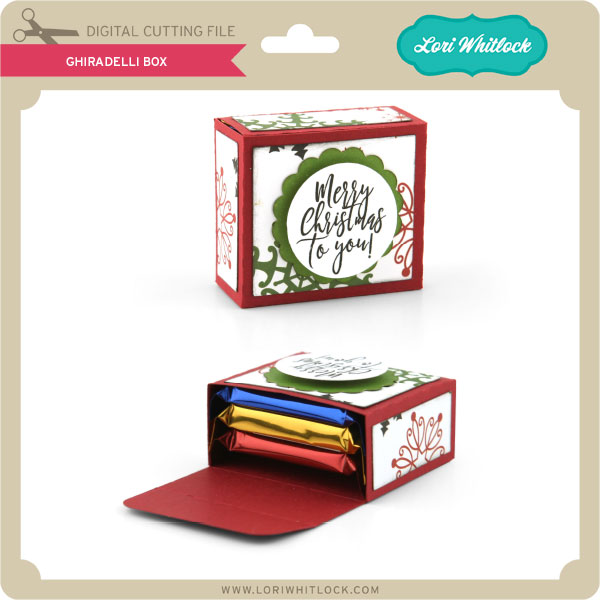
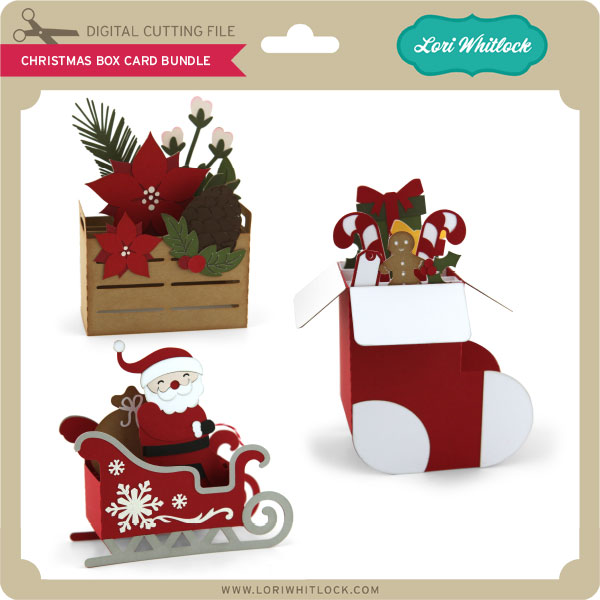
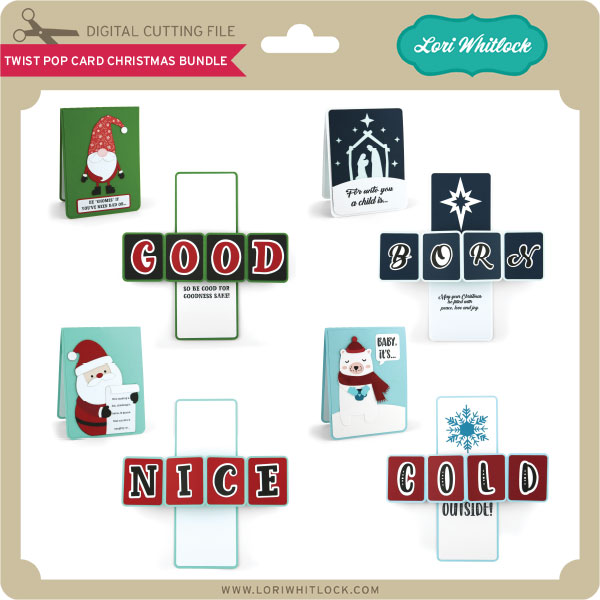
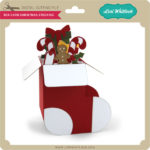
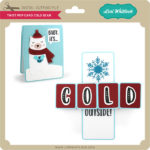
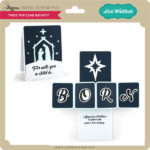
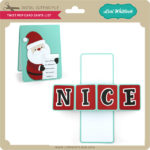
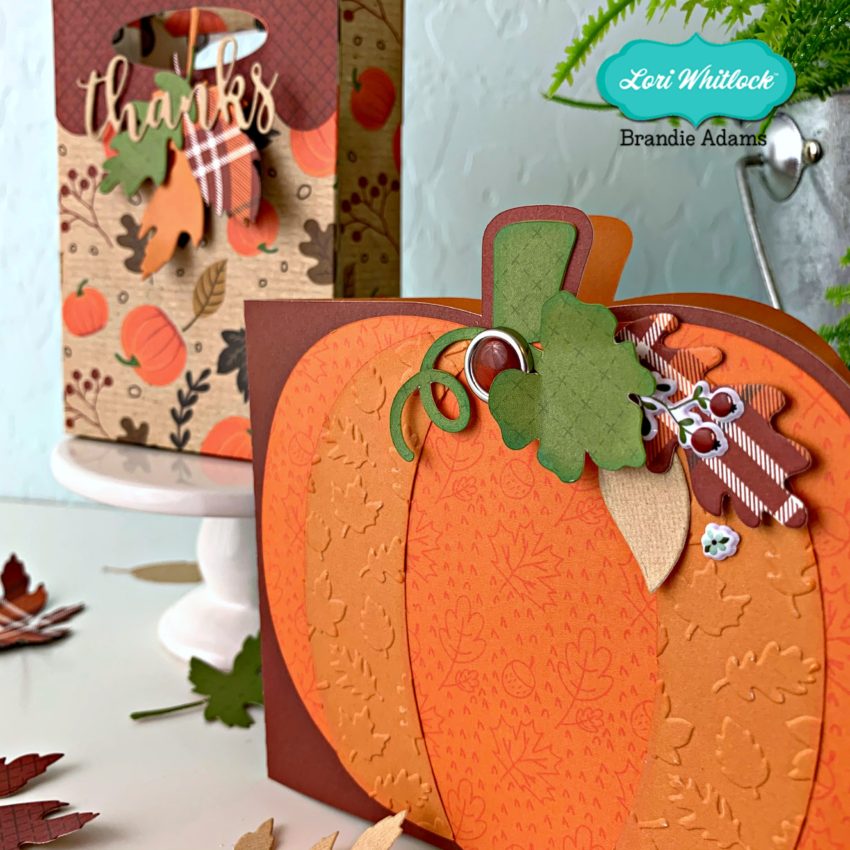
The 25% OFF SALE in the Lori Whitlock SVG Shop is nearing an end! Get 25% all SVGs, fonts, fill patterns, and Commercial Licenses when you use code NOV2019 at checkout. Get started on your Christmas Cards! Don’t wait! Sale ends at Midnight!
Are you crafting this weekend? Maybe finishing (or Starting….) your Holiday Cards? Don’t miss out on the November Sale in the Lori Whitlock SVG Shop! All SVGs and Commercial Licenses are 25% off when you use code NOV2019 at checkout! Don’t wait! Sale ends tomorrow!
Hi Everyone! Today we have a new Friday $5 Bundle! It will ONLY be available until Midnight Sunday and when it’s gone it’s gone. These SVG files can be used with Cricut Explore, Silhouette Studio (with the Designer Edition upgrade), Scan N Cut, and any other cutter that will work with SVG files. Help spread the word by telling your friends and announcing it on social media!
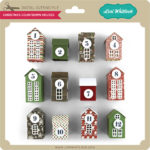
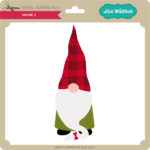
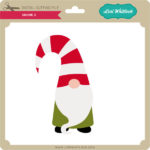
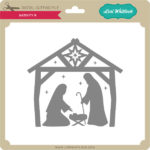
Now through Sunday, you can pick up this Christmas Card bundle including 6 SVG files for just $5!
The cost of this bundle is $5, for $9.95 worth of SVG files, over a 49% savings! But don’t wait, this bundle will only be around until Sunday at midnight!
* Because this bundle is already heavily discounted it is not eligible for further discounts including monthly, seasonal and flash sales. *
Have a great day!
Are your Christmas cards ready to mail? Mine aren’t, but I’m working on it! Hello crafty friends! Michelle Zerull here with you today to share this magical Christmas City Wiper Card.

What makes it so magical? When you open it, the moon rises over the night sky and Santa appears!

Isn’t it fun? It was fun to put together too. You can find the SVG files for your digital cutting machine at the Lori Whitlock SVG Shop, or at the Silhouette Design Store. If you’ve never made a Wiper Card, you can watch Lori’s YouTube Wiper Card video. However, I must warn you. Once you’ve made your Wiper Card, you’re going to want to make more!
Have a crafty day!
The Christmas Holidays will be here before we know it! It’s the perfect time to create a fun countdown calendar! I first saw this type of Calendar on the Doodlebug Blog… it was created by their designer Nathalie Ounce who found the idea on YouTube here. I thought it was the most fabulous idea and decided to create a cut file for it! This Christmas Countdown Book (SVG, Silhouette) book holds 24 boxes which can hold a couple of Kiss size candies or small cookies. Take a peek….
The book is fairly simple to assemble. Besides paper, you will need some chipboard, I used Silhouette’s Chipboard, You will also need a good liquid glue. I used Scotch Quick Dry.
Start by cutting your pieces. We are first going to assemble the book “binding”. There are two pieces that will be used to cover the outside of the book cover. These need to be glued together to form one sheet. There are notches on each sheet that show wheret the overlap should be. I drew a line on one of the papers on the “inside” (it won’t show when done) and glued them together using the line as a guide.
Next, you want to add the chipboard pieces to the inside of the book cover. The corners of the larger chipboard pieces should be placed at the indented corners of the cover pieces. I used a ruler to help make sure things were straight. Glue these pieces down to the cover piece. I then glued down the “spine” piece, centering it between the 2 cover pieces.
Next fold down the top and bottom flaps. Make sure they are flush with the edge of the chipboard. I used a bone folder to make sure the creases were crisp. Glue the flaps to the chipboard. Make sure the edges are completely glued and there are no gaps. It does not matter if you get a little glue on the chipboard or the edge of the paper, it will be covered. After you’ve done the top and bottom, repeat with the side flaps. Allow this to dry.
When adding the inside center piece, I found it easiest to glue the “center section” first. To make sure it is lined up properly, you can fold up the side of the book and position it so that the score line is flush with the fold in the book. Allow the center to dry, then glue the side flaps. As you did with the cover, you want to make sure the edges of the paper are completely glued down. This prevents any gapping or lifting. Allow this to dry then add the inside covers.
If you are going to add ribbon to tie the book shut you would do this at this point. (You could also tie a ribbon around the whole book as well if you prefer or skip this step entirely) If you are adding ribbon to the book itself, you want to use a very thin ribbon. I used some seam tape I had in my stash. There isn’t much thickness to it so it was perfect. I used a long ruler, placing it across the whole book to make sure my ribbon was straight. I glued each piece about 3″ in. Each of my ribbon pieces was about 9″ long. Once the ribbon is dry you can add the outside covering panels, and the book binding is done!

Next you want to assemble the boxes. You will cut 24 each of the box tops and bottoms. For both the bottom and cover, fold all the score lines in the same direction, and fold into box shape. The tabs get glued on the inside.
I’ve created a guide that will help you place all of the boxes into the book so they are all perfectly aligned. Start by placing this guide on one side of the book. I held mine in place with some Score Tape. You can use a low tack tape or even a light washi tape. You just want to be able to pull it off when done without ripping the paper. Next glue the box bottoms into the book. Make sure the glue does not seep out onto the frame, it will make it difficult to remove. When you’ve completed one side, carefully lift the guide out. I used a pencil to help lift it. Then repeat with the other side until all the boxes are glued. Add the covers and you’re done!
To finish my book I decorated it using a couple of files from my shop and some embellishments from the My Favorite Christmas Collection by Echo Park Paper. (Christmas Ornaments (SVG, Silhouette) and the greenery from the Shadow Box Card Holly Card (SVG, Silhouette)
If you use this file, we would love to see your creations! Make sure to tag Lori Whitlock on Facebook and Instagram so we can see! Have a great day!