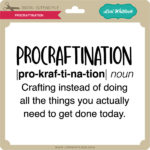
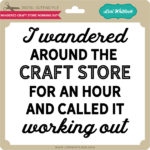
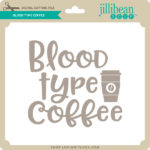
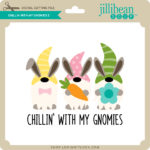
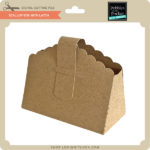
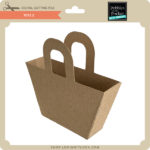
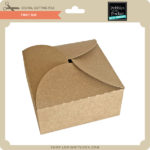
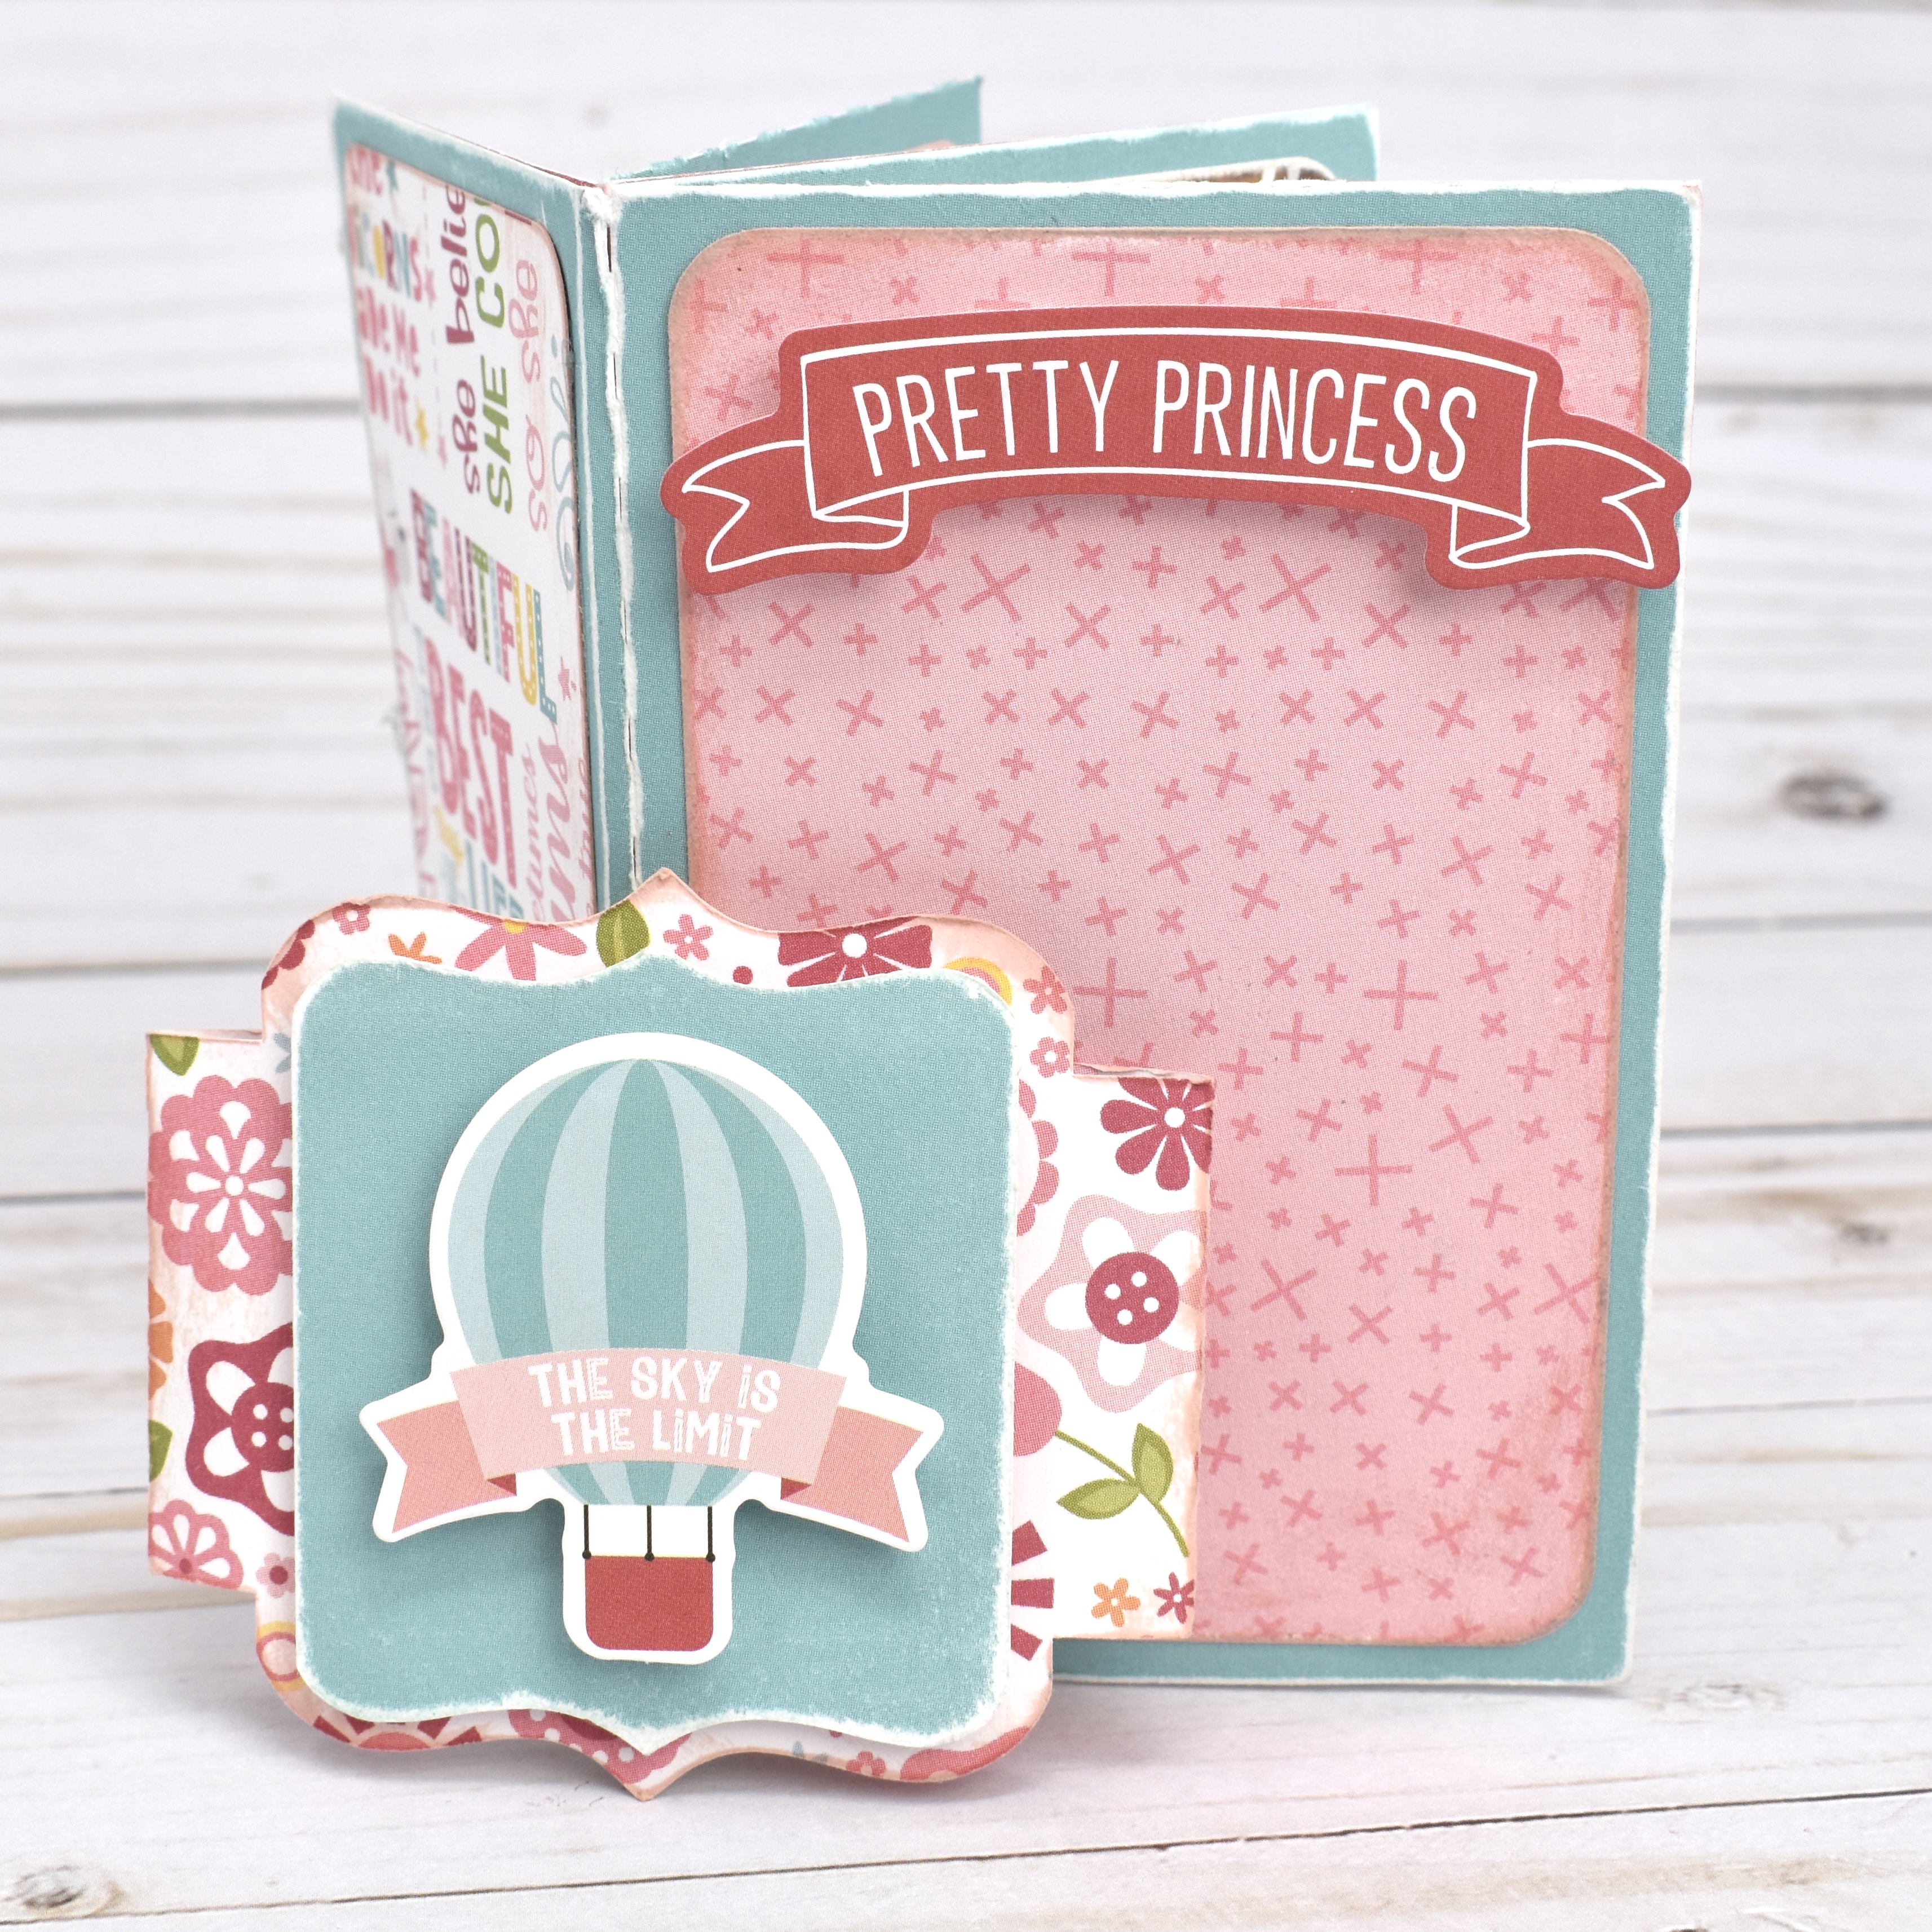
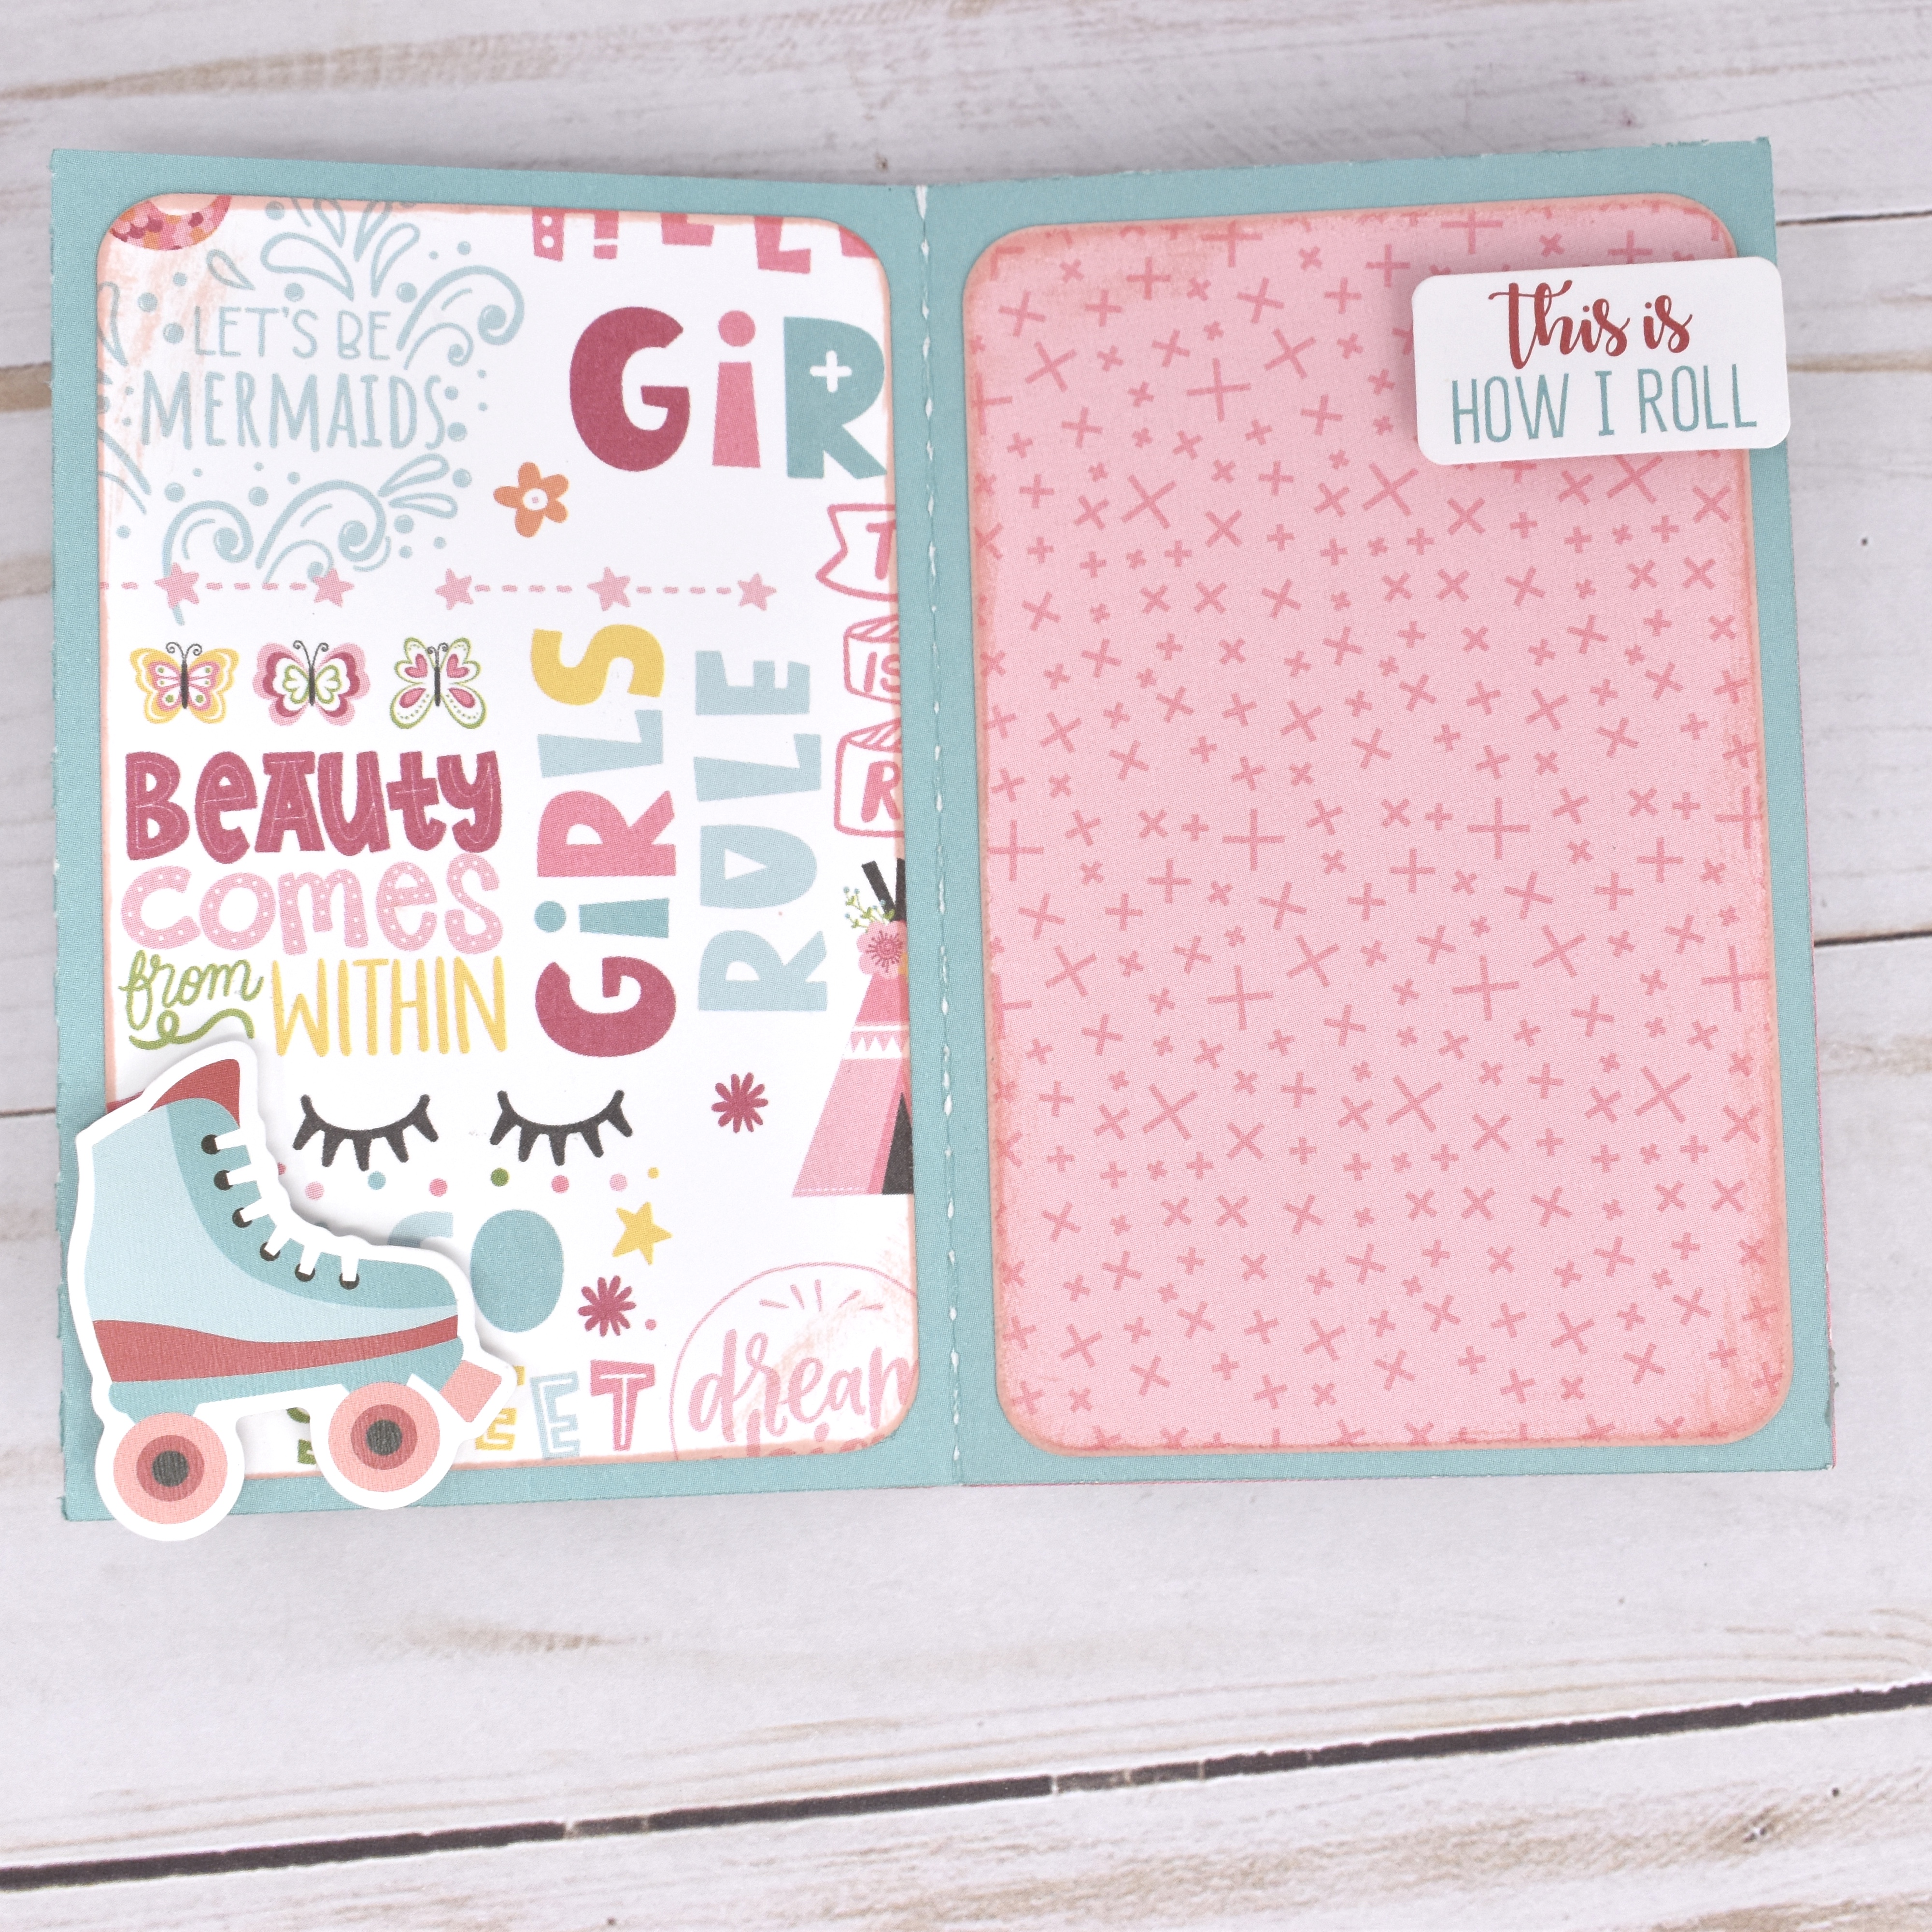
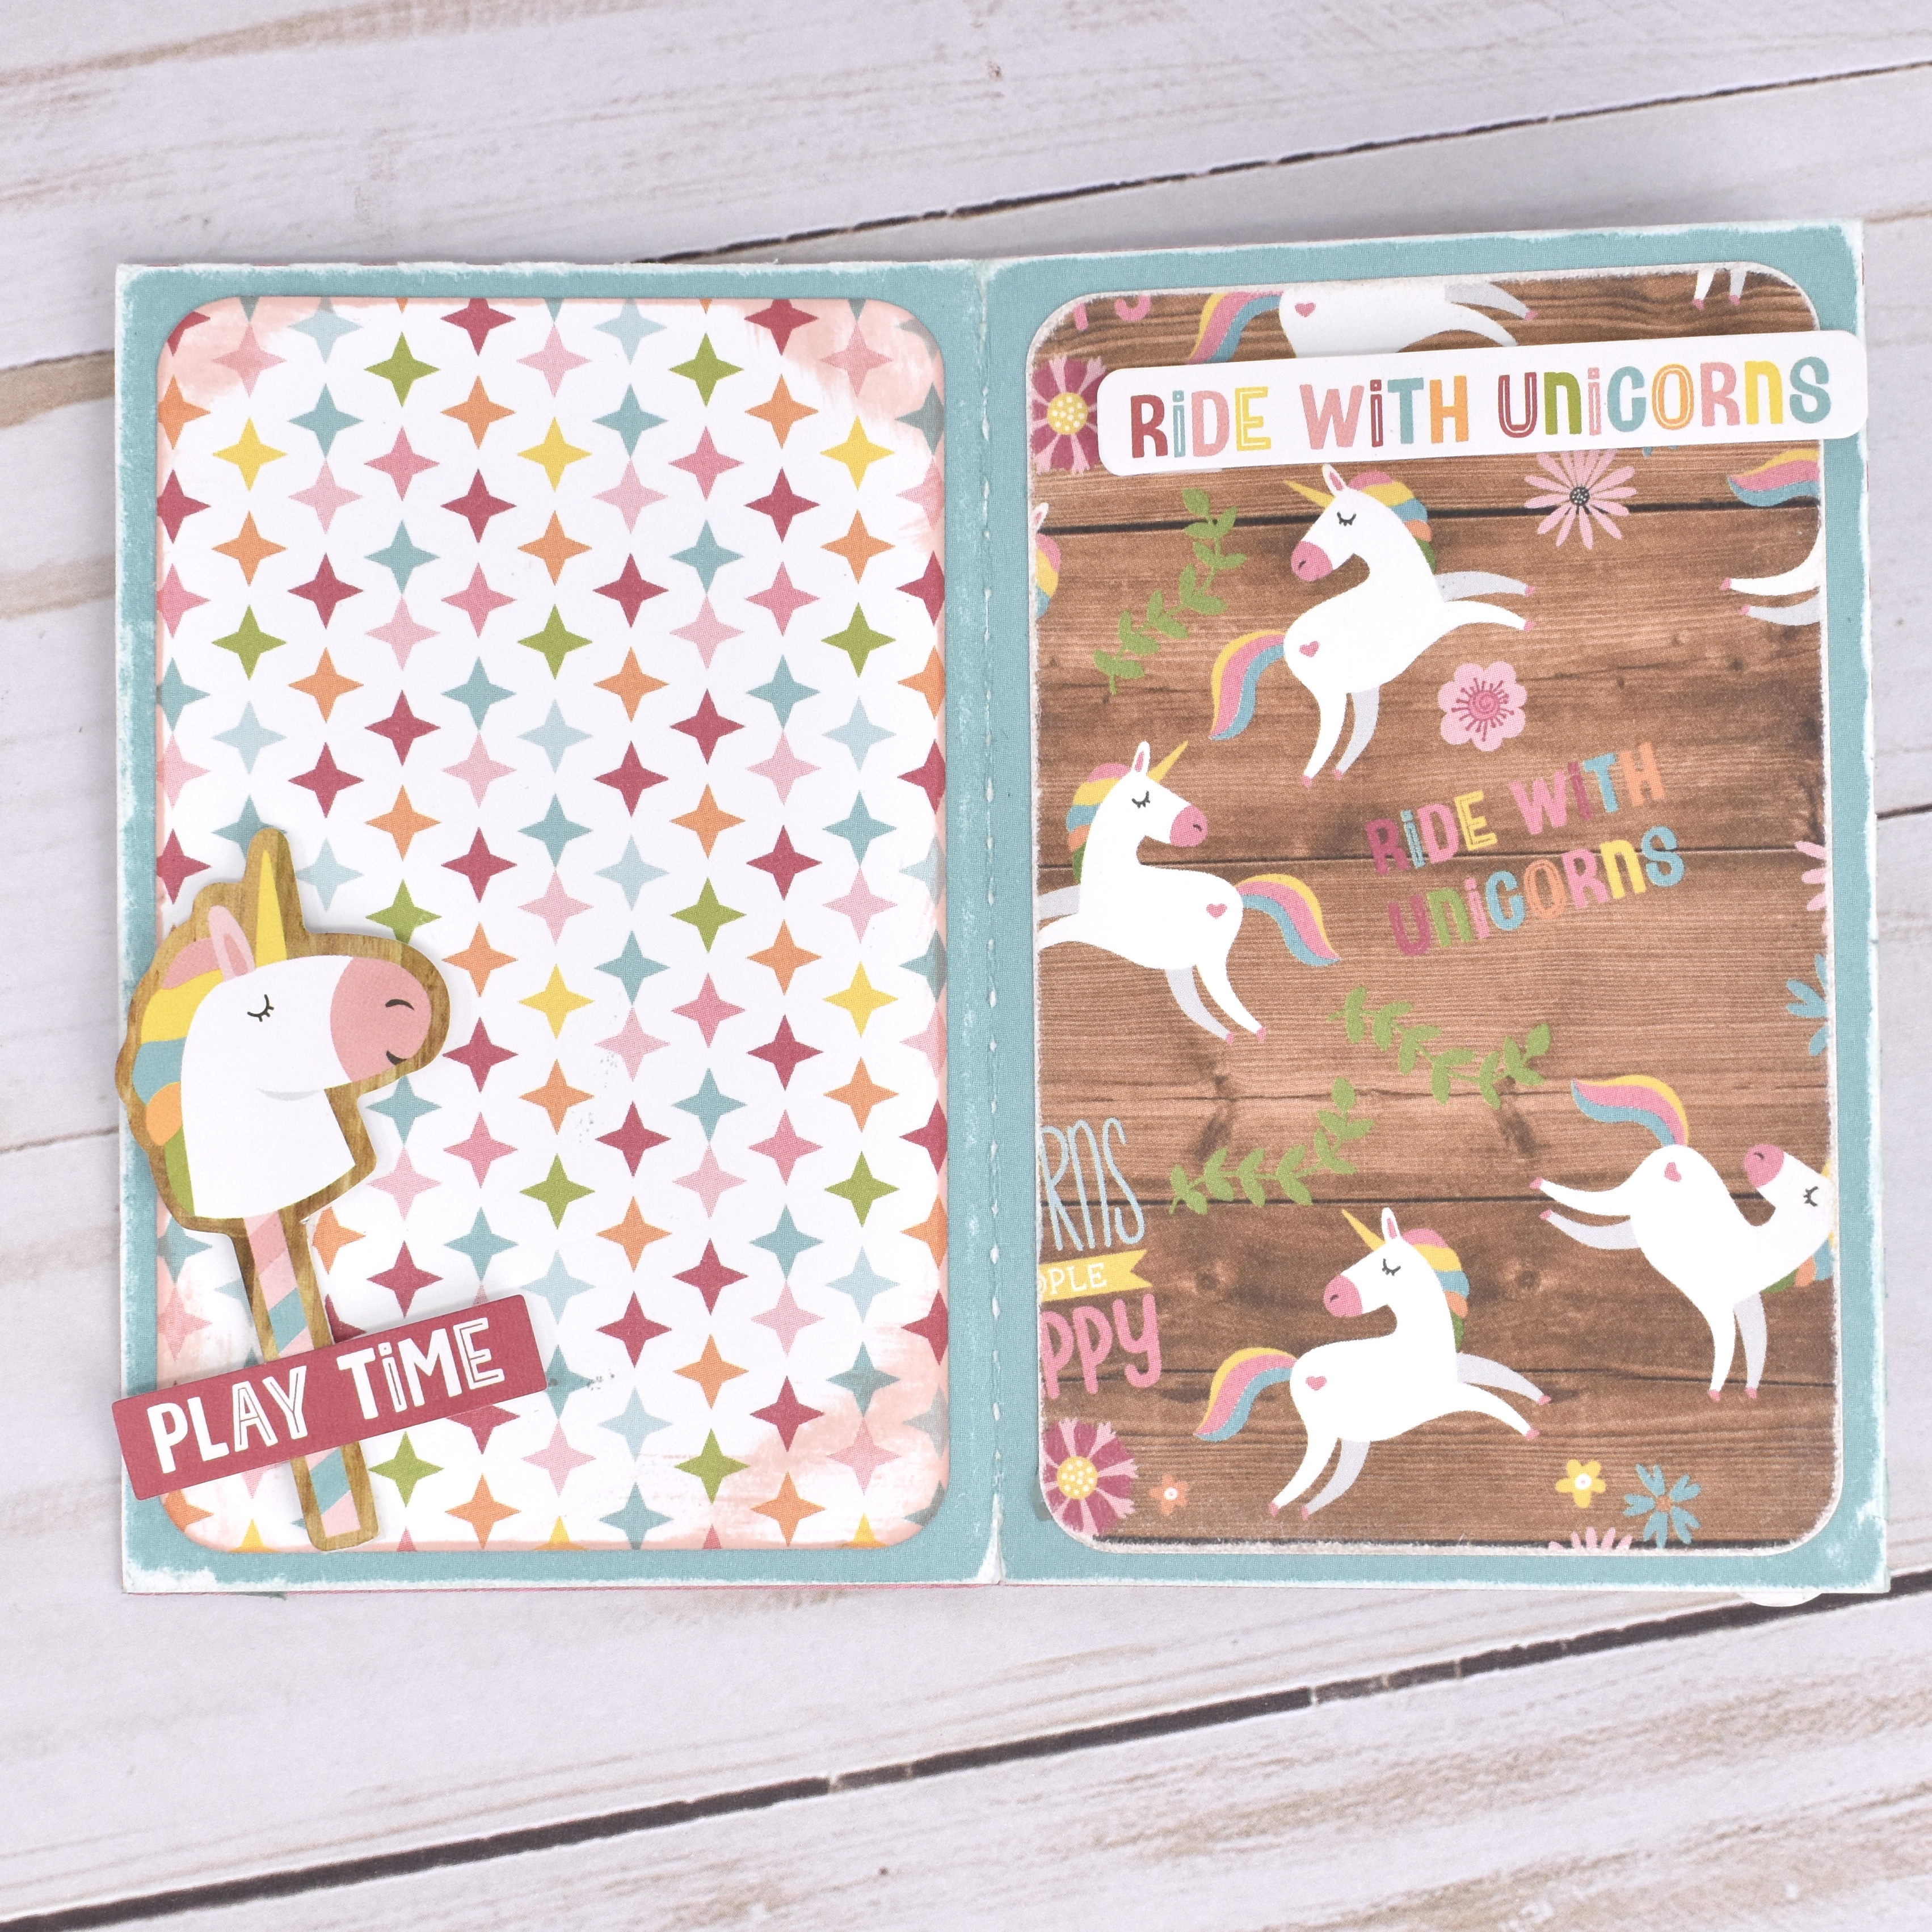
ALL WEEK, this SVG file is FREE with any $1.99 purchase!
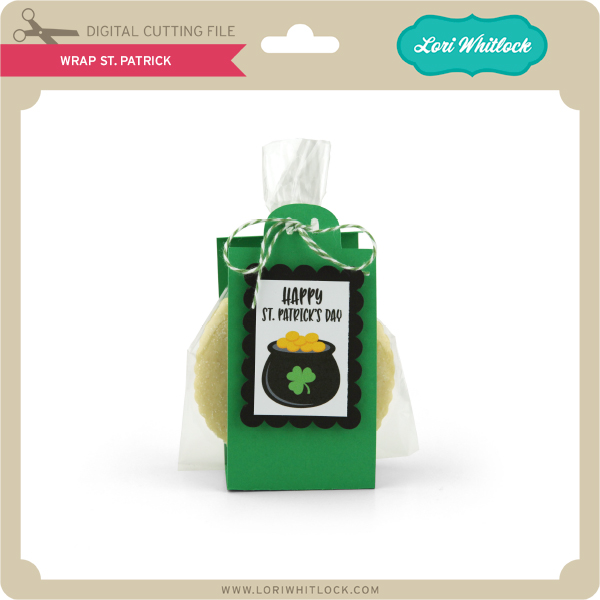
Happy St. Patrick’s Day! We have a FREE file with purchase all this week! Simply add this St. Patrick’s Wrap file to your shopping cart along with ANY $1.99+ purchase from the SVG Shop and this file is yours FREE. Be sure to use Coupon Code: MARCH17 (case sensitive) at checkout. This offer is good through next Sunday.
(Your cart must reach at least $3.98 before the coupon will be applied and then $1.99 will be subtracted from your total at checkout. The files will be available for immediate download after you pay for your order by visiting MY ACCOUNT>COMPLETED ORDERS>ORDER DETAILS inside of your account. Only one discount code per order allowed.)

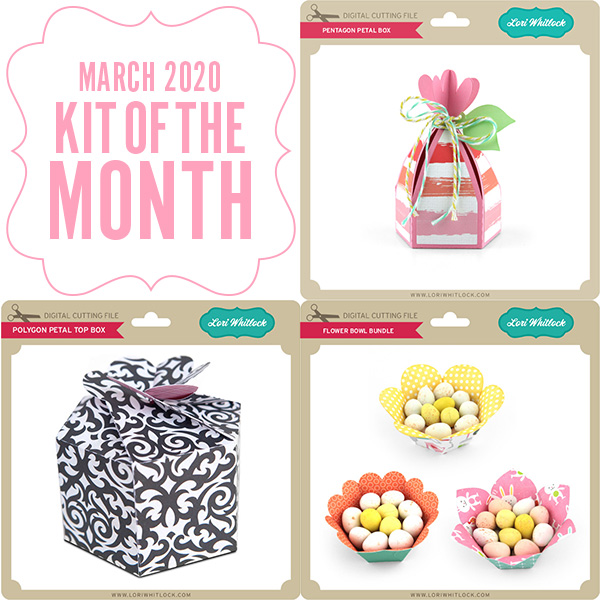
In addition, don’t forget about this special ! You can get this Free Kit of the Month with any $20 purchase (Purchase must be in one transaction.) Simply add the 2020 March Kit of the Month to your shopping cart along with ANY $20.00+ purchase from the SVG Shop and this file is yours FREE. Be sure to use Coupon Code: MAR20KOTM (case sensitive) at checkout. This offer is good through March 31, 2020.
(Your cart must reach at least $27.95 before the coupon will be applied and then $7.95 will be subtracted from your total at checkout. The files will be available for immediate download after you pay for your order by visiting MY ACCOUNT>COMPLETED ORDERS>ORDER DETAILS inside of your account. Only one discount code per order allowed.)
Check out the new SVG files releasing this week! Just like always, the NEW SVG files will be ON SALE 25% OFF through the weekend in the SVG Shop! These downloads include SVG files that may be used with Cricut Explore, Silhouette (DE upgrade required), Eclips, Brother Scan and Cut, and any other software that will open SVG files. No coupon code necessary, the newly released files are all discounted in the shop! Be sure to go get them while they are on SALE this week.
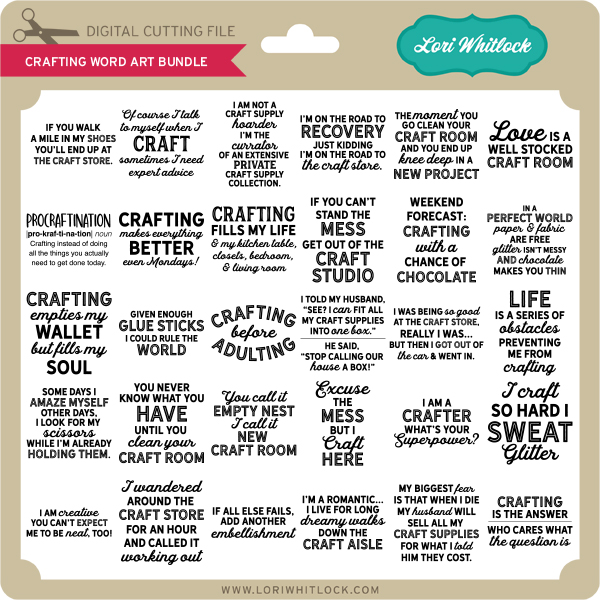
This week I have a new bundle Craft Phrases. We also have files from Jillibean Soup, Paige Evans and Pebbles in My Pocket.
Thanks for visiting the blog today! Please let us know if you need any help with your files. We want to make sure everyone is happy with their purchase. Have a great week! SHOP HERE