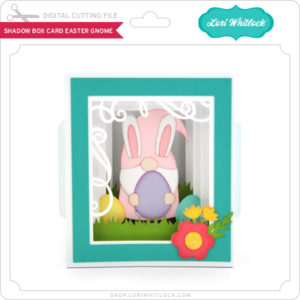
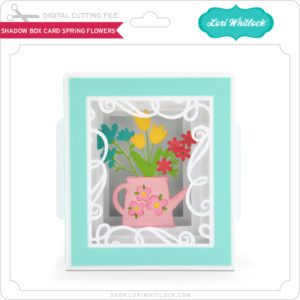
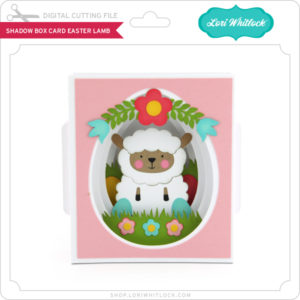
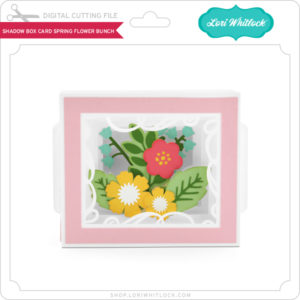
Friday $5 Bundle Ends at Midnight!

This awesome Friday $5Bundle is available until midnight and when it’s gone it’s gone.  These SVG files can be used with Cricut Explore, Silhouette Studio (with the Designer Edition upgrade), Scan N Cut, and any other cutter that will work with SVG files. Help spread the word by telling your friends and announcing it on social media!
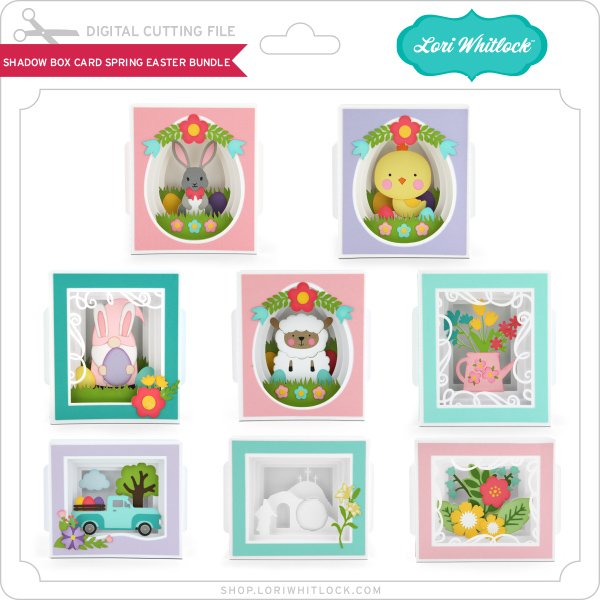
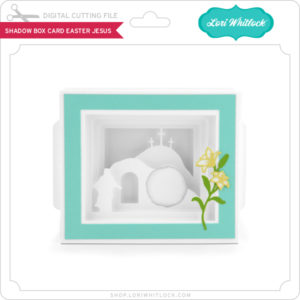
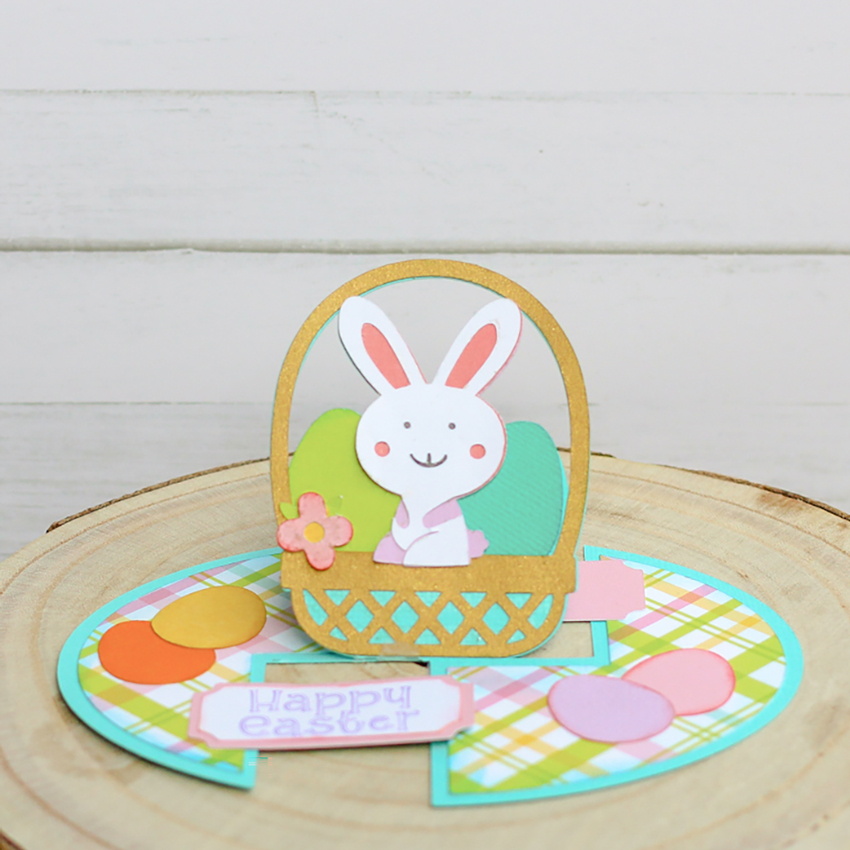
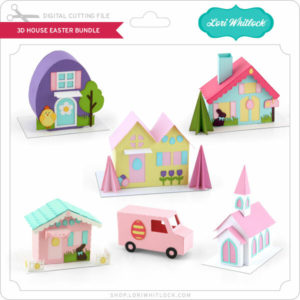
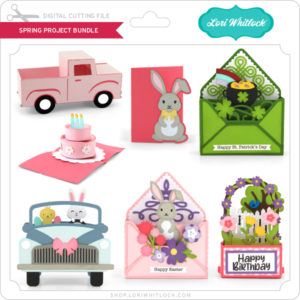
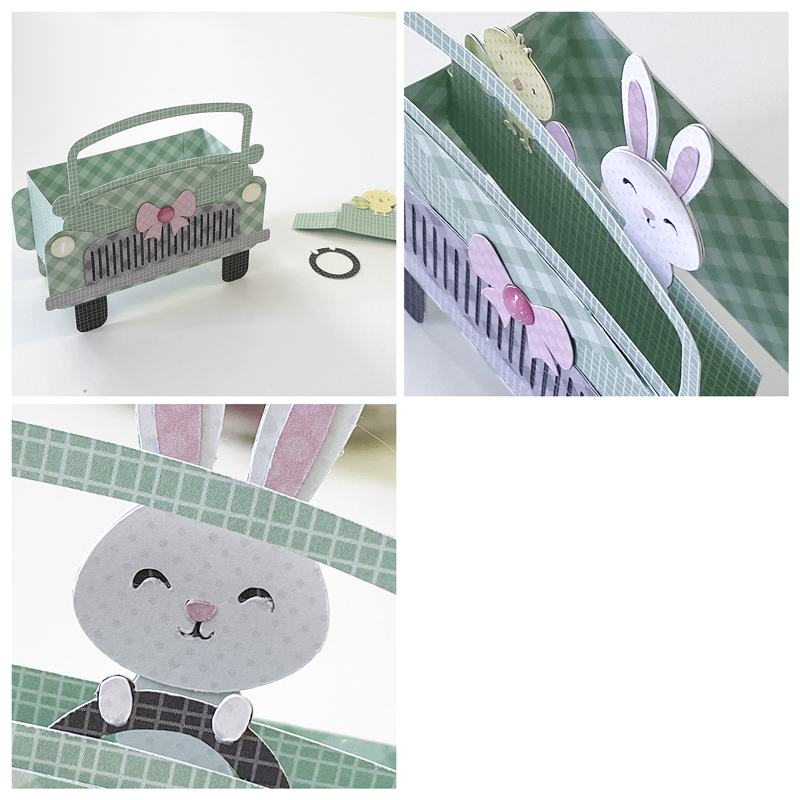
Be sure to pick up this Spring/Easter Box Card Bundle including 5 SVG files for just $5**!

The cost of this bundle is $5, for $9.95 worth of SVG files, over a 49% savings! But don’t wait, this bundle will only be around until TODAY at midnight!

** Because Friday $5 Bundles are already heavily discounted they are not eligible for further discounts including monthly, seasonal and flash sales.

Have a great day!

New Spring-Easter Pop Up Card Bundle

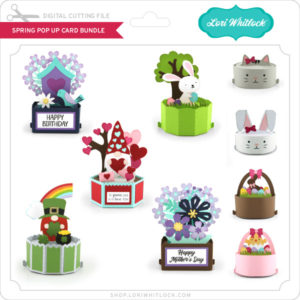
Hi Everyone!  I have a new Spring Easter Pop Up Card Bundle in the shop this week, there are 4 new versions just in time for the holiday!  Take a peek…

Hexagon Pop Up Card Easter Cross (SVG, Silhouette)
Fits into a 5×7 envelope
Hexagon Pop Up Card Tutorial

Decagon Pop Up Card Flowers (SVG, Silhouette)
Fits into  5×7 envelope
Decagon Pop Up Card Tutorial


Hexagon Pop Up Card Chick (SVG, Silhouette)
Hexagon Pop Up Card Chocolate Easter Bunny (SVG, Silhouette)
Both fit into a 5×7 envelope
Hexagon Pop Up Card Tutorial

In addition to the new Pop Up Cards, I have a new 3D Pick up Truck… how cute is this?? It would be a great addition to your holiday decorating!

3D Pick Up Truck Flowers (SVG, Silhouette)
Tutorial

Have a great day!

A New Friday $5 SVG Bundle

Hi Everyone! Today we have a new Friday $5 Bundle! It will ONLY be available until Midnight Sunday and when it’s gone it’s gone. These SVG files can be used with Cricut Explore, Silhouette Studio (with the Designer Edition upgrade), Scan N Cut, and any other cutter that will work with SVG files. Help spread the word by telling your friends and announcing it on social media!

Now through Sunday, you can pick up this Spring/Easter Box Card Bundle including 5 SVG files for just $5**!

The cost of this bundle is $5, for $9.95 worth of SVG files, over a 49% savings! But don’t wait, this bundle will only be around until Sunday at midnight!

** Because Friday $5 Bundles are already heavily discounted they are not eligible for further discounts including monthly, seasonal and flash sales.

Have a great day!

Easter Bunny Belly Box Tutorial

Hi there paper crafting friends!  It’s Michelle Starcher, aka the Bookish Designer, hopping onto the blog to walk you through the steps to create Lori’s Belly Box Easter Bunny  (SVGSilhouette).  This adorable little treat holder is part of the 2021 March Kit of the Month (SVG), which is FREE with any $20 purchase from the Lori Whitlock Shop during the month of March.  Look for the coupon code in the item description.

In this photo tutorial, I will break down the steps to create this cute little bunny box!  I wanted my box to be a little bit bigger than the original design.  After opening the file in the Cricut Design Space, I increased the size by dragging the arrow in the bottom right corner.  If you are resizing a file, do it while all the elements are still grouped to keep the ratio between elements.  I set my file size to 13.848 x 11.5″ since my Cricut Maker doesn’t like to cut files larger than 11.5″ without using oversized papers.  The process is similar in Silhouette.

After cutting the file pieces, I inked the edges of the pieces.  After inking all of the individual pieces, I attached the paw pads to the paws and the ears to box bunny face.  At this point, it doesn’t matter which side of the bunny make the front, unless you are like me and your cardstock is a different color on each side.**

Next, you are going to attach the black rectangle to the back of the bunny face.  At this point, I folded the bow as well.  The pieces fold back to form the bow, and then you “tie” the matching strip around the bow. Hopefully, you can see the how the bow comes together in the picture below.

Attach the box-less bunny face over the back of the box bunny to cover the black rectangle.  Fold the box along the score marks, and add adhesive to the tabs on the box.

Attach the tabs to the front of the bunny and the front rectangle to create the box.  Then add your paws, bow, and bunny nose using foam tape.  (You can use regular adhesive, but I always like to add a little “pop” to my projects!)

Fill your Bunny Belly Box with candy, and it is ready to give to some-bunny special this Easter.

Don’t forget this adorable little treat holder is part of the 2021 March Kit of the Month (SVG), which is FREE with any $20 purchase from the Lori Whitlock SVG Shop during the month of March.  Look for the coupon code in the item description.

Until next time,

Michelle

**Since my cardstock was light gray on one side and dark gray on the other, I cut two copies of the bunny belly box.  I cut off the box portion of the second one and attached it to the front of my bunny box.  I did this because I didn’t want my bunny face and the box body to be two different colors.**


Unicorns and Rainbows

Hi Everyone! Need a little cheer?  Well it’s all unicorns and rainbows here today!  I pieced together Lori’s new Rectangle Pop Up Card Unicorn (SVG, Silhouette) for a friend’s birthday, and I think it’s one of the cutest little cards I’ve ever made.  Take a peek…


Doesn’t that just make you smile?  Lori’s Rectangle Pop Up Card Tutorial on YouTube is easy to follow, you’ll be piecing these cards together in no time! This card also fold flat for mailing, and fits into a 6″ square envelope with plenty of space to account for the thickness of the layers.

So if you know of someone who could use some rainbows, I highly recommend sending them one of these cards!  That’s it for me today, thanks for stopping by to peek!

BLOG | INSTAGRAM