Happy Thursday, everyone! Recently, I learned a fun thing that I wanted to pass along to everyone. A lot of collections now have stencils you can get to match the paper line. Check out Echo Park’s Vroom line. I used this stencil to create a cute embossed element on my card.

How fun is it to emoboss with these stencils?!?!

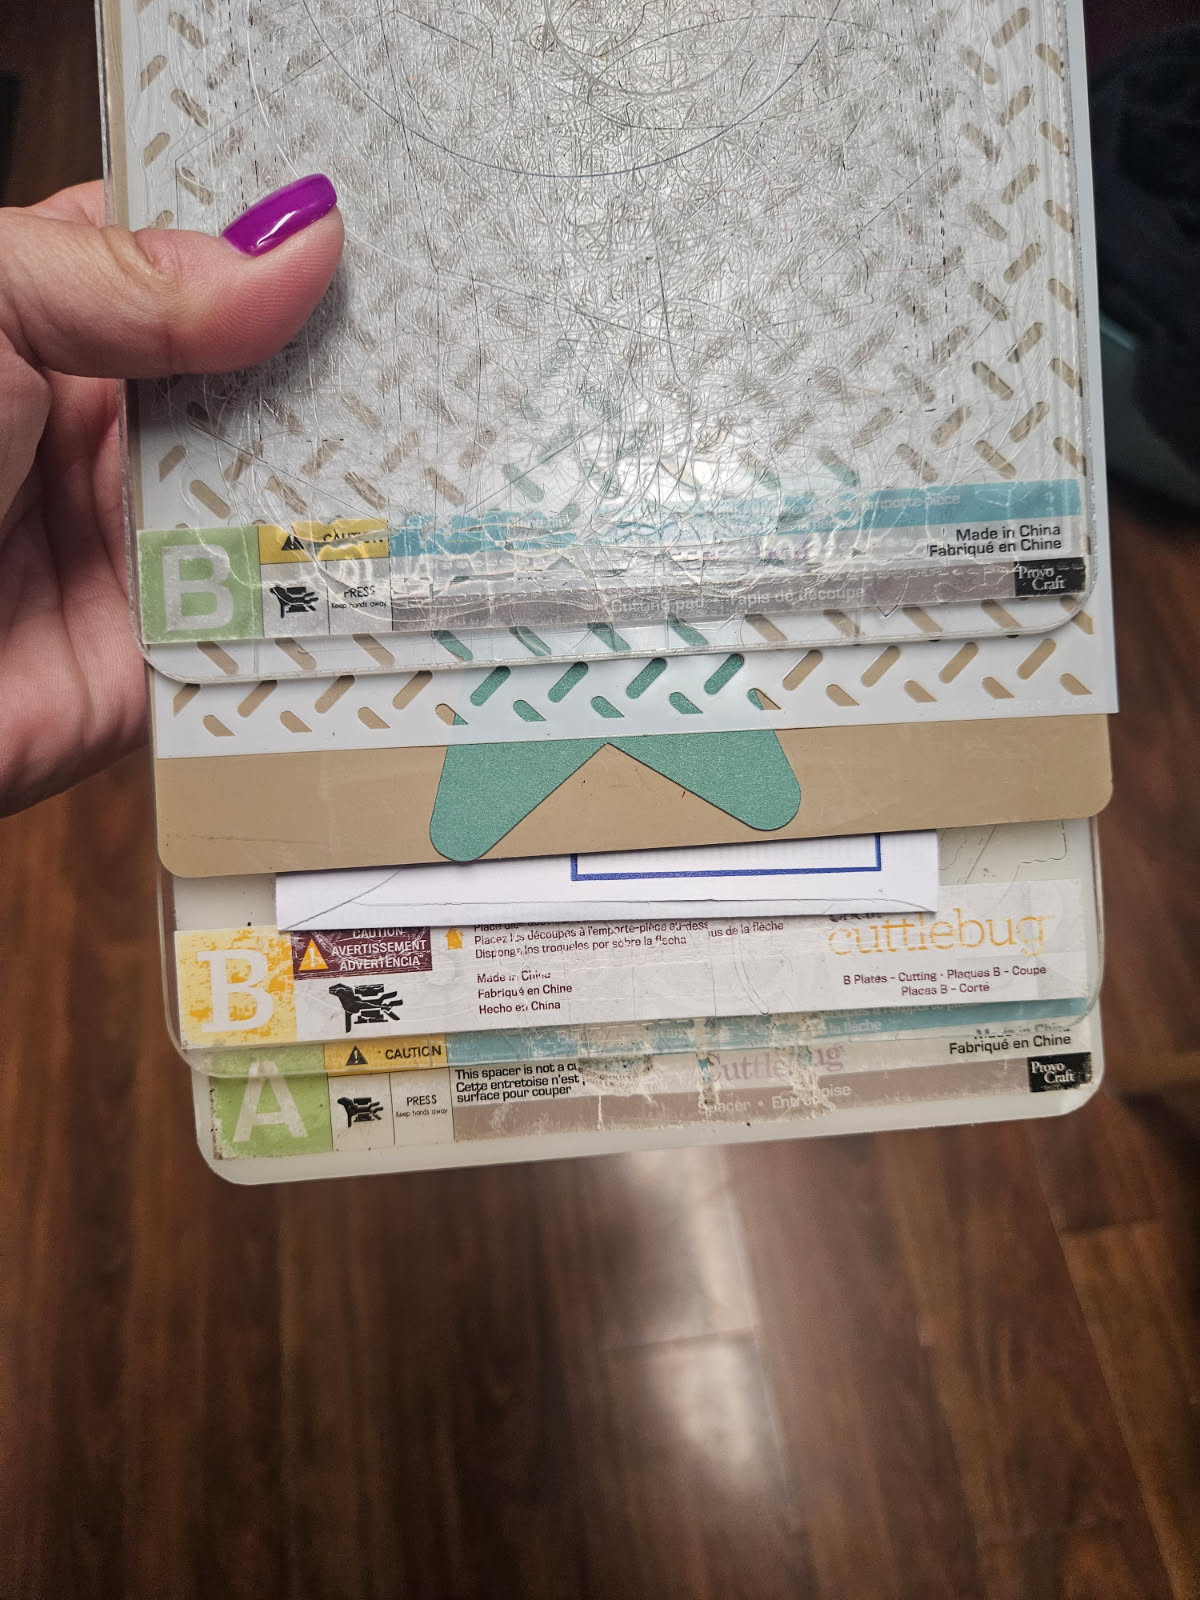
It’s super easy and the result is so fun. I still have an old school Cuttlebug but I know you can layer your Big Shot plates a very similar way.
What you will need:
- Cuttlebug or Big Shot or similar machine
- A plate
- 2 B plates
- A rubber mat (use extra shims if you don’t have a rubber mat)
- Shim
- Stencil
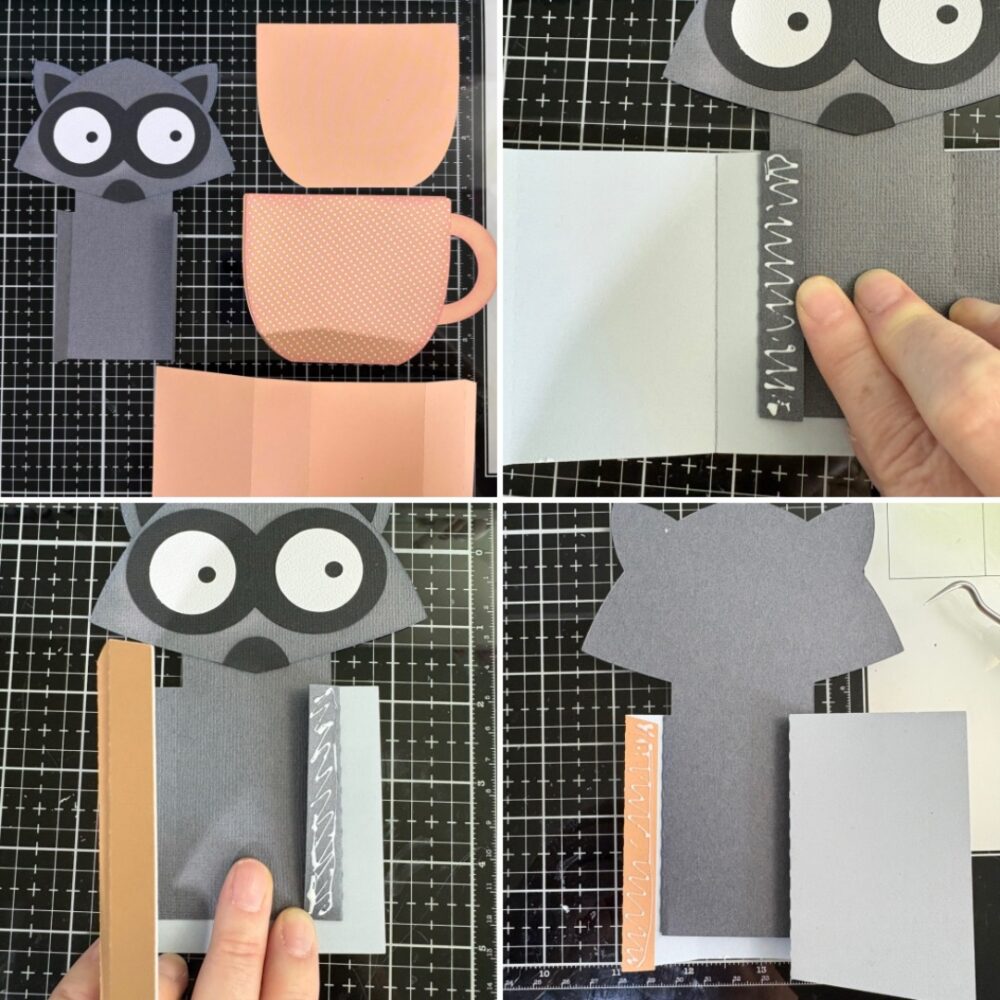
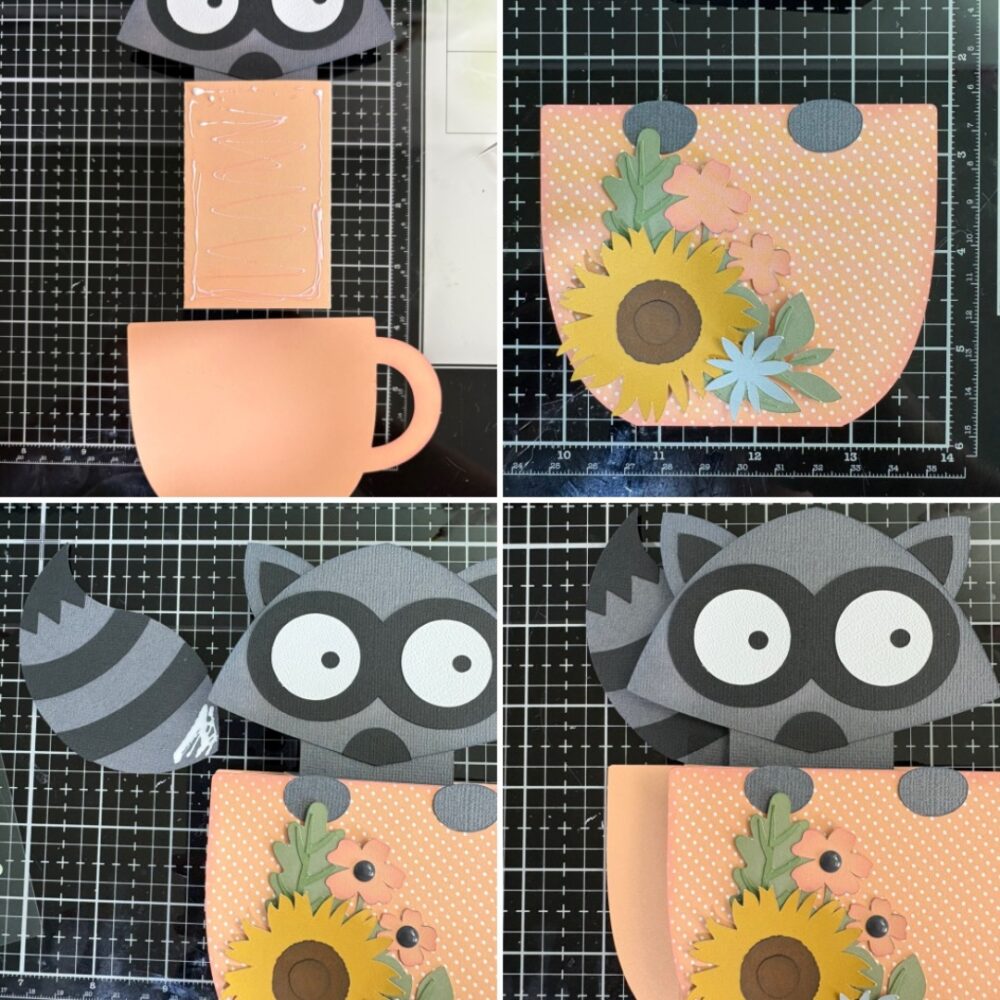
Layer your mats and stencil like below (my mats are well loved). You will build from bottom up. A mat on bottom, B mat, shim, rubber mat (or extra shims), paper, stencil, B mat. Run it through your embossing machine.
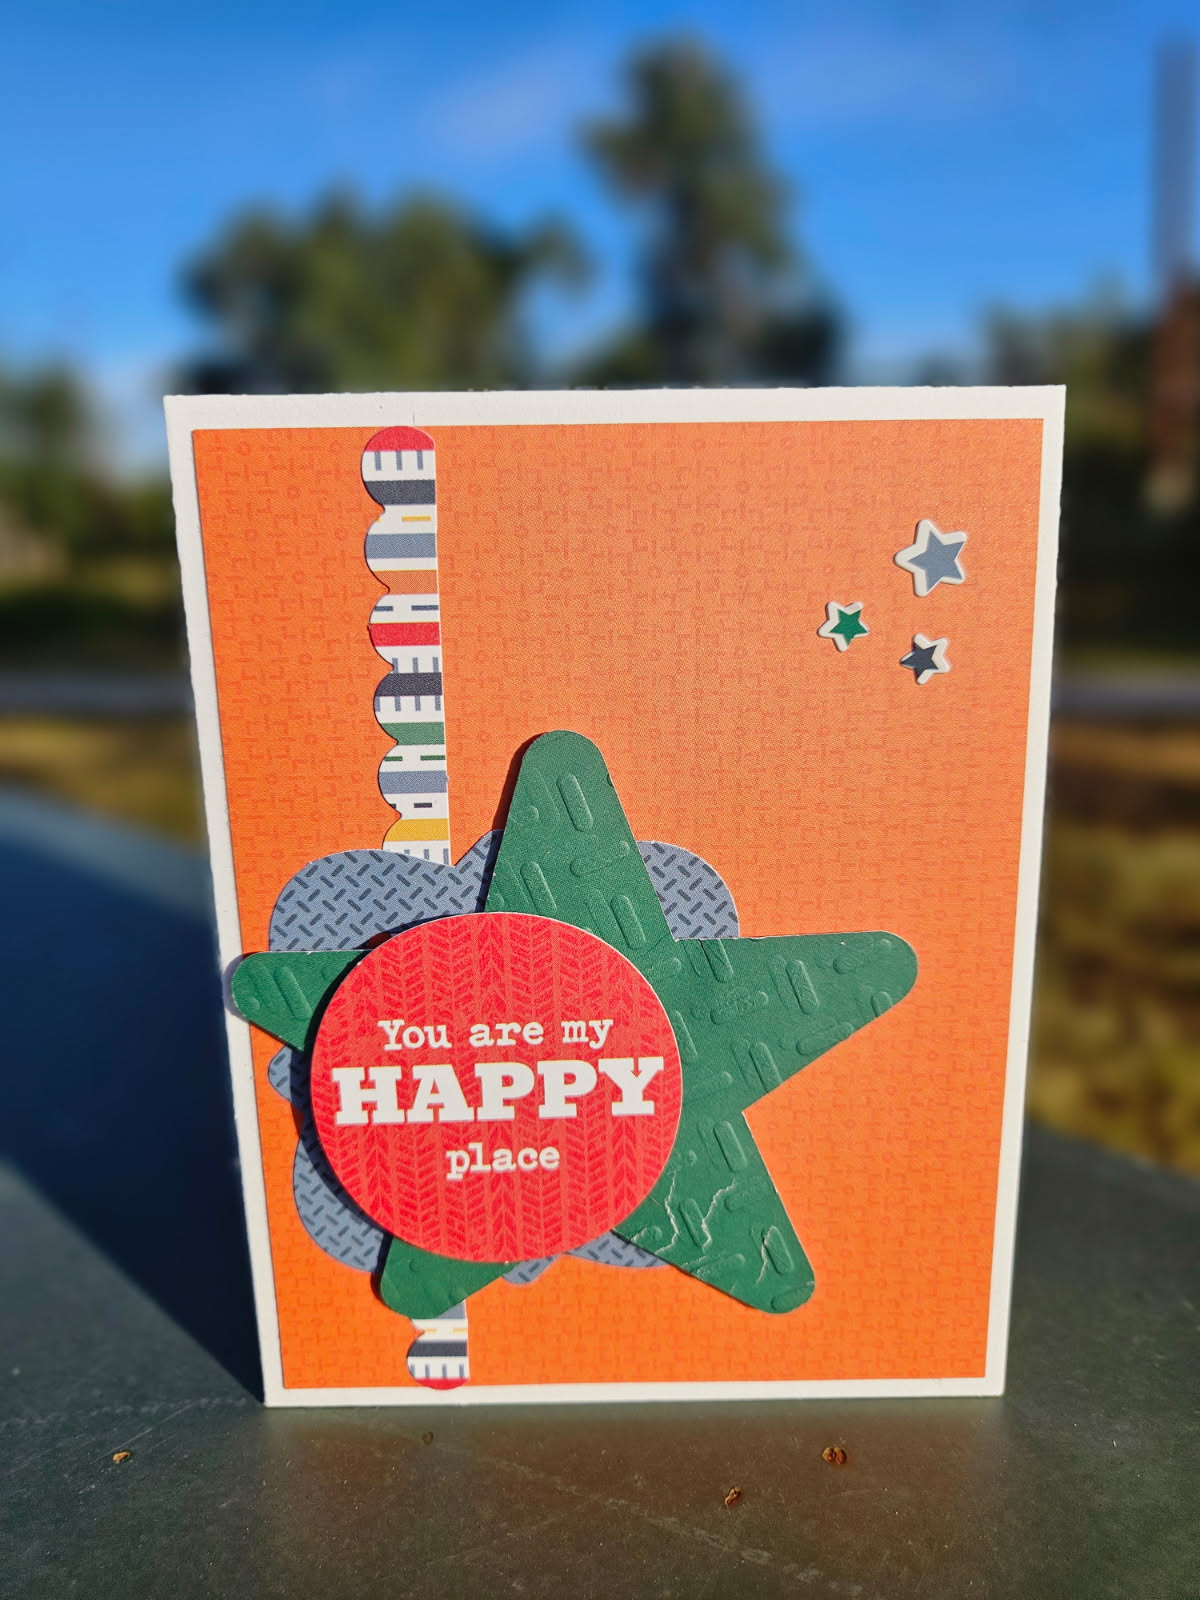
I used one of Lori’s nested star (Silhouette)cuts on my card as the embossed element.
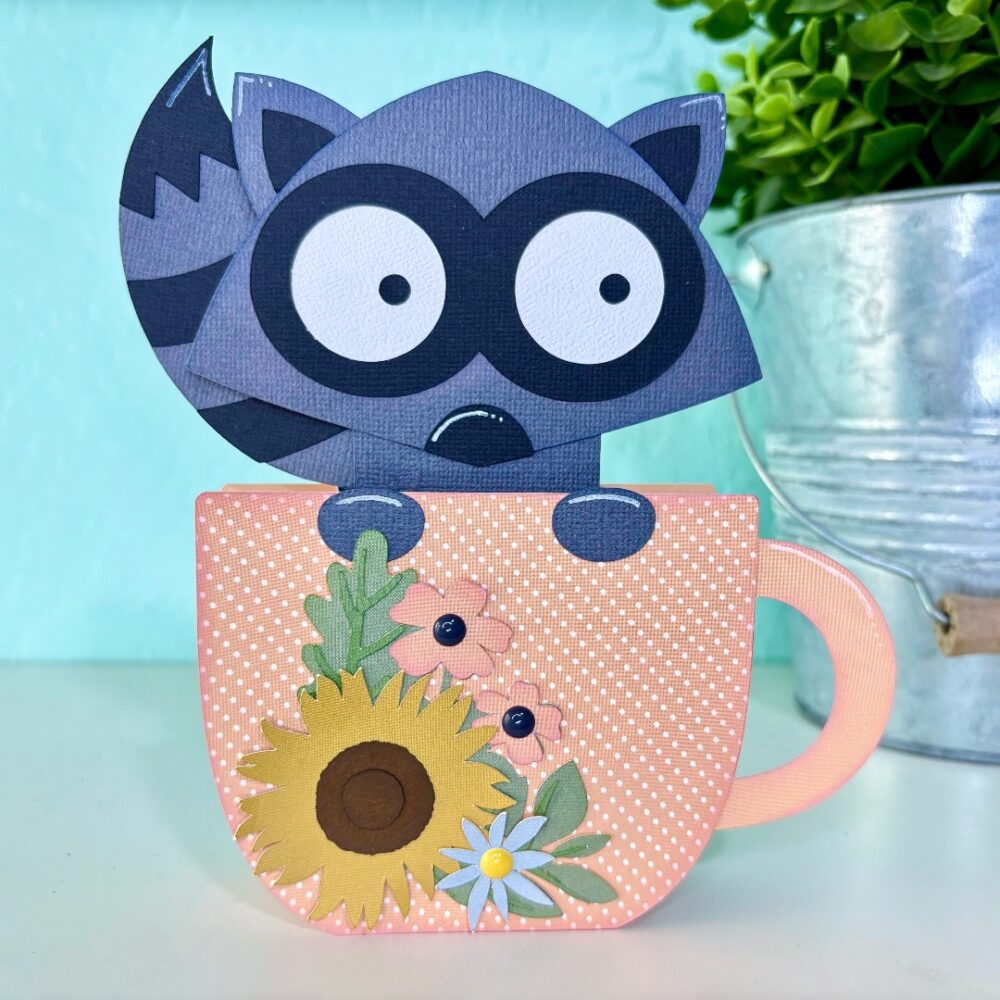
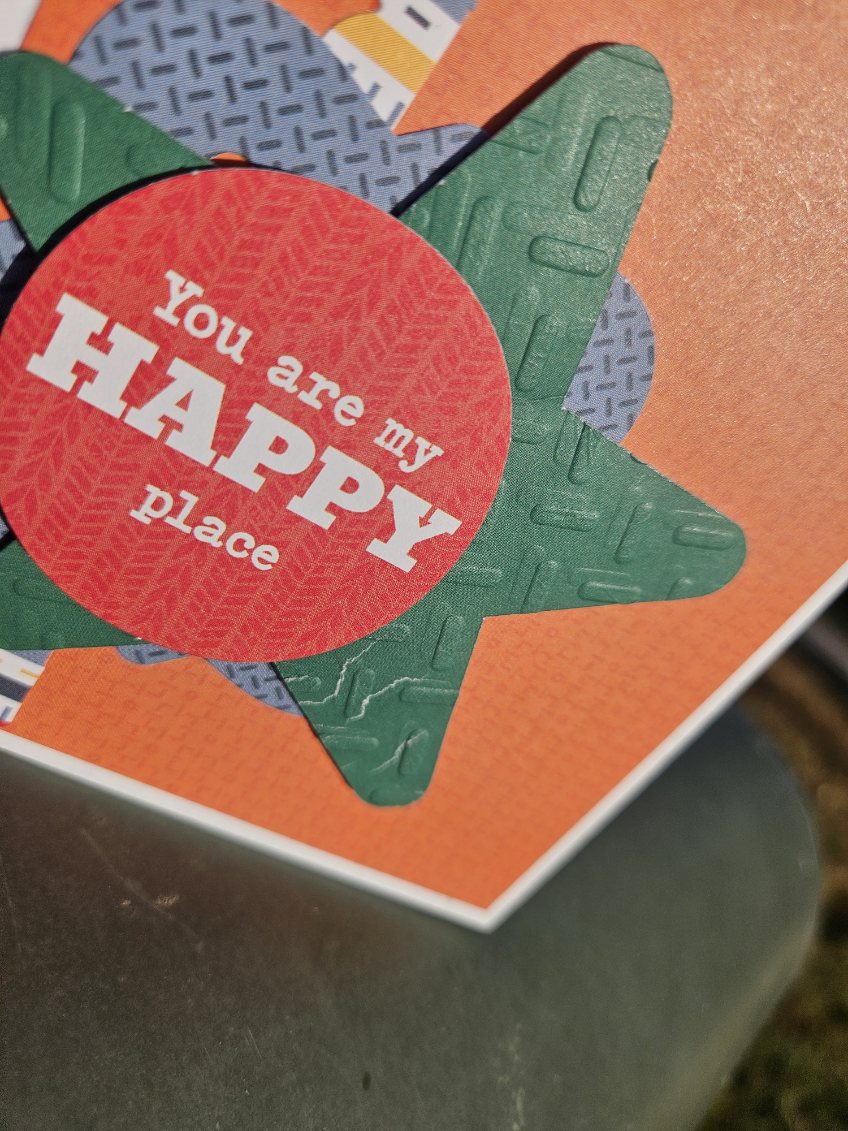
Here is a close up of the embossed star with some added ephemera for layering.
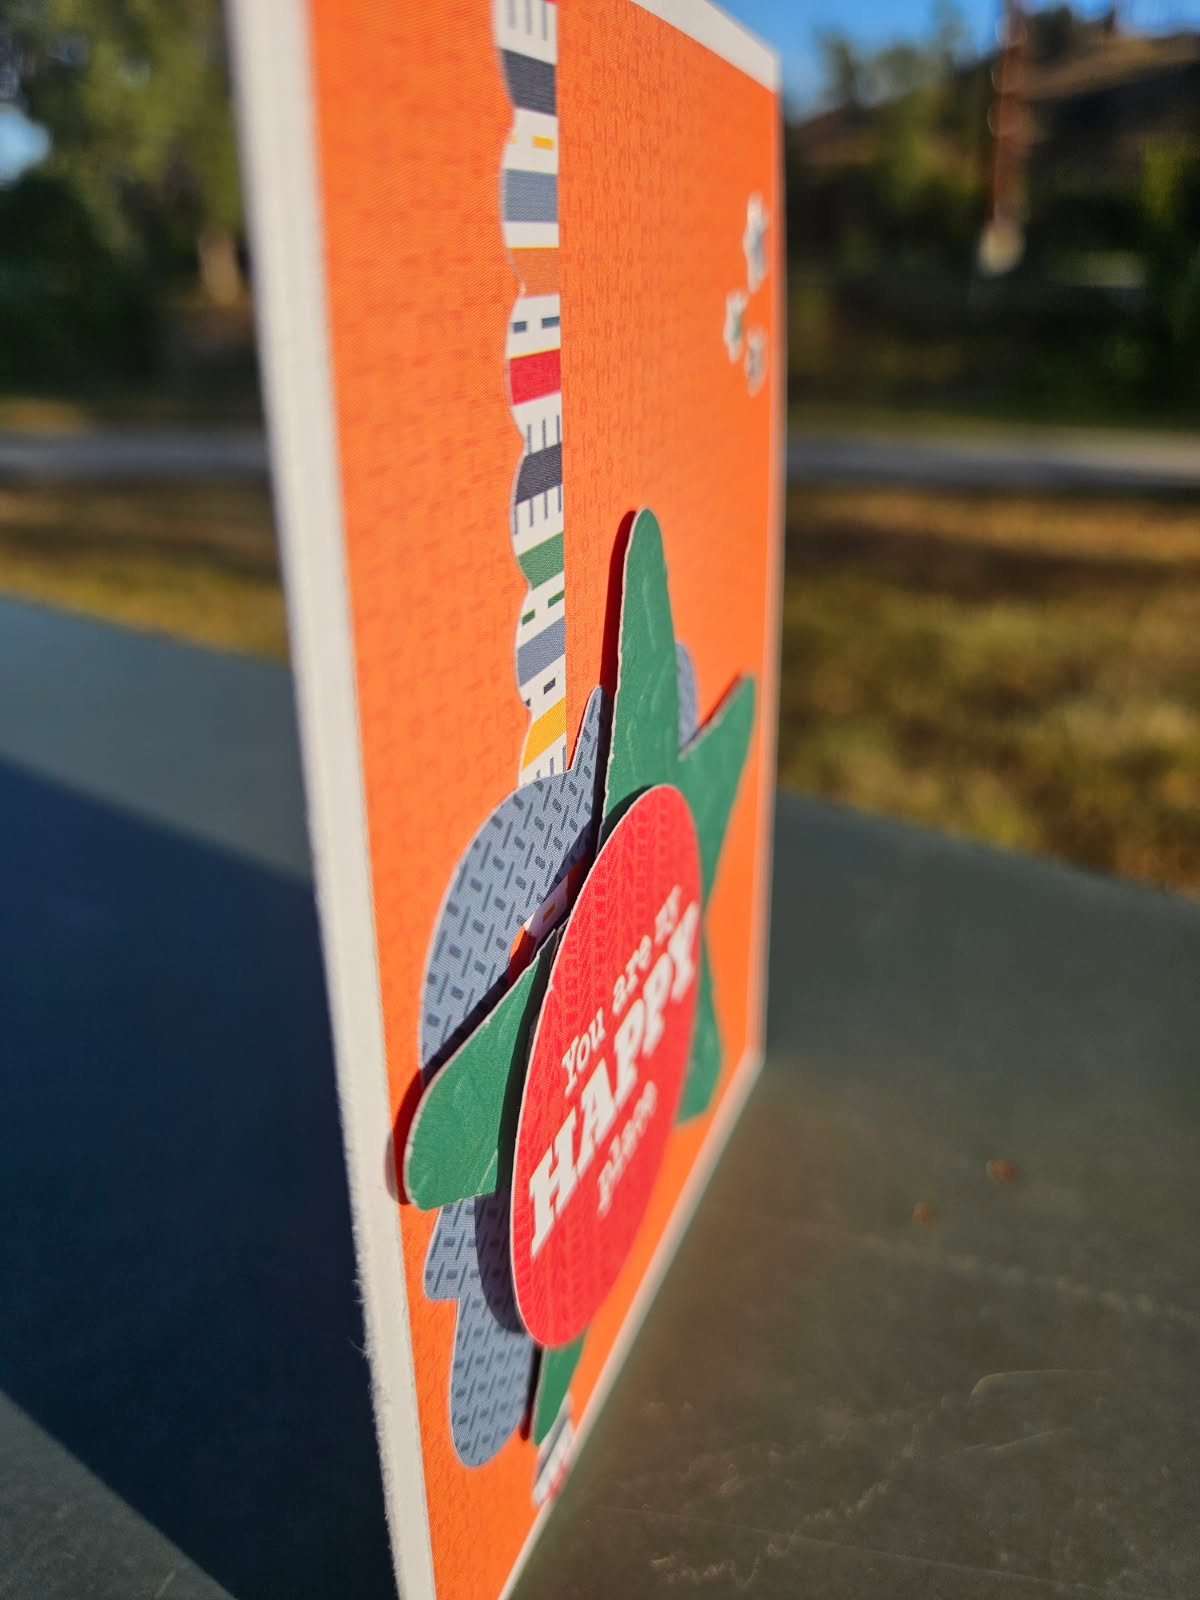
And of course lots of dimensionals to give the card depth.
Thanks for stopping by and Happy Crafting!
Chelsea