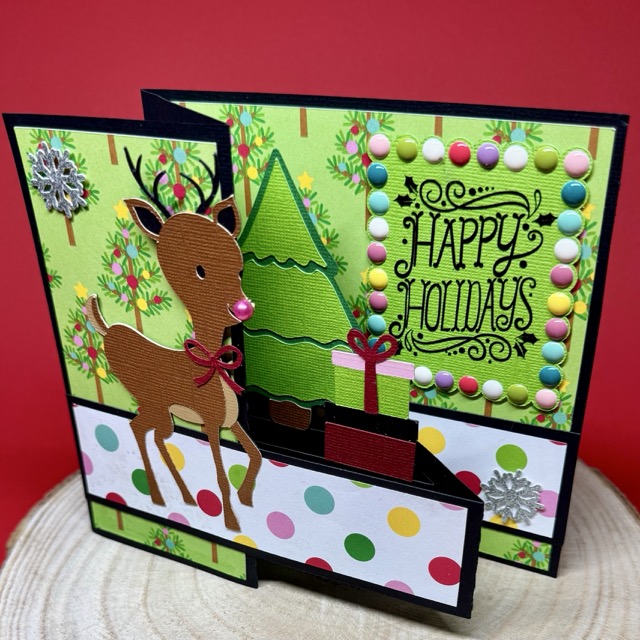
Happy Holidays everyone! I have a quick and easy little shadow box to share with you. It’s Lori’s Shaped Shadow Box Polar Bear. This is the sweetest little bear. I created this with just some card stock and Lori’s new Echo Park Winter Fun collection. This little shadow box goes together like Lori’s box card envelope cards. So super duper easy.
You can find the file here in the Silhouette Design Store, also.
First, start with cutting out all your pieces.
Then I put together his little face.
Then add your tree cutout to the back layer.
Flip over the two layer pieces and add double sided adhesive on each piece.
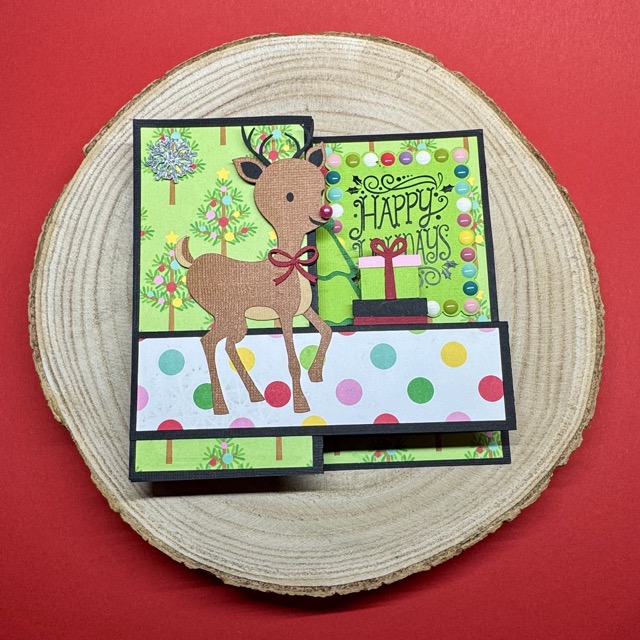
Also, add the blue snow piece to the very back of the box. Adhere the two pieces together to form your box and then next add the tree layer, then to the village scene.
Then you get the sweetest little shadow box….I just finished it with all the darling elements from the Winter Fun collection. He’s just adorable! I can’t wait to make more.
Thanks for joining us today!


.png)
.png)