
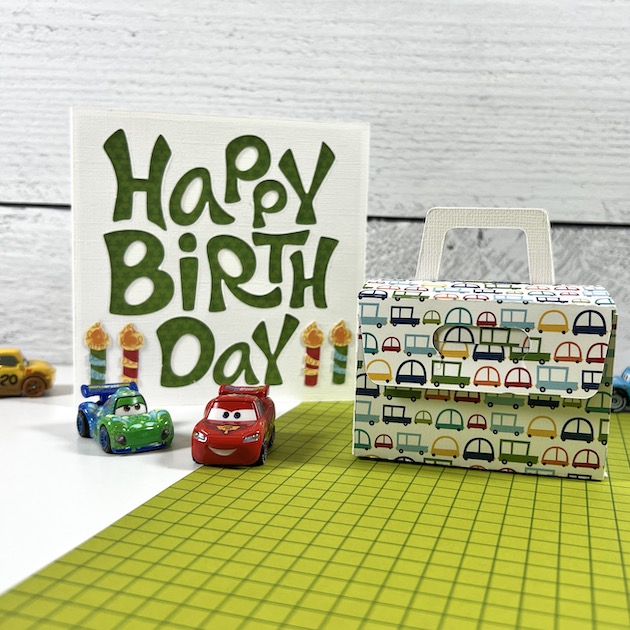
Happy Monday friends! I needed a birthday card and small gift box for a little boy last week, so what better place to look than Lori’s site for some fun cutting files!?
I love this super easy 5″ x 5″ birthday card because all the hard work is already done for you! Placing individual letters like the sentiment above can take some time to get it right, but Lori has made this one easy!
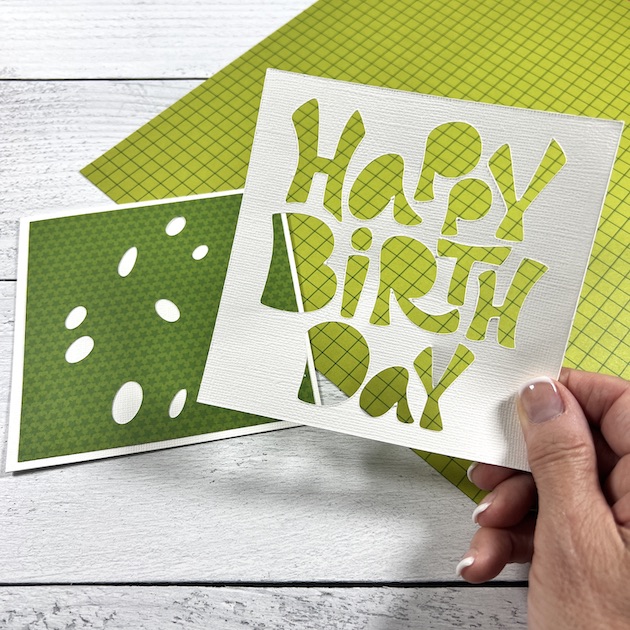
The green pattern has the cut outs for the letter centers, and then the Happy Birthday actually uses the negative space (save the letters that get cut out for a future project)!
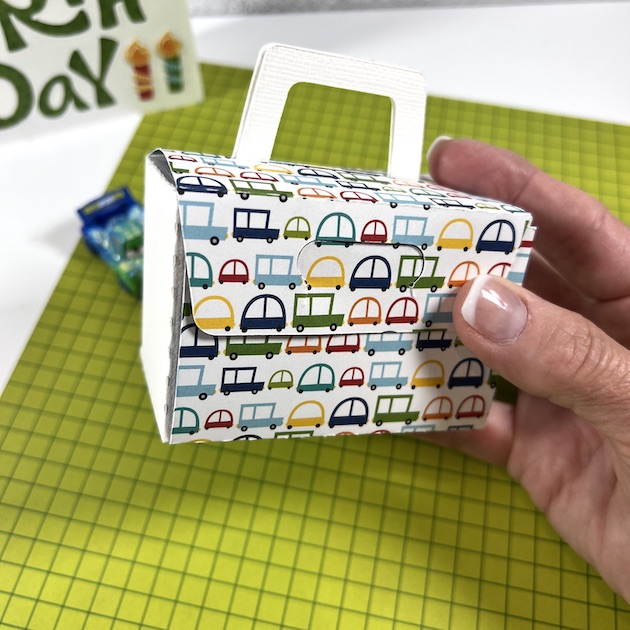
The box is made from two pieces of paper. The base of the box folds up, and then there a a pattern piece that wraps around the box — almost like wrapping paper. Isn’t that cute? And so simple!
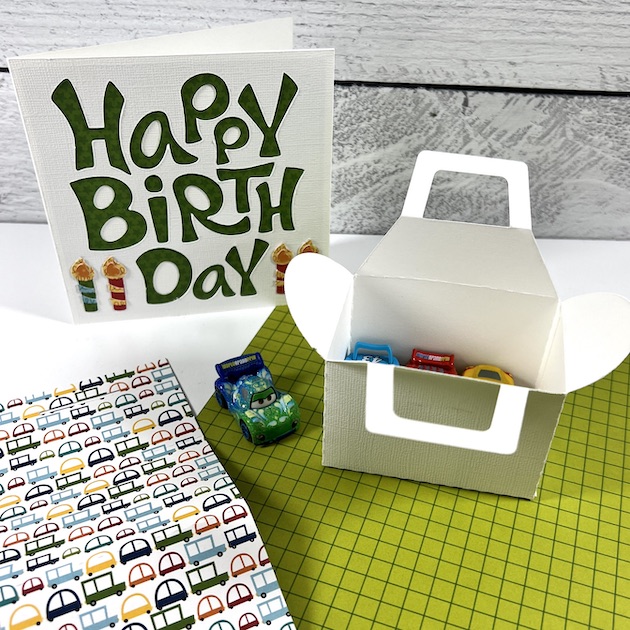
The box is the perfect size for a small gift, a gift card, or candy. I know this car-loving birthday boy will love the surprise tucked into this gift.


.jpg)


