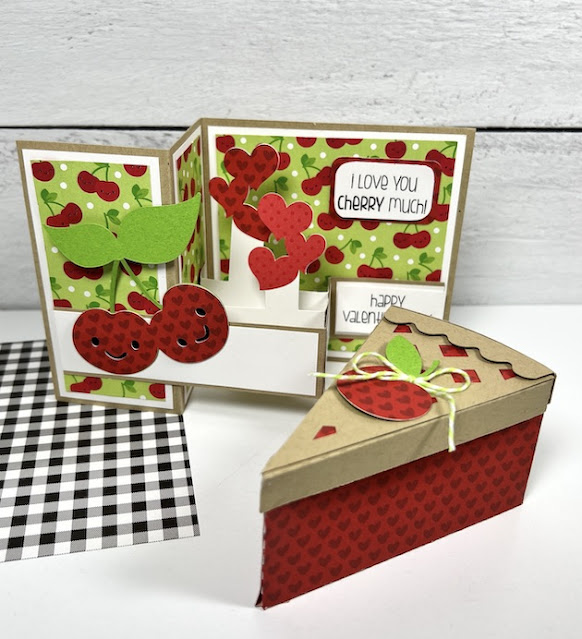
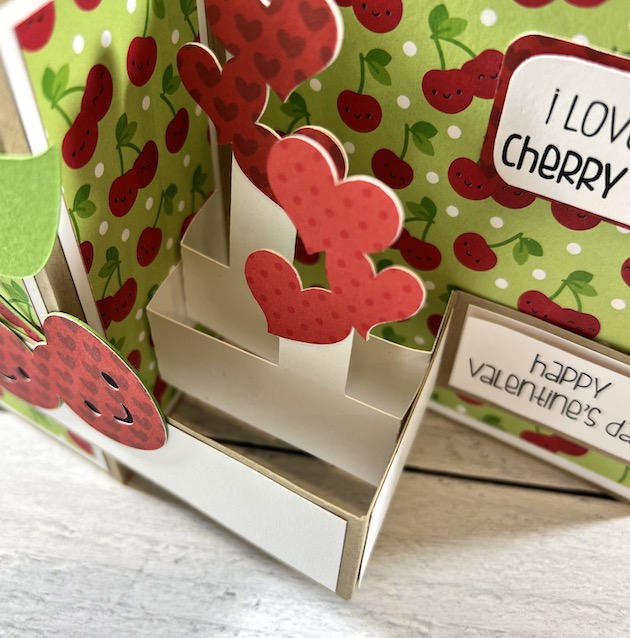
Valentine Truck Box Card Tutorial

Hi friends! Today I am sharing an assembly tutorial for the Boc Card Valentine Truck Back End (SVG, Silhouette). I used 80lbs cardstock and a few designer papers from the Little Ladybug collection by Echo Park Paper Co. This cut file does have a lot of small pieces but totally manageable with a fine-tip glue bottle.

First, I assembled all of the decorative elements. The back of the cab of the truck has a border for the window and two rear-view mirrors. The tailgate has three layers. A foundation, a decorative layer, and the XOXO layer. It also has two taillights with two layers, a bumper, and a license plate with two layers. All of the hearts are for the inside insert of the box card. For the card base, I flipped the card over, folded all the scored lines as valley folds, and glued the black tires into place.

With the card base open I glued the back of the cab onto the inside of the card base. Then folded the score lines on the insert as valley folds and added glue to the tabs. I lined up the tab on the right next to the score line on the inside of the card base. Then folded over the left side of the card base on top of the glue on the left tab of the insert making sure everything was level and flat while folded down. I added glue to the tab on the card base and folded the right side of the card base down on the glue making sure it was lined up with the score line.

Now with the card folded flat, I added glue to the back/tailgate portion of the truck and added the tailgate to the box card.

Now it is ready to send to a valentine!

That’s all for me today. Thanks for stopping by!
Brandie

Strawberry Lemonade Shaker Card Cricut Tutorial

Happy New Year everyone. Thanks for checking in today. I am going to show you how to turn this already cute card (SVGSilhouette) into a shaker card!

I want to remind everyone that I am a Cricut user and these instructions are specifically for Cricut Design Space but the idea is the same regardless of what platform you are using.

Once your SVG is uploaded, you must click on “Ungroup”. Once I clicked on ungroup, I had to select the whole image and click ungroup again. This will allow you to move the pink lemonade portion of the file.

Once I had singled out the pink lemonade, I copied it to have 4 lemonade sections.

One of these will be needed to cut the clear acetate sheet (noted by the light grey color), and one will be needed as the back lemonade portion of your card (noted by leaving it solid pink). The remaining 2 will create the frame for your shaker.


For the image in purple, I shrunk from the original 3.275 x 3.291 to 2.8 x 2.81 and layered it over one of the additional pink pieces. The pink will show you the size of your frame.

Once you have overlapped the pieces above (the purple and pink pieces) select both and click on “Slice”. Once you have sliced these two images together, you will need to delete some pieces.


You will be left with this

I also removed the sentiment, 1 because we aren’t anywhere near summer here in South Dakota and 2 because it covers the cute shaker portion. Once your screen looks like the above photo, click on “Make” and cut your pieces.


Once you have your pieces cut, assemble your card as you would any other shaker card.

Adhere the acetate to the pink frame and add your solid adhesive foam strips over the back of the frame (where you glued the acetate). I use ones like this:

Once the base of your card is put together, add your shaker bits (I used little lemon slices and some pink pearls) over the pink base and line up your frame on top of the shaker bits, and stick it down.

 
You should end up with an adorable little card like this! P.S. I used paper from Lori’s Echo Park line called Year In Review.
Happy Crafting!
Chelsea

Happy New Year!

Happy New Year! It’s officially 2024 and I’m already looking forward to all the new and exciting paper collections and projects ahead. I hope everyone had a fun and safe evening last night and you’re enjoying the day with loved ones. In honor of the holiday, I’m sharing a very fun pop-up card that I made with one of Lori Whitlock’s awesome cutting files.


It’s called Hexagon Pop-up Card New Year 2 (SVG, Silhouette). I made it with a variety of solid papers and a cute black and white gingham – all from the Echo Park, Little Ladybug Collection that Lori designed.

When opened, the card looks great sitting out as festive holiday decor. Use it on a desk, a shelf, side table, entryway table, or … your fireplace mantle. 


It folds flat for sending in an envelope or for storing as a wonderful memento.  I love the scripted Happy New Year and the cute stars! I hope you’ll visit Lori’s shop to see all the other wonderful cutting files she has. 

Here is the file I used …


Thanks for stopping by the blog today and happy crafting!

Blog * Shop * Facebook * Instagram * Pinterest

Double Gatefold Card Ladybug Tutorial

Hi everyone!  I hope you are all getting rested up from the Holidays!  I have a quick tutorial to share with you today that features Lori’s new Echo Park Collection Little Ladybug.  It’s just so fun, all kinds of darling patterned papers and makes us dream of Spring.  Especially, after our first blizzard of the season here in South Dakota, the day after Christmas.  Oh the Joy!
First, cut your pieces with desired papers.
Next, fold in on each score line creating a double fold like this.
You can see here how your card will double open.
Ink the edges of your patterned papers.
And adhere to the cardstock base, add a few enamel dots to the antennas.
Then I just double layered a couple tags from the collection and added a few more enamel dots, and there you have it.  A quick and easy card.  I forgot to take a photo of the envelope, but the file also comes with an envelope that the card fits perfectly.
Who doesn’t love ladybugs?
Thanks for stopping by!
Cathy


Holiday Cards

 Hello everyone! Marcia here today. I have some holiday cards to share with you today. No, it’s not too late to make and send holiday cards! New Year is a holiday so for me, it’s ok to send a card after Christmas. I love to send holiday cards to friends and family as well as receive them. I especially love a box card that can sit on a tabletop or counter and doubles as home decor. This Hexagon Pop-Up Christmas Tree Booth With Reindeer Card (SVGSilhouette)  and the Hexagon Pop-Up Santa’s Workshop Card (SVGSilhouettecut files can be found in Lori’s Store along with many other varieties of holiday cards. I used the new Echo Park Paper Have A Holly Jolly Christmas collection.


Stop by the Lori Whitlock YouTube channel for tutorial instructions on how to assemble the hexagon pop-up cards. Don’t worry about how you will mail it; these awesome cards fold flat for mailing.
 
Thanks so much for stopping by,
~Marcia