
Hi Everyone, and Happy New Year!! It’s Kathy today with one of Lori’s fun Pop Up Cards. Around here, there are a lot of birthdays early in the year, so I thought I should get ahead and make some cards!! (instead of running to the store last-minute to buy a card….I’ll admit, it has happened a few times…)
I used Lori’s Pop Up Birthday Card file (here in the Silhouette Store) and some papers from her new Echo Park Collection, Little Man. The colors are so bright and cheery, they were perfect for a Birthday card… take a peek…
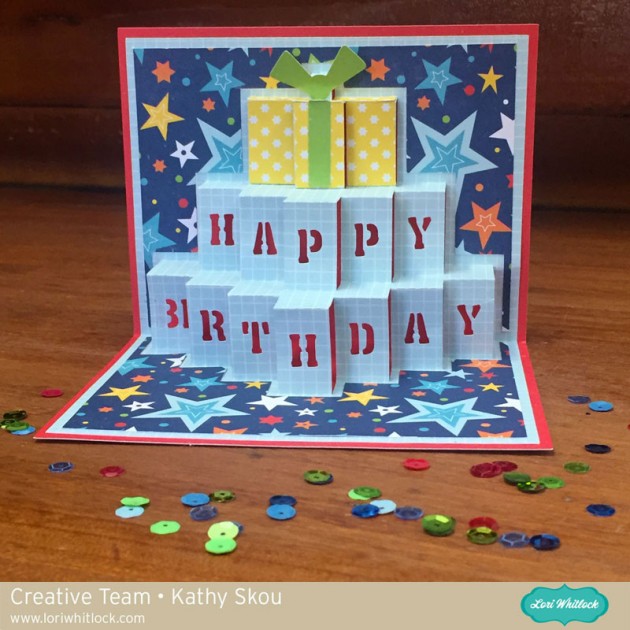
I changed the file slightly by deleting the stars in the background. I thought it would be fun to use her star paper in their place. A hint when making this card… the folds can be daunting, but it’s easier if you start at the bottom. You know that all of those folds go the same direction. Fold all of the first folds the way they are supposed to go, then work your way through the rest of the folds… every other fold goes the same direction. The best thing about this card, besides how cute it is, is that it folds nicely and fits into an A2 Envelope! That’s it for me today, thanks for stopping by to peek!


 Apply the tree cut outs to the interior of the card. Everything is laying flat on your desk right now. Do not twist anything yet.


 There is small glue tab on the left side tree. Fold on the score line and apply glue. Adhere the tab to the back side of tree on the right.
 Be sure to check out the big sale happening now in Lori’s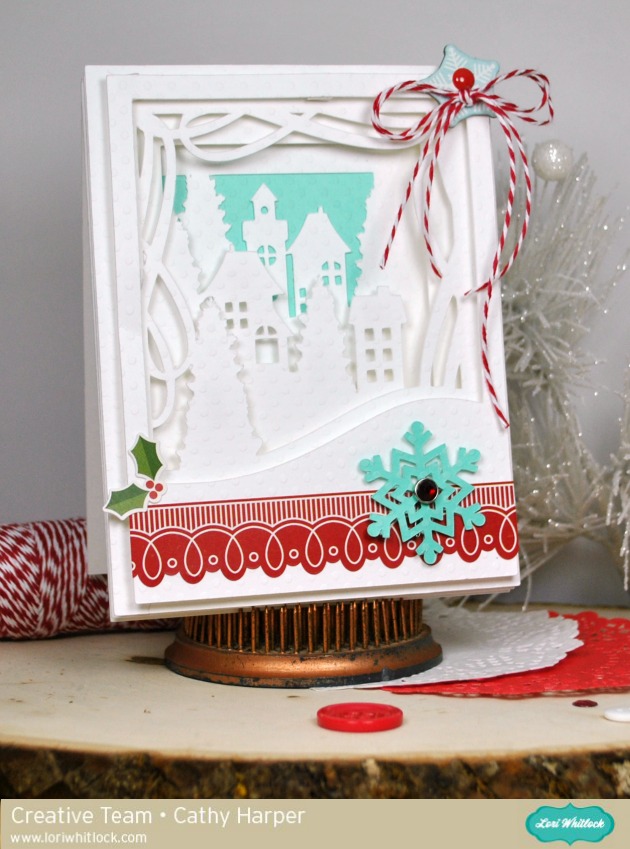

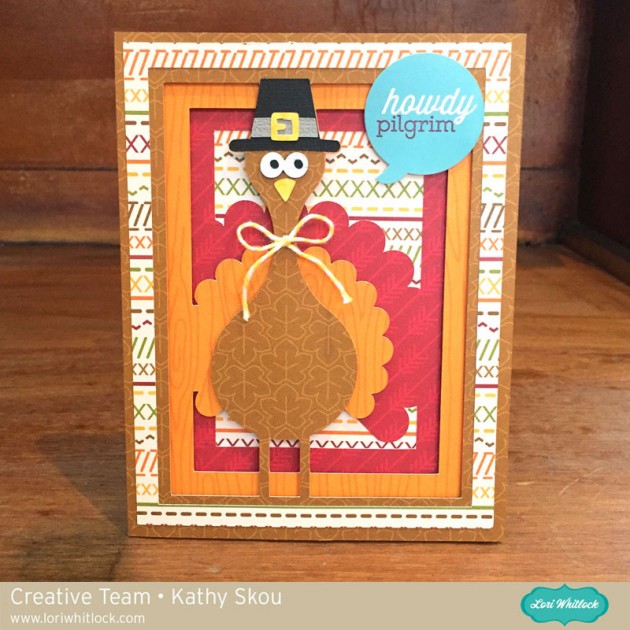



 Finally, side the slider all the way down into the window, covering your sentiment area. The window panel has a perforated edge on the bottom, fold that up and apply a strip of adhesive to the back side. Press down firmly to adhere that strip only to the slider panel. When you pull up on the tab, you will have a pop up area to attach your turkey to.
