Tuesday Freebie and New in Shop

ALL WEEK, this SVG file is FREE with any $1.99 purchase!

We have a FREE file with purchase all this week! Simply add this Poinsettia Flower Pot Card to your shopping cart along with ANY $1.99+ purchase from the SVG Shop and this file is yours FREE. Be sure to use Coupon Code: POINSETTIA (case sensitive) at checkout. This offer is good through next Sunday.

(Your cart must reach at least $3.98 before the coupon will be applied and then $1.99 will be subtracted from your total at checkout. The files will be available for immediate download after you pay for your order by visiting MY ACCOUNT>COMPLETED ORDERS>ORDER DETAILS inside of your account. Only one discount code per order allowed.)

In addition, don’t forget about this special ! You can get this Free Kit of the Month with any $20 purchase (Purchase must be in one transaction.) Simply add the December of the Month to your shopping cart along with ANY $20.00+ purchase from the SVG Shop and this file is yours FREE. Be sure to use Coupon Code: DECKOTM (case sensitive) at checkout. This offer is good through December 31st!

(Your cart must reach at least $27.95 before the coupon will be applied and then $7.95 will be subtracted from your total at checkout. The files will be available for immediate download after you pay for your order by visiting MY ACCOUNT>COMPLETED ORDERS>ORDER DETAILS inside of your account. Only one discount code per order allowed.)
 
 
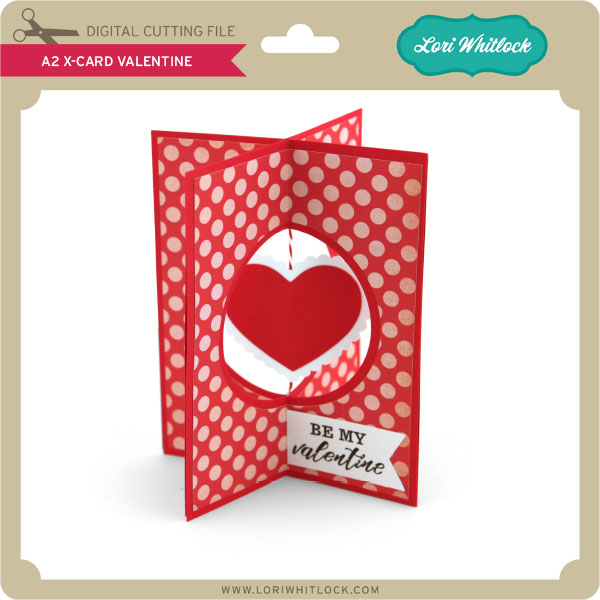
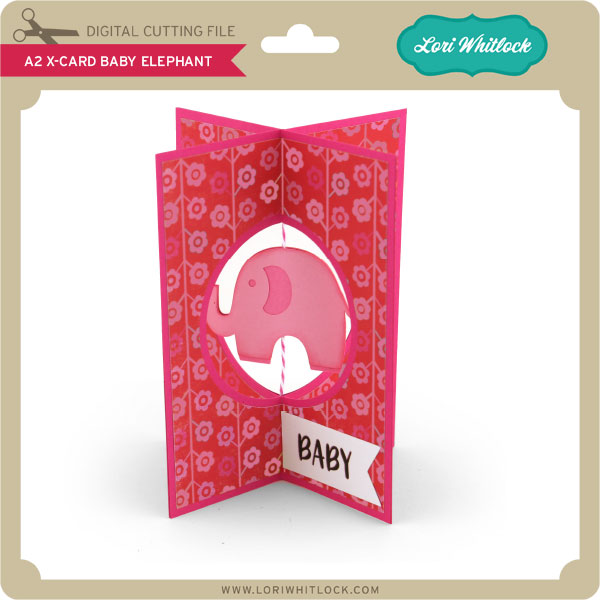
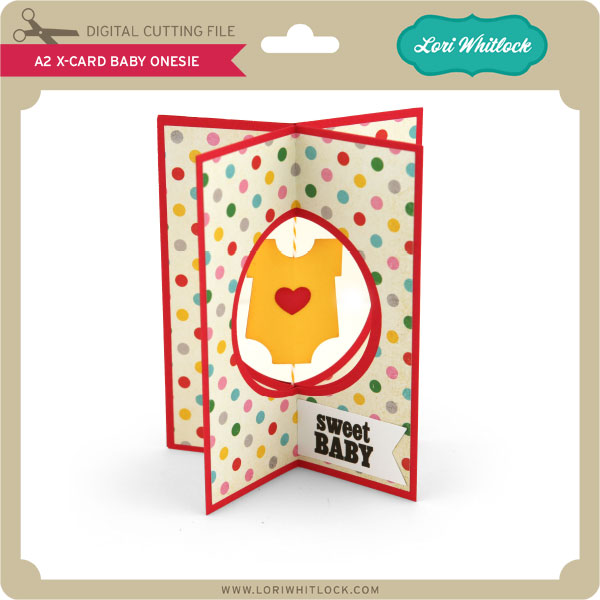
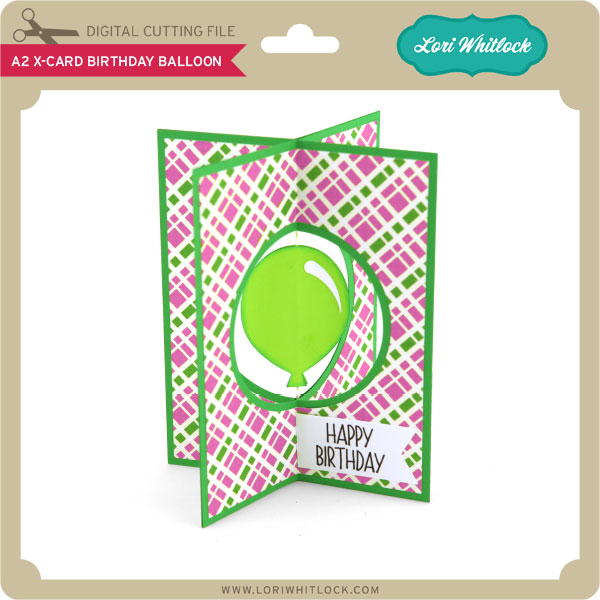
Check out our awesome SVG files releasing this week! And, just like always, the NEW files are ON SALE 25% OFF through the weekend in the SVG Shop! These downloads include SVG files for sure and PNG or PDF files when appropriate. No coupon code necessary, the files are all discounted in the shop! Be sure to go get them while they are on SALE this week.
Thanks for visiting the blog today! Please let us know if you need any help with your files. We want to make sure everyone is happy with their purchase. Have a great week!

Snow Globe Pop Dot Card with Courtney

Good morning Lori Whitlock fans! It’s Courtney Lee from Court’s Crafts here with another one of Lori’s snow globe pop dot cards.

I cannot get enough of these! I think they are just SO beautiful! I used Lori’s I love Christmas collection for Echo Park for this card. It’s it classic!?!

I thought I would show you a side view with the depth. it’s really pretty. I feel like I can get lost in these snowglobe scenes.
So far I have made two of these but I just love them!!! Click on the links below to pick up some from yourself and share your creations with us! We love to see them!

Lori’s Shop: A2 Pop Dot Card Snowglobe Trees
Silhouette: A2 Pop Dot Card Snowglobe Trees


Thanksgiving Box Card Tutorial with Courtney

Happy Thanksgiving everyone!!!! Courtney Lee from Court’s Crafts here today with a box card tutorial!

One of these tabs is not like the other. It doesn’t have scoring marks on it. Don’t fold it… You can see that I started to this time! eek! But it needs to stay straight. That is your back piece. Do not assemble the box part. It is so much easier to add the piece while it is flat.

I like to start by adding the panel pieces to the front and back of the box card like so… except for that tall yellow piece. Hold onto that. for a second. It turns out that covers up the “flap” of the box when you put it together. I had to tear mine off and put it back on.

Oh no! I forgot that I wanted to add this gorgeous background stamp to my yellow panels! Even designers make mistakes (ahem.. all the time…). Just add it on anyway! 🙂

Now assemble the “box” and add the back yellow layer to cover up the flap.

I embossed and inked the edges of the turkey and pop and glue all the pieces to their layers.

Add the layers in and a sentiment and you are done! 🙂 I got this sentiment from the “I Love Family” chipboard: a Lori Whitlock collection for Echo Park Paper.

No matter what happens today remember that the day is all about relationships and being thankful. If you burn the turkey, don’t sweat it. You have food to eat. If people fight, don’t worry about it. You have people who love each other enough to want to get together on a day – family, friends, loved ones. You aren’t alone. And if you are still feeling stressed at the end of it… well… leave the dishes to the morning and go get in your craft room! 🙂

This is Courtney Lee signing off and wishing you a VERY happy and full Thanksgiving.

Lori’s Store: A2 Box Card: Thanksgiving Turkey
S
ilhouette Store: A2 Box Card: Thanksgiving Turkey


A New Friday $5 Bundle!!!

Hi Everyone! Today we have a new Friday $5 Bundle! It will ONLY be available until Midnight Sunday and when it’s gone it’s gone. These SVG files can be used with Cricut Explore, Silhouette Studio (with the Designer Edition upgrade), Scan N Cut, and any other cutter that will work with SVG files. In order for Friday $5 Bundle program to be successful I need your help spreading the word so please tell your friends and announce it on social media. If we have enough of interest, we’ll keep the program going.

Now through Sunday, you can pick up this Holiday Card bundle including six beautiful SVG files for just $5!


The cost of this bundle is $5, for $11.94 worth of SVG files, over a 58% savings! This bundle is perfect for anyone wanting to start making their holiday cards! But don’t wait, this bundle will only be around until Sunday at midnight!

Have a great day!


A2 Snow Globe Shaker Card Tutorial with Kathy

Hi Everyone!  It’s Kathy today with a tutorial showing how to assemble the new A2 Snow Globe Shaker Cards. (in Silhouette here)  I made the adorable Snow Globe Shaker Snowman Card  take a peek…

A lot of people get nervous when they see a print and cut piece on the card, but it really is easy.  I’ll show you how I did it using my Silhouette, but you can also see a print and cut tutorial for Cricut here.

First you want to go into Design Page Settings and set your paper size to 8.5″x 11″.  This tells Silhouette you’ll be printing and cutting a regular letter sized paper.  Add the Snow Globe Base piece with the sentiment to your mat.

Next, click on the Registration Marks button and select type 1 registration marks for Cameo or Portrait.  You’ll see the black lines and grids show up on your mat.  Make sure your design is inside the darker marks on your mat.

Once things are set up, click on the printer icon and send the design to your printer.

This is what the page will look like with the registration marks.  Place the paper on your cutting mat.

Once the design is on your cutting mat, load it into your Silhouette, and go back to the software and select send to Silhouette.  Make sure the cut settings are set for the type of paper you are cutting.

Your Silhouette will read the registration marks then cut the design around your printed sentiment.

Now to assemble your card!  Start by cutting all of your pieces.  The design calls for cutting 3 of the snow globe outlines from chipboard.  I used Silhouette Chipboard for this, but if you did not have chipboard, you could cut six pieces from a thicker cardstock.

You want to start by assembling your snow globe.

First glue the layers of chipboard together.  Set those aside to dry.  Next, add the blue background piece (with the holes) to the Snow Globe Base.  Add the Snow “mound” piece, making sure the bottom is aligned with the bottom of the blue background.

Add the chipboard layers over the whole base.  Next, add the print and cut Snow globe base piece.  While this is drying, assemble your snowman.  Just a hint, the black piece of the snowman is sandwiched between the white body and the brown arms piece.  Add your snowman to your shaker card as shown.  Let the pieces dry completely.  You don’t want your confetti pieces sticking to any leftover wet glue.

Once your base is dry, add in the confetti snowflakes.  I also added in a few white and silver sequins, but be careful not to add too much, you want things to be able to “shake!”  Once your confetti is added, glue the piece of acetate over the globe. ( I used overhead transparencies purchased at my local office supply store)  Don’t overdo with the glue, it will squeeze out and stick to your confetti pieces.  Add the red ring over the transparency piece and your globe is done!  Add the background piece to your card, and then add the snow globe to the background.
It really is pretty easy to put together,  and the results are so cute!  That’s it for me today, thanks for stopping by to peek!