A New Friday $5 Bundle

Hi Everyone! Today we have a new Friday $5 Bundle! It will ONLY be available until Midnight Sunday and when it’s gone it’s gone. These SVG files can be used with Cricut Explore, Silhouette Studio (with the Designer Edition upgrade), Scan N Cut, and any other cutter that will work with SVG files. Help spread the word by telling your friends and announcing it on social media!

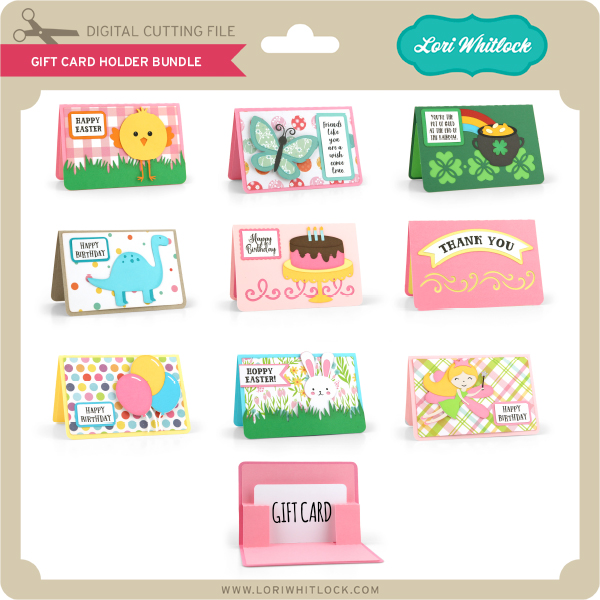
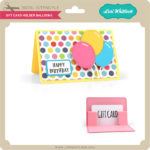
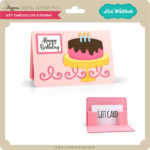
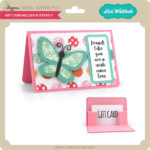
Now through Sunday, you can pick up this Slider Card Bundle including 5 fun SVG files for just $5!

The cost of this bundle is $5, for $9.95 worth of SVG files, over a 49% savings! Make it your resolution to never miss a birthday! But don’t wait, this bundle will only be around until Sunday at midnight!

** Because this bundle is already heavily discounted it is not eligible under the monthly sale. **

Have a great day!

New Product Feature: Light Up Cards

Have you seen the new Light Up Cards in the shop?   These fun cards light up when you press the button!  Take a peek…

How fun would it be to send one of these cards to someone special??  They look so professional, but I’ve designed them so they are pretty easy to put together.  I have a YouTube Video here that explains all of the materials and steps needed to make these cards.   I have also put together links to the necessary supplies in my Favorites Amazon Shop here.

There are currently have six different designs that are available in SVG in the Lori Whitlock SVG Shop as well as in the Silhouette Online Store.  Take a peek…

Light Up Card Cat (SVG, Silhouette)
Light Up Card Dog (SVG, Silhouette)

Light Up Card Lighthouse (SVG, Silhouette)
Light Up Card Birthday Candle (SVG, Silhouette)

Light Up Card Unicorn (SVG, Silhouette)
Light Up Card Bunny (SVG, Silhouette)

All of these cards are on sale through Saturday when you use code FEB2019 at checkout in the Lori Whitlock SVG Shop.  If you make any of the Light Up Cards be sure to tag me on Social Media (Facebook @Lori Whitlock, Instagram @loriwhitlock ) so I can see your creations!  That’s it for me today, have a great day!

February Blog Hop & 25% Off All SVGs & Commercial Licenses!

Welcome to our February 2019 Creative Team Blog Hop!  The creative team has been working hard on some new projects to share with you that will get you in the crafting mood. We also have a fun release of new SVG files for you this week and a GIVEAWAY! Be sure to check them out below. Oh, and there is also a FREE FILE for you!

This week we have a 25% OFF SALE going on at Lori’s SVG SHOP. ALL files (and commercial licenses) from Lori Whitlock, Kolette Hall, Doodlebug Design, Dresden Carrie, Paige Evans, Pebbles in My Pocket, Rivka’s Renditions and SAS Creative are on SALE now through Saturday, February 16th! Be sure to use coupon code: FEB2019 (case sensitive) at checkout in the SVG SHOP. (Only one coupon code per order allowed)

To thank you for joining us in the hop today and sharing the hop with your friends, we have a gift for you! TODAY ONLY, You can download this Valentine Pencil Hearts file absolutely FREE! Be sure to go grab it while you can.

We have some super fun new files this week! Be sure to go shopping while all files are 25% off this week when you use code FEB2019 in my SVG Shop!  And, as always, my new files are available in the Silhouette Design Store as well.

This week I have a fun Light Up Card Bundle!  There is a new assembly video to go along with the light up cards which can be seen here on my YouTube Channel,  and I’ve linked to the supplies needed to make them in my favorites shop here.   We also have files from Paige Evans and Pebbles in My Pocket!


a Rafflecopter giveaway

And, last but not least… would you like to see what our amazing team has created? Click the links below for some wonderful inspiration. If you get lost come back here to get on track Lori WhitlockTraci PenrodKathy Skou,  Anita Mulcahey  Brandie Adams, Brigit MannMichelle Zerull,  Aimee KiddAshley Cook and Corri Garza!! Thanks again for dropping by! Have a GREAT day!

Valentine Pop Up Box Cards

Hi Everyone:
Happy Monday.  Anita here with two adorable Valentine cards that I made for my son and daughter-in-law.  I just love how easy these cards are to put together and how many cute options there are.  I used the Pop Up Box Card Valentine Waffle which you can find here in Lori’s store and here in the Silhouette Store.  The second card is the Pop Up Box Card Valentine Pie file …for my daughter-in-law who loves pie.  You can find that cut file here in Lori’s store and here in the Silhouette store. Lori also has a wonderful YouTube tutorial on putting together these cards which you can view here.

And don’t forget, all Valentine themed cards are 40% off in the shop through tonight at midnight when you use code LOVE40 at checkout!

That’s it for me today.  Have a great day everyone.

Hugs,

Anita

Make Your Own Pop Up Cards with Silhouette Pop Up Creator

Hi Everyone, It’s Kathy today with a fun tutorial showing how to use the Silhouette Pop Up Creator which is available in Silhouette Design Studio starting with version 4.1.  This is such a fun way to use all the shapes in your Silhouette Library!  I made this sweet kitty Valentine card using the cat from Lori’s Bobble Head Card Cat (SVG, Silhouette) and the Pop Up Creator.

To start, you want to select your shape.  Then trace your shape using the trace tool in Silhouette.  You also want to create two card base pieces, my first piece (pink) is 8.5″ h x 5.5″ w.  The second piece is slightly smaller at 8.375″ x 5.375″.  I added a dashed score line to the larger piece using the line creator and centered it so the card would fold in half.  I added a solid line and centered it to the smaller piece.  This line will be used as a guide and deleted later.

Next move everything off your mat, but the traced shape.  Select the shape by clicking on it and then click on the Pop Up Panel button on the right hand side.

Click on the Convert Selected Shapes in the Pop Up Menu.  This will add lines to your shape.

The Pop Up Creator creates a number of “support struts” that will make your shape pop out.  For cutting simplicity, it’s easier to have fewer of these struts.  By increasing the number in the Minimum Strut Width, the number of struts will decrease.  I kept enlarging my number until I had 3 struts.  This is a good number for support and will take less time to cut.

Next you want to adjust the base width.  This is the size of the connection that will connect the bottom of your shape to the base.  I increased the number in the base width until the supports were just slightly narrower than the feet of my cat.

One final adjustment to the shape… You will want to increase the length of the score lines by increasing the Dash Pitch Number.  This will make for easier, shorter cutting time.

Now you want to add the pop up shape to your smaller card base.  Add the smaller base to your mat.  Move the Pop up shape so that the bottom most score lines align with the temporary center guide line you created.  Next, select both the card base and the pop up shape and align them so that they are centered using the Transform button.  Make sure the bottom score line is still aligned flush with the temporary guide line.

Delete your temporary guide line, and extend the score line on the bottom of the pop up shape by clicking on the red dot and dragging almost to the edge.  Repeat for the other side.

You can adjust how deeply the shape pops out by clicking on the dot on the center of the shape and dragging down to make it stick out more, or up for less.  Make sure that the height of the pop up shape is not higher than the height of your card when closed or it will stick out of the top.

Once you’re happy with the placement, select both the pop up shape and the base, right mouse click and select group.

One more optional step.  If you look at the card I created you’ll notice I cut patterned paper to cover the inside of my card which molds itself around the pop out shape.  This is actually pretty easy to do.  Start by creating a copy of your card base.  Select the copy (only) by clicking on it then right mouse click and select make compound path.

Click on the resulting shape to select and then click on the Offset Panel button on the right menu.

Click on the Internal Offset Button, then change the Distance number to be 0.8.  This creates the panel shapes inside the card base.

Drag the inside shapes out to separate and delete the remaining shapes.  I colored them blue in this picture so you can see them.

One final thing before cutting, when you send the pop up piece to cut, you’ll notice the top of the shape’s lines are grayed out…. this is correct, those lines are not meant to be cut.

Once you’ve cut all your pieces, they are easy to assemble..

Cut all the pieces and assemble the shape piece if needed.  Add the decorative panels you cut to the inside of the card.  The second picture (B.) shows how to fold the pop out piece.  Add the shape over the pop out design piece, and then glue the pop up base into the slightly larger base, making sure that you do NOT add any adhesive under the pop out pieces.

All that’s left is to embellish!  I created a print and cut sentiment using Lori’s Abby Font (SVG, Silhouette) and added a bow sticker and enamel hearts.  I also decorated the front of the card as well.  The papers are from Lori’s Easter Wishes and Spring Fling collections by Echo Park Paper.

That’s it for me today, thanks for stopping by to peek!

BLOG * INSTAGRAM