Box Card Spring Flower Pot Tutorial

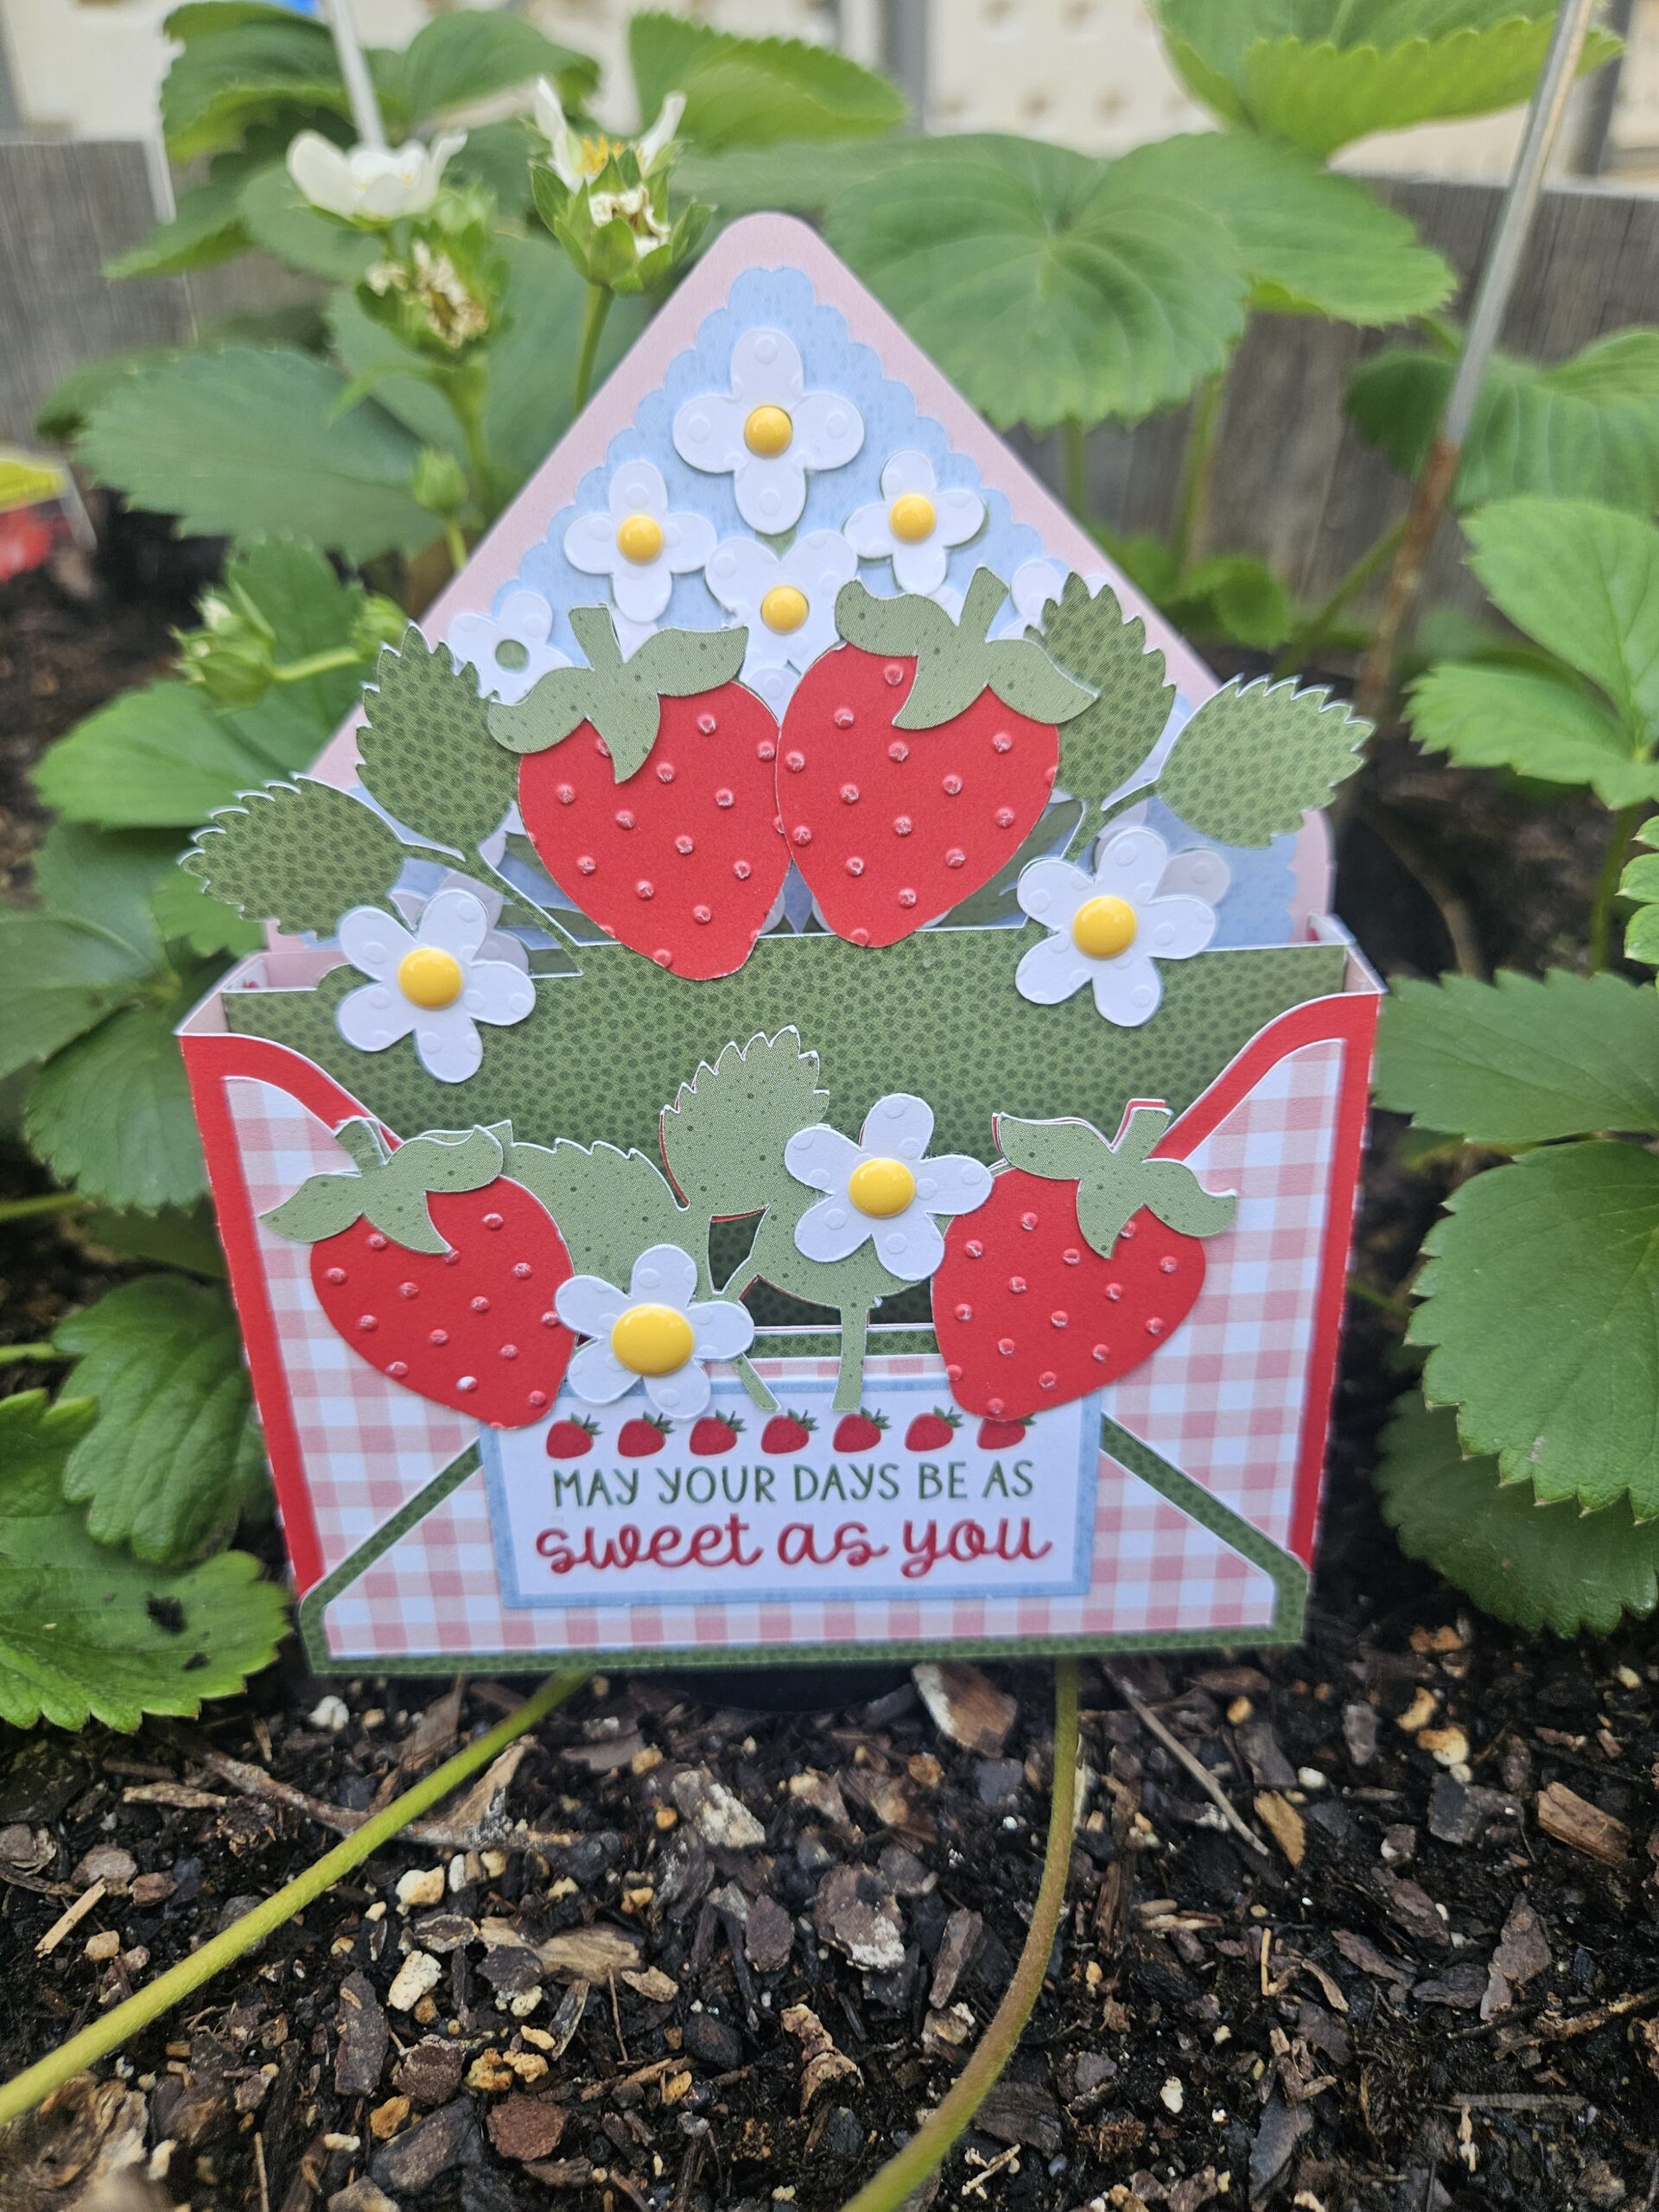
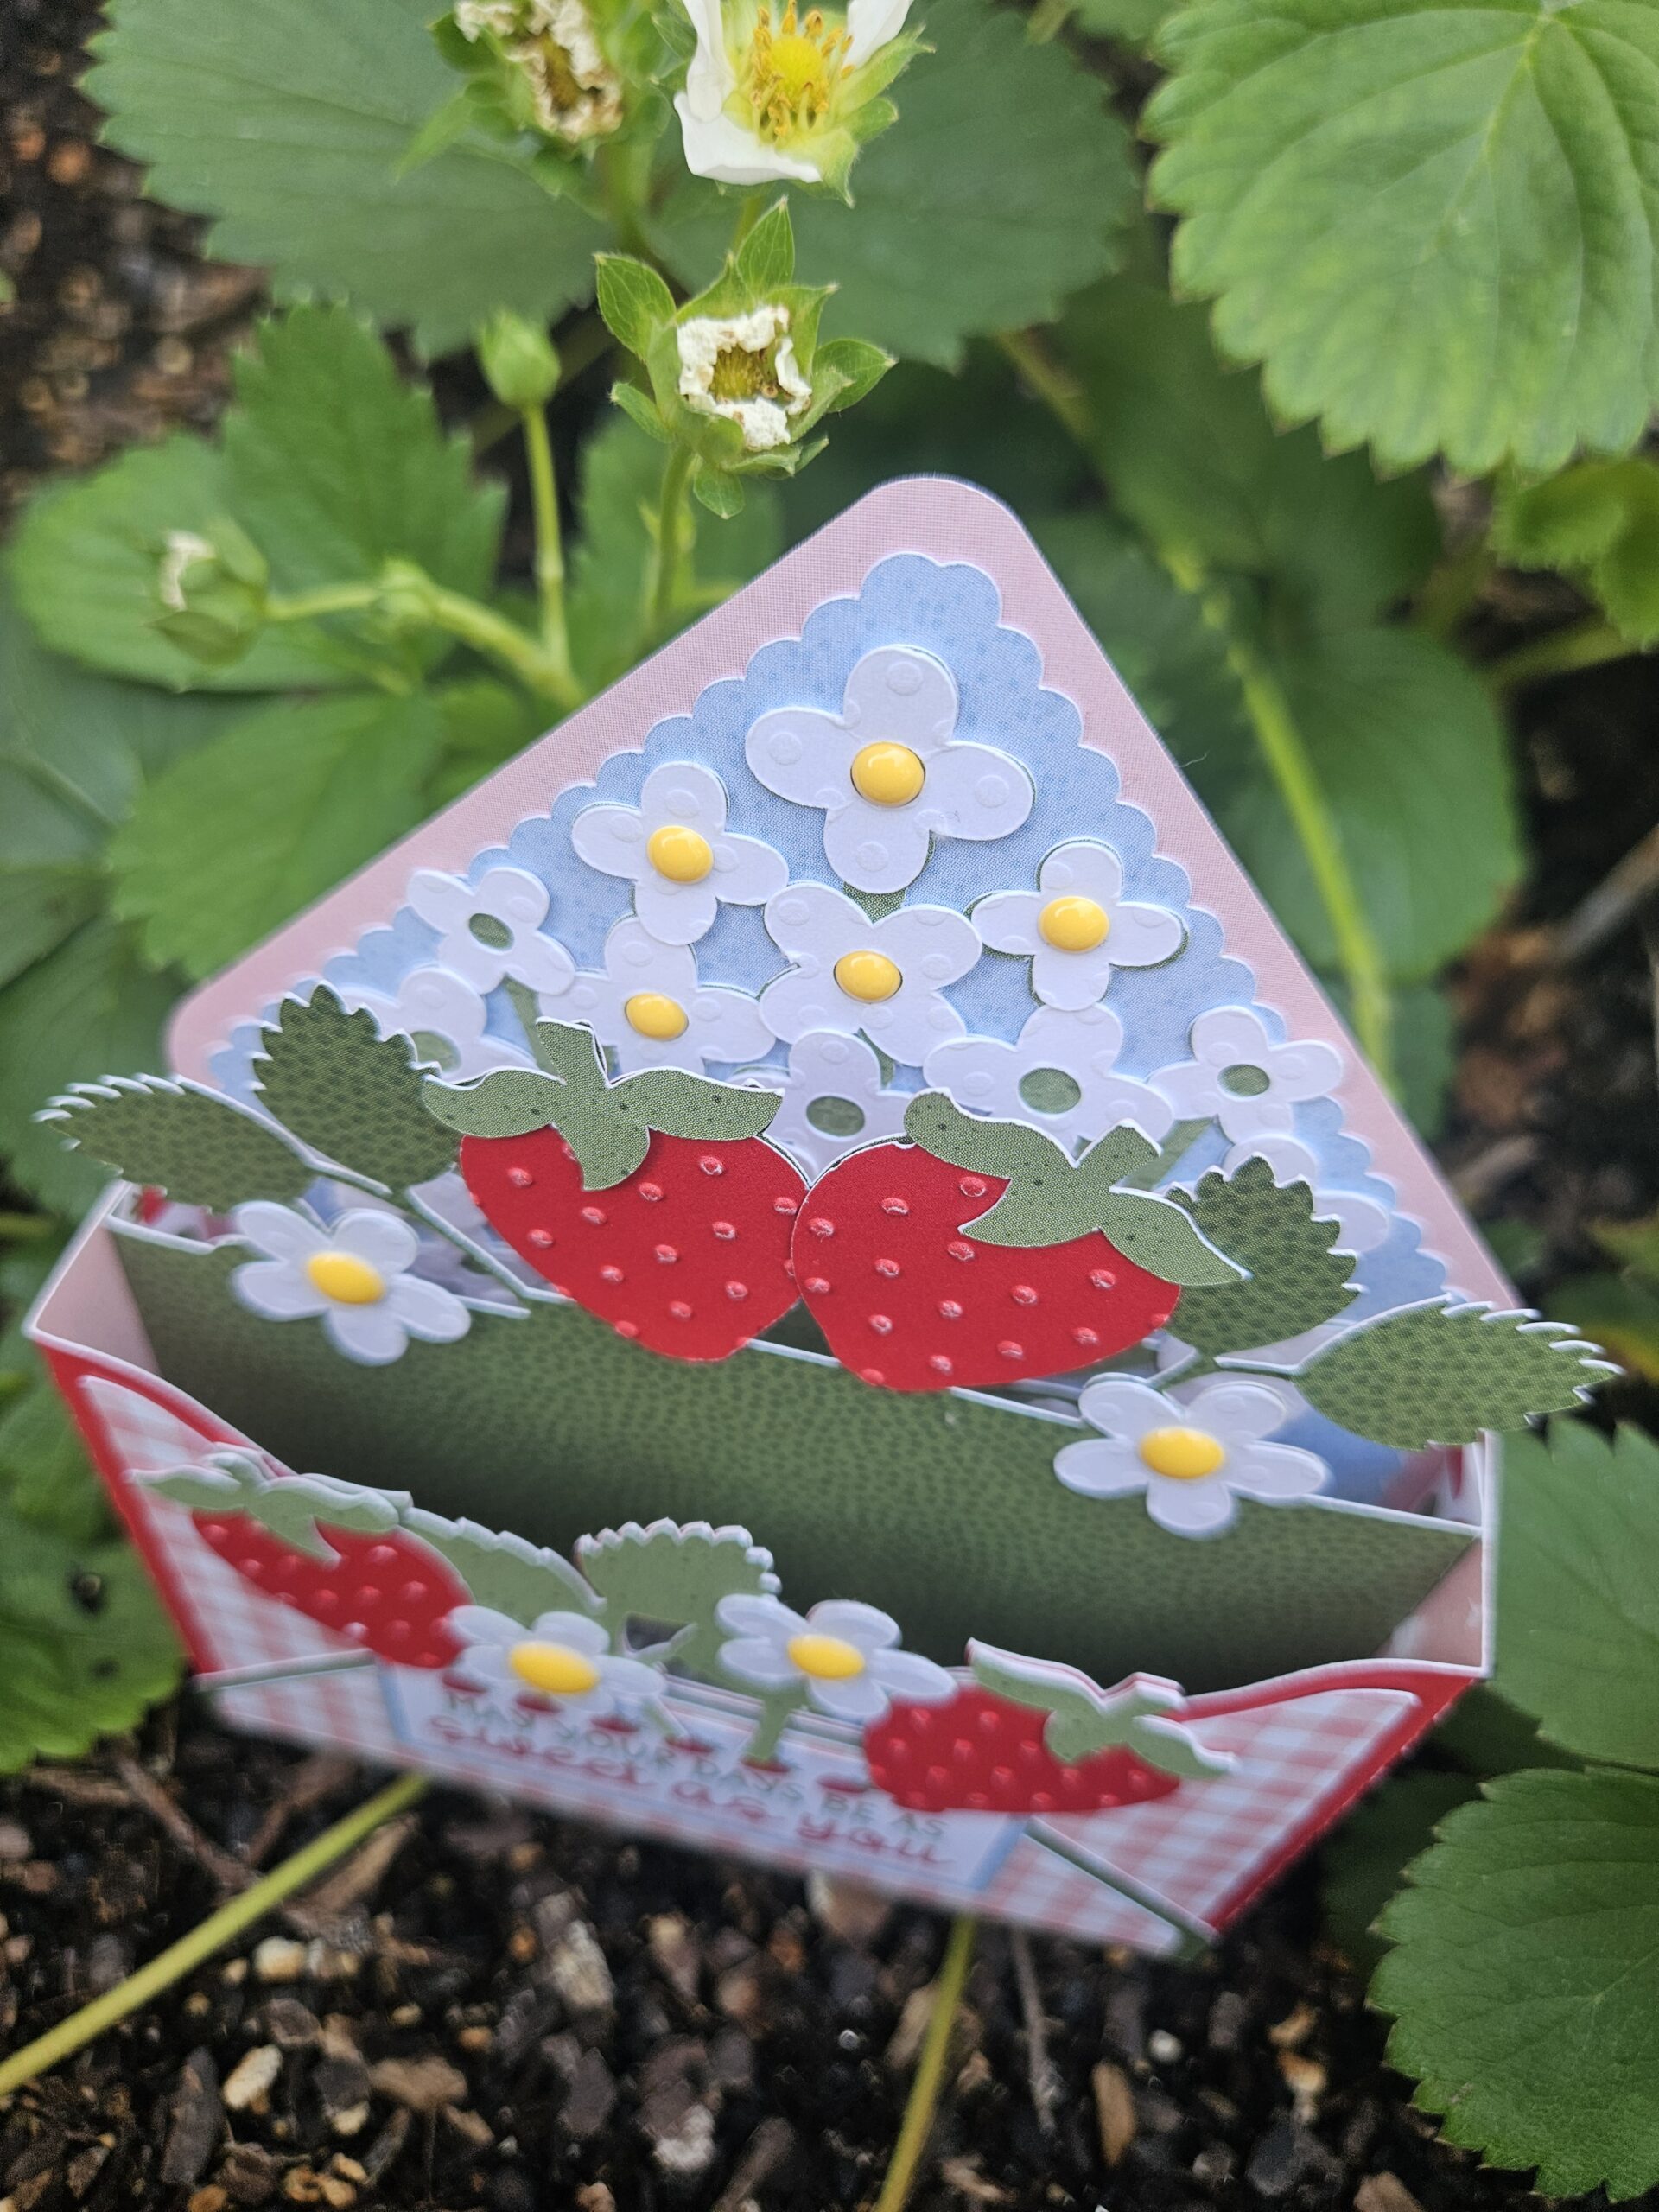
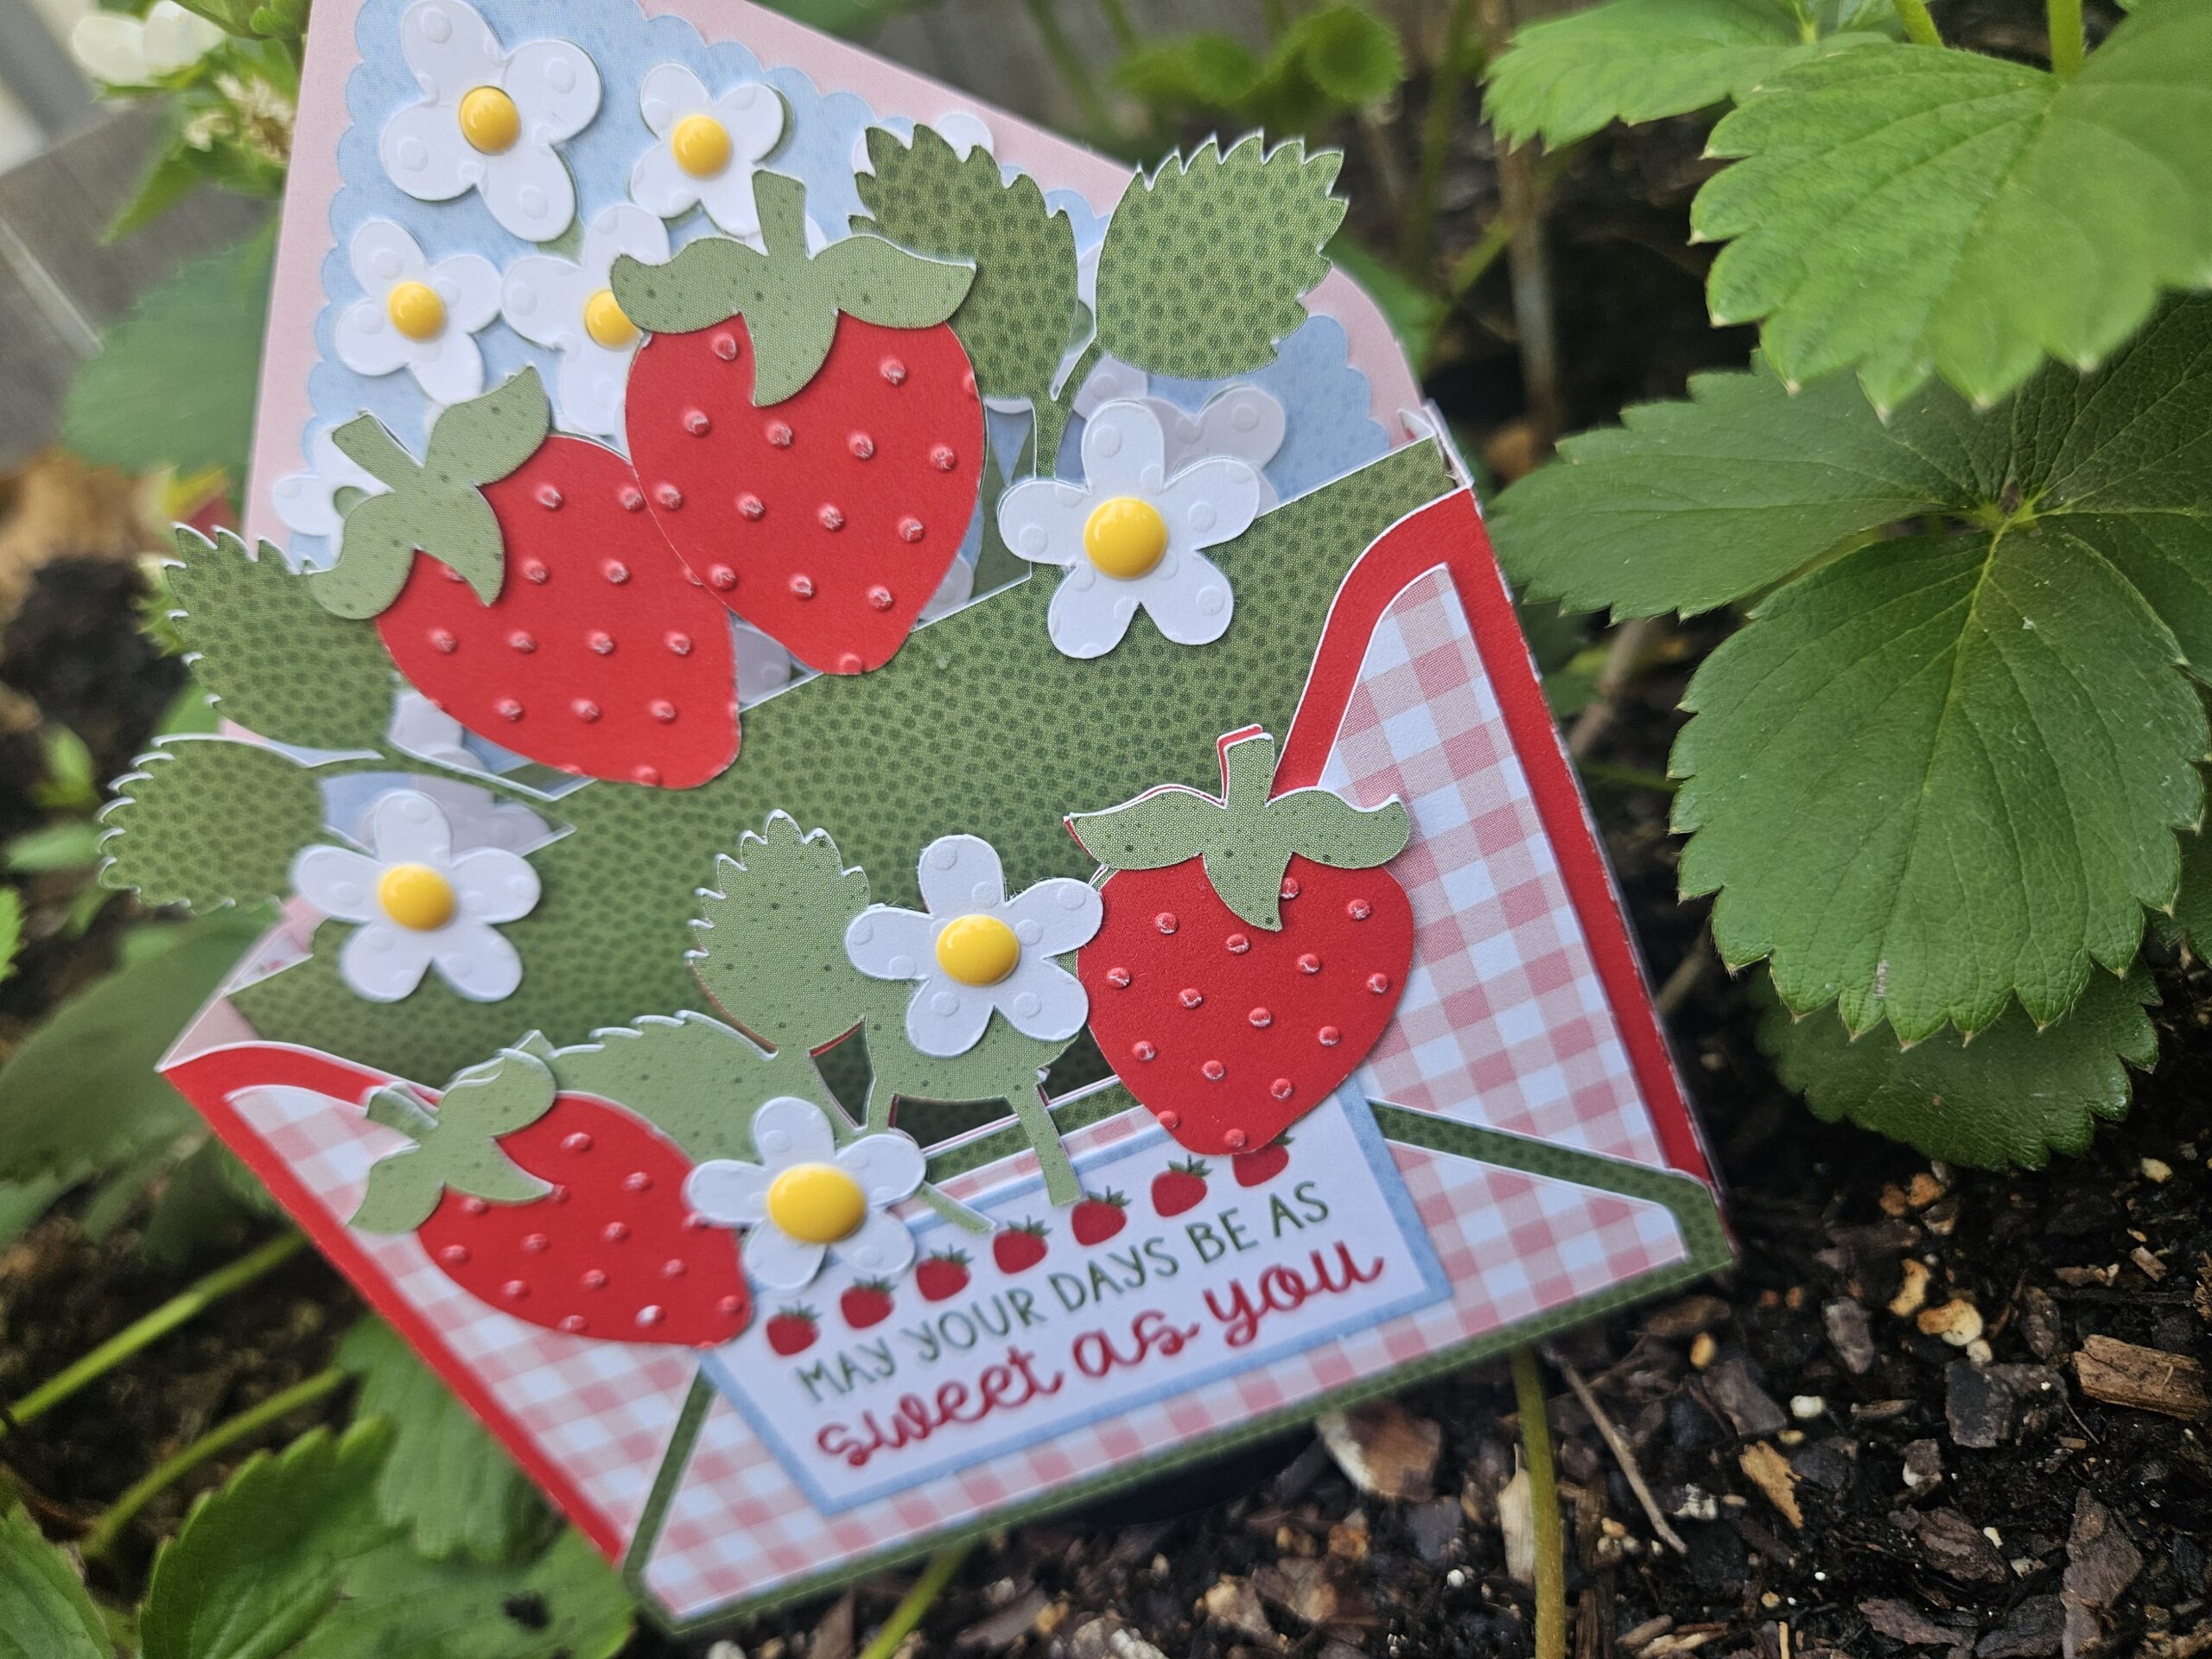
Hello! Today, I’m excited to share a step-by-step assembly tutorial for the Box Card Spring Flower Pot 3 (SVG, Silhouette). This card includes several print-and-cut sentiments, and for this project, I’ve chosen the Happy Birthday design. All of the papers come from the Strawberry Fields collection by Echo Park Paper Co.
First, I inked the edges of most of the paper pieces and folded all of the score lines into valley folds. Next, I adhered the gingham patterned paper to the flowerpot base, which is constructed from two pieces glued end to end. The three inserts feature a total of 10 flowers, with one additional flower attached to the front of the pot. Although the file includes flower centers, I chose not to cut them from paper. Instead, I used enamel dots from my stash for the flower centers.
The inserts can be a little tricky to attach because of the flowerpot’s slanted shape. I adhered them to the inside of the second and fourth sections, starting with the left tab of each insert. As I attached them, I made sure they were level with the top edge of the flowerpot and aligned with the front insert.

Once all the inserts were secured on the left side, I folded them over and applied glue to the back of each tab. Then, I folded the flowerpot over the glued tabs and added glue to the flowerpot tab before closing it. I also added two strips of gingham paper to form the flowerpot’s rim, adhering them neatly to both the front and back of the card.

Lastly, I adhered the sentiment and the final flower to the front of the flowerpot.

I hope you enjoyed this tutorial, and if you have any questions, feel free to reach out. Thank you for stopping by today!
Brandie

5×7 Pop Up Card Father’s Day Fishing

Happy Monday everyone! With Father’s Day right around the corner, I wanted to show off one of Lori’s amazing Father’s Day cards.

I used the 5×7 Pop Up Card Father’s Day Fishing found HERE. Silhouette

This was such a great card to make and add a few little elements to.

I used dimentionals on the fishing pole and bobber on the front. I also used a glitter pen to draw some stiching on to make my “DAD” pop a little more.

The inside is a nice surprise for the recipient. I added a few enamel dots to the fish to imply a rainbow trout which is what we have a lot of here in the Black Hills.

I hope you try this fun card.

Thanks for stopping by and happy crafting!

Rectangle Pop Up Card Sports Stand Tutorial

Hello, crafty friends! This is Lindsay, sharing a pop up card with you today. Father’s Day is just around the corner. I wanted to work with one of Lori’s newest files called “Rectangle Pop Up Card Sports Stand.” I used an Echo Park paper collection, also designed by Lori, called “Dino Mite.”  The colors were perfect for this masculine card. You can find the file here: svgsilhouette.

Begin by cutting all pieces you will need. I assembled each section of the card, as shown in photo 2. Next, I folded the large brown base pieces and adhered them back to back, as shown in photo 4.

The first photo (below) shows the brown pieces adhered back to back, with the top flaps folded outward. Turn the pieces over to the side with the slots. I inserted the large banner/drink piece into the middle slot (photo 2 below), placing strong tape on the back of the large flap. This is adhered directly to the middle divider inside the card. You will repeat this for the foam finger piece and popcorn piece, placing tape on the small folded flap. Slide it down and adhere to base piece.

After inserting all 3 pieces into the slots, it’s time to close the base piece at the bottom with strong tape. Photo 4 shows a side image of the base once it has been sealed with strong tape.

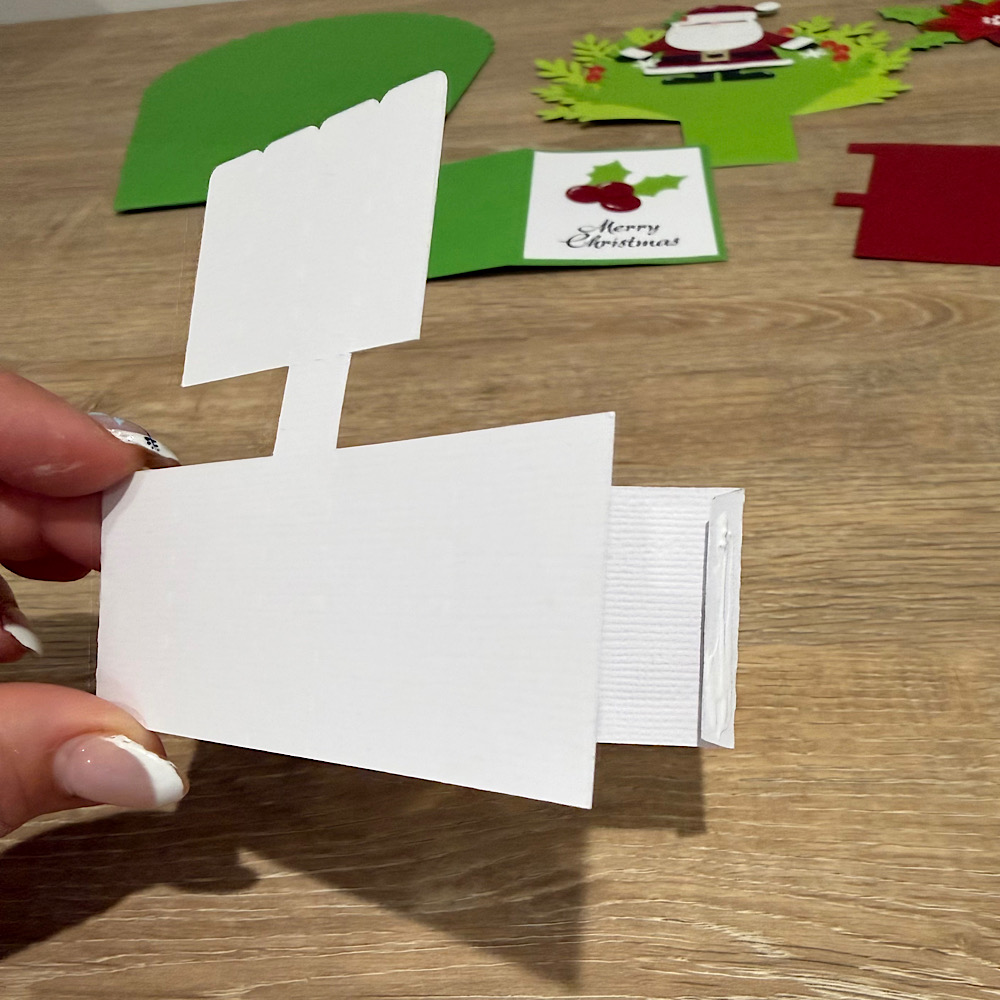
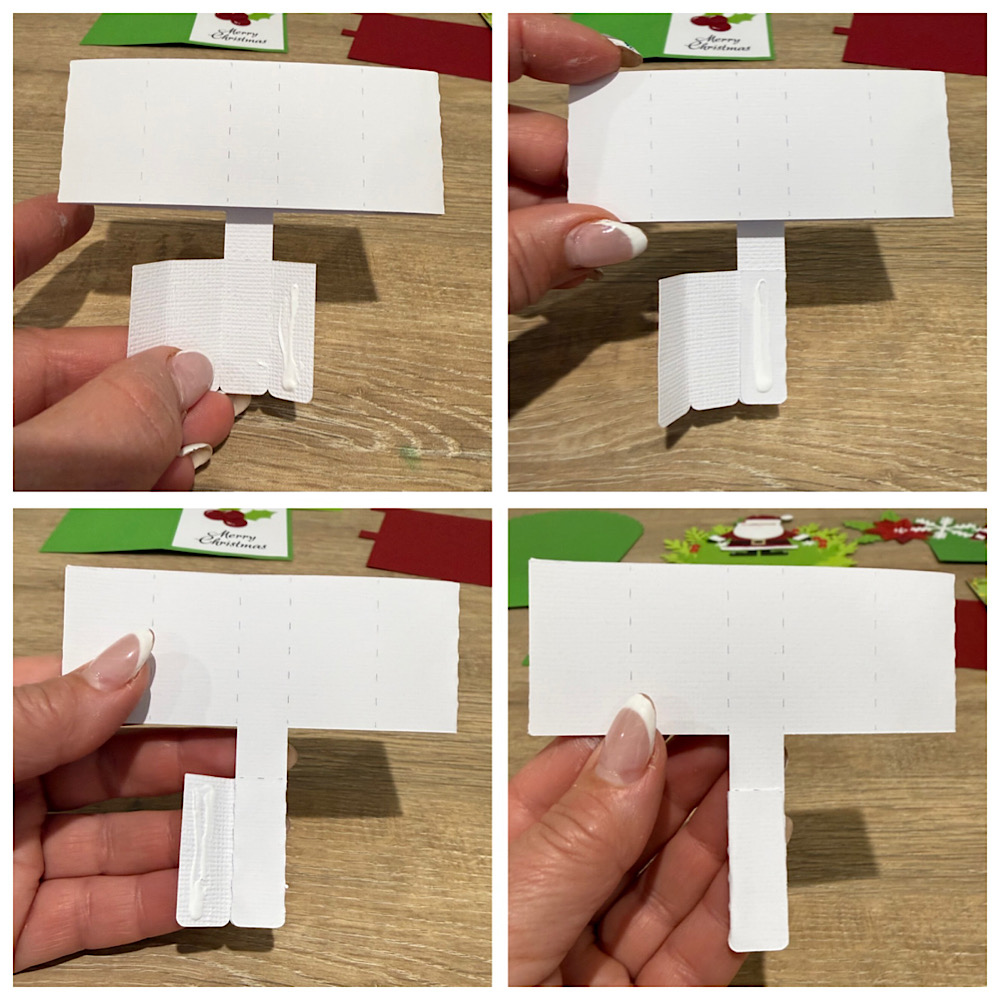
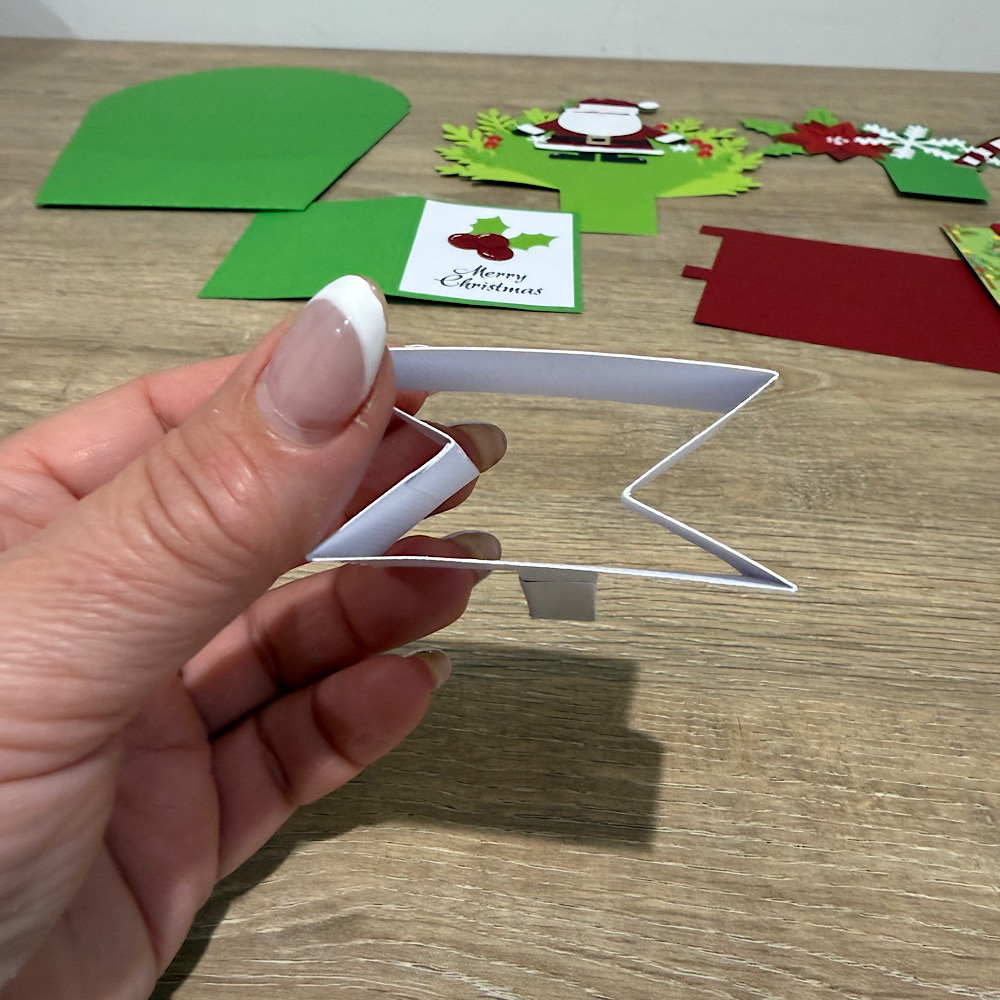
Now prepare the long belt piece by adding patterned paper and folding all score lines in the same direction. This piece will wrap around to form a box. Add adhesive to the small folded flap to complete the shape.

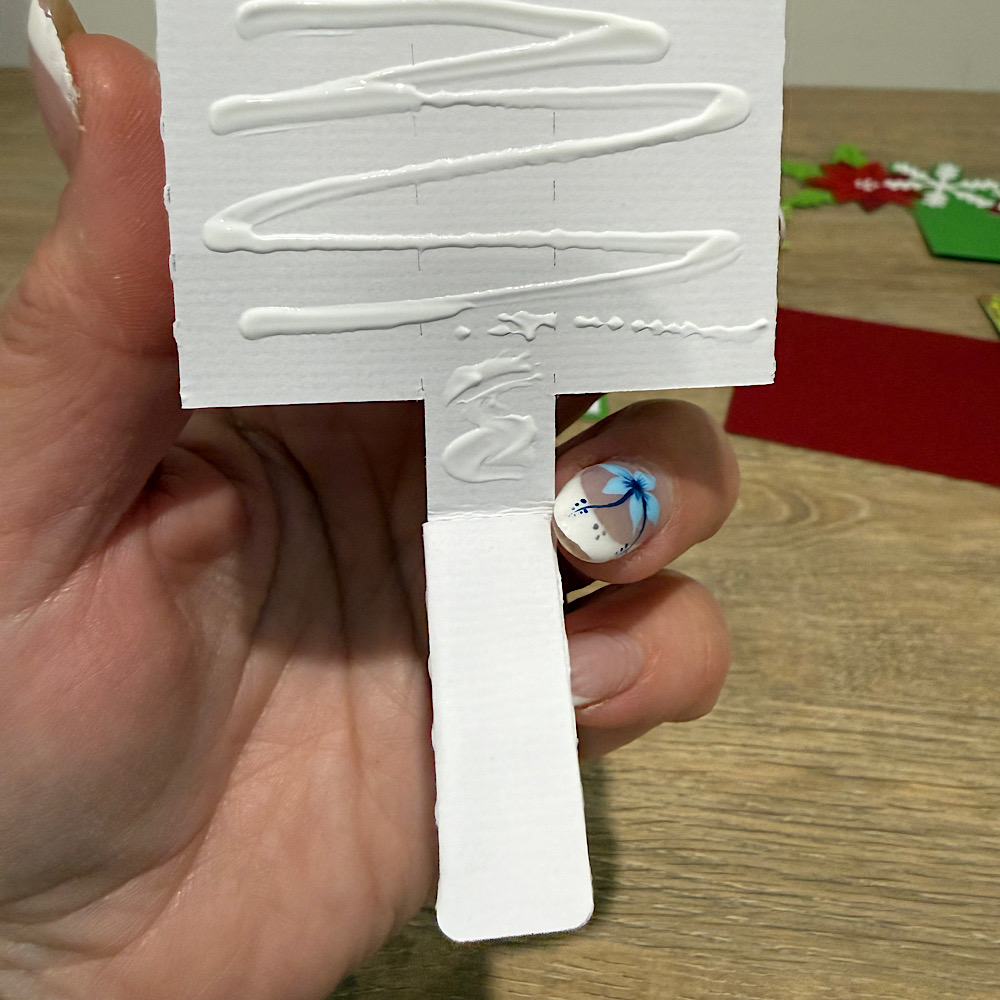
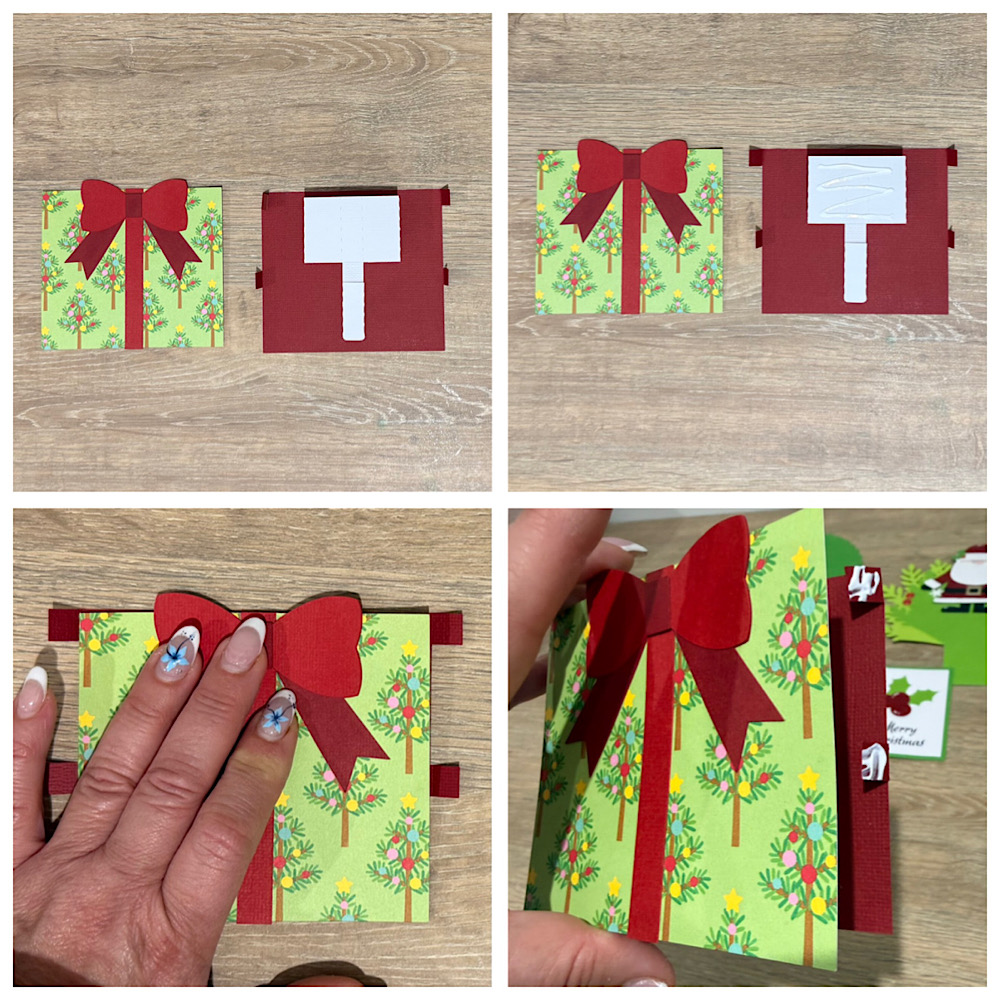
And now it all comes together! Slide the layered base piece into the completed belt piece. You will add adhesive to the upper middle part of the foam finger pieces and the back side of the popcorn piece. The area from the score line down to the small “feet” will extend below and should not have adhesive on it.

Once the base of the card is secured inside the belt, it’s time to open up the piece and reveal the amazing 3d design! The “feet” should fit into the small cuts on either side of the belt piece.

I hope this inspires you to create a pop up card! They are incredible designs that fit together like a die cut puzzle. Click on the picture below, and it will take you right to the file on Lori’s site. Thanks for stopping by the blog today! — Lindsay


3D Rainbow Bouquet

Hello crafty friends, Noelene here today to share another card from the gorgeous 3D Flowers Bouquet 3 release from Lori Whitlock called 3D Rainbow Bouquet (SVG), (Silhouette).
I used foam squares to raise my flowers. I embossed 1 of the vase panels with a pretty swirl & heart embossing folder. I decided to add a cute little unicorn to my card so I used one of the unicorns from Doodlebug Design’s Fairy Tales Collection (SVG), (Silhouette). Lastly I embellished with some sprinkles & added my sticker from the coordinating Doodlebug Design Fary Tales Sticker Sheet.
The bouquet also comes with a coordinating bouquet envelope wrapper & a cute little matching mini card.
For more value make sure you check out the rest of the elegant 3D Flower Bouquet Bundle 3 here.
For more inspiration, check out my Instagram!
Thanks for stopping by!
Hugs
Noelene 🙂

5×7 Barn Easel Card Tutorial

Hi there! Today I am sharing an assembly tutorial for the 5×7 Barn Easel Card Patriotic (SVG, Silhouette). This barn card includes several elements, but the assembly is straightforward. Each piece has at least two layers. Start by gluing down the barn stripes, followed by the roof trim. Assemble the door and windows, then attach them to the barn. Center the wreath around the top window and glue the banner to the middle of the barn. Finally, align and attach the small fence along the bottom and right side of the barn.

The card base consists of two pieces. The top piece features two score lines that are folded as mountain folds. The end fold is glued to the back piece, forming the card base. Attach the green grass strip to the front of the card at the open edge. Apply glue only up to the middle score line on the card base, then center the barn over the glued area, aligning it with the bottom of the card. The truck can now be glued to the front of the card aligning it to the bottom and left side of the car.
The sentiment is glued inside the card near the center. Adding foam dots to the back of the sentiment will help keep the card open, though they are optional.

This barn card is darling and makes a festive decor piece for the recipient. Be sure to check out all of the available options in Lori’s shop. Thanks for stopping by today!

Brandie