Unicorn Wiper Card

I love that Unicorns and rainbows are so popular right now.  Lori has a wiper card that features a unicorn and it’s adorable!

Image 1

You can find this SVG file in Lori’s Shop and it’s also in the Silhouette Design Store.

When opening the file in Cricut Design Space, remember to attach the score lines to the appropriate card layer:

There are 3 pieces with score lines to attach, the card base, the front strip and the wiper tab.  Also, you can delete the grey triangle glue pieces; these pieces are only there to help you see where to glue.

If you are using Silhouette, first ungroup the file pieces (right mouse click on the image, and select ungroup ) then delete the glue pieces and sort the pieces by color for cutting.


These are the pieces you will have after cutting: The card pieces and covering panels.

And the sentiment, unicorn, and balloon tag pieces. The sentiment is done using the print and cut function of your cutting machine.  For tutorials on this, see our tutorials page.

Start by gluing all of the pieces:  Add the covering panels to the card base and piece together the unicorn and the wiper pieces.

Next, construct the card.  Lori has a great video showing how to construct the wiper mechanism . You can find it here.

The card base pieces fit together like this:

And the final card:

I used Lori’s I Love Summer Collection with Echo Park.  I added an extra tag and an enamel dot for embellishment.  This card is sure to brighten someone’s day!

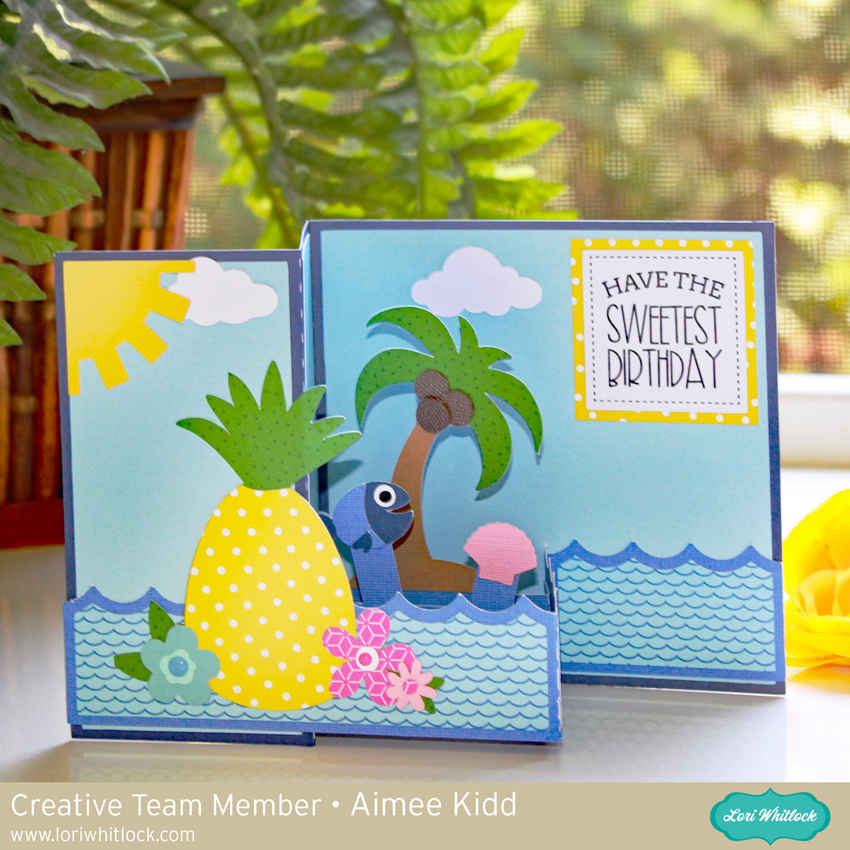
Pineapple Pop Up Birthday Card Cut File

Hello everyone! Hope you all are having a wonderful Summer so far! If you are looking for a Summery birthday card then look no farther! Lori has some super fun and fabulous Summer Pop Up Box Cards that are sure to bring a smile to a loved one’s face!

I chose the Pop Up Box Card Pineapple (Lori’s Shop or Silhouette Design Store) because I love the sweet sentiment and the adorable little fish. These cards are so much fun to make and fun to give away!!

That’s all from me today! Hope you enjoy making your new and fun cards!!

Aimee

August 2019 Kit of the Month

We have a brand new special for the entire month of August ! You can get this Free Kit of the Month with any $20 purchase (Purchase must be in one transaction.) Simply add the 2019 August Kit of the Month to your shopping cart along with ANY $20.00+ purchase from the SVG Shop and this file is yours FREE. Be sure to use Coupon Code: AUG19KOTM (case sensitive) at checkout. This offer is good through August 31, 2019.


(Your cart must reach at least $27.95 before the coupon will be applied and then $7.95 will be subtracted from your total at checkout. The files will be available for immediate download after you pay for your order by visiting MY ACCOUNT>COMPLETED ORDERS>ORDER DETAILS inside of your account. Only one discount code per order allowed.)

Thanks for visiting the blog today! Please let us know if you need any help with your files. We want to make sure everyone is happy with their purchase. Have a great day!


Apple Scale Shaped Box Card

Hi there, Lori has a bunch of new vintage style box cards in her shop and at the Silhouette Design Store, I just love them all!! You can get these individually or in a bundle at Lori’s shop. I made the Box Card Apple Scale, (svg, silhouette), which is simply adorable and so easy to put together.

It’s perfect on it’s own, but I added a stamped sentiment, so cute!  Thanks for stopping by and have a wonderful day!

Cupcake Box Card Cut File Assembly Tutorial

Hi everyone!  Corri here today sharing a quick assembly tutorial for the new Cupcake Box Card (Silhouette, SVG).  The shaped box cards in Lori’s shop are assembled in the same general way as the box cards in this video.    The main difference is that the “box” shape is different, but the inserts are done in the same manner.  For the Cupcake Box Card I started by cutting the pieces.

First, layer the cupcake pieces on the inserts and add the decorative top layer to the cupcake wrapper.

Next, apply glue to the tab on the cupcake wrapper to form the “box.”

Finally, apply glue to the tabs on the frosting piece inserts and glue them to the interior edges of the box, placing one in front of the other (insert 1 in front).  Make sure the tabs on both inserts are facing in the same direction.

These shaped box cards are so cute and they fold flat for mailing!  Lori just added a bunch of new ones to the shop so head on over and grab one.    They are so fun and easy to put together.

Thanks so much for stopping by!