Memorydex Box and Cards

Hi Everyone!  I’m excited to bring you some brand new files that are in Lori’s SVG shop and coming to the Silhouette Store!  Memorydex scrapbooking is making a comeback!  They are perfect for documenting weekly favorite photos, December daily, recipes,  events… whatever!  I decided to use this Memorydex box for my weekly photos.  My goal is to do a card a week in 2020 documenting my favorite picture of that week.  Take a peek…

I started with the new Memorydex Box and Cards file (SVG, Silhouette). (see tutorial below)  I decorated the base box and then created cards for my first two weeks of 2020.

For week one, I used one of the new Memorydex Foldover Cards (SVG, Silhouette)  I love how you can decorate the front of the card, and add extra photos on the inside!  It’s great for when you can’t pick just one photo to document!

For week 2 I used one of the new Memorydex Scalloped Cards (SVG, Silhouette)

I made a set of all the new cards that coordinate with the Memorydex Box, so that it’s easier for me to keep up with documenting my year!

Memorydex Foldover Cards (SVG, Silhouette)
Memorydex Scalloped Cards (SVG, Silhouette)
Memorydex Envelopes (SVG,Silhouette)

I put together a quick tutorial showing how to assemble to box.  To start, you’ll need 2 pieces of 12×12 paper, a 12×12 sheet of chipboard (I used Silhouette’s chipboard, it’s the perfect thickness) and 2 straws or wooden dowels that are at least 8.25″ long and .25″ in width.  Cut the two boxes from the paper and the remaining pieces from the chipboard.

  1.  Assemble the larger box (the one with no holes) by folding along the score lines and gluing tabs on the inside of the box.
  2. Before assembling the inner box (with the holes) glue the chipboard pieces to the bottom center of the outside of the box and to the sides with the holes, making sure to align the holes.
  3. Fold up the sides and glue this box with the tabs on the outside.
  4. Add the chipboard pieces to the long sides of the box.
  5. Glue the remaining chipboard pieces to the inside short sides of the larger box, making sure they are flush with the bottom of the box.
  6. If using straws, cut them down to be just over 8″.  I cut mine to be about 8.125″.  If using wooden dowels, cut them to be 8.125″.  Insert the straws (or dowels) into the inner box with holes so they form the sliders.  They should barely stick out of the ends of the box.  You may need to trim.  If you want you can add a little glue to the outside of the holes to secure.
  7. Insert the smaller box with the straws into the larger box.  If your straws are sticking out too much, you may need to trim.  It’s a snug fit, a little patience helps.
  8. I added some glue between the layers of the 2 boxes and clipped until dry.

All that’s left is to decorate your box and start documenting!  Hopefully, I can keep up with my weekly memories!

If you make a Memorydex box using this file, we would love to see your projects!  Be sure to tag Lori Whitlock on Facebook and Instagram so we can see!  That’s it for me today, thanks for stopping by to peek!

BLOG * INSTAGRAM

A New Friday $5 SVG Bundle

Hi Everyone! Today we have a new Friday $5 Bundle! It will ONLY be available until Midnight Sunday and when it’s gone it’s gone. These SVG files can be used with Cricut Explore, Silhouette Studio (with the Designer Edition upgrade), Scan N Cut, and any other cutter that will work with SVG files. Help spread the word by telling your friends and announcing it on social media!

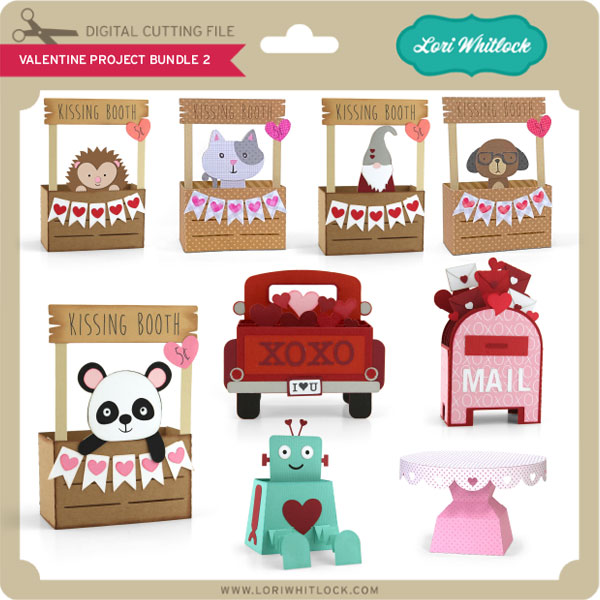
Now through Sunday, you can pick up this Pop Up Valentine Card bundle including 5 SVG files for just $5!


The cost of this bundle is $5, for $9.95 worth of SVG files, over a 49% savings! But don’t wait, this bundle will only be around until Sunday at midnight!

*** Note: Because Friday $5 Bundles are already heavily discounted they are not eligible for further discounts including monthly, seasonal and flash sales.  ***

Have a great day!

New Sliding Shadow Box Cards and a Silhouette Sale!

I have a new type of card in the shop this week!  The new Sliding Shadow Box Cards are so fun and interactive AND they fold flat (5×7) for mailing! There are 11 new styles…including 6 new valentines!

When closed, the cards lie flat.  Once you open, they become dimensional…

Here are all of the different styles released this week… I’ve included links to both my SVG Shop and the Silhouette Store.

Sliding Shadow Box Card  Baby (SVG, Silhouette)
Sliding Shadow Box Card Farm (SVG, Silhouette)
Sliding Shadow Box Card Birthday (SVG, Silhouette)
Sliding Shadow Box Card Winter (SVG, Silhouette)

Sliding Shadow Box Card  Beet(SVG, Silhouette)
Sliding Shadow Box Card Grater (SVG, Silhouette)
Sliding Shadow Box Card Gnome (SVG, Silhouette)
Sliding Shadow Box Card Flowers (SVG, Silhouette)

Sliding Shadow Box Card Paris (SVG, Silhouette)
Sliding Shadow Box Card Truck (SVG, Silhouette)
Sliding Shadow Box Card Whisk (SVG, Silhouette)

I also have a video tutorial for these cards on my YouTube Channel here.

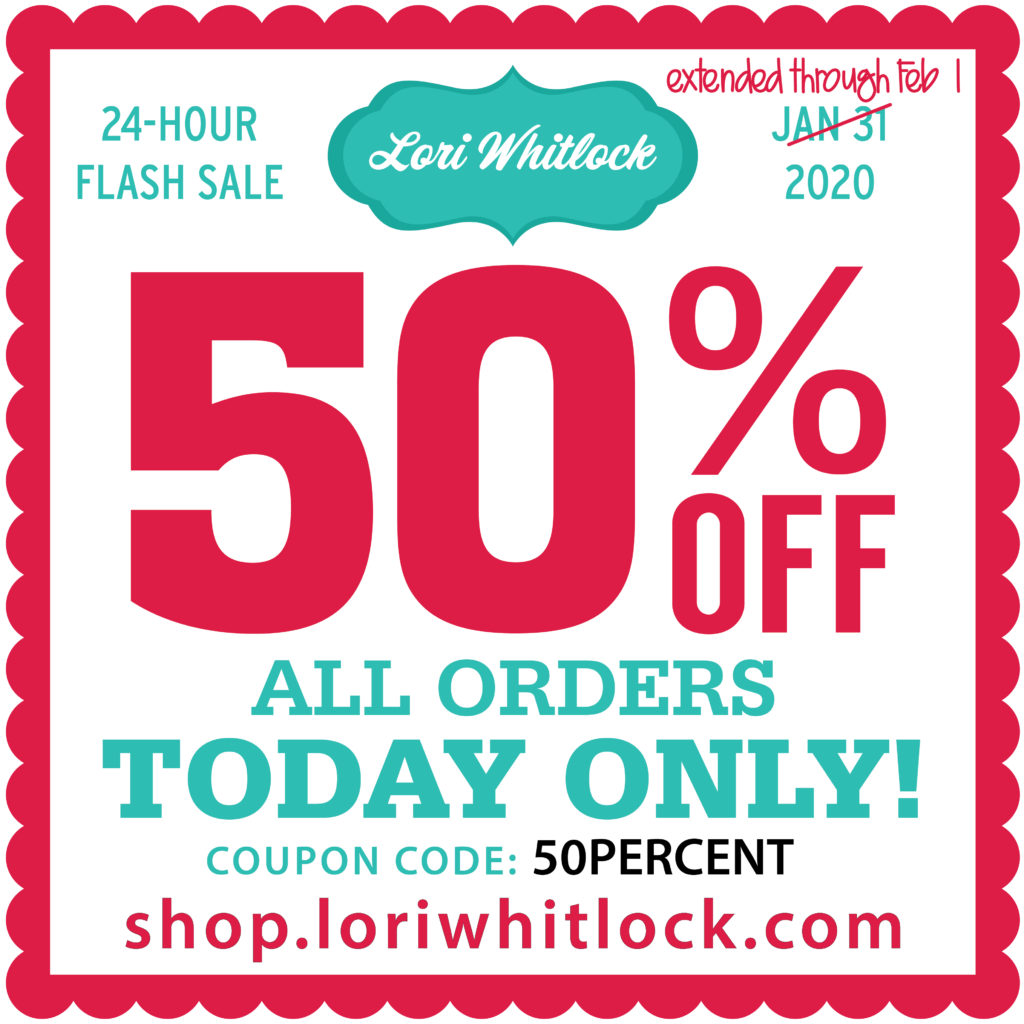
These cards along with all my other files are on sale in my SVG Shop this week!  Use code JAN2020 at checkout to get 30% off all SVGs!

In addition, for my customers who purchase my files from Silhouette… All of my files are 40% Off in the Silhouette Store this week only!  Don’t miss out!  You can find my design Gallery here .

Have a great day!