Big Box Card Lemonade Basket

Hi. Today I’m sharing a tutorial for this adorable Big Box Card Lemonade Basket (SVG, Silhouette). Like the title says, this project is big and so fun.  No problem cutting all the flower center pieces!
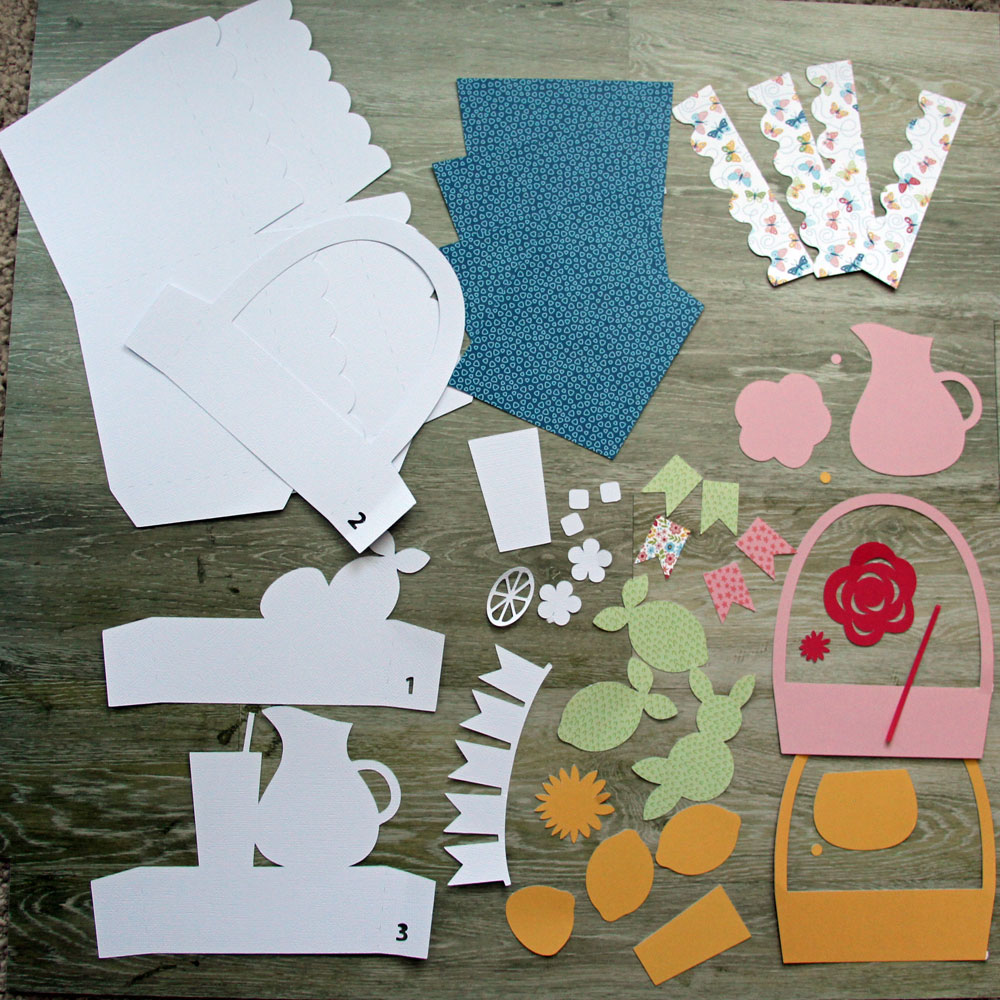
1. First cut all the pieces.  If you are working in Silhouette Studio, remember to find all the white pieces that may be hiding behind a layer. Also think about any patterns you are using in your paper, and place them accordingly.  Notice the direction of scalloped flap pieces.  In this picture those pieces are a butterfly pattern.  But you’ll notice later, I used the other side of the paper.
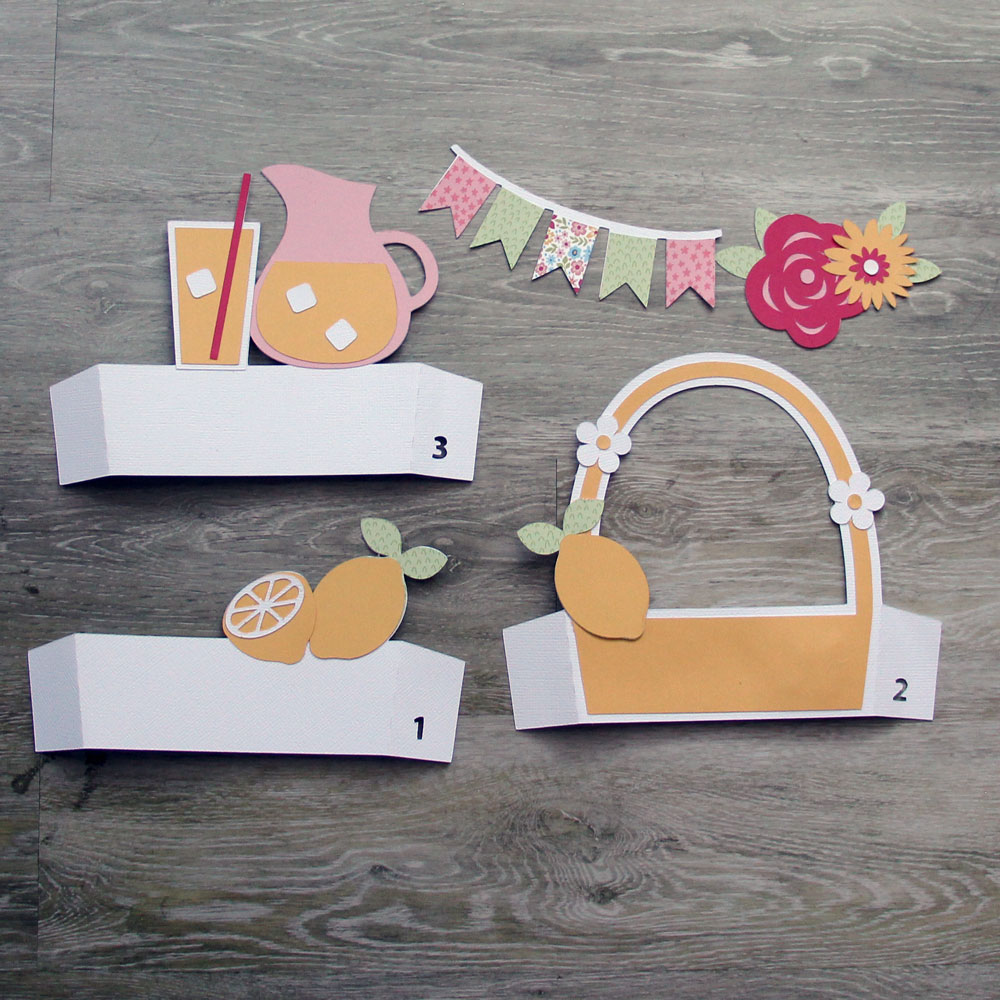
2. Layer all the pieces, using the finished project image as reference if needed. Aren’t the ice cubes so fun!
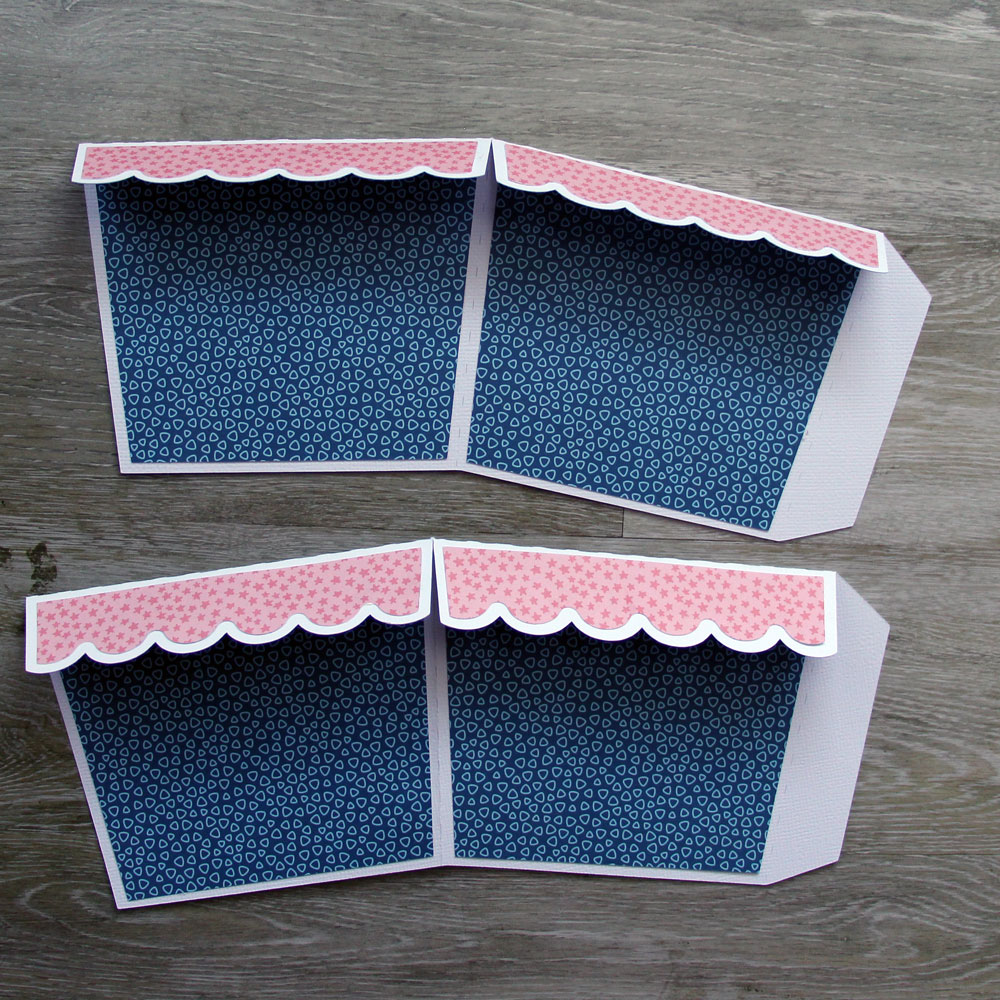
3. Adhere the basket panels onto the basket piece.  Notice here that you will first fold down the basket flaps, and then adhere the scallop panels to the folded side.  Here I decided to use the other side of the paper!  Luckily these pieces are symmetrical so they fit perfect.
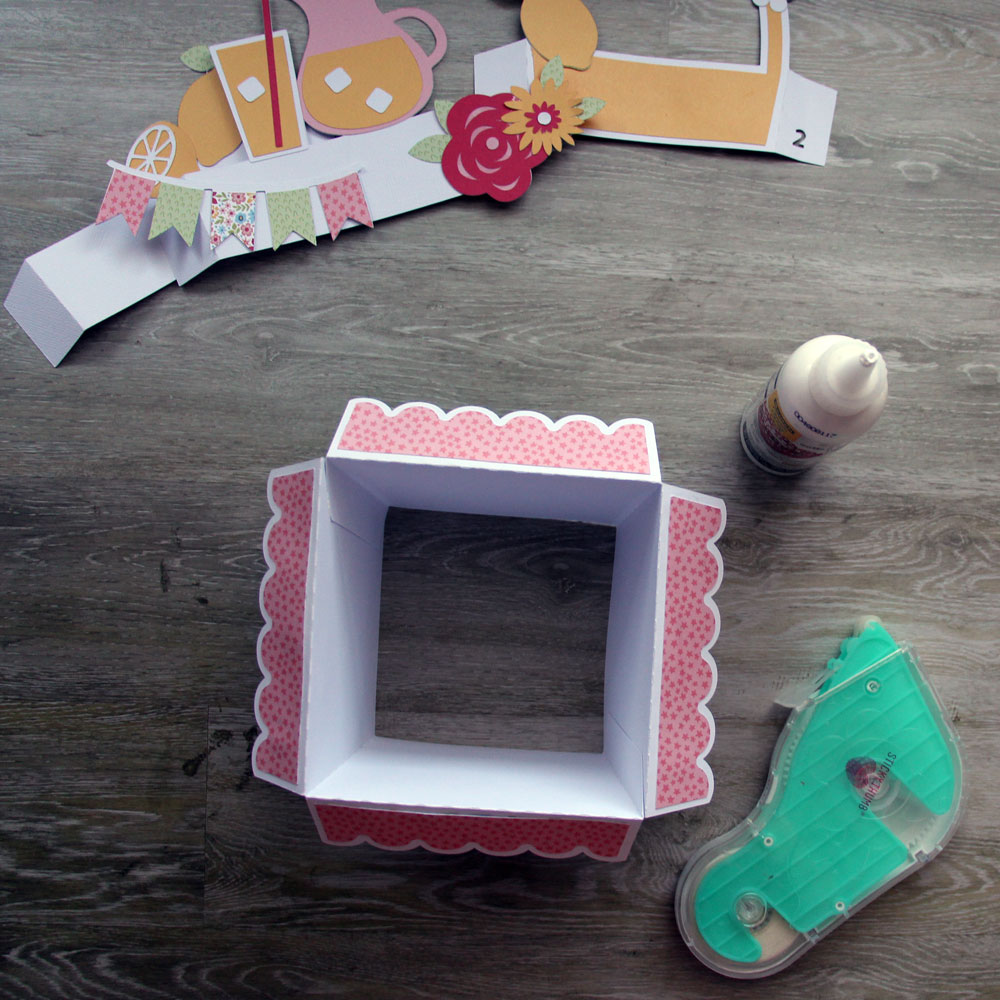
4. Time to assemble the basket.  Glue the flaps together to form the basket. I used liquid glue for the flaps.
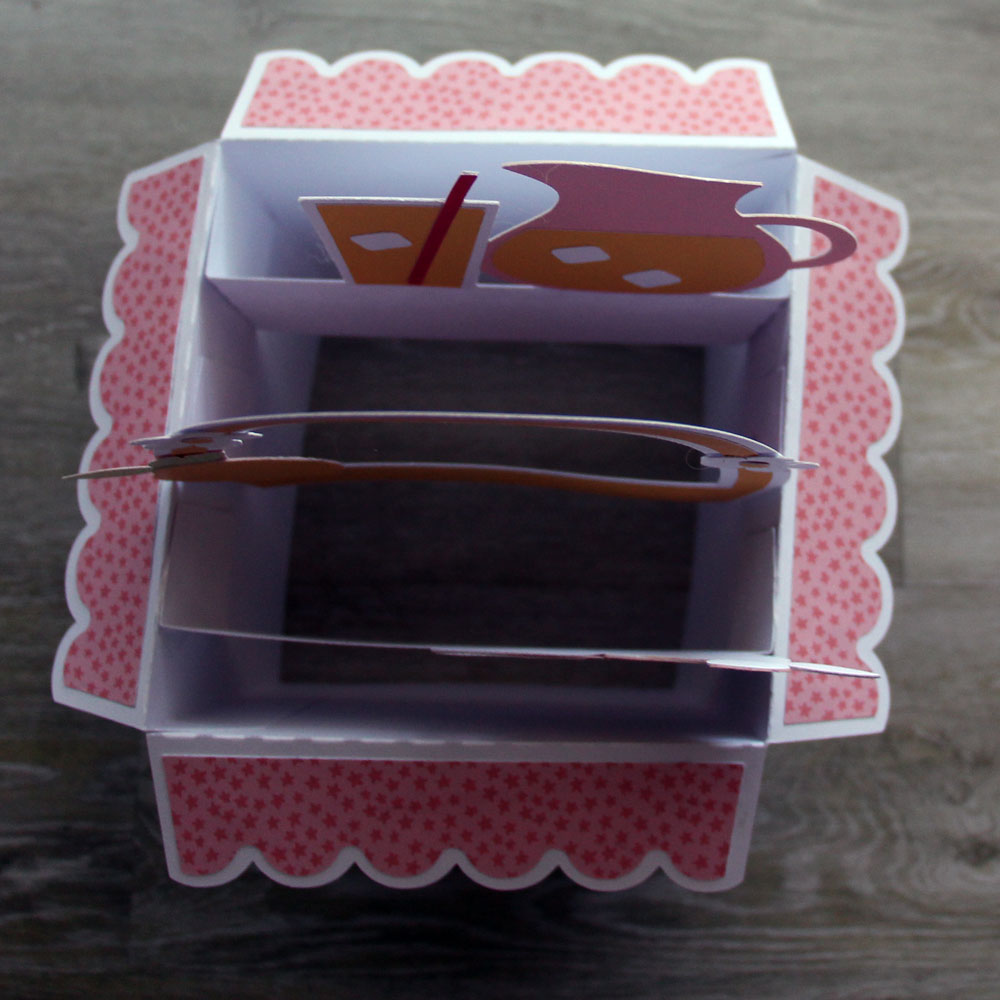
5. Now insert the pieces into the basket and glue the flaps to the sides.  Do your best to evenly space out these flaps. They are numbered 1,2,3, so you can easily place them in the correct order.
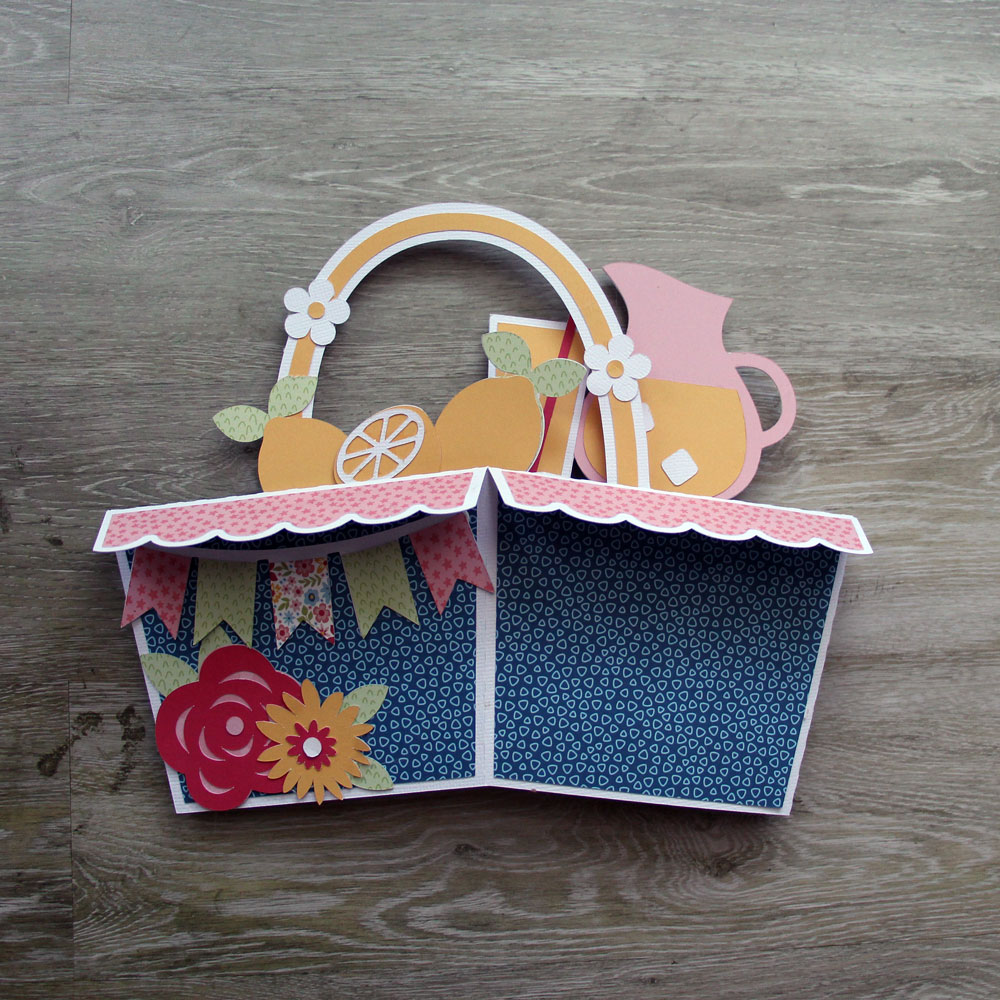
6. Flatten the project and make sure the inside glue tabs are adhered well.  And adhere the front banner and flowers on to the basket.  Noting which panel is the front before adhering.
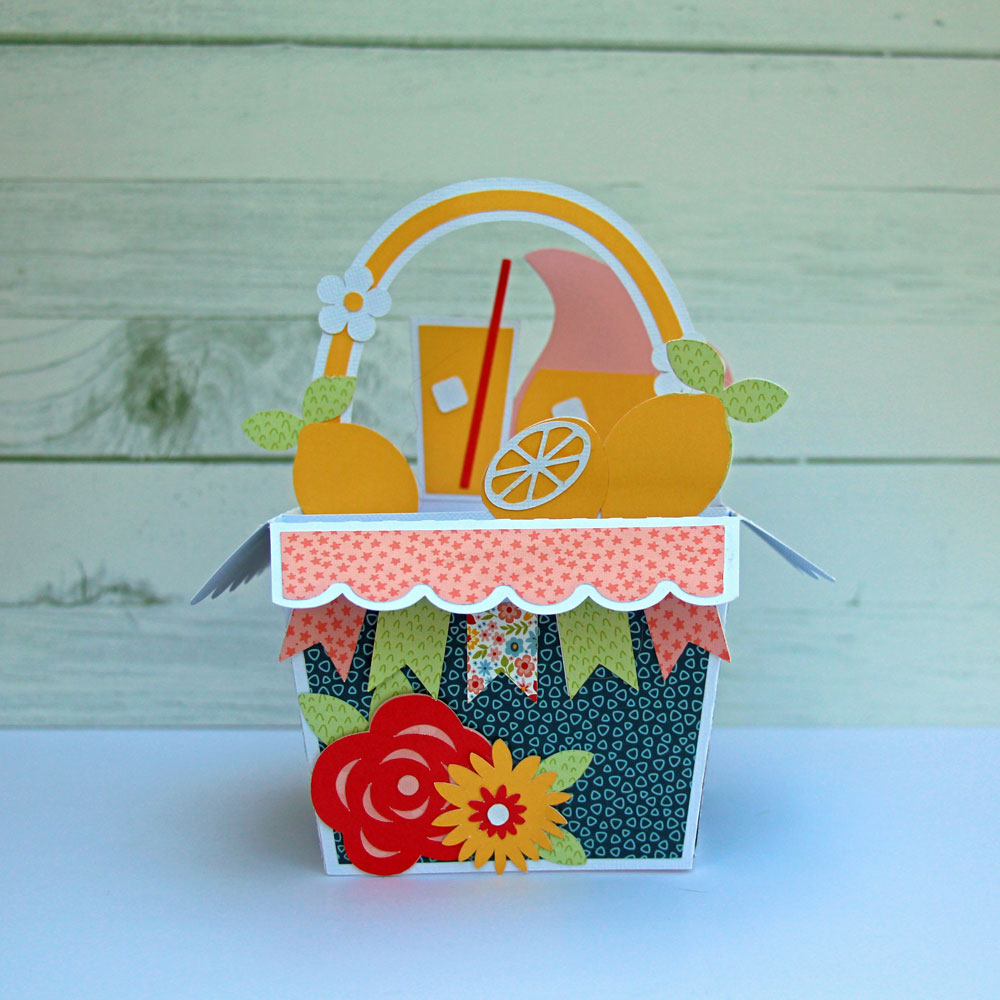
7. Tada!  Enjoy your finished project.  This is a fun one.  You can find some other of these Big Box cards in the Shop. I used Lori’s Have a Great Summer Collection. You can pick up your favorite Big Box card during Lori’s Sale!

Hope you are having a great summer!

Fun in The Sun Tropical Cards

Some Monday  Tropical Fun!
Box Card Beach House (Lori Whitlock, Silhouette)
I added a panel and a flower/pineapple to the back as well…a little extra touch!
I also added a little pineapple and back panel to the Tiki Bar! 


I was in the mood for a little tropical fun today so I am sharing these fun Lori Whitlock cut files. 

I made some other fun Lori tropical cards linked HERE.

Thanks for stopping in today!

 💕Sue Kment

An Oldie but a Goodie- The Side Step Card!

I was paging through my library of Lori’s files on my Silhouette, pages and pages, mind you.  And I came across this side step card and I remembered how I used to love to create these as you can enhance with all the embellishments for Lori’s collections.  So, I just had to give it a try again with Lori’s Echo Park Firefly Collection.

The Step Card Side file is here in Lori’s Shop  or in the Silhouette store.  I used the Firefly card stock for the base and papers from the 6×6 pad for the accent papers, a bit of the washi tape, several pieces of the chipboard, stickers, a tag and enamel dots.  You can simply create a scene with these little step card bases and all the embellishments.  Tons of fun to just start layering and see what you come up with.  I adore this collection and how this card turned out.


Thanks for joining us today!

~Cathy

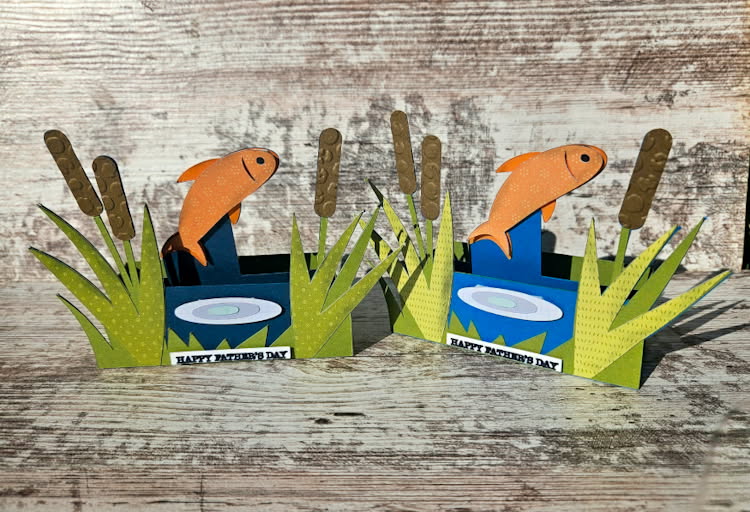
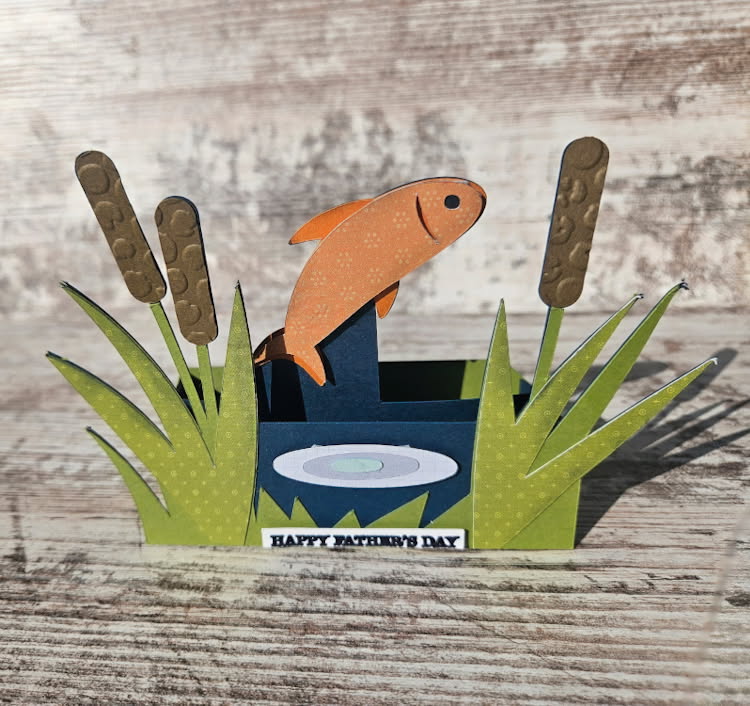
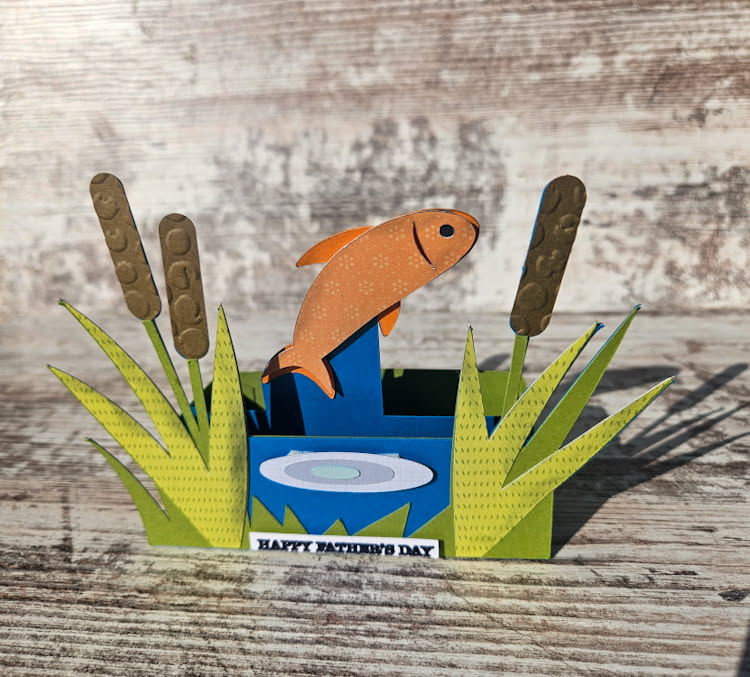
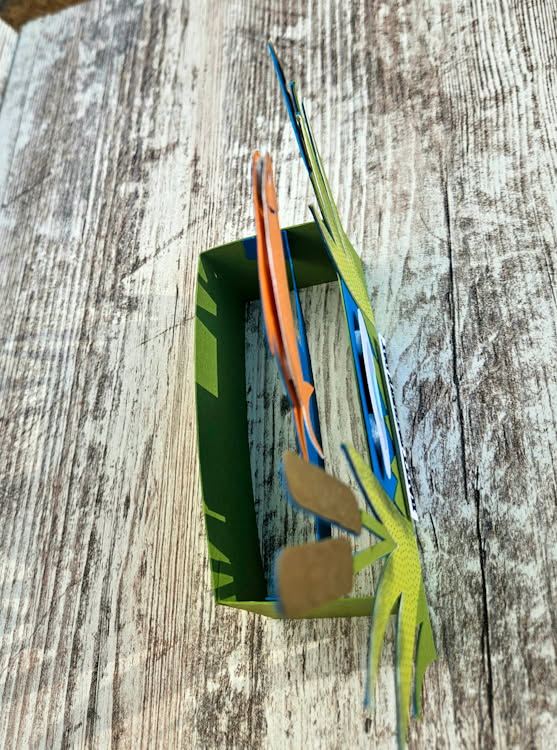
Box Card Fish Pond

Happy Father’s Day (a day late). I’m sharing the cards I made for my dad and father-in-law-to-be. I created the Fish Pond Box Card, available here or here.

I popped some of the elements to give some more dimension and I used an embossing folder on my cattails.


Thanks for stopping by and happy crafting!

Chelsea - GritCycle

Hexagon Pop Up Beach Ball Card

 
You can find this card in a Hexagon Pop Up Bundle, or purchase it by itself. 
 
You can buy the single card here (Lori Whitlock, Silhouette)
 
 
Here is a tutorial for you today!
Here are some of the working parts glued together and ready to go.
This is the base piece. I creased all the fold lines.
You will add glue to the center of each section and then fold the piece upon itself, matching the two glued parts together.
This is what it will look like from the side.
This is what it will look from the top. There are 3 slots with the largest in the center.
You can insert the pieces numbered 1, 2 and 3 in order to get an idea of what this card will look like but you will need to take out #2 an #3 while dealing with #1-it’s just easier.
Glue the tab of #1 and glue it so it stands straight when folding the base upright.
Fold the first base section, being careful to make sure when you fold it flat, that it will flatten fully.
Here it is flattened. 
 
Insert #2 into the other side base section and glue it flat onto the  inside center piece.
Here I am inserting #3 piece. When you fold the second side up make sure your #3 piece is glued up straight and then glue the main side flap together, forming an open square on each side
It looks like this when you set it up. Take note of the little tabs on the bottom of each side.
Add glue to the front and back of each base piece. Here, you will align the long piece,  making sure to line up with the bottom of the box and going over  each little side tab. The tab on the long piece should secure in the back by adding glue to the last tab. Assure your card will easily flatten. As you stand the card up and push down on the outside frame, it will lock  those little side tabs sticking out into the outside frame.
Here you can see what the bottom looks like. Very neat and finished.
Side view. To re-flatten just push on the  inside and that will pop out the secured tabs. 
All finished! I just adore the little bluebird Lori added to the file!
 
I hope you enjoyed this card–the hexagon  cards really impress people when they pull it out of the envelope! 
 
💕Sue Kment