I Love Fall Circular Pop Up Album

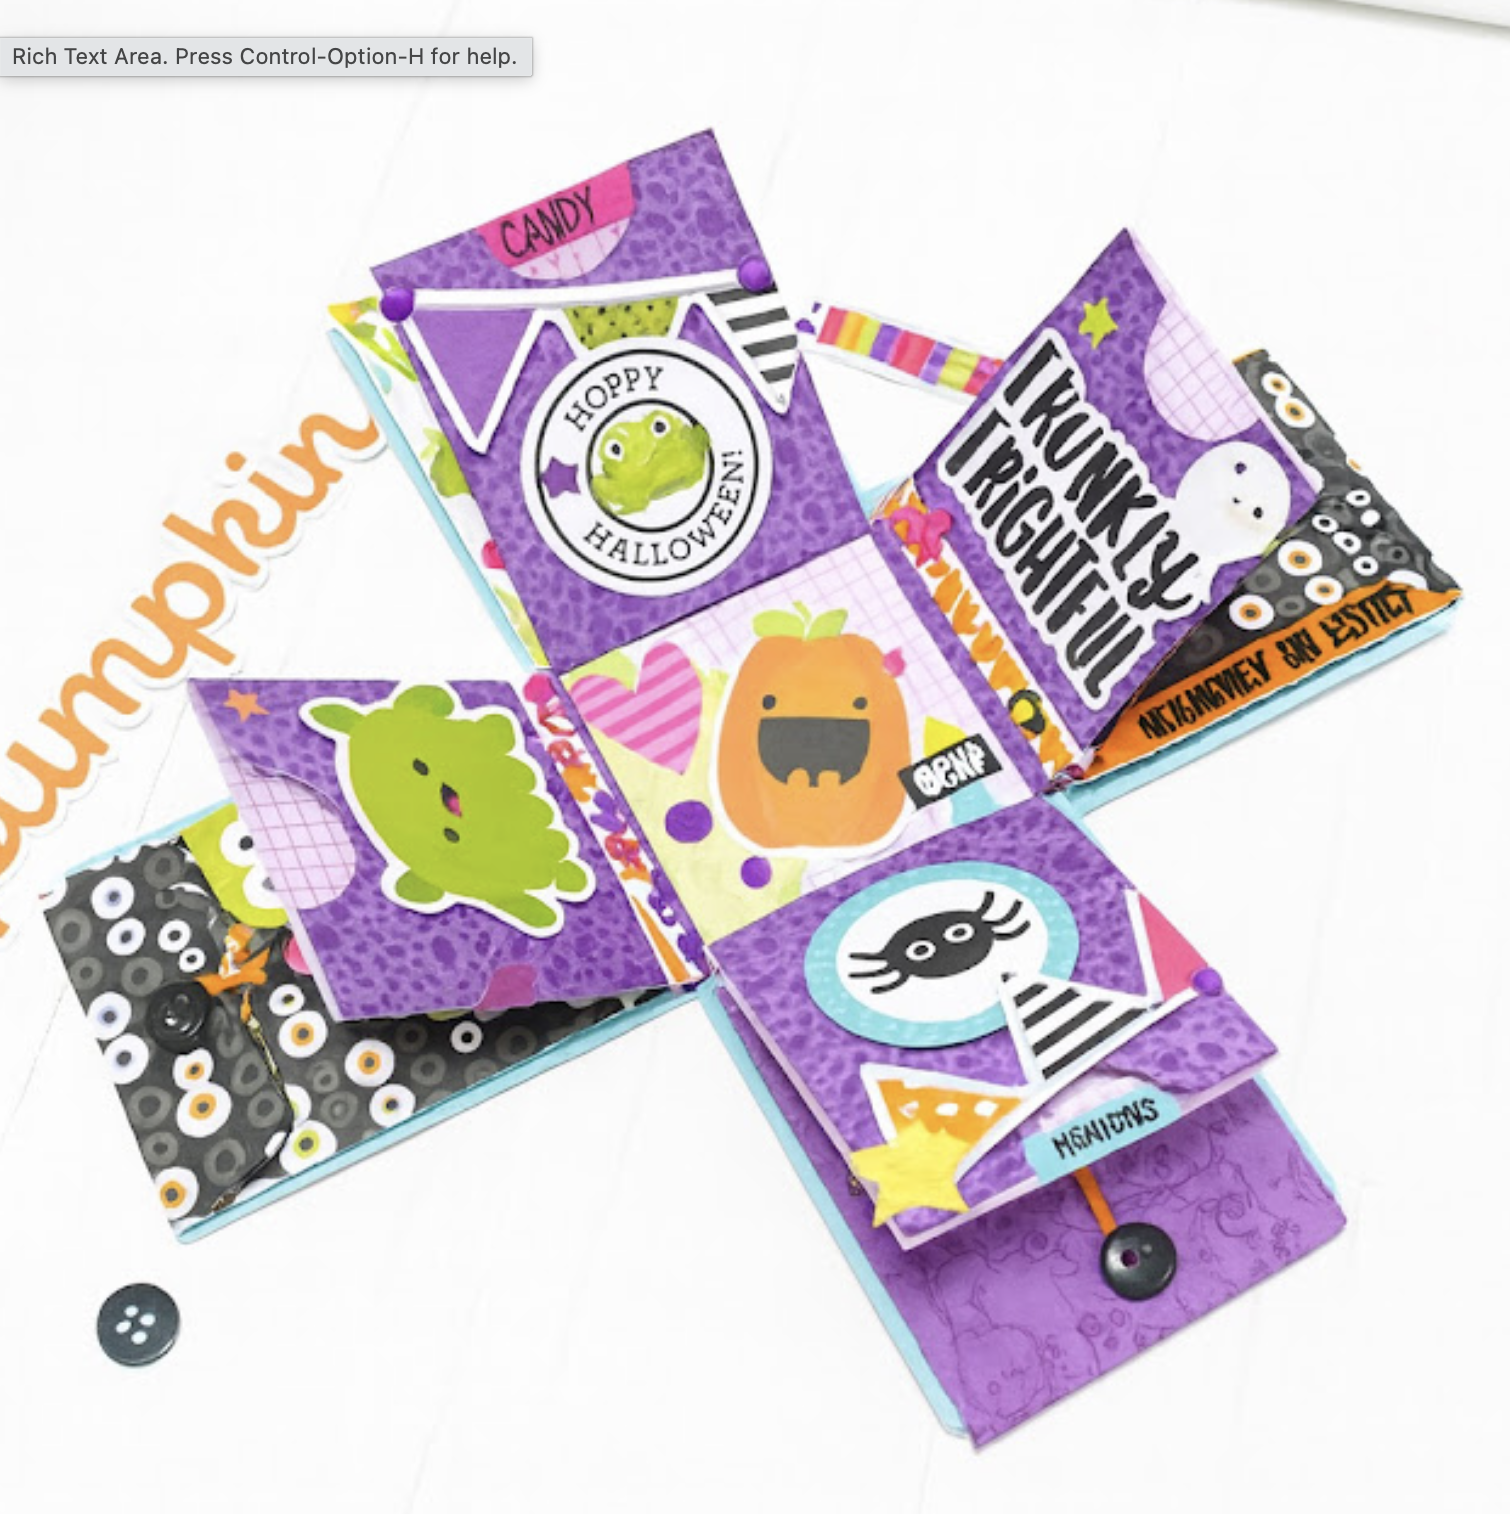
Happy Fall everyone!  It’s my favorite time of year….the colors, the temps, and all that it brings.  I created a fun little mini to showcase it this year with Lori’s Echo Park collection I Love Fall and her Circular Pop Up Card (Silhouette).  I think of it more as a mini album though, I had so much fun making this and Lori also has a tutorial on it.  I will link her tutorial here.
=
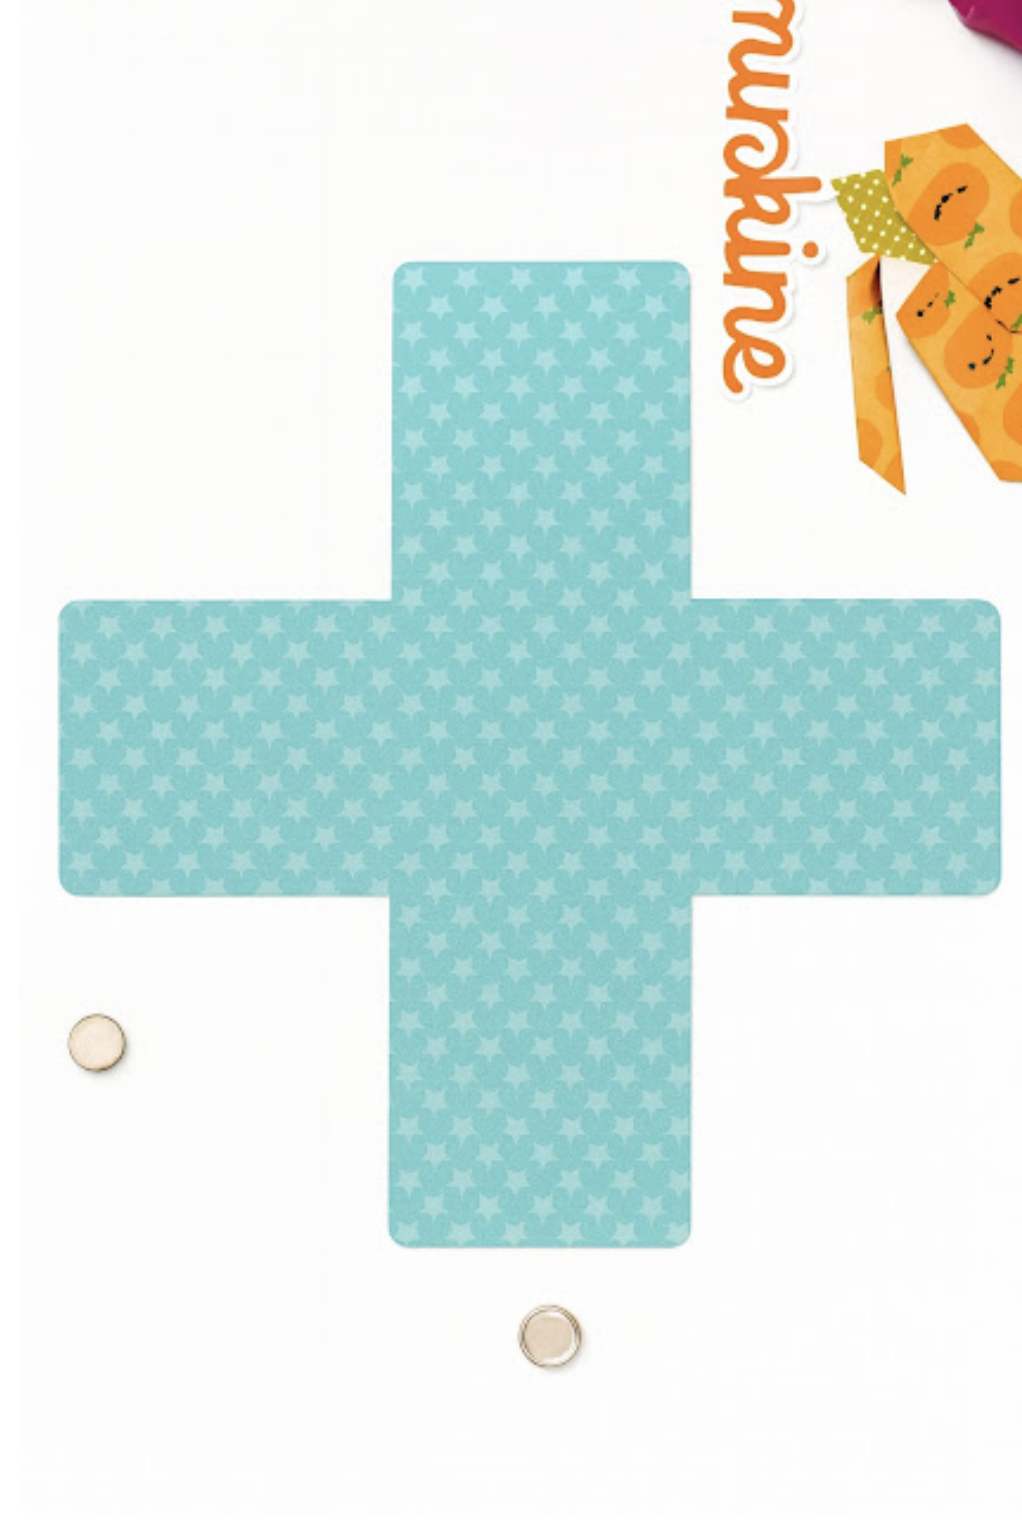
Start by cutting all of your papers, you will need 5 base pieces if you would like it to be like mine, a circular star shape.  Cut 4 pieces if you would like a square.  You will need 10 triangles and 10 squares.


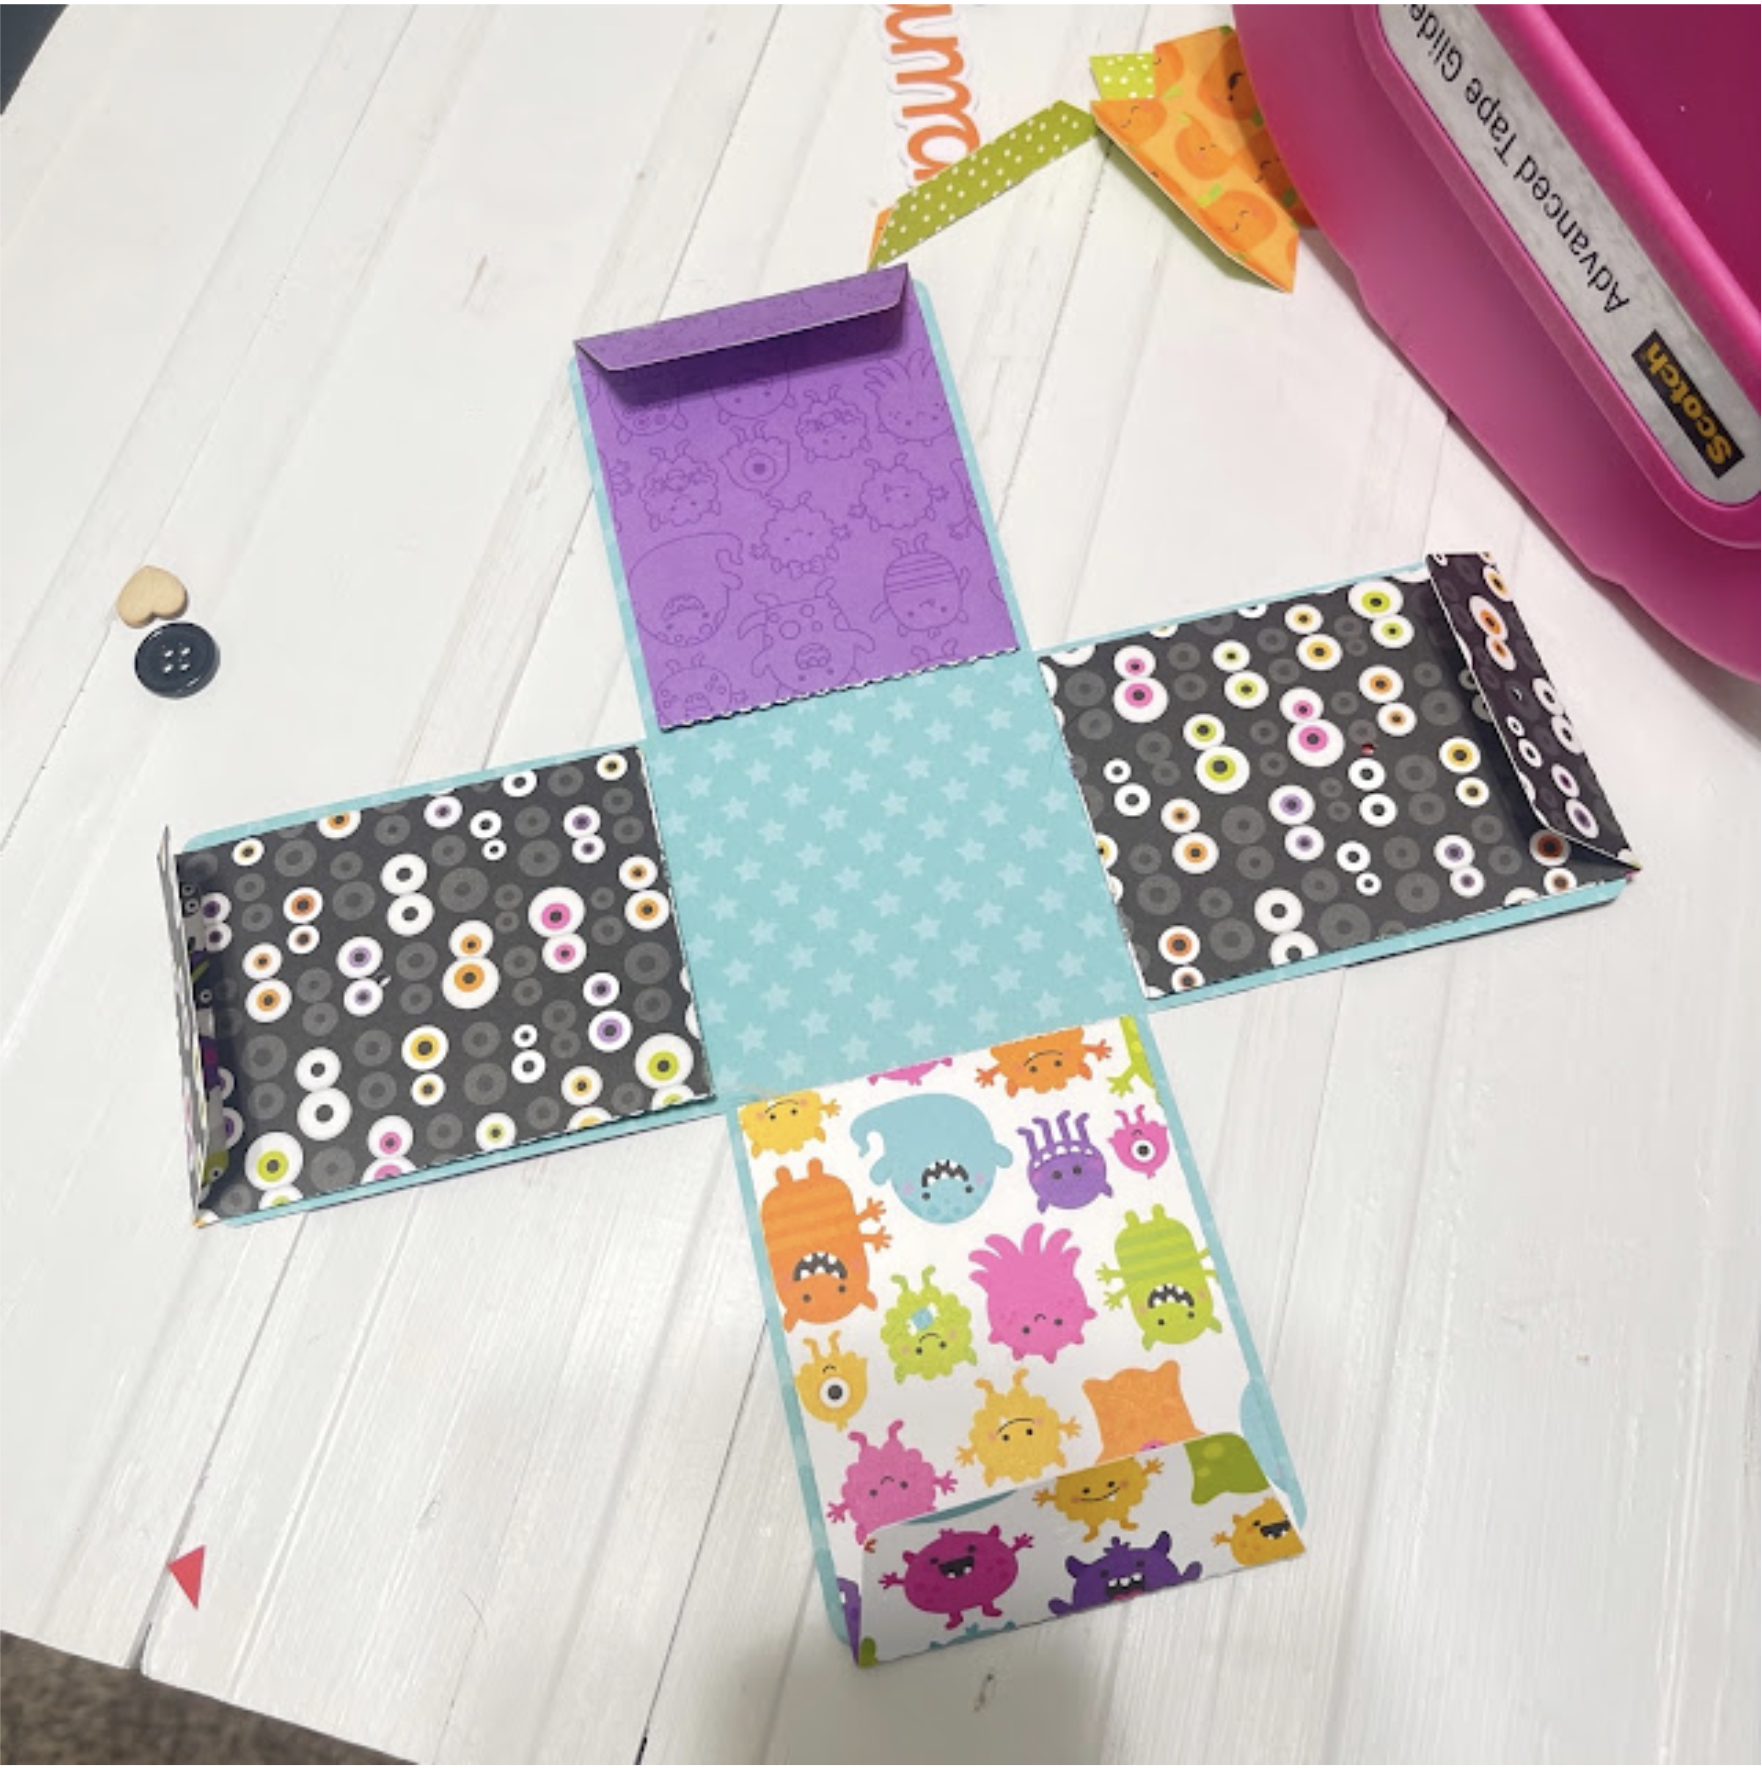
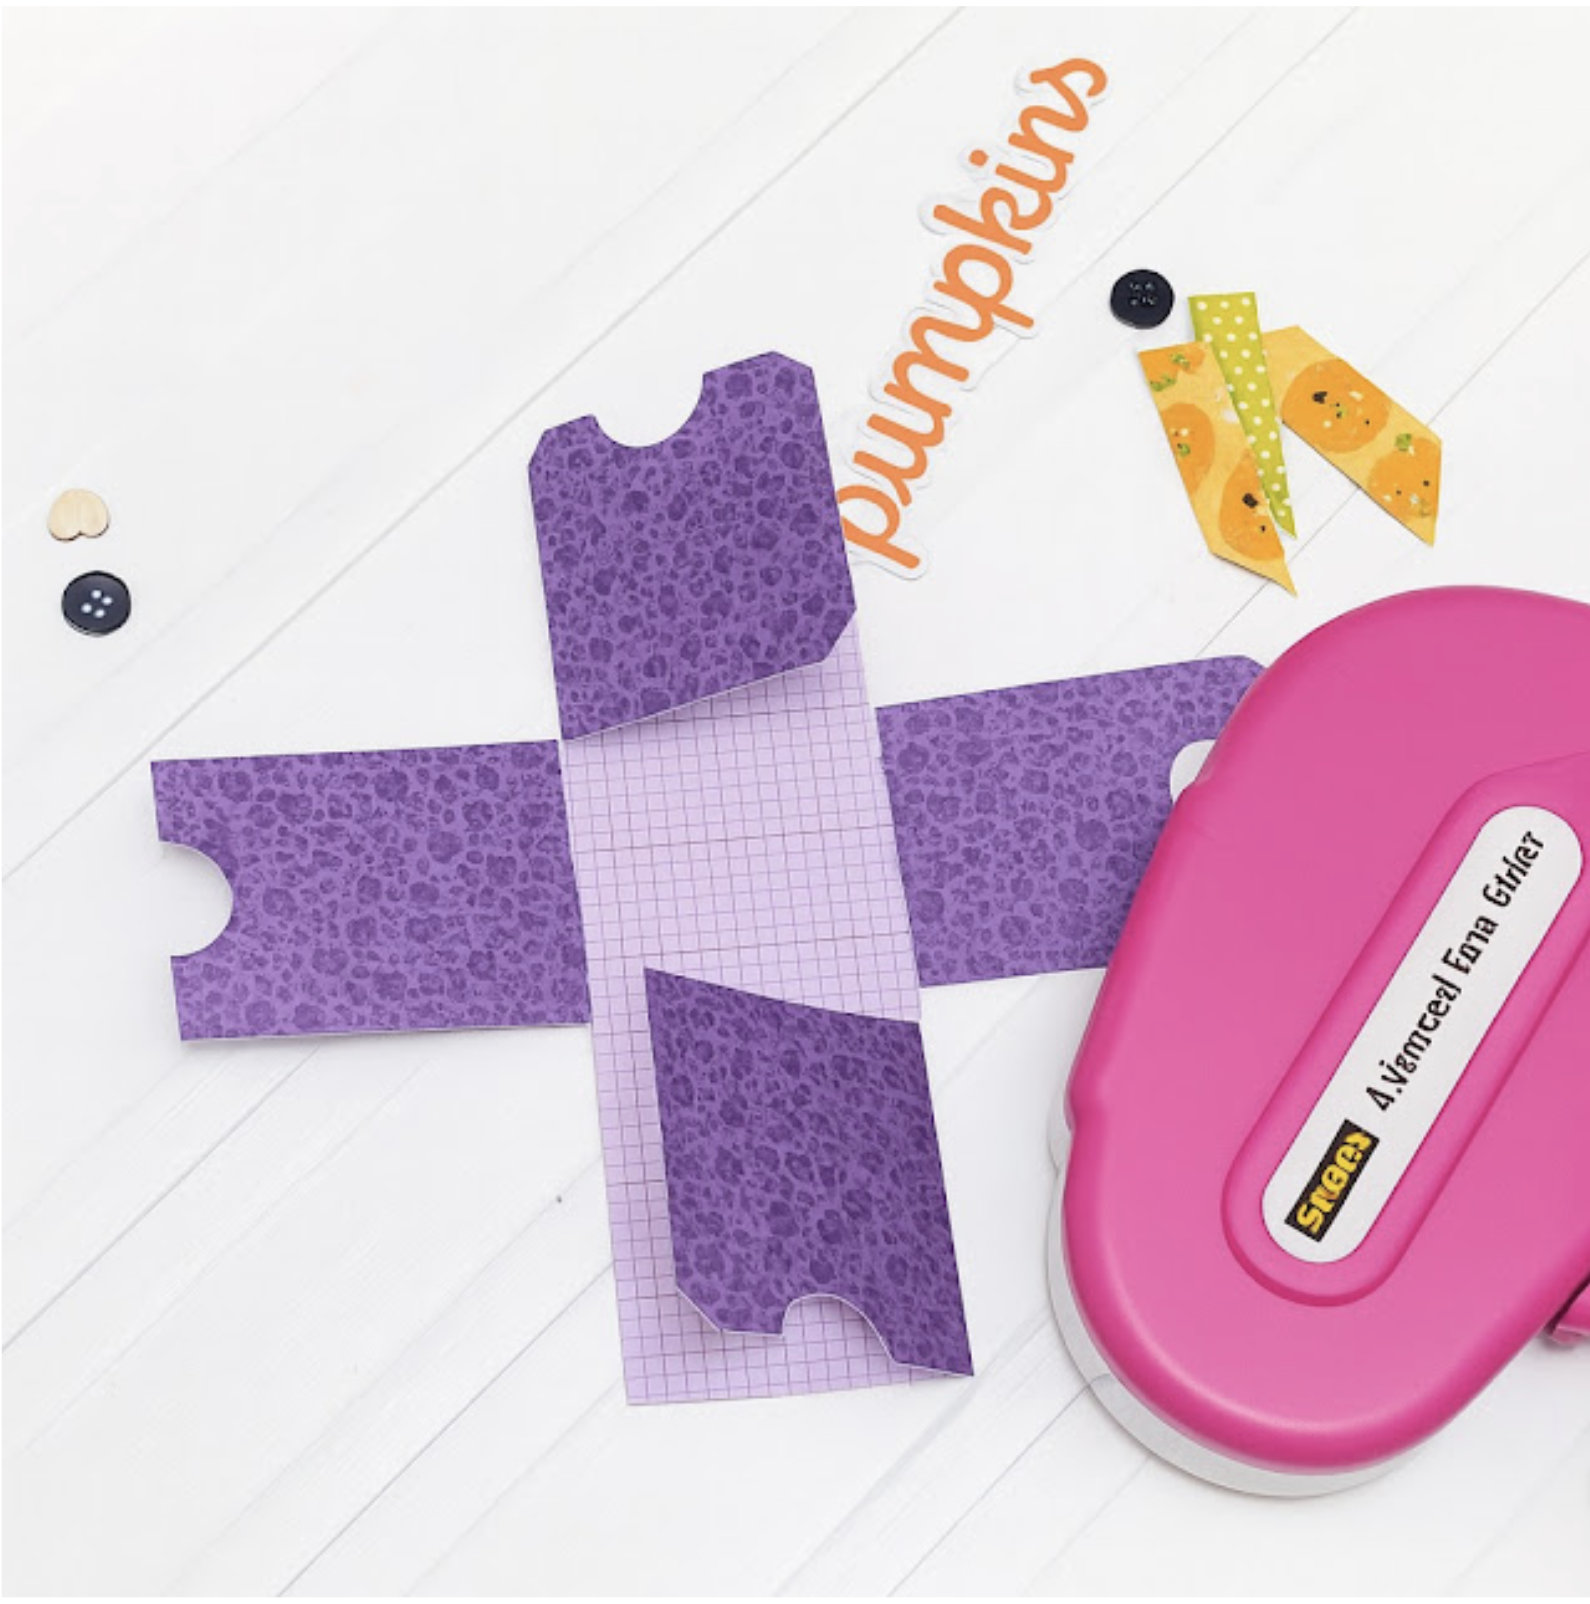
Assemble all 5 pieces with the layers of paper, pay attention to which way you pattern goes if using patterned paper.  The little triangles belong on the bottom, that will make it easier for you when adding those patterned papers.  In step 4 you can see how I folded it and added scor tape to the tabbed piece.  Then simply adhere that top triangle to the tabbed piece, push the triangle pieces back inside the card base so it lays flat like a card.  Do this 4 more times with your remaining papers.
Next, you can see I have my five pieces done and I’m ready to assemble it.  I used scor tape again to adhere piece by piece.  You want a strong adhesive for this project.  Put our five pieces in order, make sure they are going the correct direction, the fold in triangles go on the bottom.
In step one you can see how I put my adhesive on my first piece, then add another folded piece on top of that one.  You will do this 4 times…remember you want your book to open so don’t glue the last piece to the first, after adding the layers.  You can see how I left it open in photo 4.  Photos 2 and 3 show then layers as I went along.


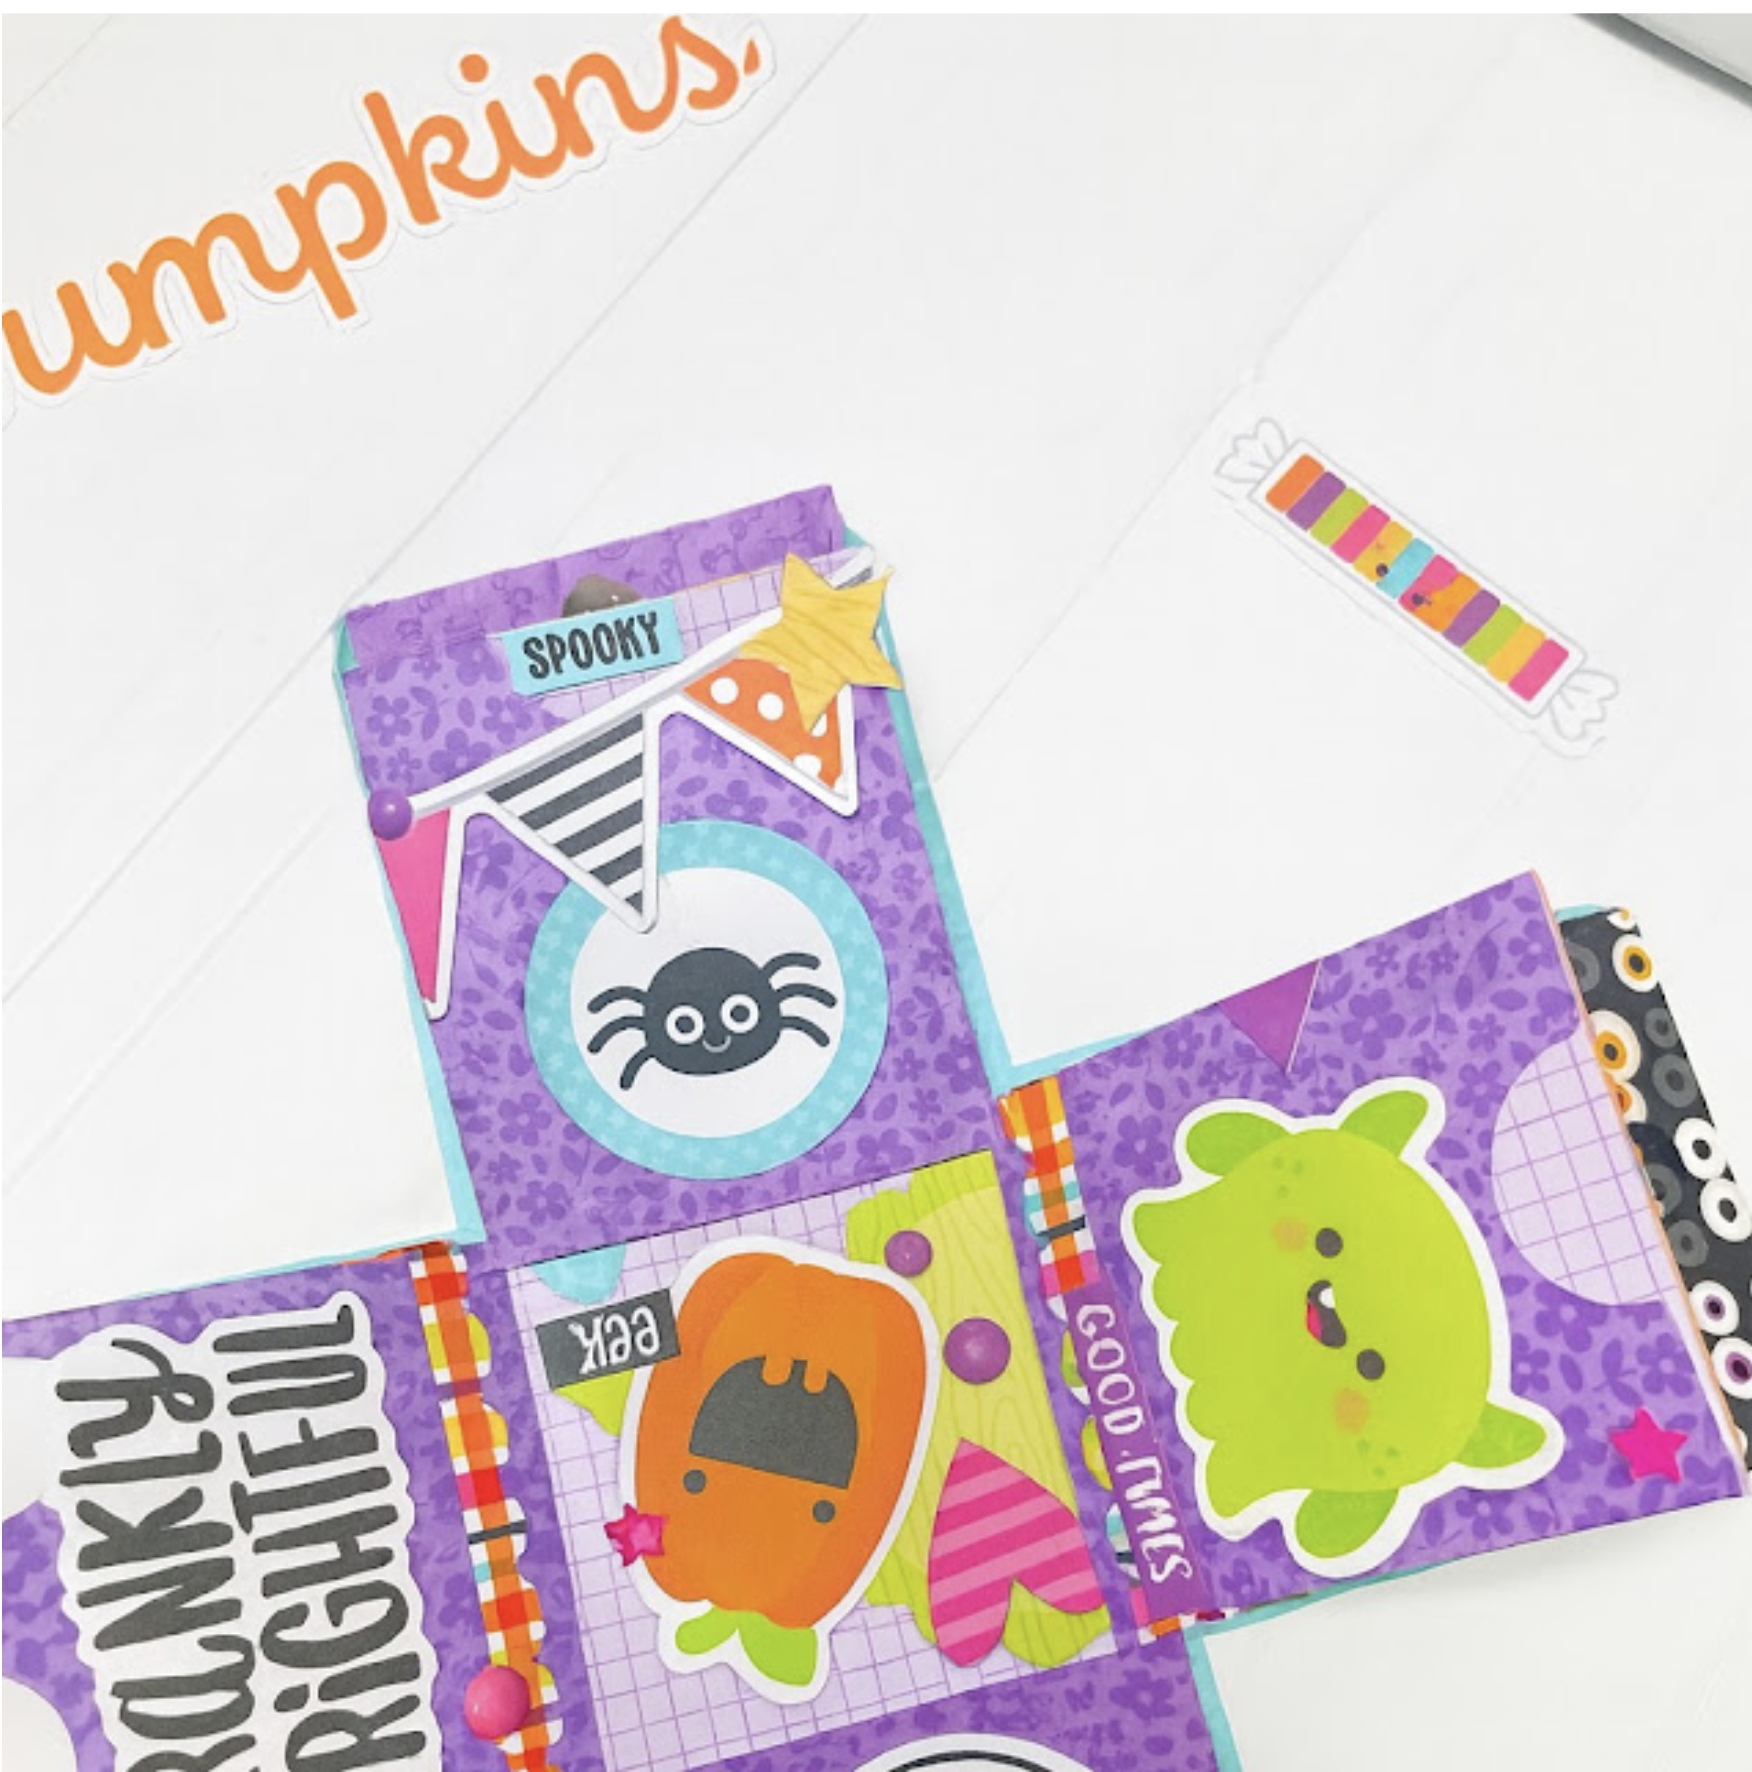
Now it’s time to embellish.  My favorite.
So I did go back to my Silhouette and cut two more square pieces to add to the front and back cover as I wanted my embellishments to stand out.  One piece of the front cover and one on the back.


Then just start creating and playing.  I left one side of every layer blank so that a photo could be added.
Thank you for stopping by!
Cathy


Big Box Card Basket Strawberries

Hello crafty friends, Noelene here today & I want to share with you a tutorial for the berry sweet Big Box Card Basket Strawberries (SVGSilhouette), from Lori Whitlock!
As most of you know, Strawberry projects are my favourite, so I couldn’t wait to make this card.
First step was to cut out all my pieces.
Next step is to layer & glue all your pieces, making sure to match correctly all the strawberry leaves to the green background panel before you glue. You will need to fold down the basket flaps then adhere the scalloped panels on the folded side down. The file comes with 2 flowers but as you will see, I cut some extra flowers to use as embellishments. I also inked the centres of my white flowers with some distress oxide before I glued down the circle centres or added the enamel dots. There are also some extra strawberries in the file, you can cut these if you wish for the strawberries to be seen from the back as well as the front. Note: make sure you flip the large strawberries horizontally if you wish to add these to the back of the card, remember you are doing the reverse side.
Now it’s time to put your box card together & assemble the basket. Start by folding down all the scored lines. Now glue the tabs on the inside of the box. I find the best way to do this is by folding the box flat to get the tabs nice & straight along the edge.
Next is to adhere the inside panels inside the box. These are numbered 1, 2 & 3. I started out by glueing number 2 first in the centre as I found this helped me space them evenly. Flatten your project as the glue dries each time to make sure the tabs adhere.
To finish off I adhered the strawberry onto the front using pop dots and embellished with some of the extra flowers. I also tied a bow onto the basket handle.
Hope you like my Big Box Card Basket Strawberries! This file can also be found in the Big Box Card Basket Bundle (SVG), which includes Big Box Card Basket Big Box Card Basket Flowers (SVG), Big Box Card Crafty (SVG), Big Box Card Basket Lemonade (SVG) & Big Box Card Basket Sunflowers, (SVG)
For more inspiration, check out my Instagram!
Thanks for stopping by!
Hugs
Noelene 🙂

Box Card Pineapple Drink Tutorial

Good morning!! Today is National Refreshment Day. This beverage holiday toasts those moments of ice, cold refreshment. So what a better time to send one of these cute pineapple drink cards?!  Today I will walk you thought the assembly. First cut allyour pieces and lay them out.

First I assembled the fruit and added score tape to the tabs. My paper is from Echo Park’s Little Things Mean A Lot collection.

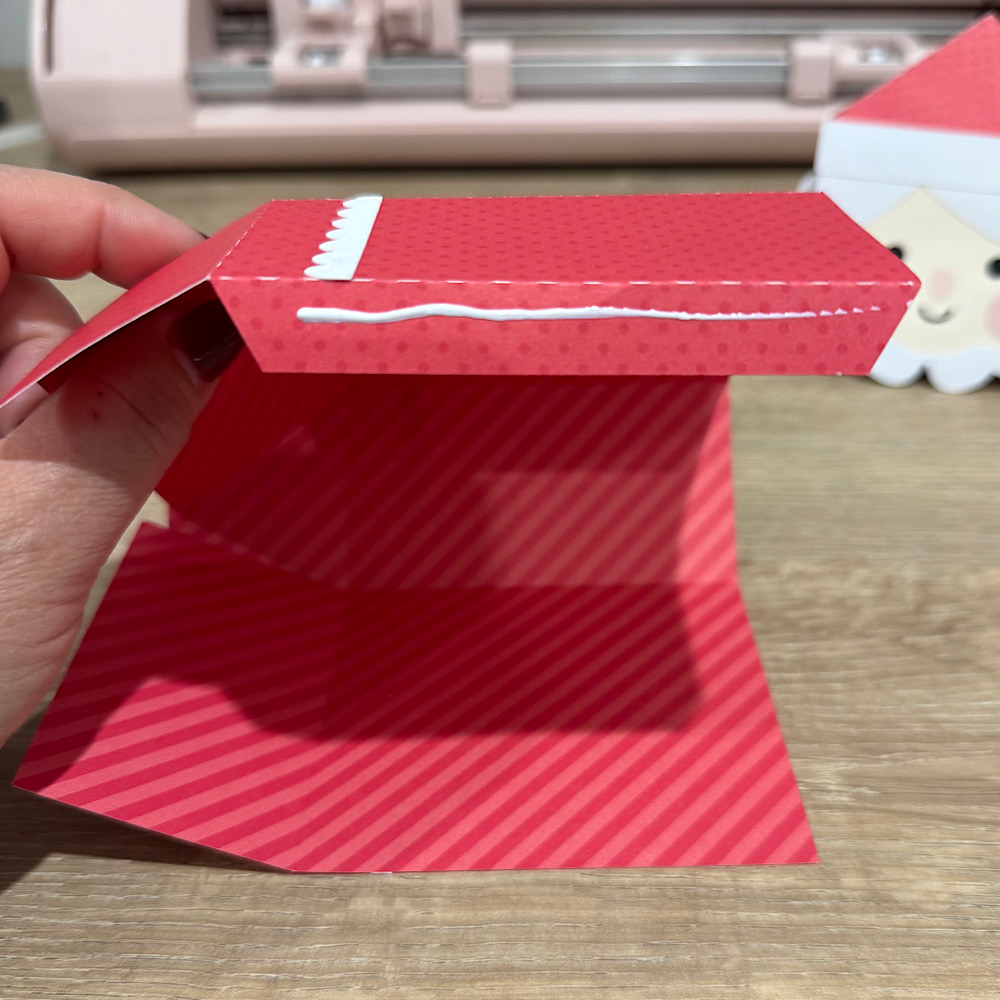
Next is the base, add score tape to the tab like in the photo below.

Make your box by folding where the perforations are and adhering your score tape to the inside of the neighboring flap.

Add your dark brown piece to the light brown piece and then add both the back and front to the box making sure the small portion is on the bottom like below.

Once you have your front and back attached, fold the perforated tabs and line the top of the inset up with the top of the pineapple and adhere to the sides with your score tape.

Add the second insert and get ready to mail your refreshment!

Thanks for stopping by and happy crafting!

Shadow Box Card BBQ Invitations

Summer Vibes & BBQ Invitations!

The first week of the summer holidays is behind us here in the Netherlands, perfect timing to dive into some summer creativity!

What better way to celebrate the summer than with good food, great company, and a little handmade magic? That’s why I created the “Shadow Box Card BBQ” – a fun and festive card that’s just bursting with summer vibes!

You can buy the file HERE in Lori her webshop, and its available in the Silhouette shop

This card is perfect for wishing someone a happy holiday, but let’s be honest… it’s even more fun to use it as a BBQ invitation for your friends and family! Imagine their faces when they open this cheerful card, packed with grill-goodness – it’s a guaranteed succes!

I absolutely love cards that are 3 dimensional and still fold flat to be sent in the mail, don’t you?!

So fire up the barbecue, grab your craft supplies, and let the summer fun begin. Whether you’re heading to the beach or staying close to home, there’s always room for a little handmade sunshine & good food with friends and family ☀️

Happy summer & happy crafting!
Tamara