Chipboard Village Easter Add-on

Did you create Lori’s Chipboard Village for Christmas?  Now we have an Easter add-on (SVG, Silhouette(coming soon)).  Find the Christmas Village in the Shop and Silhouette Store (Farmhouse, Manor, Church, Cottage, General Store).

The add-on is a one page print and cut file.  I printed on Sticker paper and I also cut out each shape from cardstock.  I added the sticker to the cardstock shape and glued onto the cardstock stand that is also included in the file.  They look great with the village houses, and are perfect for spring!

Have a great day!

Ashley

Friday $5 SVG Bundle Ends at Midnight!

This awesome Friday $5 Bundle is available until midnight and when it’s gone it’s gone.  These SVG files can be used with Cricut Explore, Silhouette Studio (with the Designer Edition upgrade), Scan N Cut, and any other cutter that will work with SVG files. Help spread the word by telling your friends and announcing it on social media!

Be sure to pick up this Spring/Easter Treat Wrap Bundle including 5 SVG files for just $5**!

The cost of this bundle is $5, for $9.95 worth of SVG files, over a 49% savings! But don’t wait, this bundle will only be around until TODAY at midnight!

** Because Friday $5 Bundles are already heavily discounted they are not eligible for further discounts including monthly, seasonal and flash sales.

Have a great day!

A New Friday $5 SVG Bundle!

Hi Everyone! Today we have a new Friday $5 Bundle! It will ONLY be available until Midnight Sunday and when it’s gone it’s gone. These SVG files can be used with Cricut Explore, Silhouette Studio (with the Designer Edition upgrade), Scan N Cut, and any other cutter that will work with SVG files. Help spread the word by telling your friends and announcing it on social media!

Now through Sunday, you can pick up this Spring/Easter Treat Wrap Bundle including 5 SVG files for just $5**!


The cost of this bundle is $5, for $9.95 worth of SVG files, over a 49% savings! But don’t wait, this bundle will only be around until Sunday at midnight!

** Because Friday $5 Bundles are already heavily discounted they are not eligible for further discounts including monthly, seasonal and flash sales.

Have a great day!

Candy Dispenser Bunny Tutorial

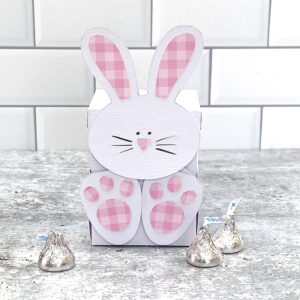
I know it’s still March, but I’m thinking ahead to Easter, trying to get a head start on some Easter crafts!  Looking through Lori’s files, I found this adorable Bunny Candy Dispenser (SVG, Silhouette).  I thought it would be fun to make and give!  Take a peek…
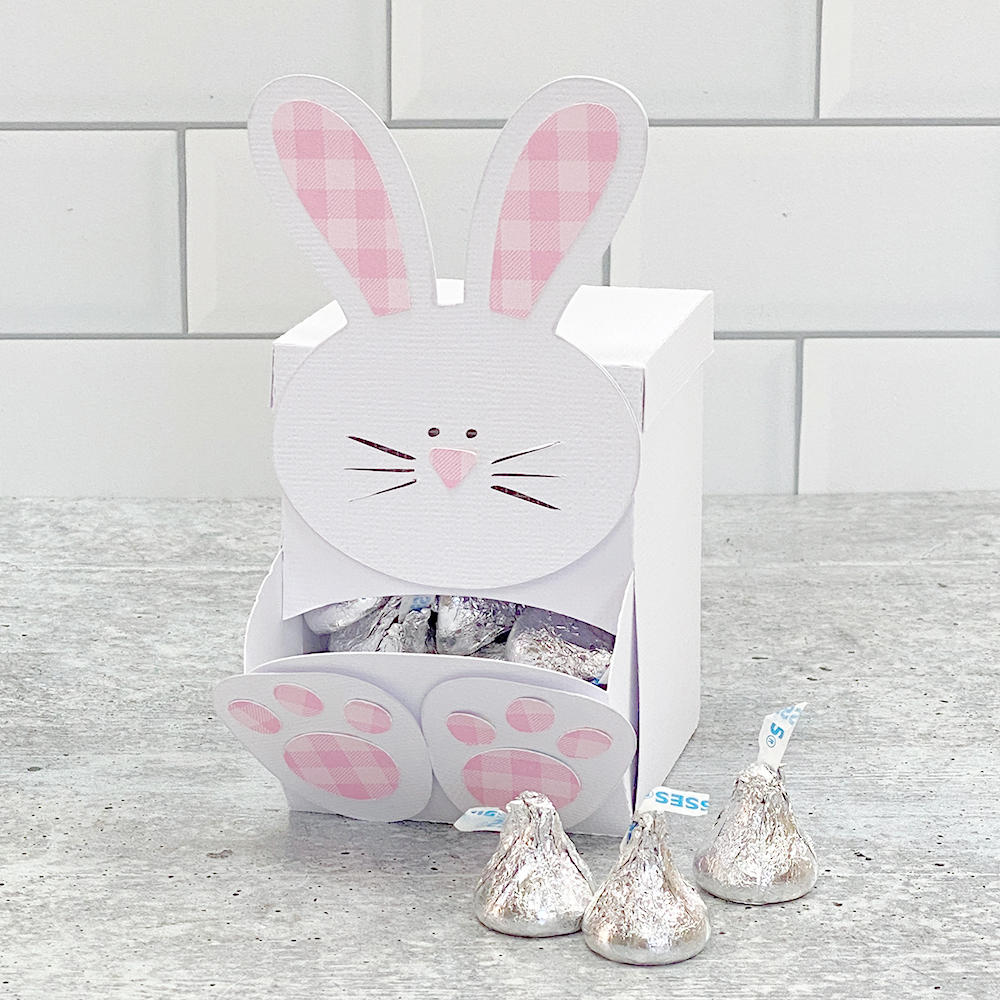
 

This file looks complicated, but it’s really easy to assemble.  I’ve outlined the steps below…

Start by cutting your pieces.  I added the foot pads to the feet, the inner ears & nose to the face.  I also backed the bunny face with the black oval to show through the eyes and whiskers.

Next I covered the back of the bunny face with the solid piece to cover the black oval.

In the third photo I folded up the sides of the cover and glued in place.

Add the bunny face to the cover, aligning the bottom of the face with the bottom of the rounded part of the cover.

Next Start the base of the dispenser.  Fold the base and glue so it’s a box shape.  You then want to add the bottom to the base.  Fold down the tabs on the base, add adhesive.  Add the bottom panel as shown… you want the “hatch” to be on the side of the opening.

Once the bottom is attached, flip the base over.  To make the sliding drawer part, maneuver the side arms in through the hole in the base.  There are small slits in the front score lines, you want to fit the arms into those slits so they are held in place.  If the opening and closing of the drawer seems stiff, you can add baby powder to the arms before inserting them.  You can also make the slits slightly longer if needed.

Add the feet to the door of the dispenser.  You can then fill the dispenser from the top and add the cover.  The bunny face overlaps the feet to keep the door closed.

Now all you need to do is to decide what sweets to add to your dispenser!  That’s it for me today, thanks for stopping by to peek!

BLOG | INSTAGRAM


St. Patrick’s Favor Box & Game

Happy Wednesday!  I hope everyone is having a great week!    Did you know that Monday was National Children’s Craft Day?  It got me thinking about my grandchildren and how much they love games and stickers.  It gave me an idea for today’s project … one of Lori’s adorable little treat boxes (links below) filled with a set of matching game cards.

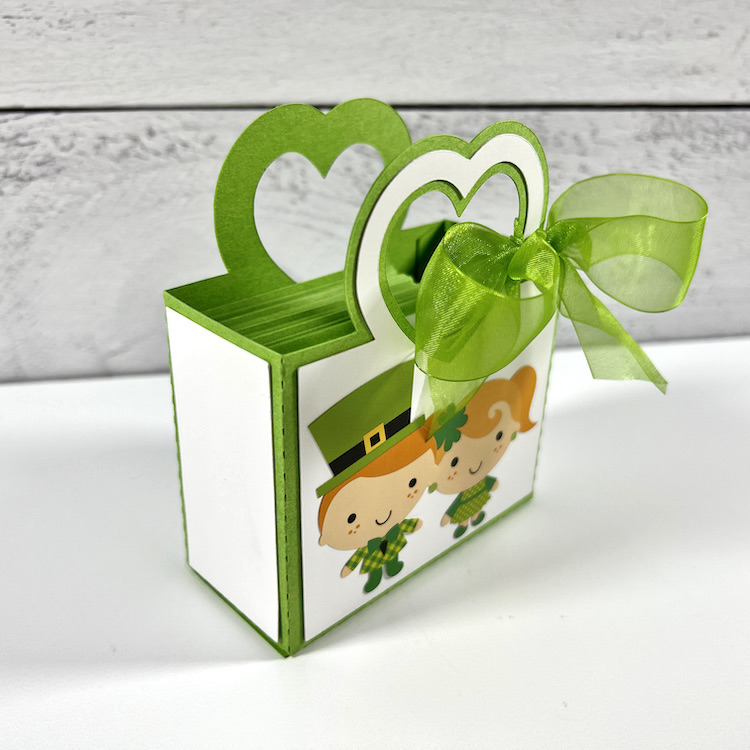
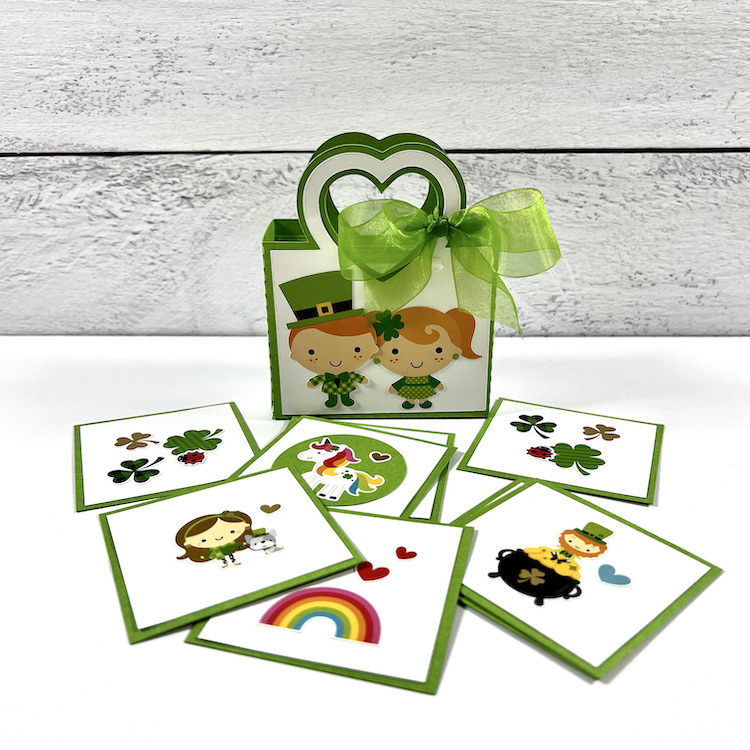
First, I made the adorable box.  I love this file because you can cut 2 boxes on one sheet of 12×12 card stock! It’s super simple and quick to put together and you can add any embellishments to the front.  I found these cute Doodlebug stickers in my stash and they worked perfectly.  And isn’t the heart shaped handle cute!!?

You can fill this cute treat box with candy, gifts, or a fun little game.  I just cut out 2.75″ x 2.75″ squares from green card stock, layered them with white card stock and added the stickers.  Since it’s a matching game, you’ll need two sets of identical stickers 🙂 

You could also get your little ones involved and let them put the stickers on the cards!  They will have fun with the stickers and then they will have a game they helped to create!  Win win!

I hope this project sparks some creative ideas for you this week!  Here are links to the adorable 2 on 12 x 12 Heart Favor Box (SVG, Silhouette).

Happy St. Patrick’s Day tomorrow!