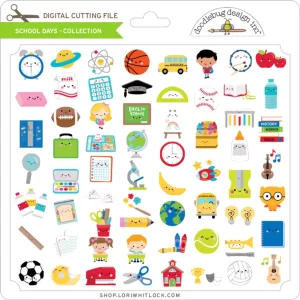
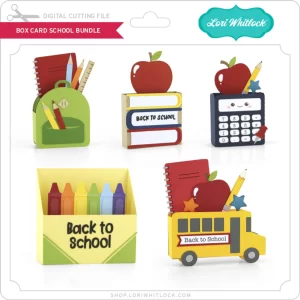
Hi there paper crafting friends! It’s Michelle Starcher, aka the Bookish Designer, popping in on the blog to share some easy back to school projects using Lori’s School Rules collection by Echo Park Paper Co. This week, I focused on apples for the teacher and made three different projects that are perfect for saying “Thank you” to your child’s teachers. I used three different files including the Sticky Note Easel Card Apple (SVG, Silhouette), the Gift Card Holder Apple (SVG, Silhouette), and the Apple Favor Bag (SVG, Silhouette).
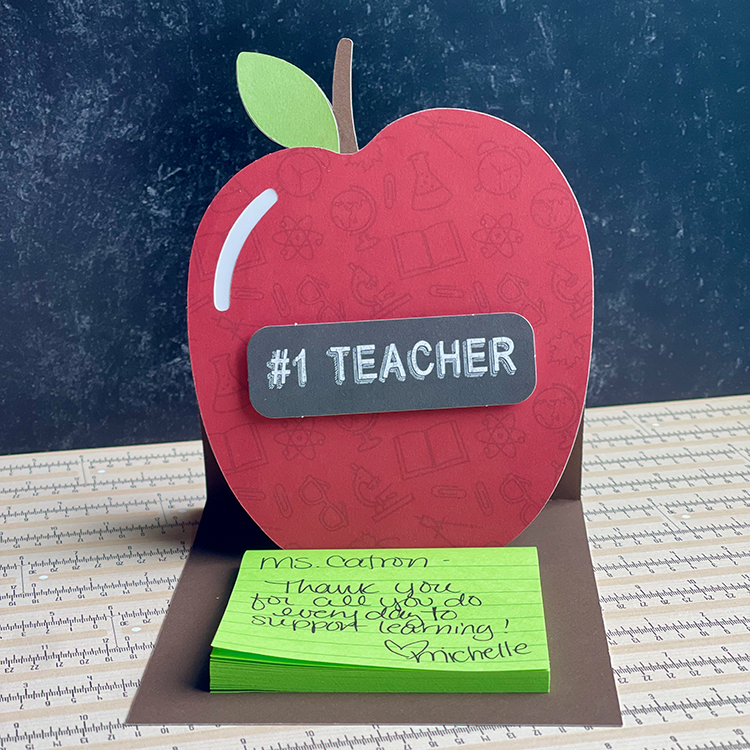
Although all of the projects are super cute and easy to put together, I think my favorite is the Sticky Note Easel Card (SVG, Silhouette). This cute easel card features an apple that stands up behind a sticky note pad. What a fun gift/card for a teacher! You can personalize it by writing a short message on the sticky notes before giving it to the teacher.
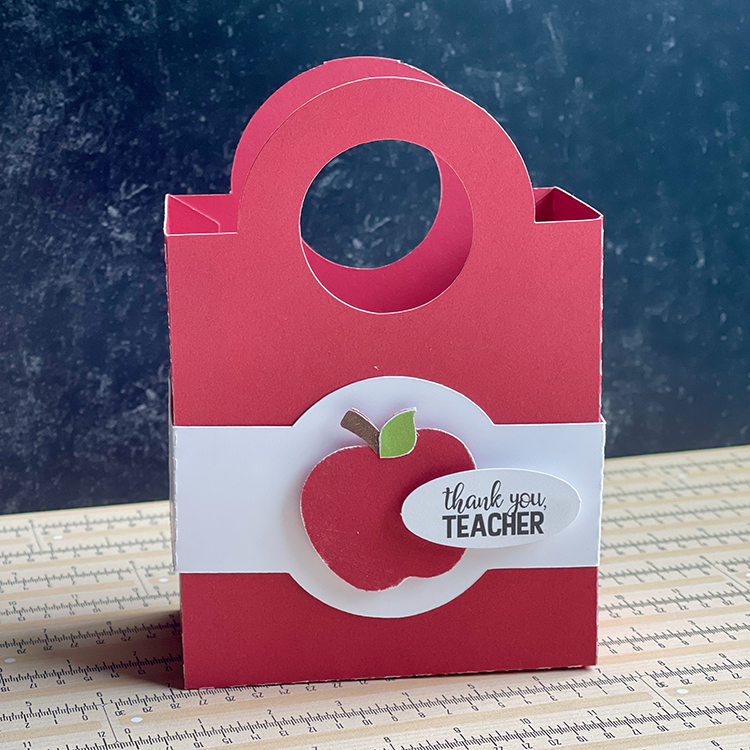
If you have any teacher friends or relatives in the field, you know they spend A LOT of their own money decorating their classrooms and supplying materials for various learning experiences. Consider helping out with the purchase of a gift card from Target/Walmart or your local teaching supply store. The Gift Card Holder Apple (SVG, Silhouette) features a pocket for a gift card on the inside. It’s a great way to show teachers your support for all they do.
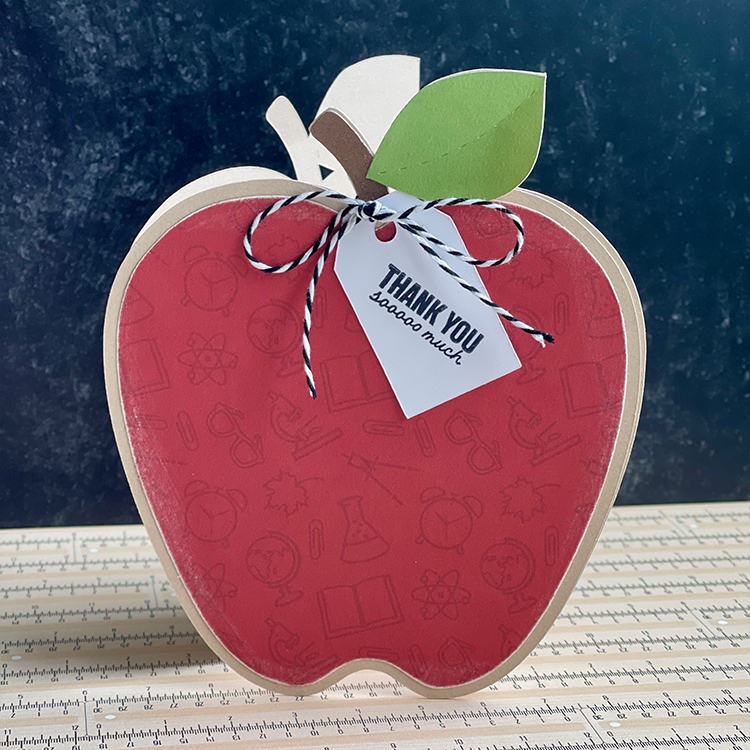
Finally, the Apple Favor Bag (SVG, Silhouette) can be used when giving candy or other treats like hand sanitizer, chapstick, lotion, etc. I added a sentiment from the School Rules collection for a personalized touch and used foam tape to give the apple and sentiment a little pop.
If you are looking for super cute teacher gifts for back to school or teacher appreciation, I suggest you check out Lori’s collection school themed cut files. You can find a variety of cards, favor bags, and other projects to celebrate the new school year.
Until next time,
Michelle