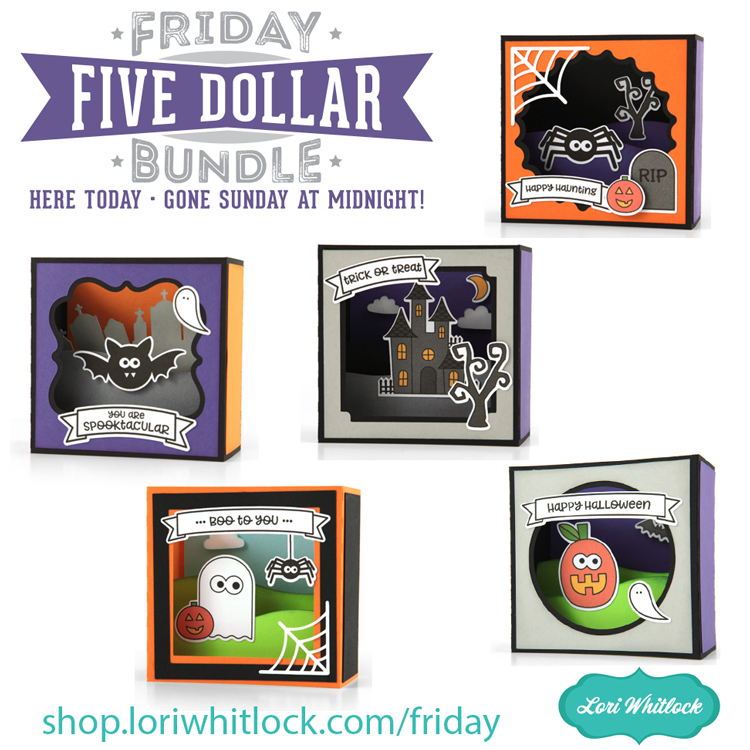
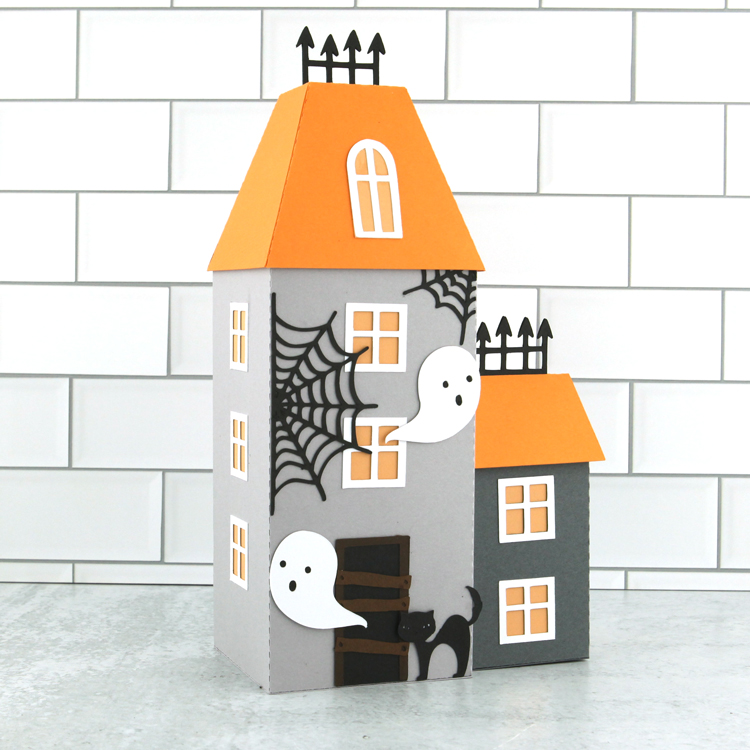
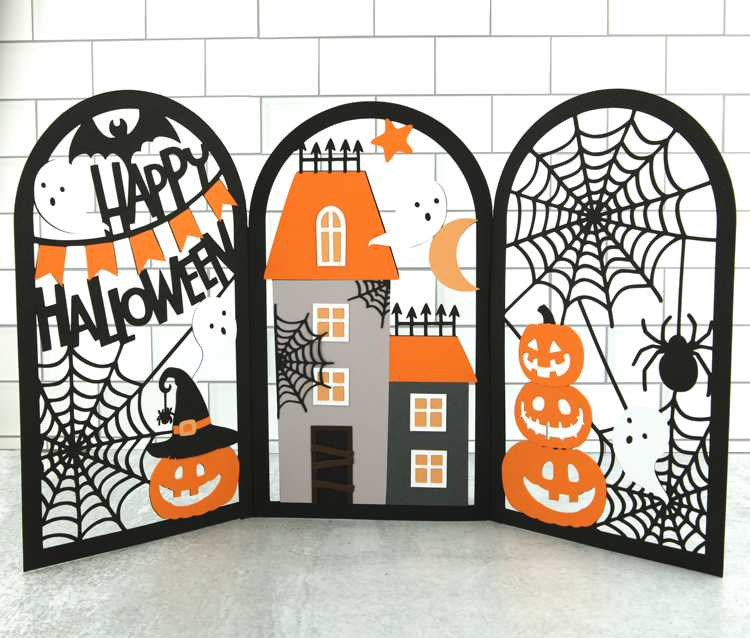
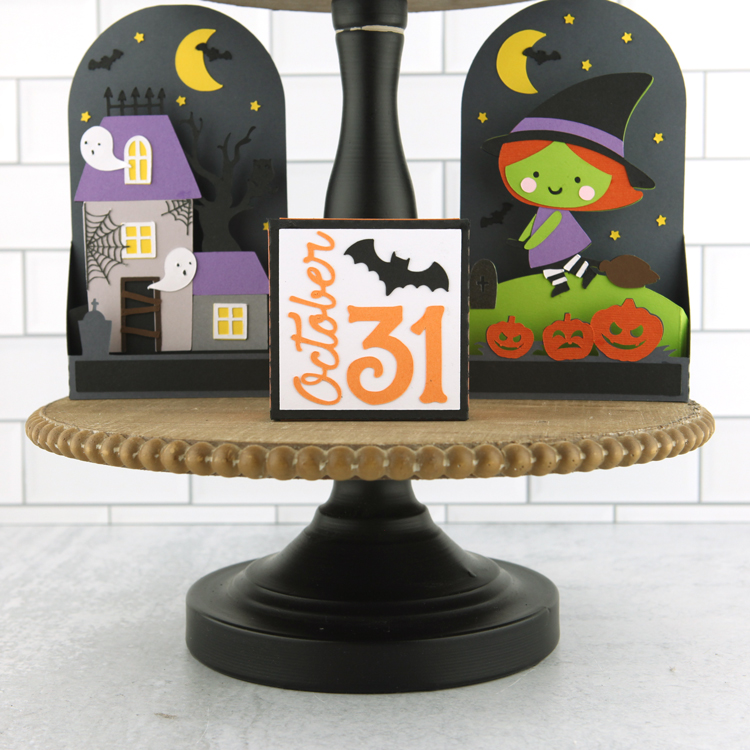
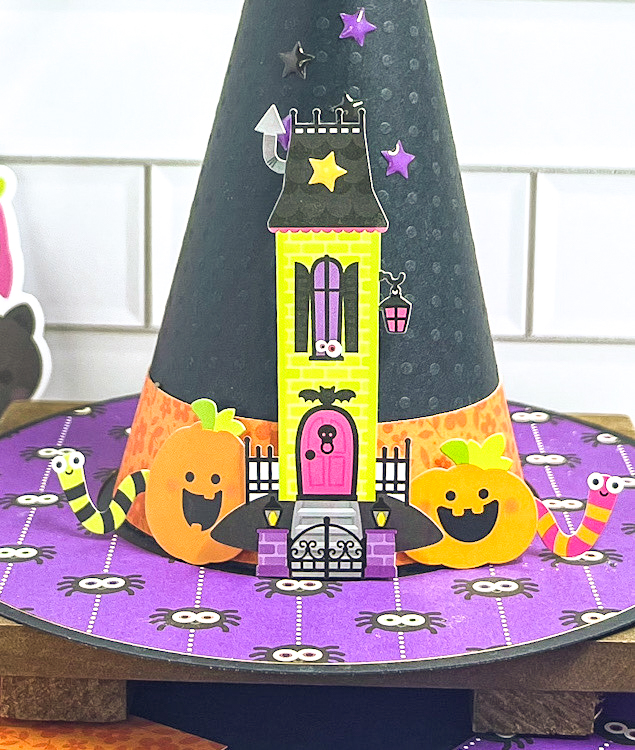
Have you seen the new Halloween Décor Bundle?? It’s full of super-cute files perfect for Halloween decorating! I fell in love with the new Ghost Haunted House (SVG, Silhouette). Such a spooky-cute way to celebrate the season!! It’s really easy to assemble, I’ve put together a quick tutorial for you below.
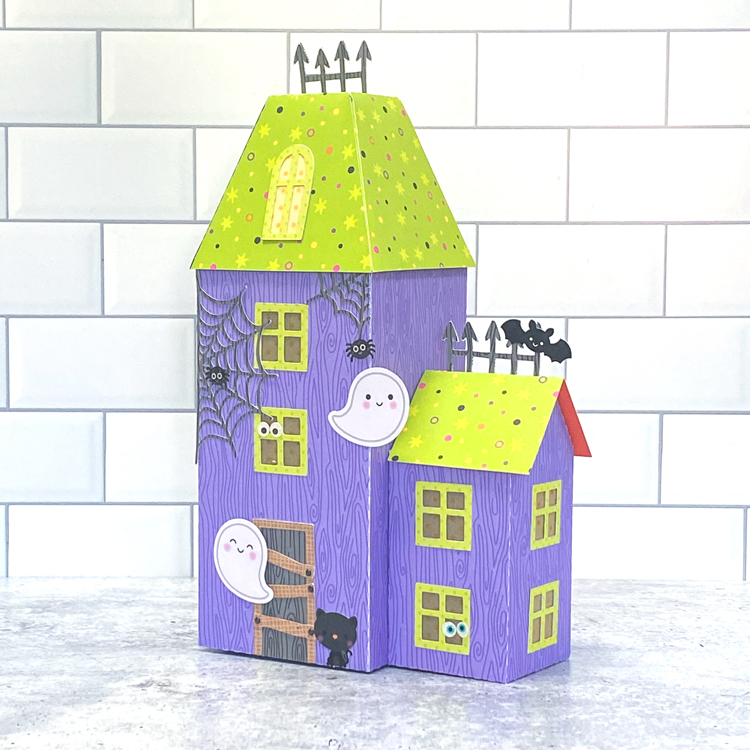
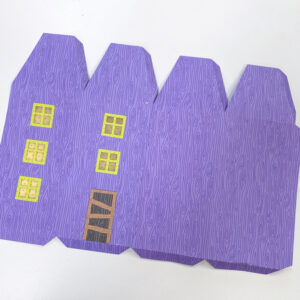
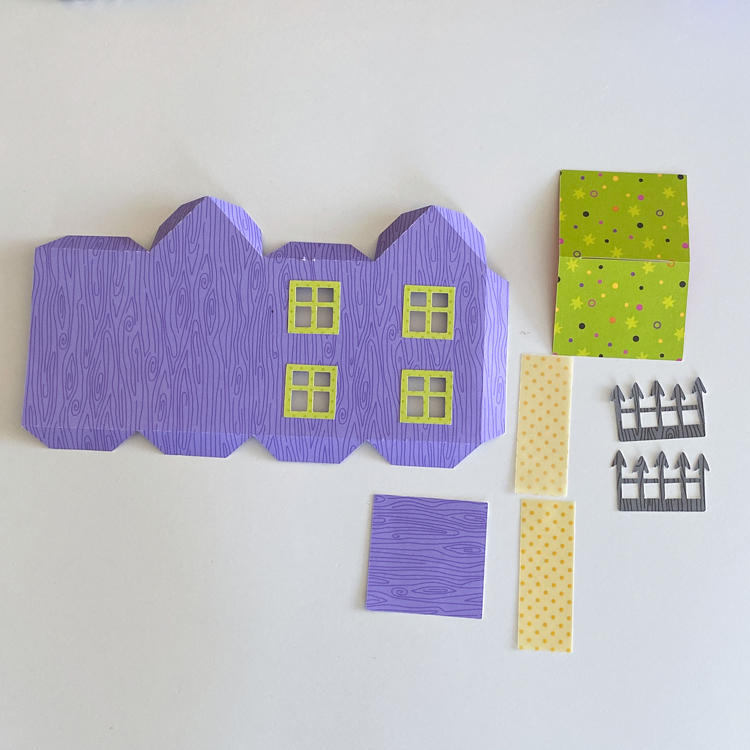
The house is made up of two smaller houses that are attached together. I started with the larger side. The pieces for that part are shown below. In this photo I have already added the window frame pieces to the main house piece as well as the door.
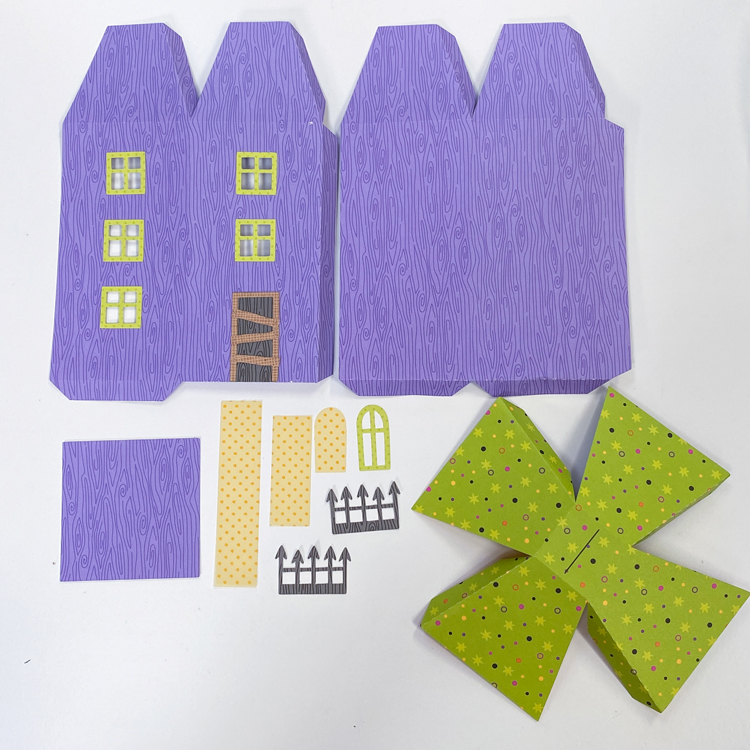
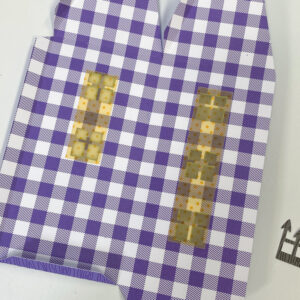
To assemble this part of the house, start by adding the strips of paper behind the windows. You could use cardstock. I chose to use vellum in case I want to add tea lights to the house later. I then glued together the two main parts of the house, folded into a box shape and glued using the tab.
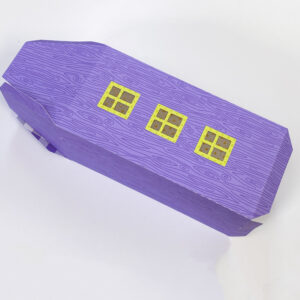
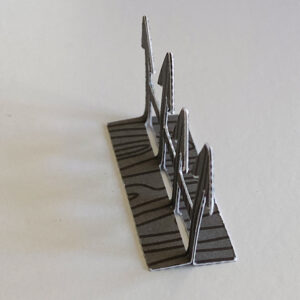
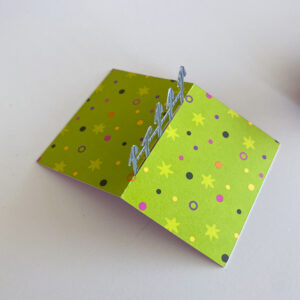
Next, fold in the upper sections and glue as shown. I then started to assemble the roof. There are two sets of “spires”. Glue them together for strength. Do not glue the section below the score lines. Insert the glued spire pieces up into the roof piece so the spikes stick out of the top.
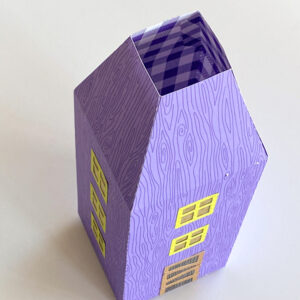
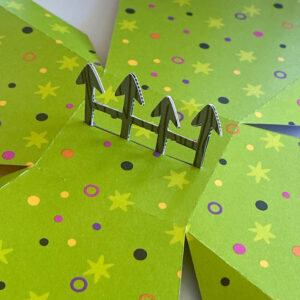
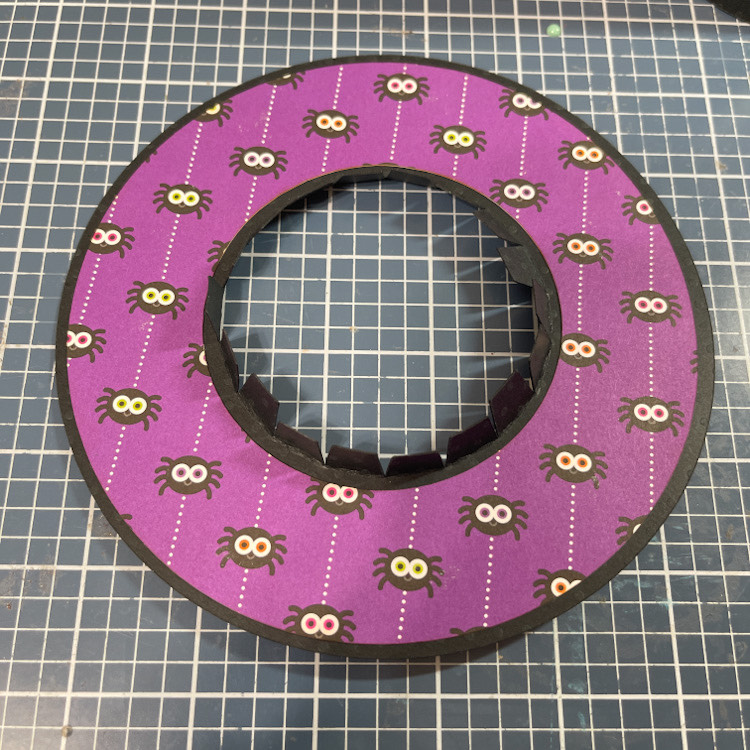
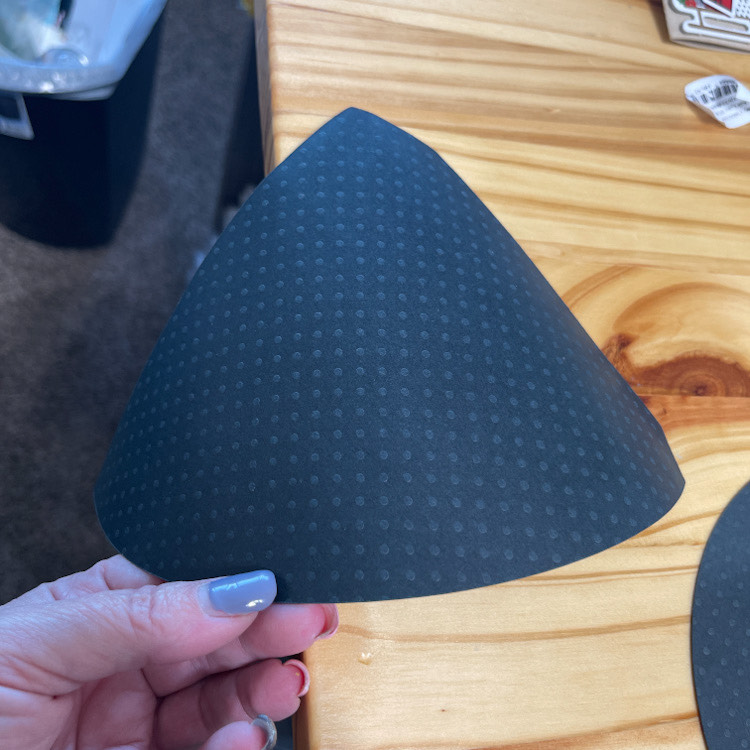
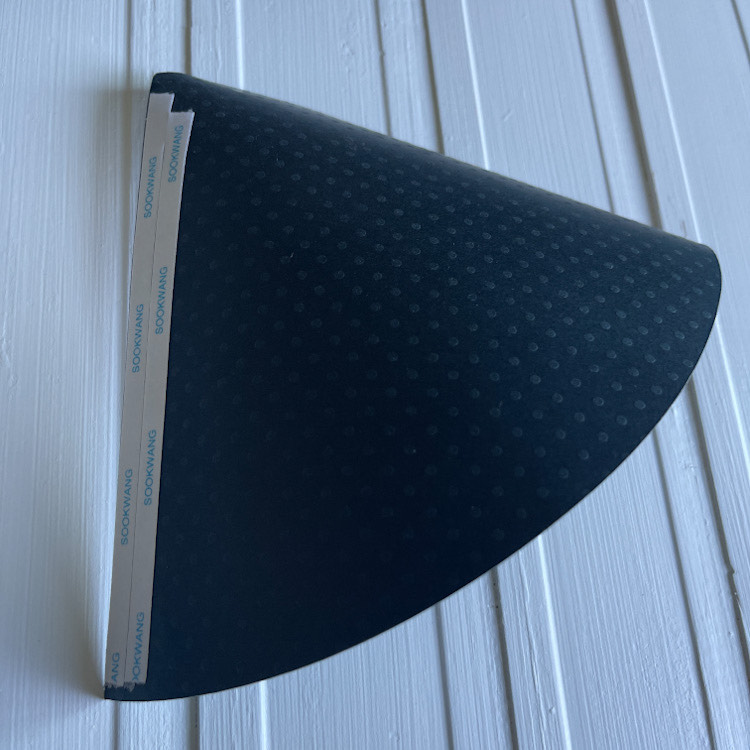
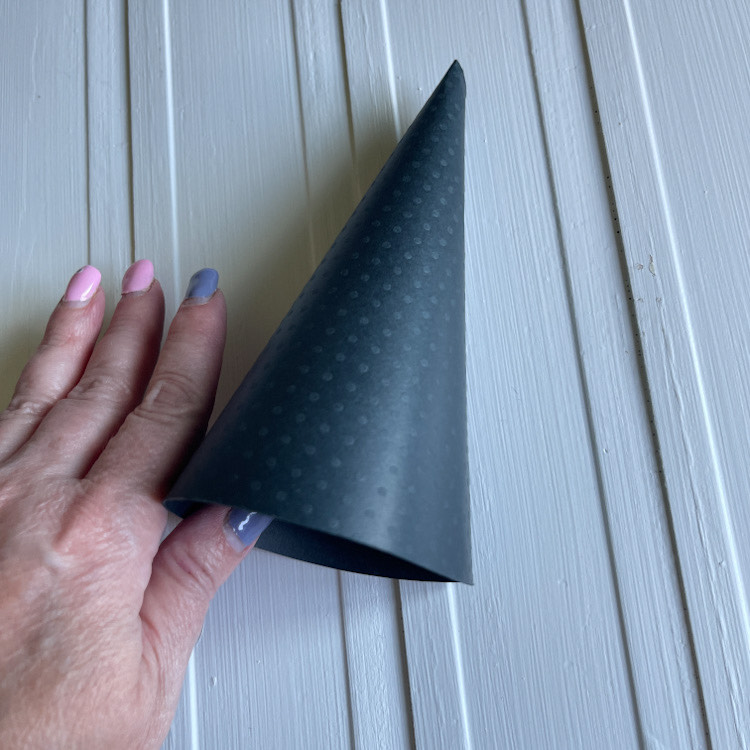
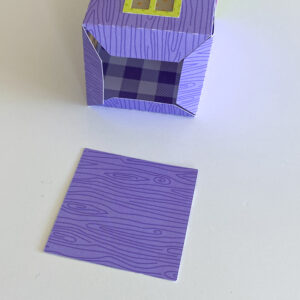
On the bottom side of the roof piece, fold out the flaps and glue to the inside of the roof. Fold the roof along the score lines and glue together into a dome shape. Add to the top of the assembled house piece. I then added the rounded window to the roof piece. You can then add the bottom piece to the house. I chose not to add this piece, I wanted to add a tealight to the bottom.
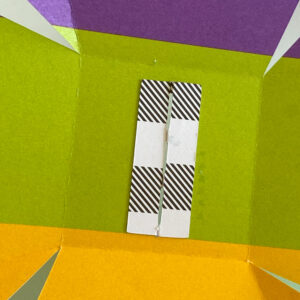
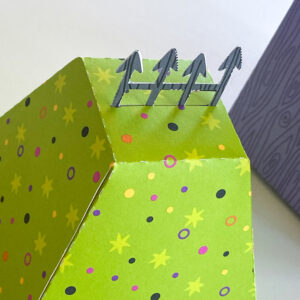
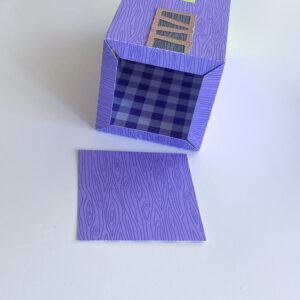
The second half of the house is assembled in a similar manner as above. The pieces are shown below.
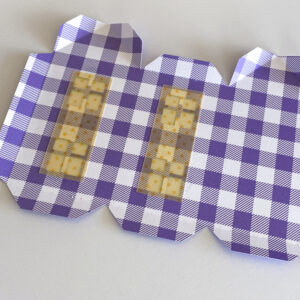
I started by adding the vellum to the inside of the windows. I then folded the house into shape and glued (not shown). There are two more spire pieces. I glued them together, and added them to the roof as I did above.
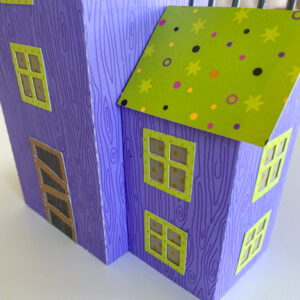
At this point you could add the bottom. I chose not to. To attach the 2 house pieces, glue the smaller house to the larger as shown. (make sure your windows are as shown) I then added the roof to the smaller piece using the tabs on the top of the house base to glue. It’s easier to do it this way since the roof needs to be flush with the side of the larger house.
Lori’s file comes with the spider webs. It also has a couple of ghosts, and a black cat that are super cute! (not shown here). I decided to decorate the house with some embellishments from my stash. The ghosts, cat, spiders, bat and eyes (in the windows) are all from the Doodlebug Happy Haunting Collection.
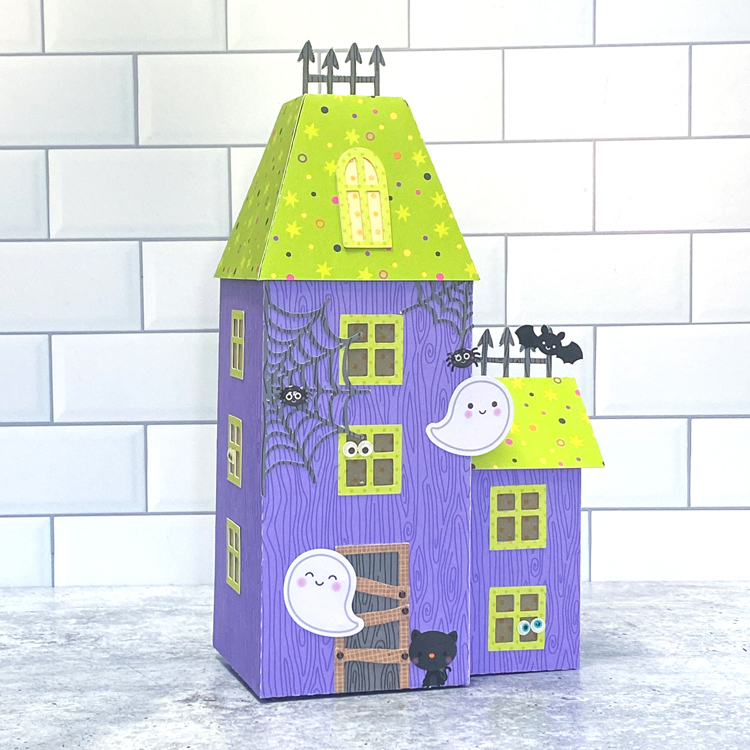
I ordered some fun tea lights, and plan to place them under the house so that the light shines through! That’s it for me today, thanks for stopping by to peek!