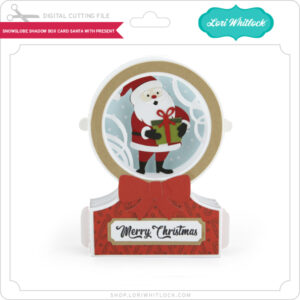
Snowglobe Shadow Box Card Santa with Present (SVG, Silhouette)
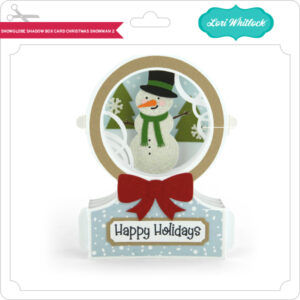
Snowglobe Shadow Box Card Snowman 2 (SVG, Silhouette)
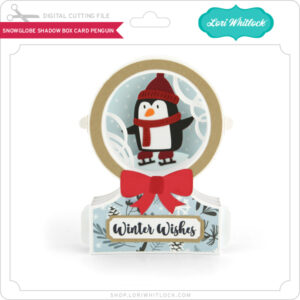
Snowglobe Shadow Box Card Penguin (SVG, Silhouette)
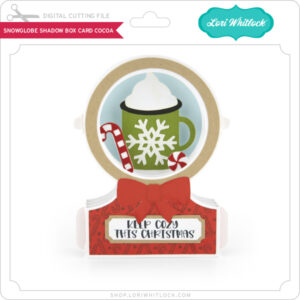
Snowglobe Shadow Box Card Cocoa (SVG, Silhouette)
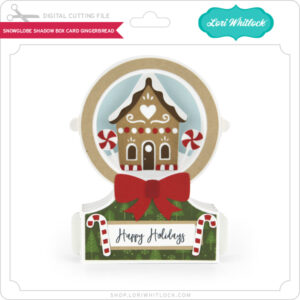
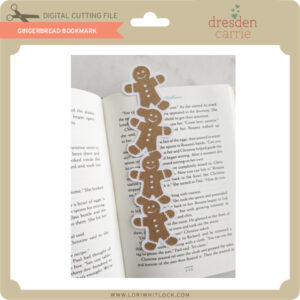
Snowglobe Shadow Box Card Gingerbread (SVG, Silhouette)
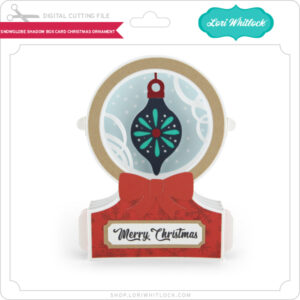
Snowglobe Shadow Box Card Christmas Ornament (SVG, Silhouette)
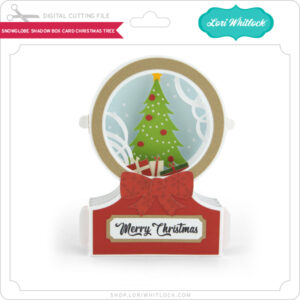
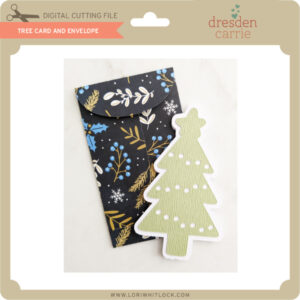
Snowglobe Shadow Box Card Christmas Tree (SVG, Silhouette)
Snowglobe Shadow Box Card Poinsettia (SVG, Silhouette)
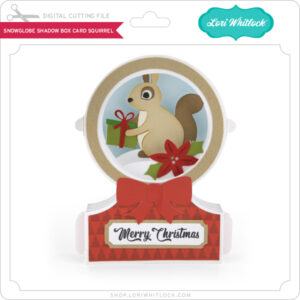
Snowglobe Shadow Box Card Squirrel (SVG, Silhouette)
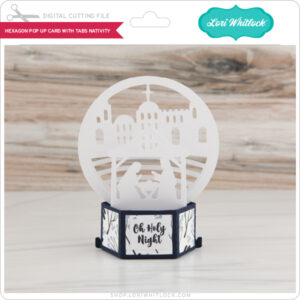
Hexagon Pop Up Card with Tabs Nativity (SVG, Silhouette)
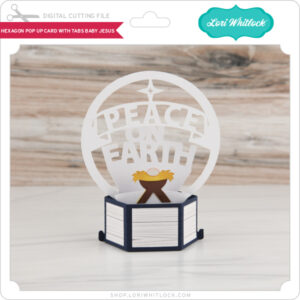
Hexagon Pop Up Card with Tabs Baby Jesus (SVG, Silhouette)
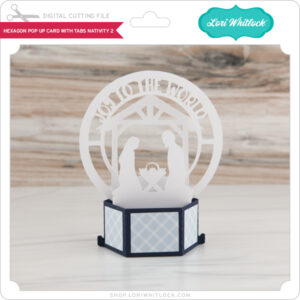
Hexagon Pop Up Card with Tabs Nativity 2 (SVG, Silhouette)
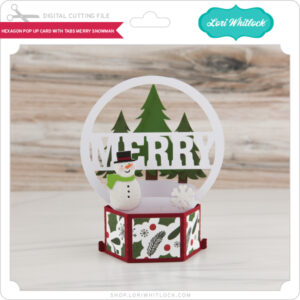
Hexagon Pop Up Card with Tabs Merry Snowman (SVG, Silhouette)
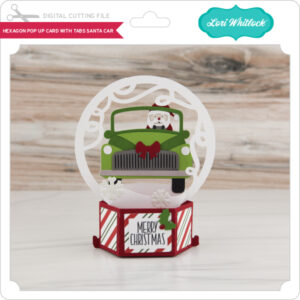
Hexagon Pop Up Card with Tabs Santa Car (SVG, Silhouette)
Hexagon Pop Up Card with Tabs Santa (SVG, Silhouette)
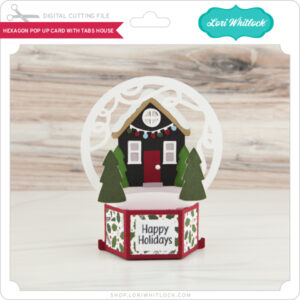
Hexagon Pop Up Card with Tabs House (SVG, Silhouette- coming soon)
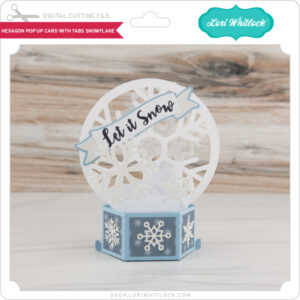
Hexagon Pop Up Card with Tabs Snowflake (SVG, Silhouette)
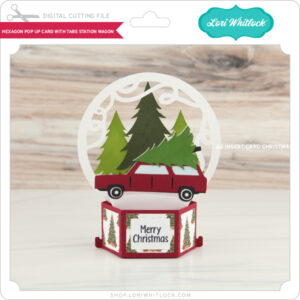
Hexagon Pop Up Card with Tabs Station Wagon (SVG, Silhouette)
24 Day Christmas Train Advent Calendar (SVG, Silhouette)
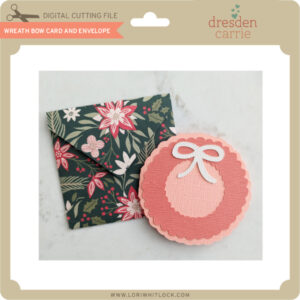
The Snowglobe Shadow Box Cards fit into a standard A7 envelope (5.25″ x 7.25″). For a tutorial see this post here. The Hexagon Pop Up Cards fit into a standard A2 Envelope (4.5″ x 5.75″) For a tutorial see my YouTube Channel here. We will have a tutorial for the 24 Day Christmas Train Advent Calendar next week.
Have a great day!