Ghost Haunted House Tutorial

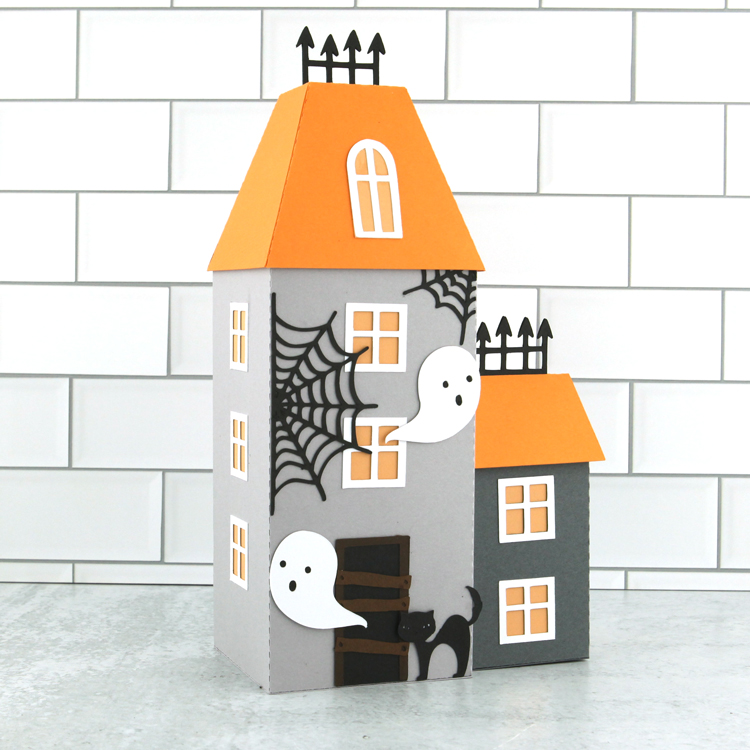
Have you seen the new Halloween Décor Bundle??  It’s full of super-cute files perfect for Halloween decorating!  I fell in love with the new Ghost Haunted House (SVG, Silhouette).  Such a spooky-cute way to celebrate the season!!  It’s really easy to assemble, I’ve put together a quick tutorial for you below.
The house is made up of two smaller houses that are attached together.  I started with the larger side.  The pieces for that part are shown below. In this photo I have already added the window frame pieces to the main house piece as well as the door.

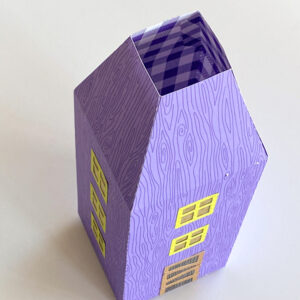
To assemble this part of the house, start by adding the strips of paper behind the windows.  You could use cardstock.  I chose to use vellum in case I want to add tea lights to the house later.  I then glued together the two main parts of the house, folded into a box shape and glued using the tab.

Next, fold in the upper sections and glue as shown.  I then started to assemble the roof.  There are two sets of “spires”.  Glue them together for strength.  Do not glue the section below the score lines.  Insert the glued spire pieces up into the roof piece so the spikes stick out of the top.

On the bottom side of the roof piece, fold out the flaps and glue to the inside of the roof.  Fold the roof along the score lines and glue together into a dome shape.  Add to the top of the assembled house piece.  I then added the rounded window to the roof piece.  You can then add the bottom piece to the house.  I chose not to add this piece, I wanted to add a tealight to the bottom.

The second half of the house is assembled in a similar manner as above.  The pieces are shown below.

I started by adding the vellum to the inside of the windows.  I then folded the house into shape and glued (not shown).  There are two more spire pieces.  I glued them together, and added them to the roof as I did above.

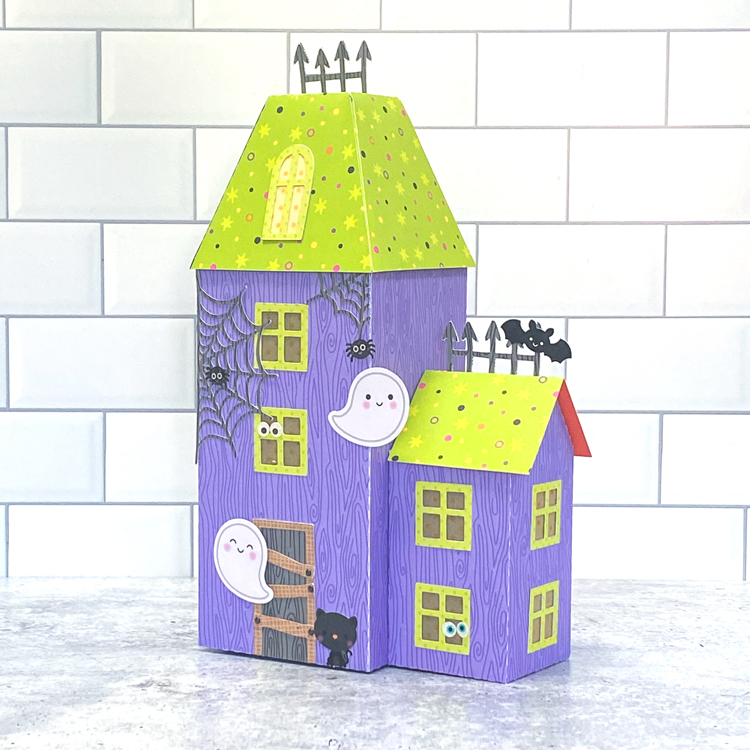
At this point you could add the bottom.  I chose not to.  To attach the 2 house pieces, glue the smaller house to the larger as shown. (make sure your windows are as shown) I then added the roof to the smaller piece using the tabs on the top of the house base to glue.  It’s easier to do it this way since the roof needs to be flush with the side of the larger house.

Lori’s file comes with the spider webs.  It also has a couple of ghosts, and a black cat that are super cute! (not shown here).  I decided to decorate the house with some embellishments from my stash. The ghosts, cat, spiders, bat and eyes (in the windows) are all from the Doodlebug Happy Haunting Collection.
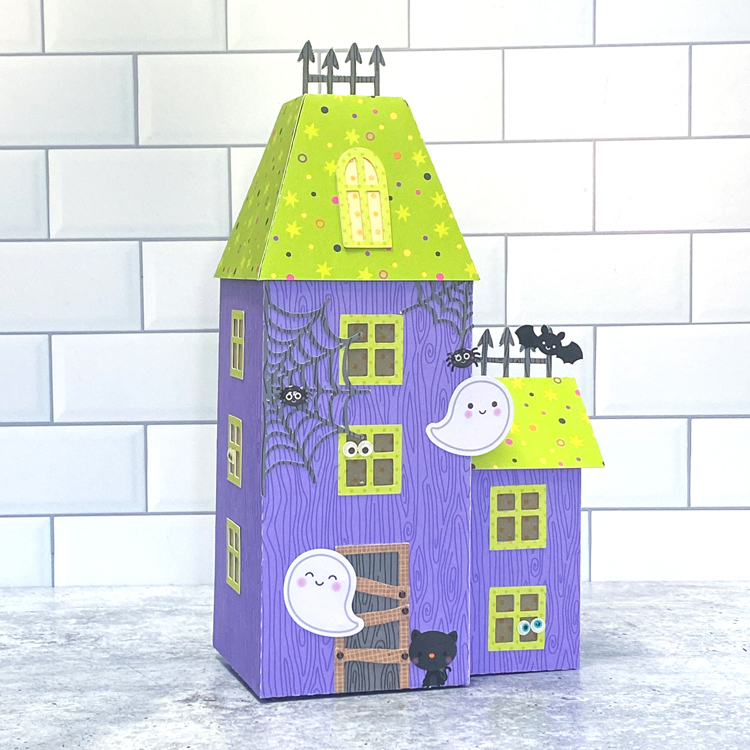
I ordered some fun tea lights, and plan to place them under the house so that the light shines through!  That’s it for me today, thanks for stopping by to peek!

BLOG | INSTAGRAM


New Friday $5 SVG Bundle Ends at Midnight!

This awesome Friday $5 Bundle is available until midnight and when it’s gone it’s gone.  These SVG files can be used with Cricut Explore, Silhouette Studio (with the Designer Edition upgrade), Scan N Cut, and any other cutter that will work with SVG files. Help spread the word by telling your friends and announcing it on social media!

Be sure to pick up this Halloween Shadow Box Scene Card Bundle including 5 SVG files for just $5**!!


The cost of this bundle is $5, for $9.95 worth of SVG files, over a 49% savings! But don’t wait, this bundle will only be around until TODAY at midnight!

** Because Friday $5 Bundles are already heavily discounted they are not eligible for further discounts including monthly, seasonal and flash sales.

Have a great day!

New Halloween Décor Bundle!

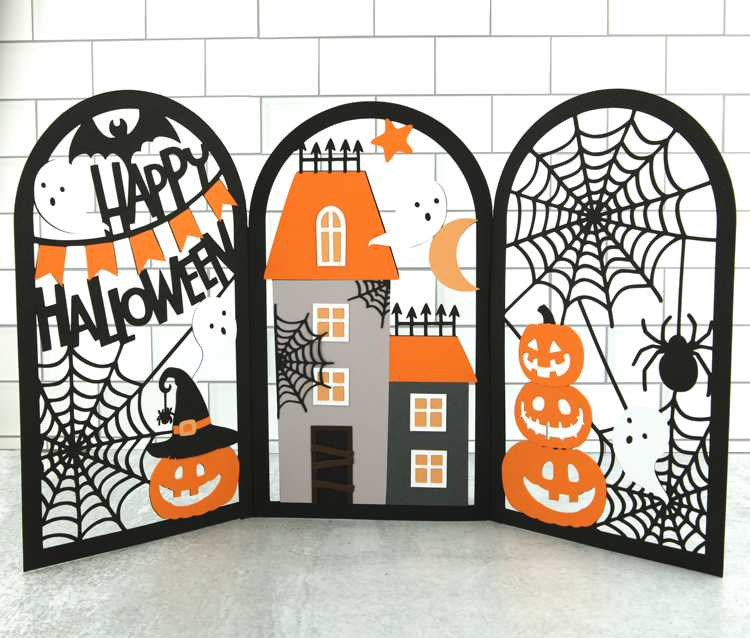
I have a fun new Halloween Décor Bundle in the shop this week!  There are eight new files, perfect for your Halloween decorating!  Each of these files are also available individually in my SVG shop and in my Silhouette Design Store Gallery.  Take a peek…

Ghost Haunted House (SVG, Silhouette)

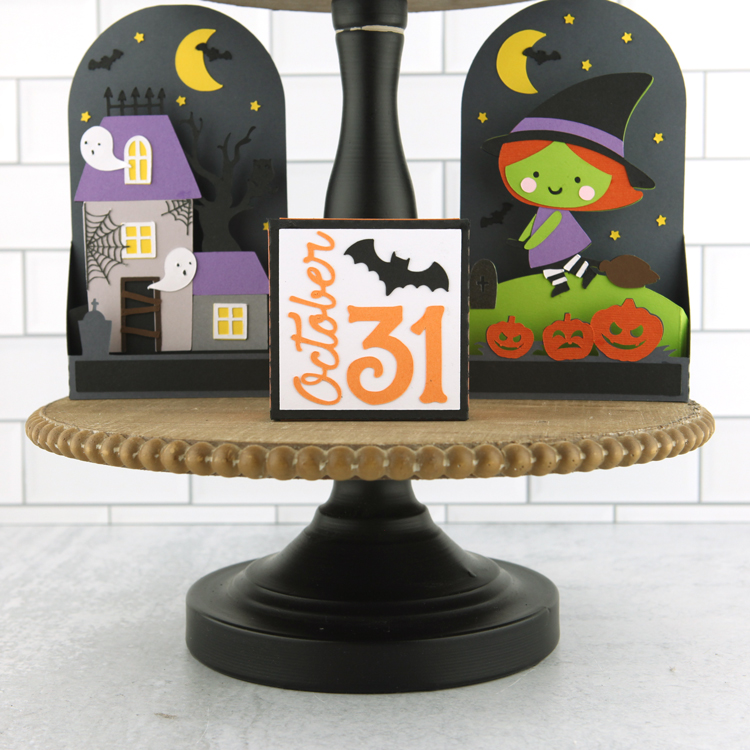
Halloween Scene Décor (SVG, Silhouette)

\

5×7 Box Card Haunted House (SVG, Silhouette)
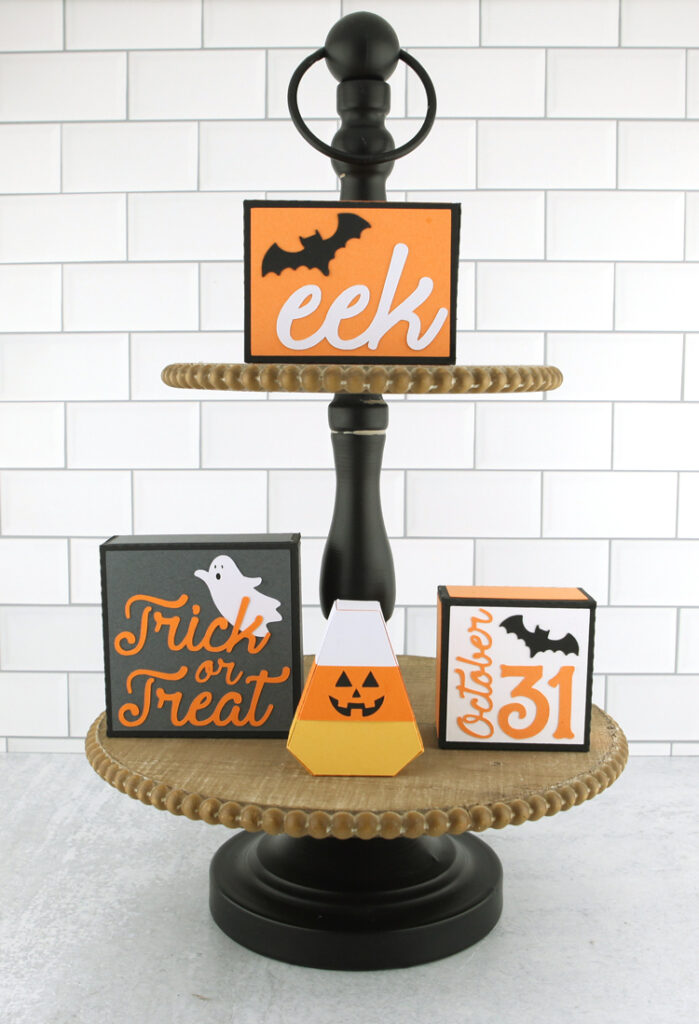
3×3 Décor October 31 (SVG, Silhouette)
5×7 Box Card Witch (SVG, Silhouette)

3×4 Décor Eek Box (SVG, Silhouette)
4×4 Décor Trick or Treat (SVG, Silhouette)
3D Candy Corn Jack O Lantern (SVG, Silhouette)
3×3 Décor October 31 (SVG, Silhouette)

These files would be great to add to or in addition to your tiered tray décor or on a mantel! Stop by the shop and pick them up today!

Have a great day!

A New Friday $5 SVG Bundle!

Hi Everyone! Today we have a new Friday $5 Bundle! It will ONLY be available until Midnight Sunday and when it’s gone it’s gone. These SVG files can be used with Cricut Explore, Silhouette Studio (with the Designer Edition upgrade), Scan N Cut, and any other cutter that will work with SVG files. Help spread the word by telling your friends and announcing it on social media!

Now through Sunday, you can pick up this Halloween Shadow Box Scene Card Bundle including 5 SVG files for just $5**!


The cost of this bundle is $5, for $9.95 worth of SVG files, over a 49% savings! But don’t wait, this bundle will only be around until Sunday at midnight!

** Because Friday $5 Bundles are already heavily discounted they are not eligible for further discounts including monthly, seasonal and flash sales.

Have a great day!

3D Witch’s Hat Tutorial

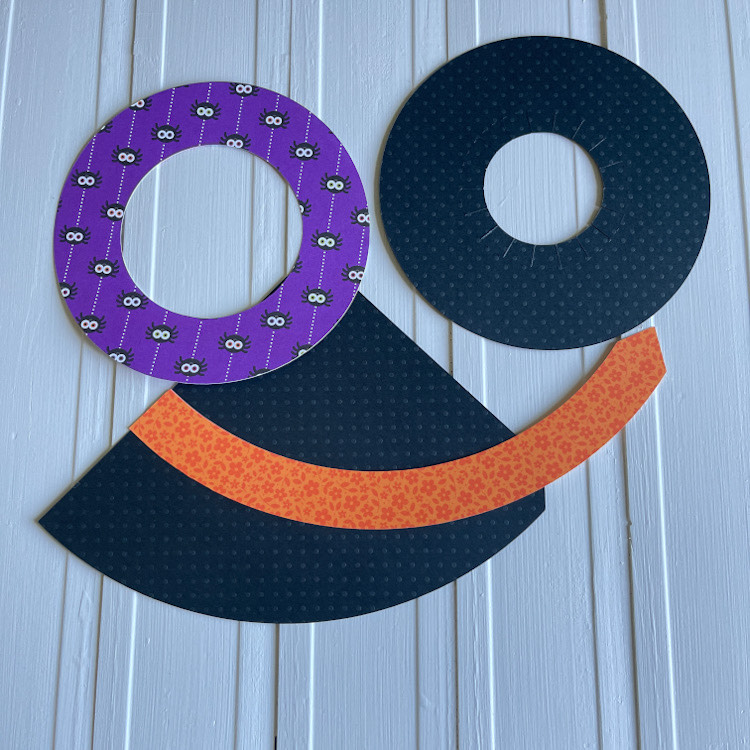
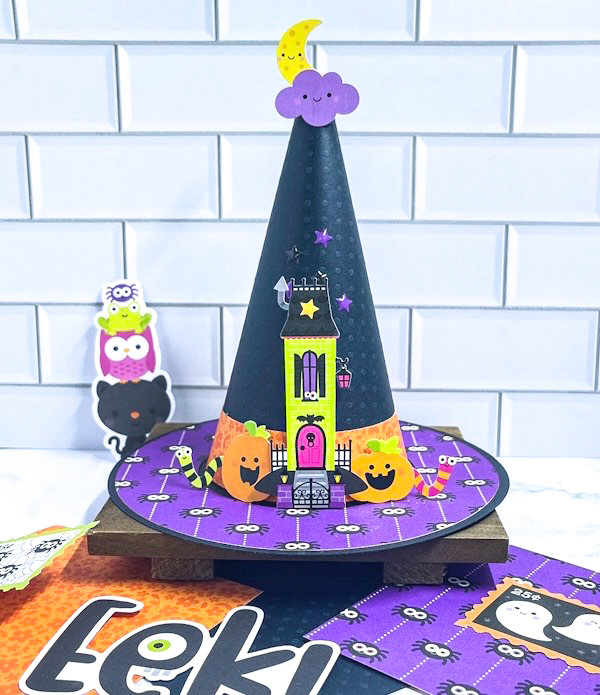
Happy almost Halloween!  My very favorite time of the year to paper craft.  I just love all things Halloween….seriously my favorite holiday.  I have a fun, simple quick project for you.  Just a few simple steps and you have a cute little decoration to add to your décor.  I started with Lori’s 3 D Witch Hat (SVG, Silhouette).  It’s a simple file  to cut, only 3 colors!  After cutting, this is what you will have.

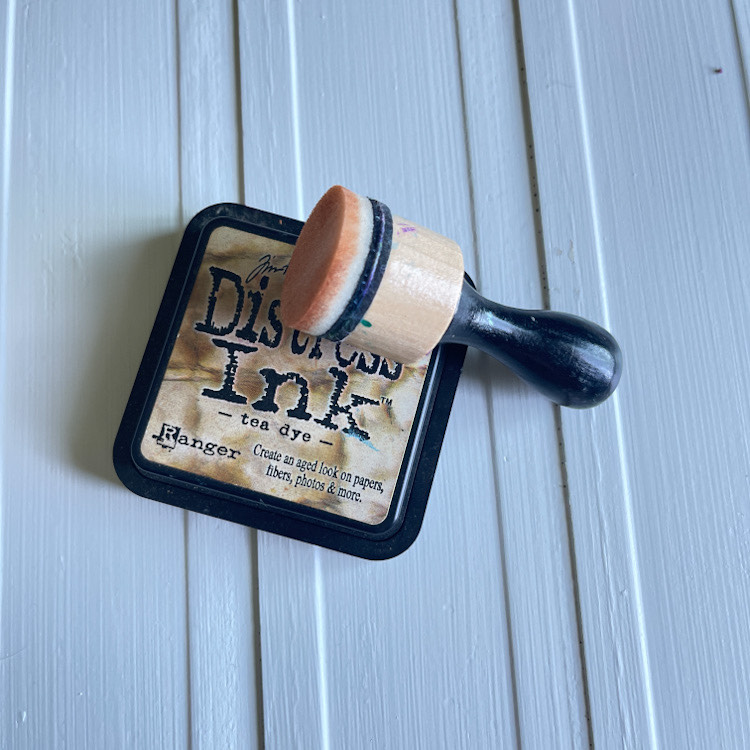
Next, I just inked the edges of my patterned paper.

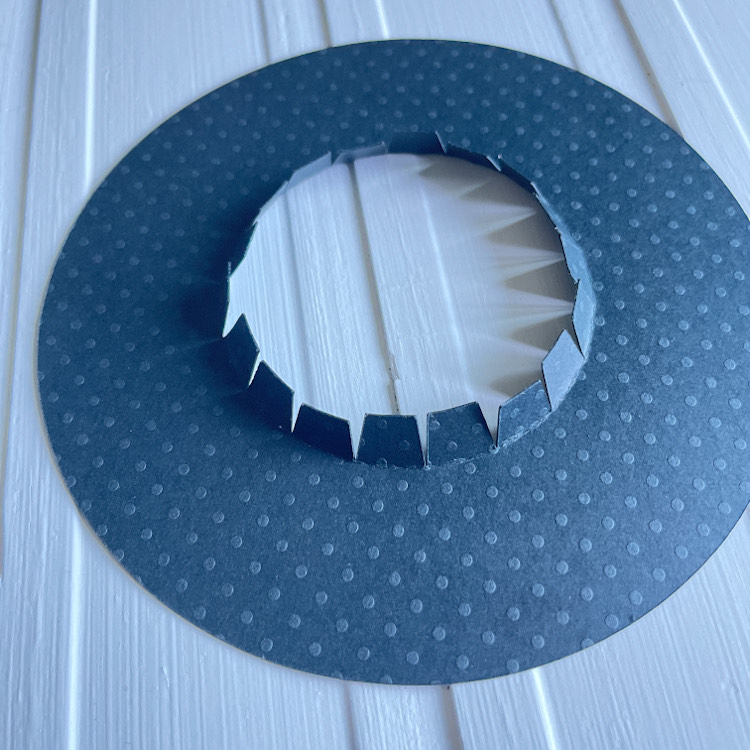
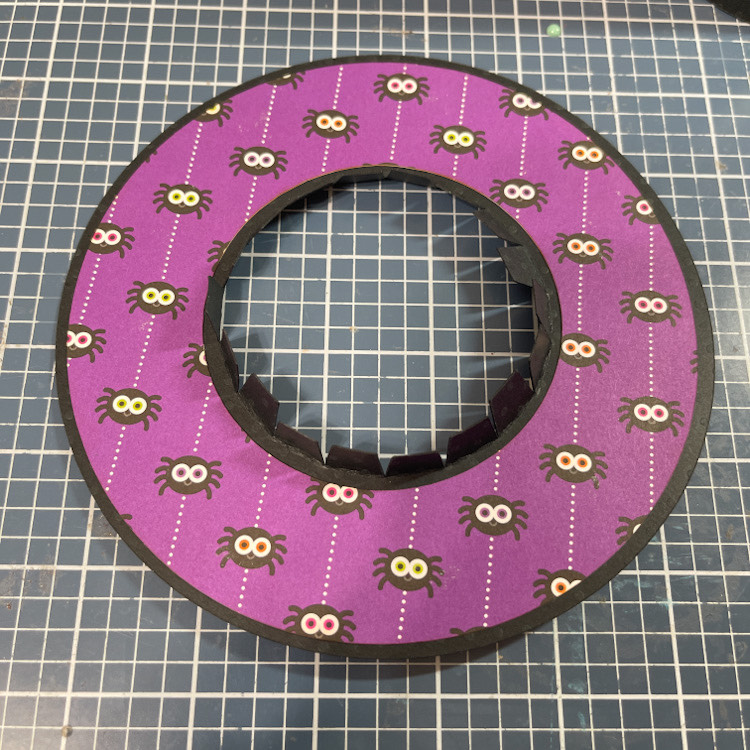
Fold up all the tabs of the brim of the hat.

Add your pattered paper circle to the brim.

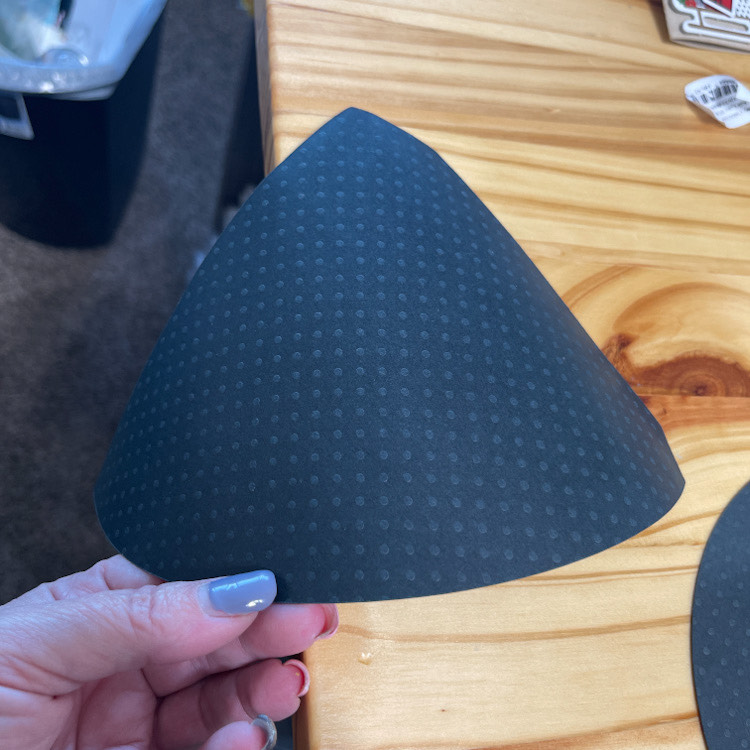
Now your ready for the rest of the hat.  I ran my black card stock over the edge of my table a few times to get a nice curve and break down the fibers in the card stock to make it roll easier.

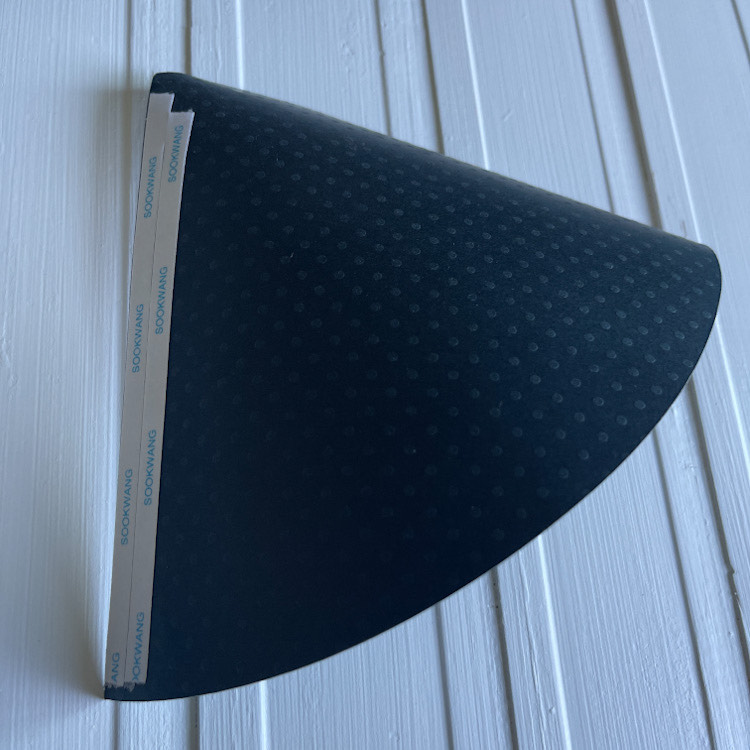
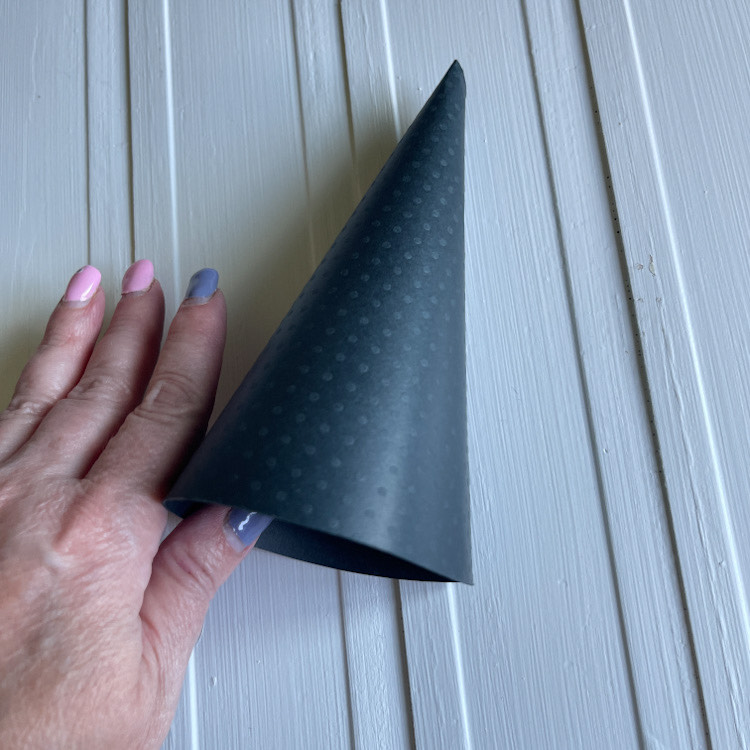
Then add double sided tape to your seam and roll until you have a cone shape….

Like this….

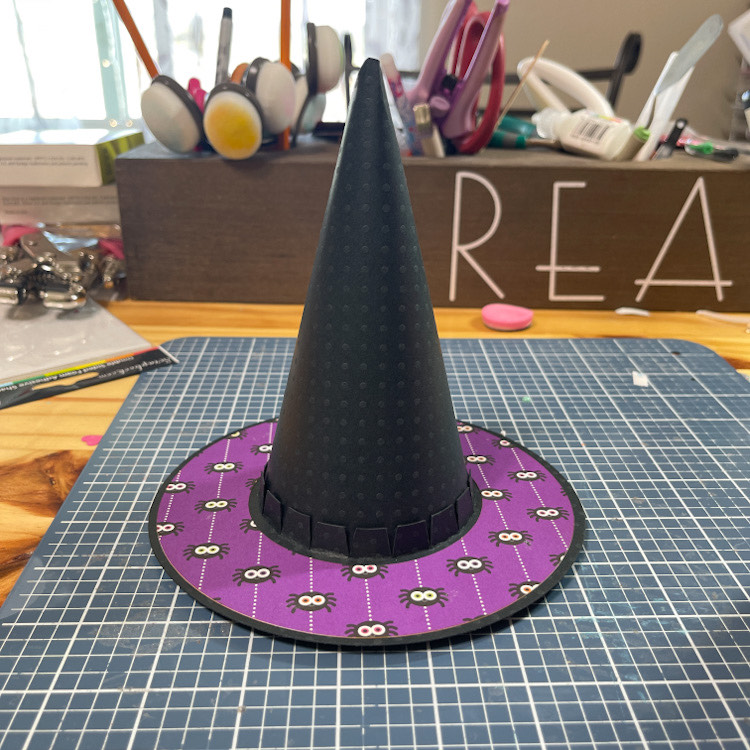
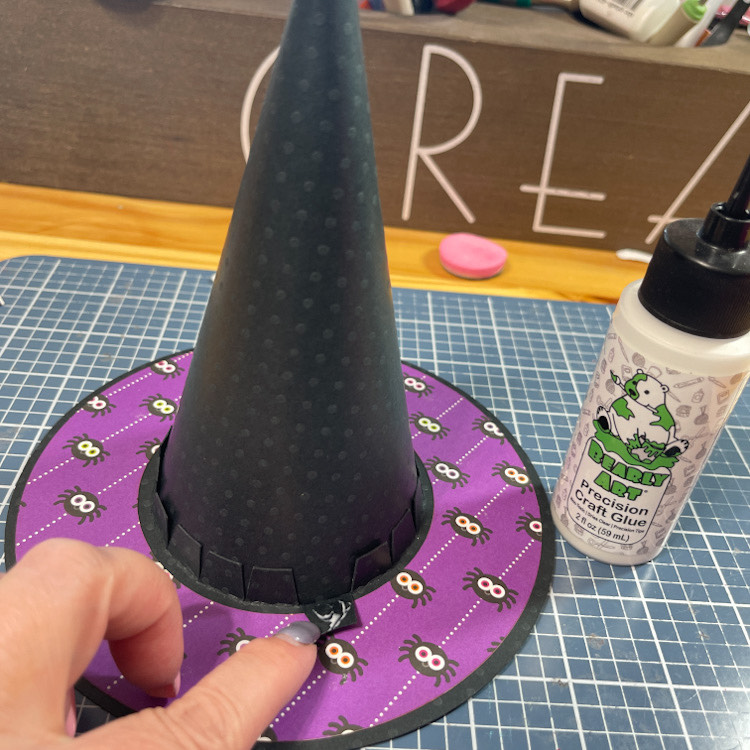
Now insert your cone into the brim of the hat, with all of those tabs going up.

One by one, I glued the tabs with some strong glue.  Then add your band for the hat around the bottom of the cone and over those tabs and adhere.  Yes, I forgot to take the last picture.

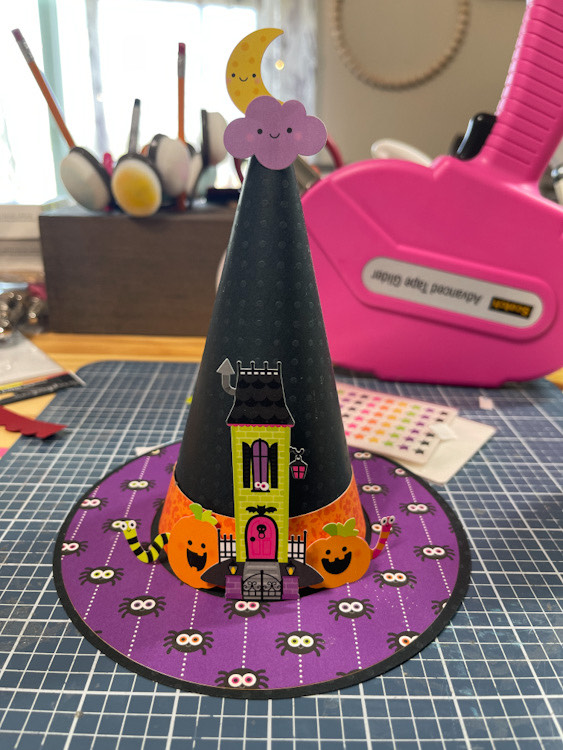
Then I just added some fun embellishments with a few pop dots and a little baby powder for they wouldn’t stick in certain places.!

It just makes me happy. I love it!

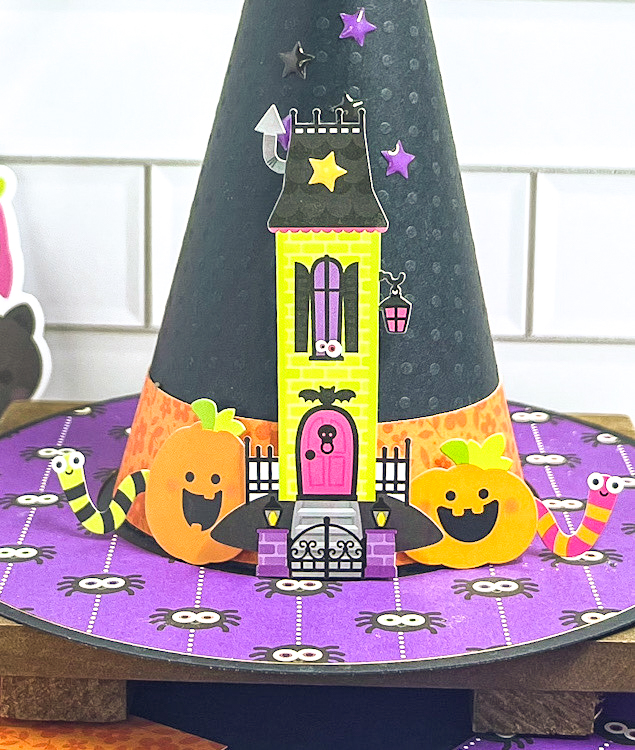
Here’s a little close up of the scene.  EEEEEKKKKKKK!  So cute! 

Thank you for stopping by ~Cathy