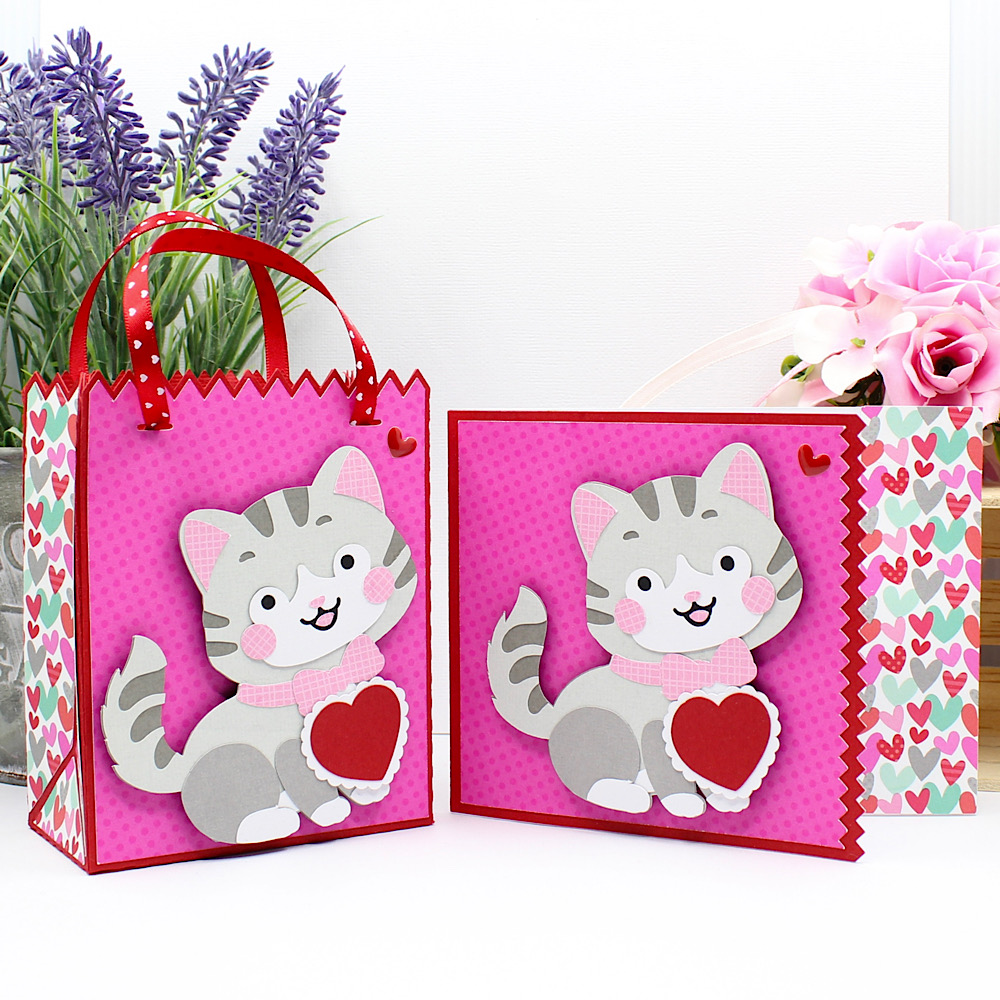
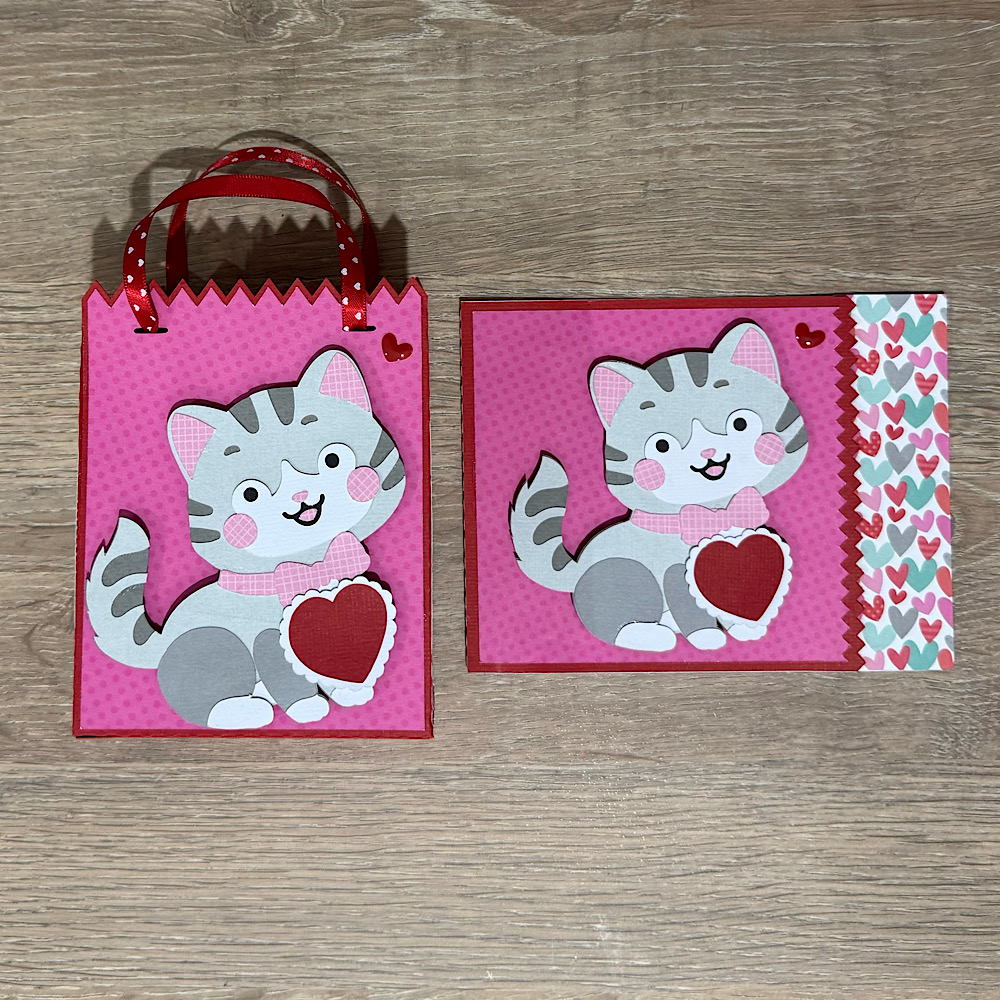
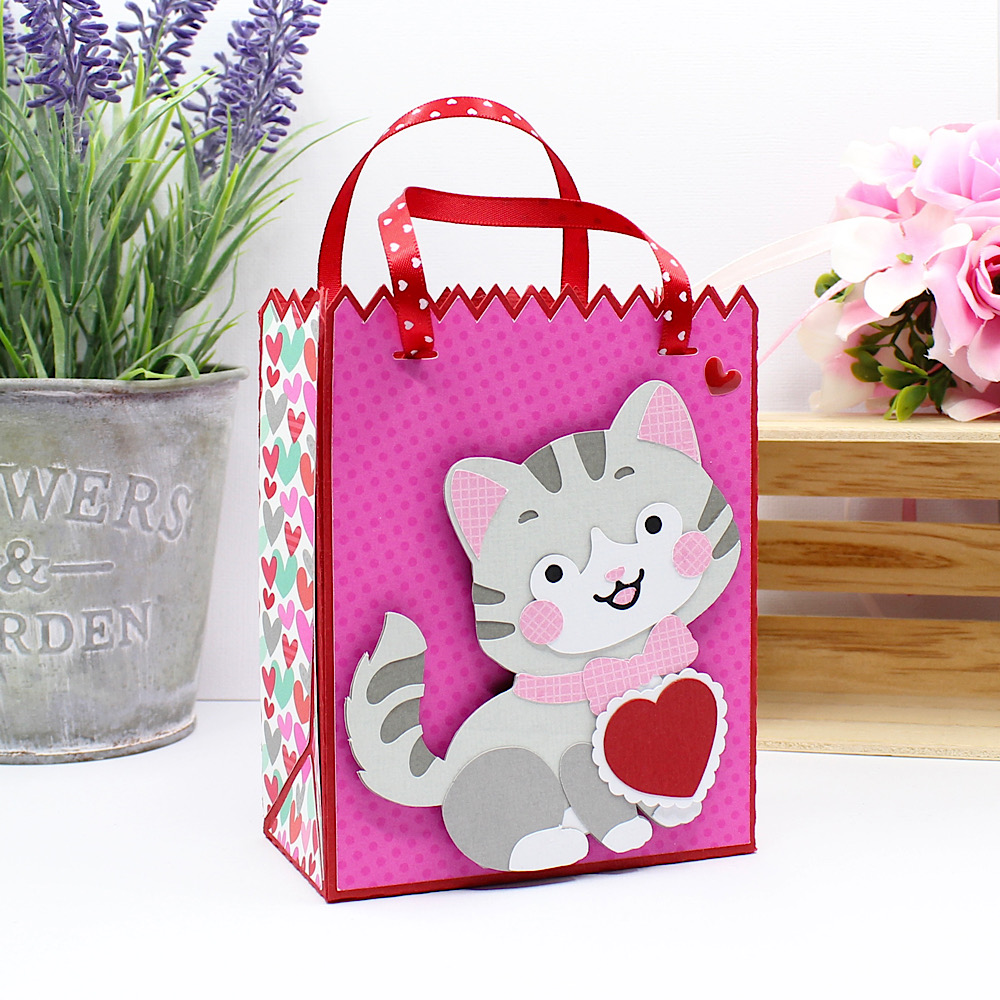
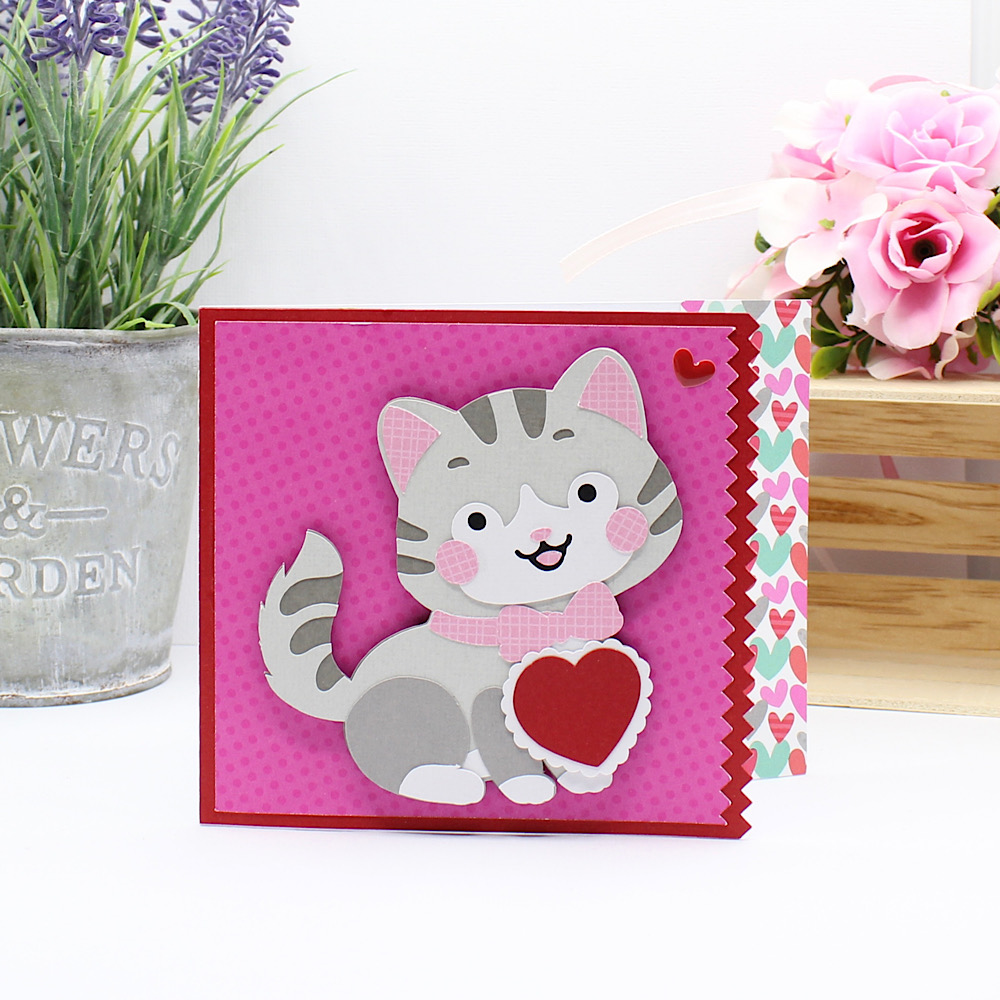
Hello Crafty Friends Noelene here today! With Valentine’s Day less than 2 weeks away today I want to share with you an adorable little bag & card gift set I made using one of the newest files from Lori Whitlock called Valentine Bag Cat (SVG), (Silhouette). I also created a matching card using an A2 card Base (SVG), (Silhouette)
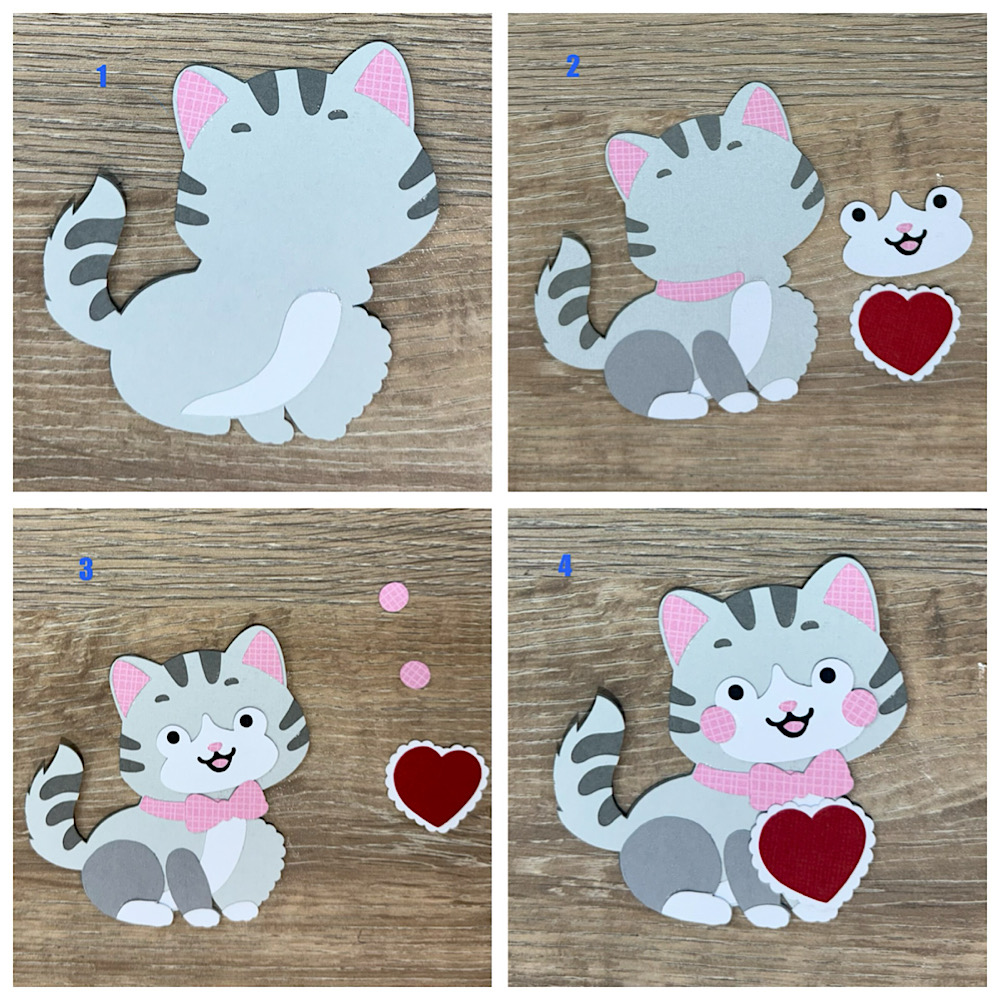
To start off I cut out all the panel pieces for the bag. Make sure you cut 2 of each of all the panels that make the cat, (if you are making the card). I did not need to alter the size of the cat in any way as it fit nicely onto the a2 card base. Now start by putting all your pieces together for the cat by following the steps below.
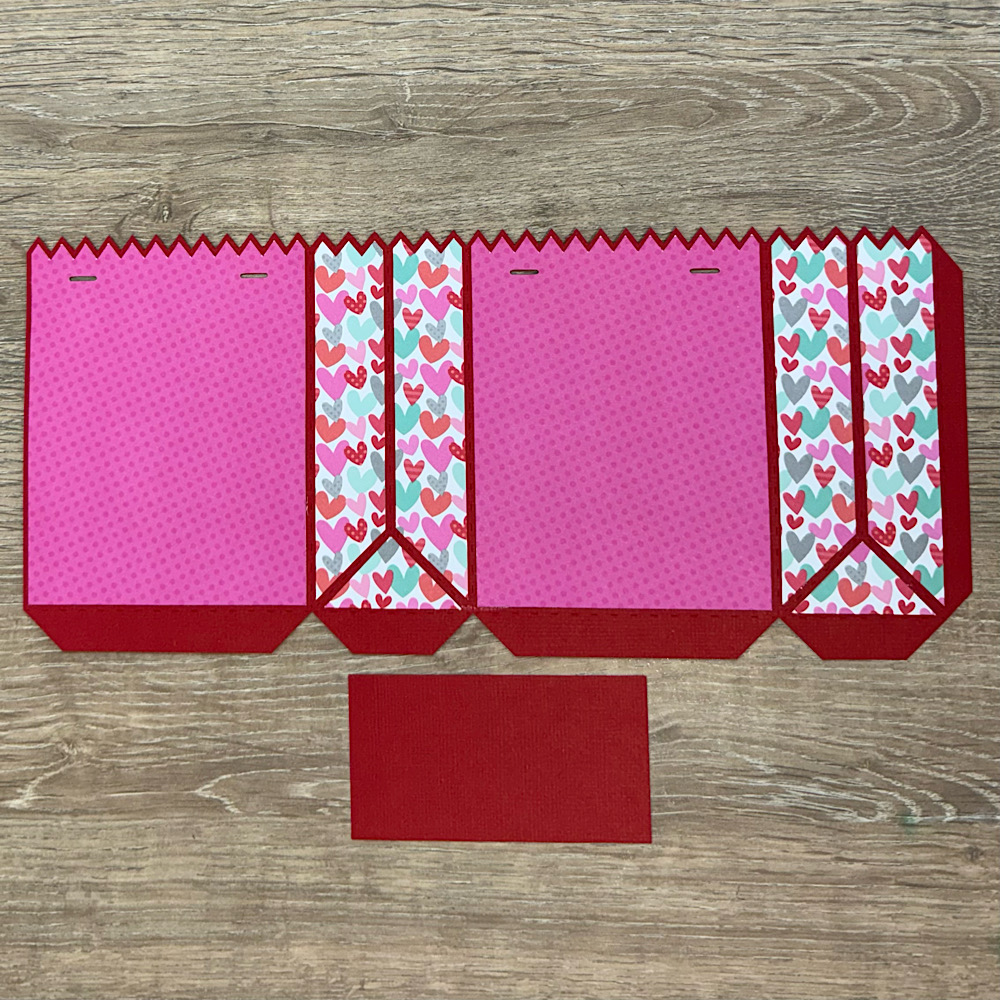
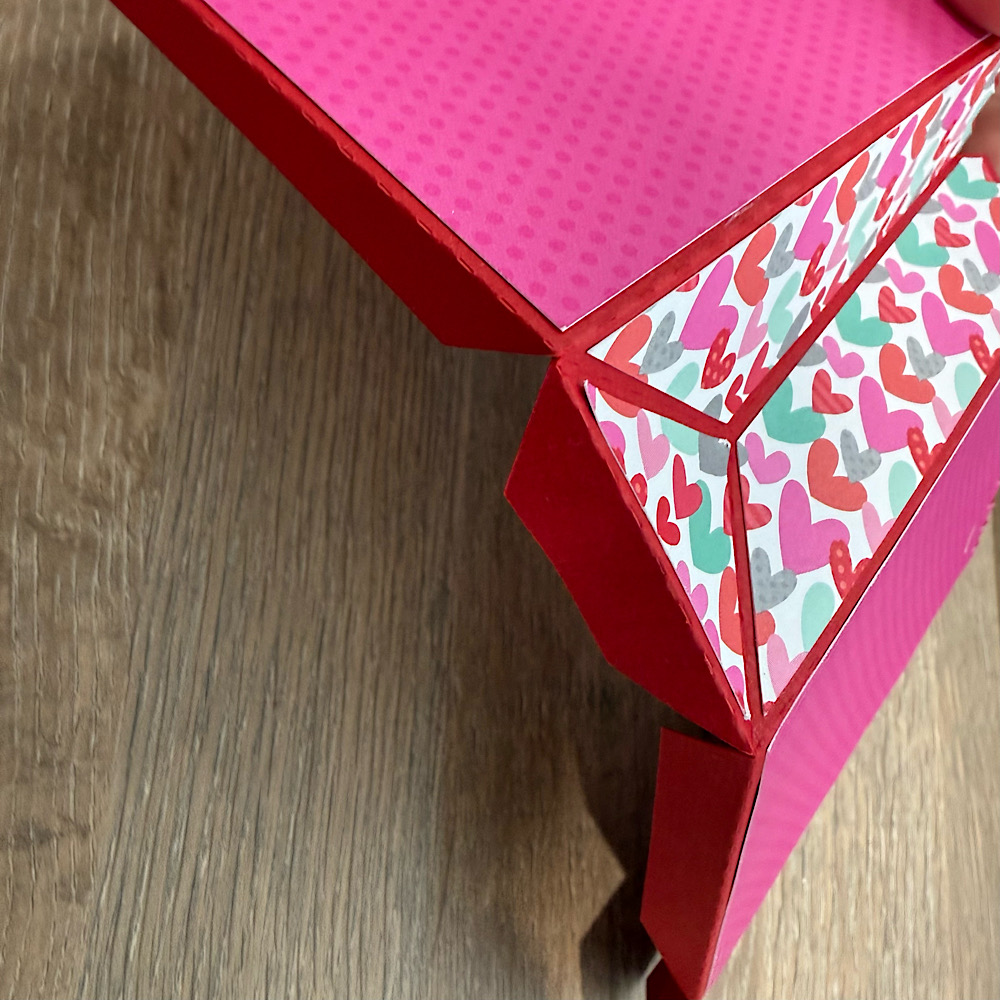
Now it’s time to put the bag together. Glue all your bag panels onto the bag base.
Note the next step I did after glueing the panels, but it may be slightly easier to do before the panels are glued on, as the cardstock will be more flexible. Mountain fold the bottom flaps & valley fold the sides of the bag.
Next glue the side tab of the bag.
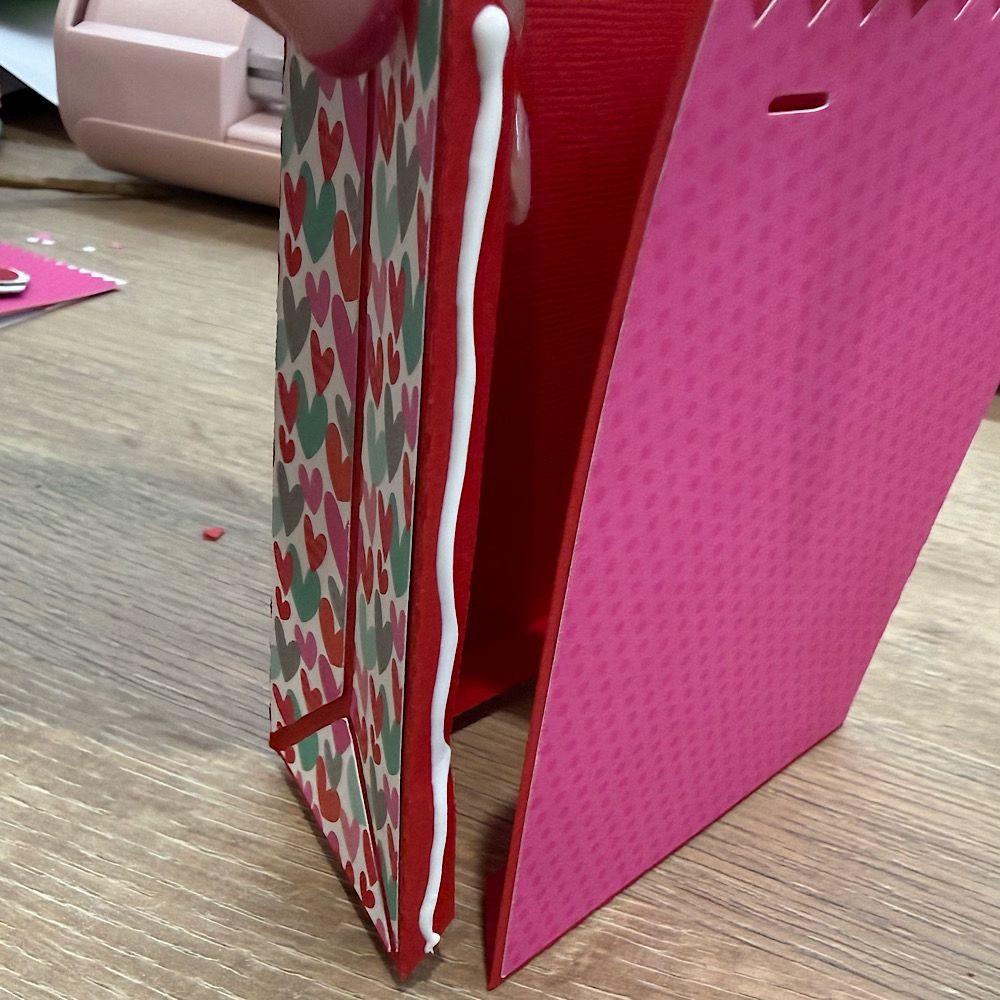
Glue the base then set your bag aside for the time being.

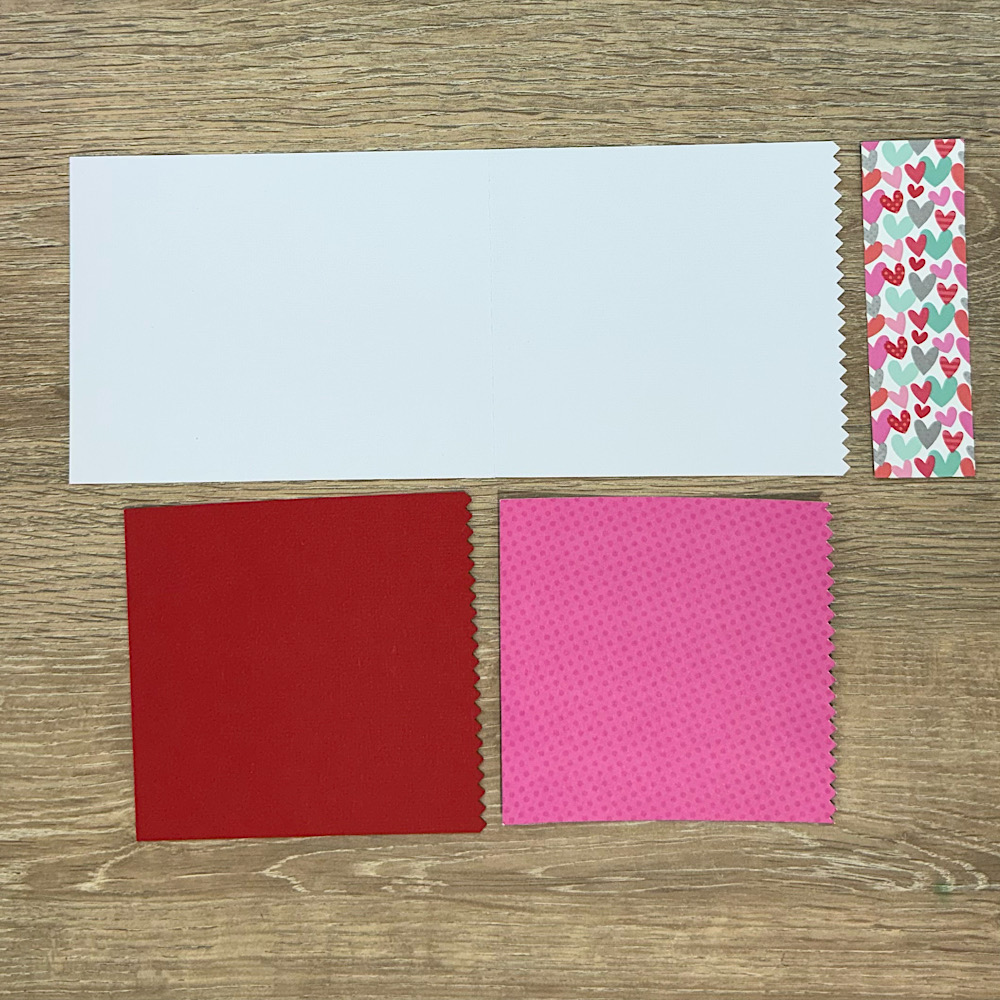
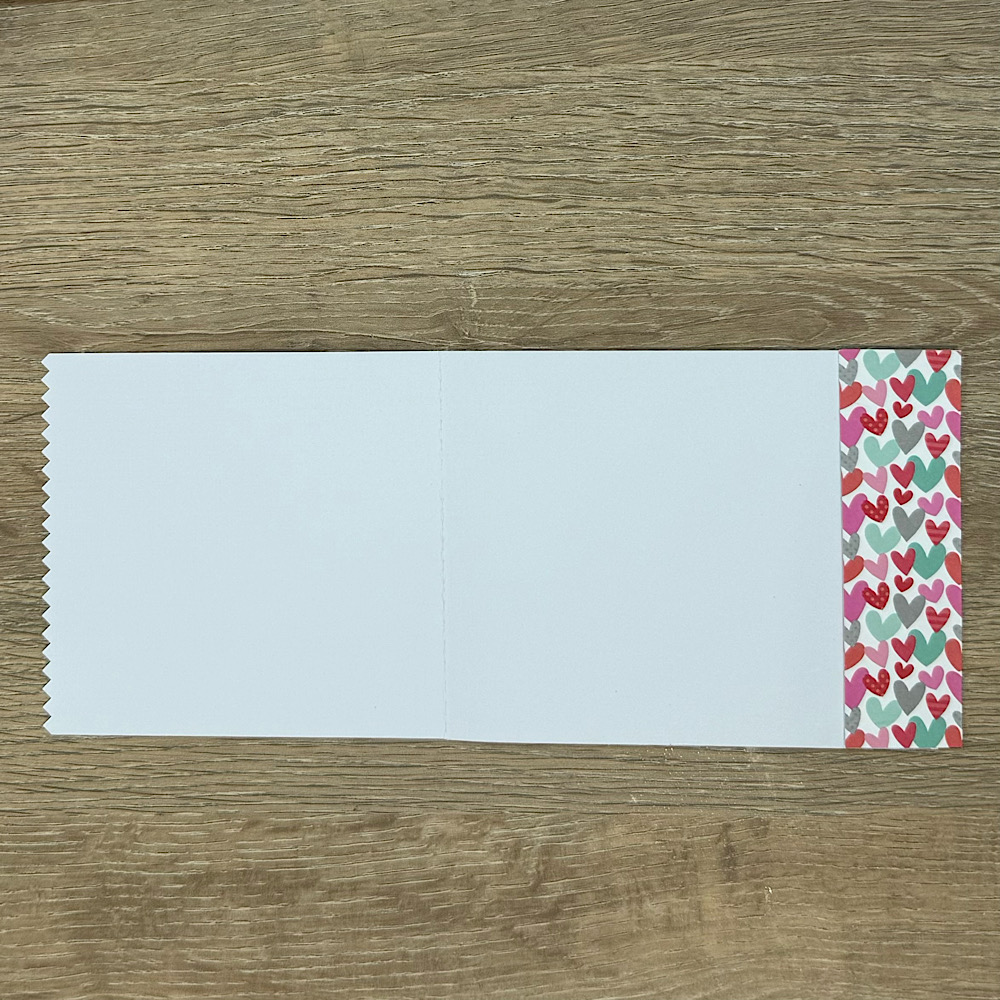
Now to create our matching A2 card. Firstly cut out all the panels. You will see that I have an extra rectangle piece of cardstock which is not in the file. I just cut out a rectangle 1.25″ x 4.25″ with the same paper I used on the side of my bag so that it coordinates with my card.
Glue the 2 front panels onto the card base.
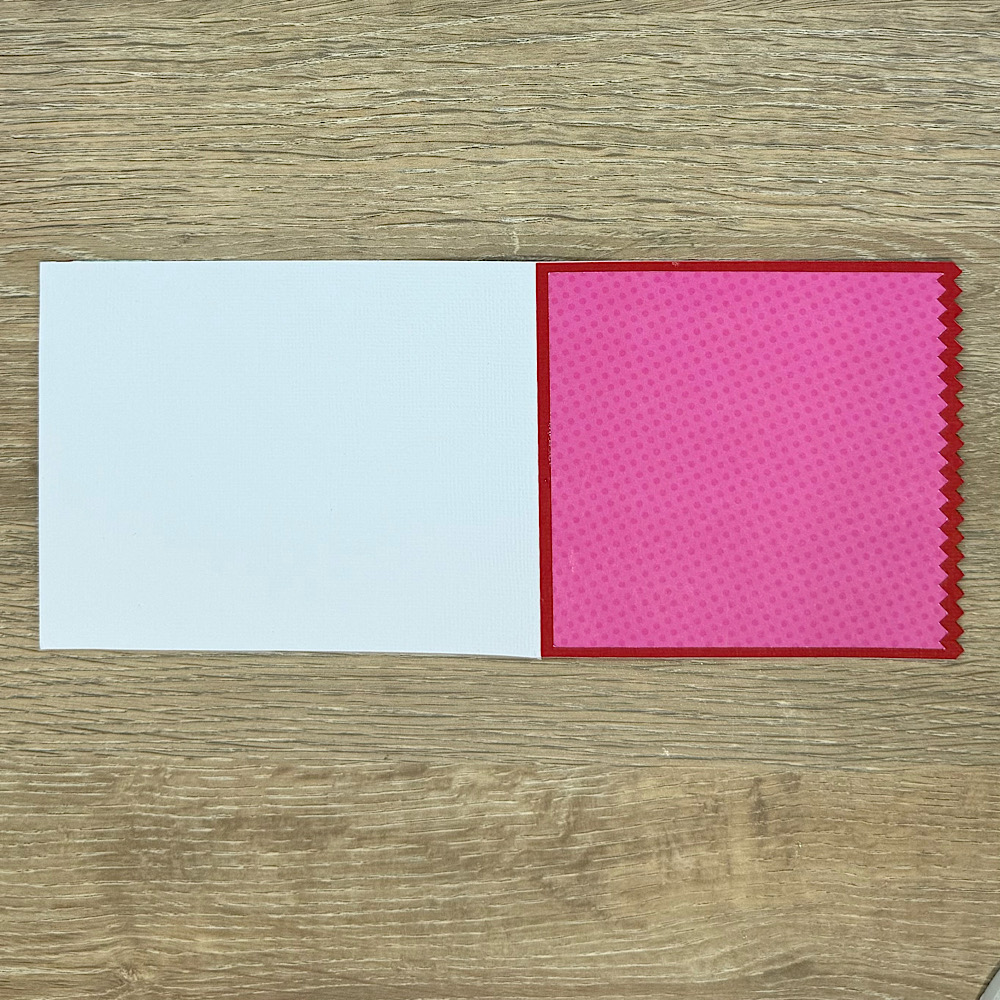
Glue the extra rectangle piece onto the far right side of the inside of your card, so that when you close your card it will be visible from behind the pinking pattern.
Lastly to finish off place a cat onto the front of your bag & another onto the card front. I used foam squares to give it dimension. Then add the ribbon to your bag & any other embellishments you wish. Today I have kept it simple & only added a heart stickle.
For more inspiration, check out my Instagram!
Thanks for stopping by!
Hugs
Noelene 🙂