Reindeer Petal Box Tutorial with Brigit

Hello everyone, I have a Silhouette Studio tutorial to share with you today on how I created this reindeer box. To make this I combined the Bunny Petal Box and Christmas Tag Reindeer svg files from Lori’s shop. You can also get both of these files here and here from the Silhouette Design Store.

I started with the box, ungrouped and did a release compound path to get rid of the bunny face.
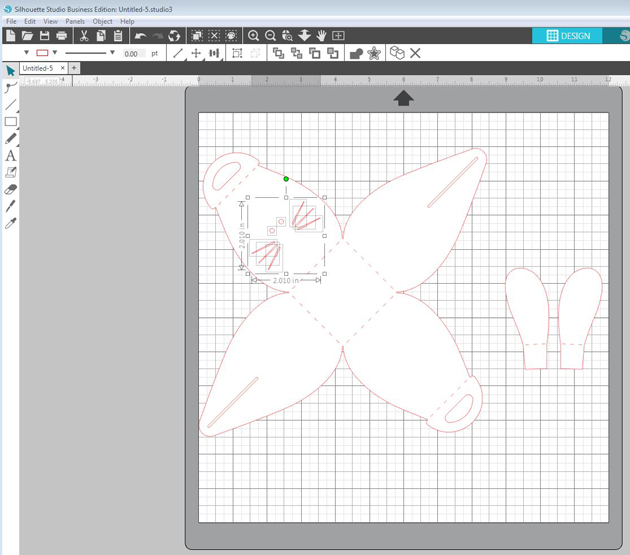
I grouped the box together again and rotated 45 degrees, added the tag and resized it to fit one of the box flaps.

I ungrouped the tag and separated the black layer and with the knife tool I cut off the antlers. I also cut off the ears from the brown and dark brown layer. (I always duplicate my piece first before I do any slicing just in case I mess up).
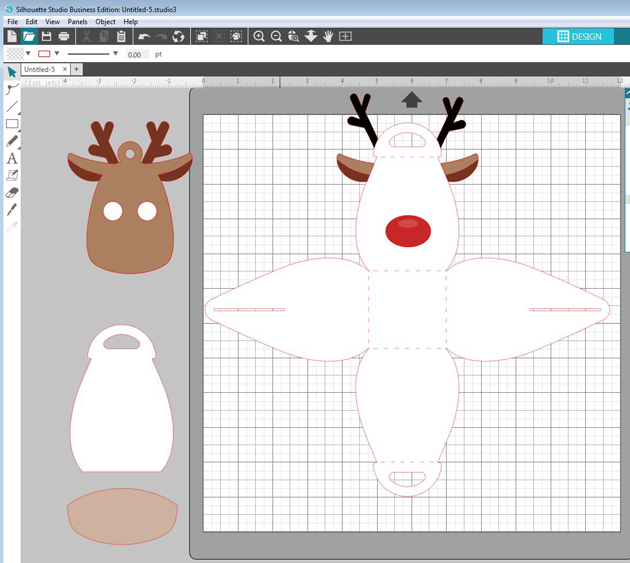
I duplicated the box and cut off one of the flaps with the handle and enlarged the deer’s muzzle from the tag placing it over the box flap and selected both and cropped.
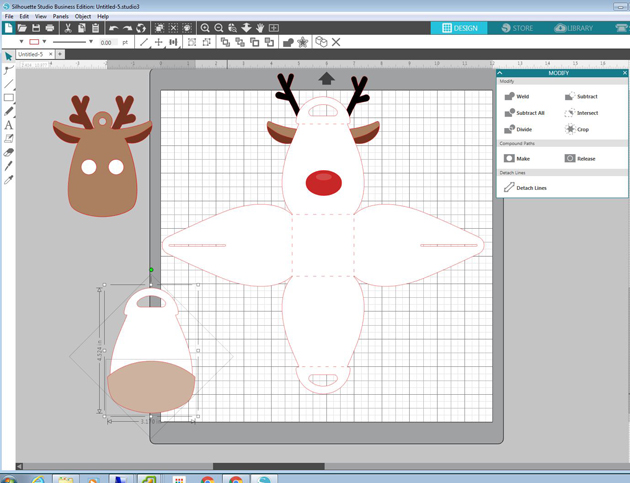
For the ear, I selected both pieces and subtracted under modify menu, I wanted the bottom part as a layer instead of the top so I could weld the top piece to the box, you will see that below.

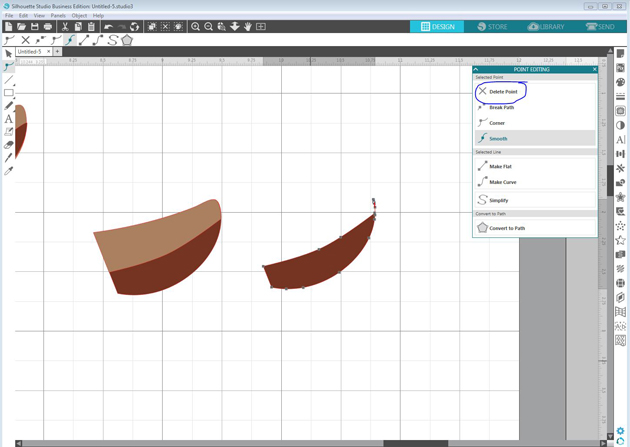
If you have little points left you can double-click on the piece and delete points.
Last I rotated the ears and welded them to the box as shown below. Now when I put the box together I just have to fold the ears out. I did make new solid score lines, I have the Silhouette Studio Business Edition and save my files as an svg so I can import them into Cricut Design Space and cut them out on my Cricut Maker.

It seems like a lot of steps but it really went together very quickly, makes a nice Christmas treat box!

Thanks for stopping by and have a wonderful day!

Blog – Pinterest – Instagram

New Product Feature: Light Boxes

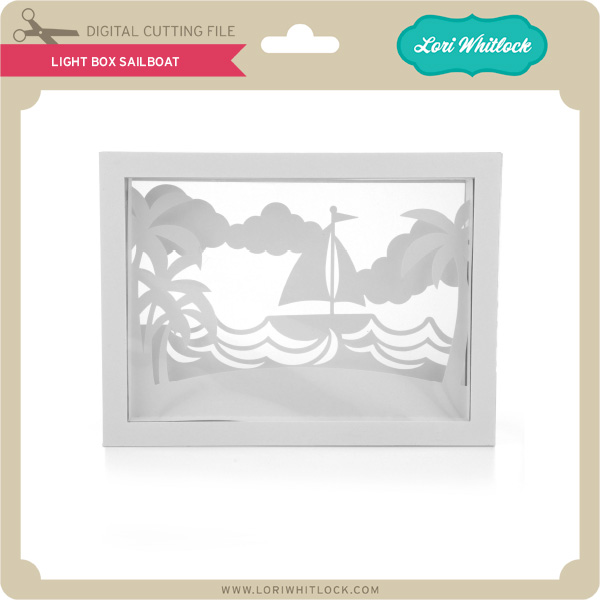
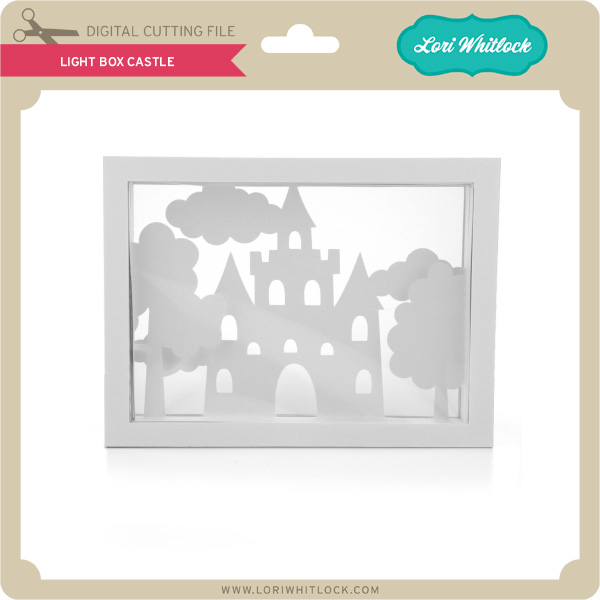
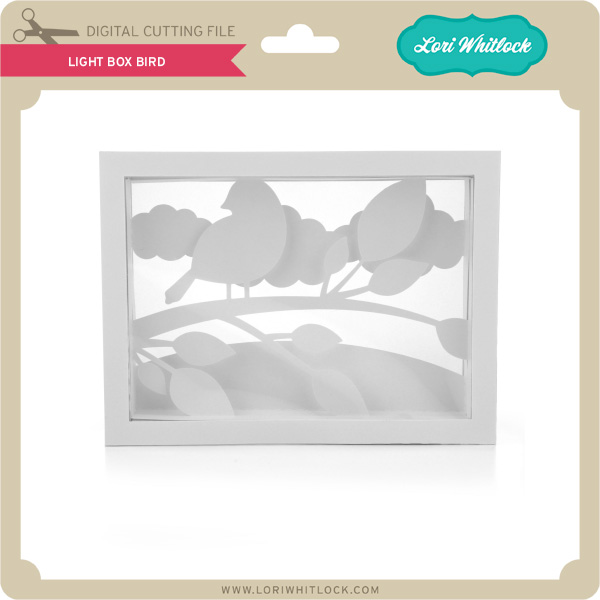
Hi Everyone!  Have you seen the new Light Boxes (SailboatCastleBird) in the shop this week?  These fun boxes measure 8″ x 6″.  They have clear acetate on the front and vellum on the back and look great set in front of a window or with a tea light behind them!  


The frame is nice and solid and stands well on it’s own!  I recommend using at least 80#-100# cardstock for these projects. I created an assembly tutorial to show you how to put them together on my YouTube Channel.  The new Light Boxes (Sailboat, Castle, Bird) are 25% off this week! I hope you enjoy working with these new files. Have a great day!

You Rock Shadow Box Card by Aimee

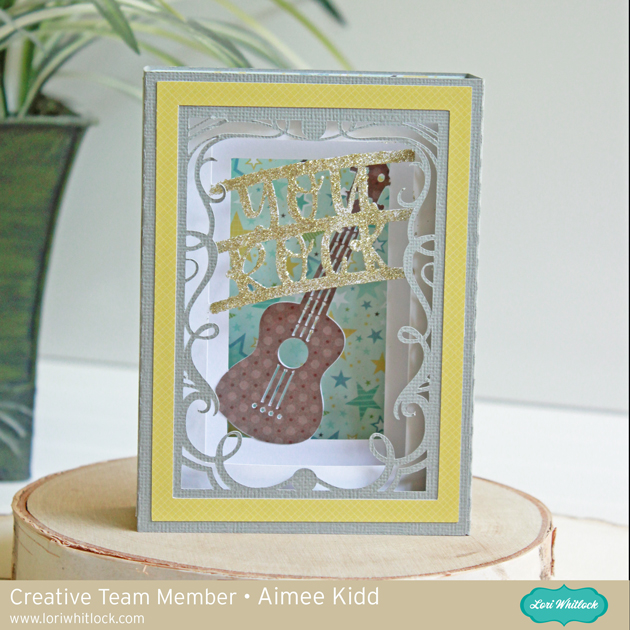
Hi friends! Aimee here with you today and I have a fabulous card for those loved ones in your family who like to rock out on the guitar! I made this card for my son who loves to play guitar, bass, and drums. I am so amazed at his musical talents and want him to know that I appreciate hearing his music!

This card is the Shadow Box Card You Rock Guitar found at the Lori Whitlock store HERE or at the Silhouette Store HERE.  A couple of things I did to jazz up this card is to use a lot of patterned paper and can you believe these papers are from the Lori Whitlock Baby Boy collection? The other thing I did was add some Nuvo Gold Glimmer Paste to the “you rock”. I masked off the side frame and smoothed it right over the top of the “you rock” & lines and let it dry before I adhered my card together. I love this card so much and hope you do too!

Thanks for stopping by today and hope you are having a day that rocks!!

Aimee

Doodlebug Design Cut File Feature: Yankee Doodle

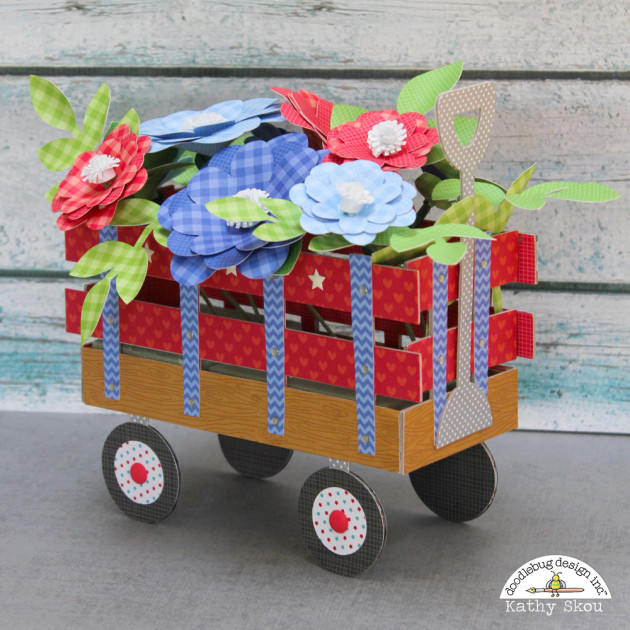
Hi Everyone!  Today I’m showcasing another fabulous project using Doodlebug Design’s cut files!  This fabulous Patriotic Centerpiece was created by Kathy Skou for Doodlebug.


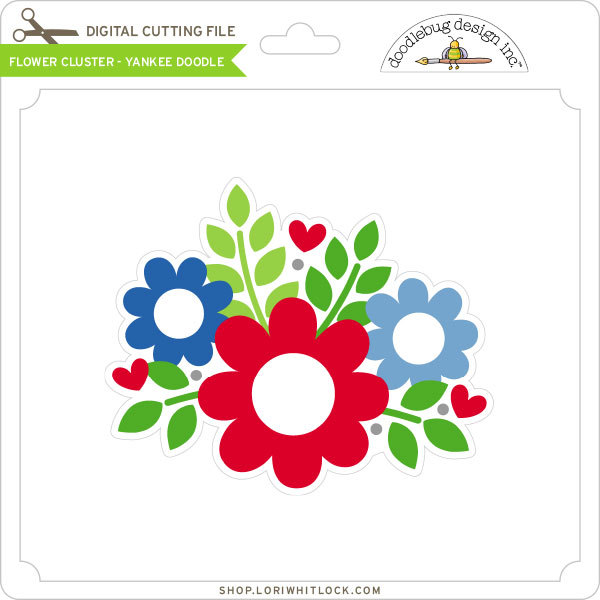
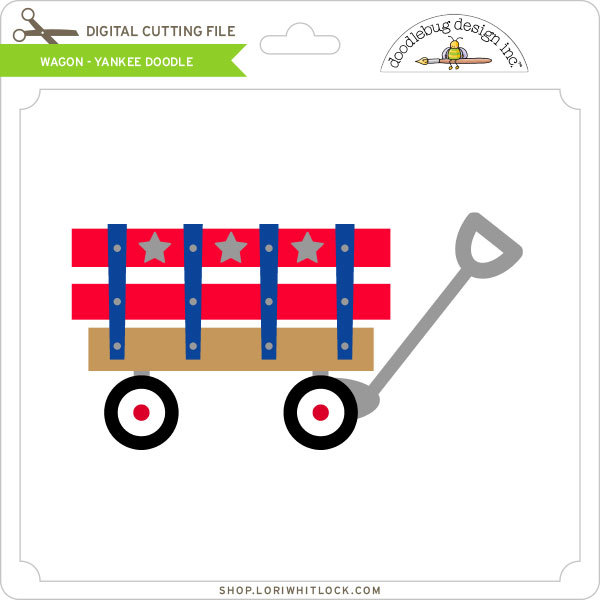
Kathy used the Wagon and Flower Cluster files  from the Yankee Doodle Collection  for this sweet project!


For more views, and a tutorial see the original post here.   New Doodlebug Design SVG files are being added to the Lori Whitlock SVG Shop on a regular basis, so stop by to see all of the fun SVG files HERE!

Have a great day!

Accordion Book Box Gift Card Holder

Anita here with a tutorial to make this fun Accordion Book Box Gift Card Holder from Lori’s store and which you can also find in the Silhouette Store.  I used Lori’s brand new collection from Echo Park called Back to School.  The colors are awesome and worked perfectly for a masculine gift card box.  The sentiment I used is Lori’s design also and it is called Brush Happy Birthday to You.  You can find it here in her store and here in the Silhouette Store.

These are the pieces for the project.  You have to cut two each of the long sheets which are scored horizontally so that you can make the accordion fold pieces.

My paper is two sided so I decided that I wanted the red to show on the outside so this is how I folded all four of the accordion pieces as well as the insert.

I glued the red side together and then held it down with my hands until it dried.  Once it was dry I glued the blue sides to each other as well.  These accordion pieces are going to make the base for creating a spot for the gift card holder to fit.

Here are all four pieces glued together and ready to be put into the box.

I laid them out here so that you could see how to put the box together.

All four pieces are glued down and I have now glued down the top as well.

Insert is glued in now also.  Next I glued down all the accent pieces.


I cut an extra piece to put in the front left side of the card so that I could write a note.  Here is the box open with the gift card in it.

Here is the front and side view.  I will be making more of these, what an awesome way to present a gift card.  That’s it for me today.
Hugs,
Anita