Mini Wreath Place Setting Tutorial with Michelle

With family so far away, our Easter Dinner is a quiet gathering where we use our everyday plates. This year, I (Michelle) decided to make dinner fun with some Mini Paper Wreaths.

Lori Whitlock Easter Rabbit Place Setting Svg

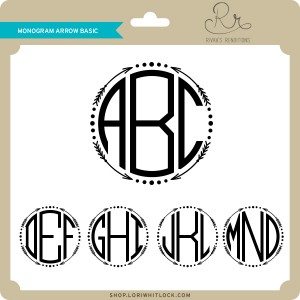
Making the mini wreaths was fairly easy with my Silhouette Cameo, but I have a couple hints and tricks to make it really easy! I started with Lori’s Circle Monogram Frame (Silhouette Design Store or Lori Whitlock SVG Shop) to make the wreath. This is possibly my favorite SVG file. The wreath is actually 6 seperate pieces. Since I am making a small wreath, I’m going to release the compound path and make all of the leaves filled in, which is easier for me to cut.

Release Compound Path

I’m also going to cut a 5-inch circle to fit my plate. (Hint: When making a circle hold down the shift key and your circle will be perfect each time.) I recommend cutting three or four monogram wreaths to make your mini wreath nice and full.

Next, I cut some BRAND NEW Bunnies. This Easter Bunny Silhouette is absolutely darling! I love his little tail cut-out. He’s new in the shops and you can find him in the Lori Whitlock SVG Shop and the Silhouette Design Store. I cut two 4-inches bunnies and glued them back to back, but one would’ve been enough. I wanted to add a cute sentiment, and I found exactly what I was looking for in the Bunny Dingbats Font. You can find this in the Silhouette Design Store and the Lori Whitlock SVG Shop. You will find additional bunny silhouettes in the font. They would be cute too. With the bunnies so small, I had trouble getting the sentiment cut cleanly with paper, so I used vinyl instead. It came out perfect the first time!

Lori Whitlock custom vinyl SVG sticker on paper

Yes! Paper crafters can use vinyl too! I love how it came out.

I topped off my wreath with a cute paper bow found in the Silhouette Design Store or at the Lori Whitlock SVG Shop and my project was finished. This would be a great project to try new techniques such as releasing the compound path and using vinyl. if you would like even more information, I would encourage you to check out Lori’s class on Craftsy. With the class, Lori explains numerous techniques for getting the most out of your Silhouette Cameo.

I hope that you’ve enjoyed my Mini Wreath Tutorial. Happy Easter!

Michelle

Bunny Window Treat Boxes with Kathy

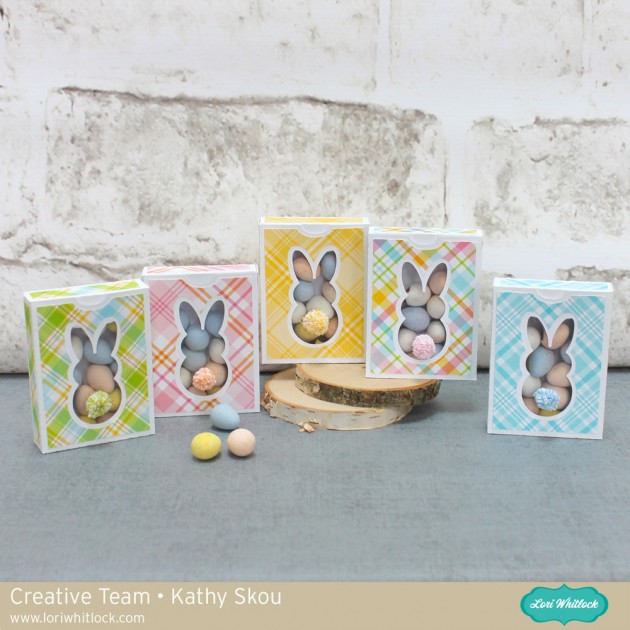
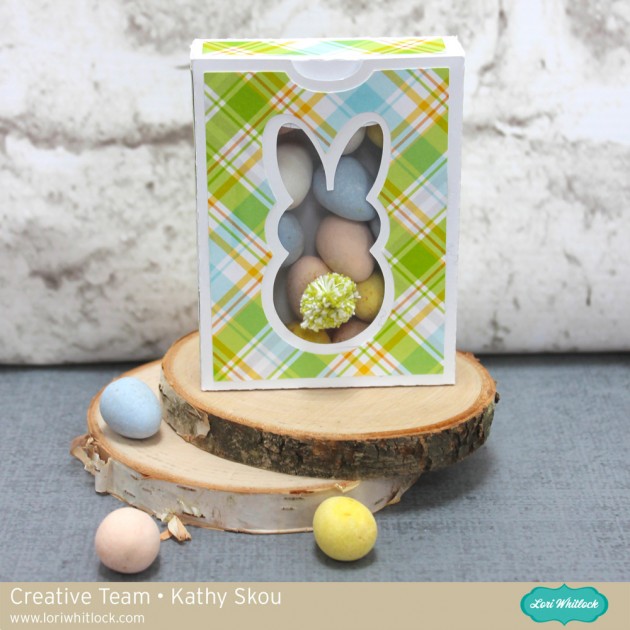
Hi Everyone!  I can’t believe Easter is in 2 weeks!  Since it’s so early this year,  I had to get my act together much more quickly to make these fun little treat boxes for my college sophomore and her dorm-mates!

I used Lori’s Easter Window Box Bunny (SVG File, Silhouette File) and added a fun little pop-pom tail to the window!  (The pom-poms were made with baker’s  twine and a pom-pom maker).

I filled them with some chocolate eggs and sent them off to the girls!  Head over to Lori’s shop for a great variety of Easter files!  That’s it for me today, thanks for stopping by to peek!

*** Blog * Instagram ***

A New Friday $5 Bundle

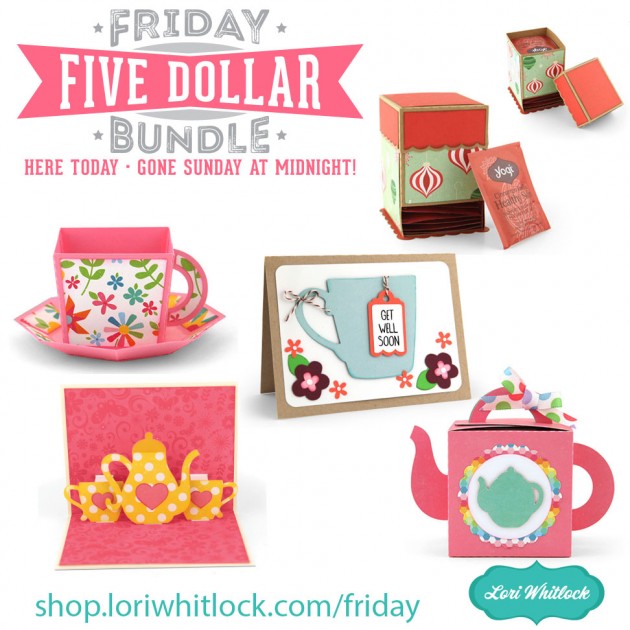
Hi Everyone! Today we have a new Friday $5 Bundle! It will ONLY be available until Midnight Sunday and when it’s gone it’s gone. These SVG files can be used with Cricut Explore, Silhouette Studio (with the Designer Edition upgrade), Scan N Cut, and any other cutter that will work with SVG files. Help spread the word by telling your friends and announcing it on social media!

Now through Sunday, you can pick up this Tea themed themed bundle including 5 beautiful SVG files for just $5!


The cost of this bundle is $5, for $12.95 worth of SVG files, over a 61% savings! It’s the perfect time to make those classroom valentines!! But don’t wait, this bundle will only be around until Sunday at midnight!

Have a great day!

Hexagon Easter Bunny Box tutorial by Aimee

Hi friends! Aimee here with you today to share a tutorial on how I made these adorable Hexagon Easter Bunny Boxes! This is one of the new cut files for Easter.  You can find it on the Lori Whitlock site here or on the Silhouette Design Store here.

When you open this file up in the Silhouette program it is already color coded and shows you where most of the pieces go to get you started.

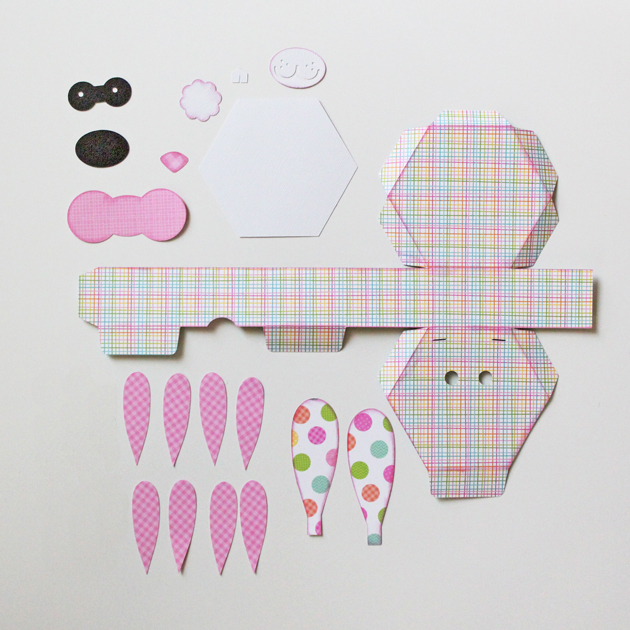
I separated all of my pieces and added 3 more sets of the inner ear piece cut so that I could fold them in half long ways (which I will show in a few minutes) and adhere them together to create a look of extra “fluff”.

So here is what it looks like after I cut out all of my pieces. I went ahead inked up the edges and let that dry before going to my next step.

I started assembling my box by adding glue to side piece first and then the bottom flaps. Do not put glue on the top tabs because your box opens and closes from the top flap.

Next comes the face. Start with the black piece for the eyes and adhere it to the underside of the flap with the eye holes lined up with the eye holes that are cut into the box.


Next I worked on the ears where I folded each inner ear piece in half long ways (4 pieces for each ear). Then glued them together and then to the outside ear piece.

Time to add the ears to the box…slip the bottom of each ear piece into the slots provided and glue to the underside of the top flap of the box. Then glue the white hexagon piece to the underside. This gives the ears more stability and the whites of the eyes.

Your box should look like this now. The rest is simply adhering all of the mouth pieces together and then adhering to the box.

Here is Mrs. Bunny…

and her sweet little cotton tail!

and here is Mr. Bunny.

And here is the sweet little couple together. 

Thanks for stopping by today to take a look and I hope that everyone has a blessed Easter holiday!

Aimee

March Creative Team Blog Hop and 30% off All Files!

Welcome to our March 2018 Creative Team Blog Hop! The creative team has been working hard on some new projects to share with you that will get you in the crafting mood. We also have some FUN new SVG files for you and a GIVEAWAY! Be sure to check them out below. There is also a free file for you!

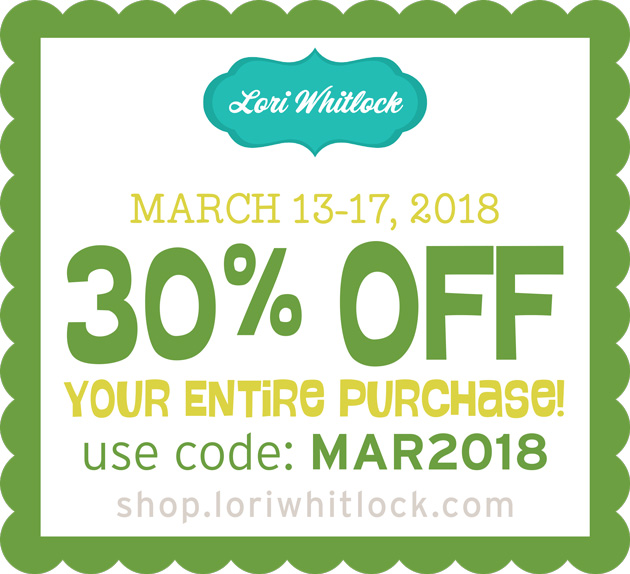
This week we have a 30% OFF SALE going on at Lori’s SVG SHOP. ALL files (and commercial licenses) from Lori Whitlock, Kolette Hall, Doodlebug Design, Dresden Carri, Paige Evans, Rivka’s Renditions and SAS Creative are on SALE now through Saturday, March 17th!. Be sure to use coupon code: MAR2018 (case sensitive) at checkout in the SVG SHOP. (Only one coupon code per order allowed)

To thank you for joining us in the hop today and sharing the hop with your friends, we have a gift for you! TODAY ONLY, You can download this Spring Title  file absolutely FREE! Be sure to go grab it while you can.


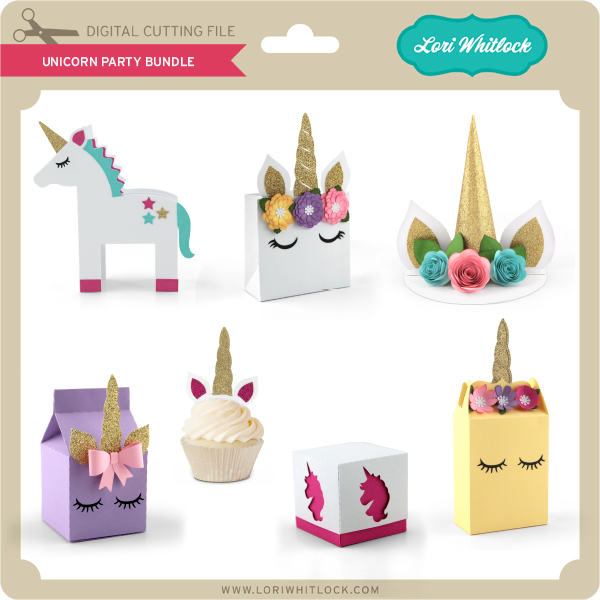
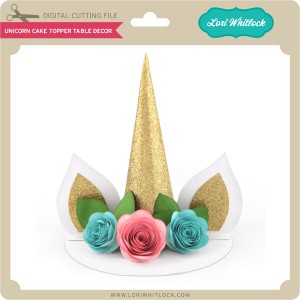
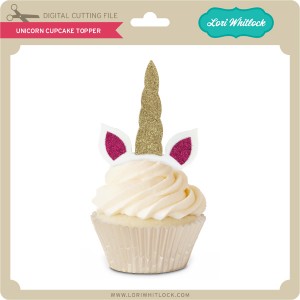
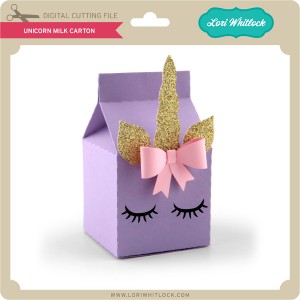
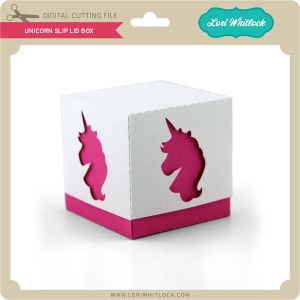
We have some super fun new files this week! Be sure to grab them while all files are 30% off this week when you use code MAR2018 in my SVG Shop!  And, as always, the new files are available in the Silhouette Design Store as well.  This week we have new files from Paige Evans, fonts from Rivka’s Renditions and I have a couple of fabulous bundles including a Unicorn Party Bundle!


a Rafflecopter giveaway
    And, last but not least… would you like to see what our amazing team has created? Click the links below for some wonderful inspiration. If you get lost come back here to get on track Lori Whitlock, Tracy PenrodKathy Skou,  Brandie AdamsBrigit Mann,  Michelle ZerullAimee Kidd, and Ashley Cook!! Thanks again for dropping by! Have a GREAT day!