Pop Up Birthday Cake Card Tutorial with Kathy

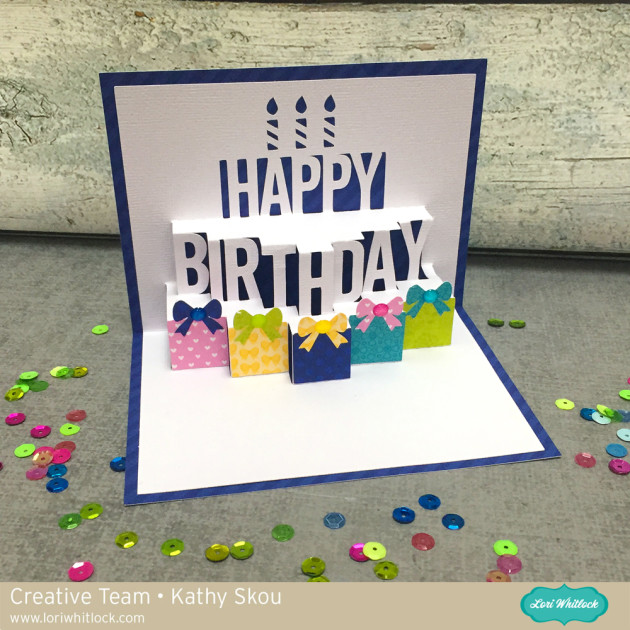
Hi Everyone!  It’s Kathy today with a tutorial showing how to fold and assemble the new A2 Pop Up Birthday Cake Card, which is available here in Lori’s SVG Shop and here in the Silhouette Store.
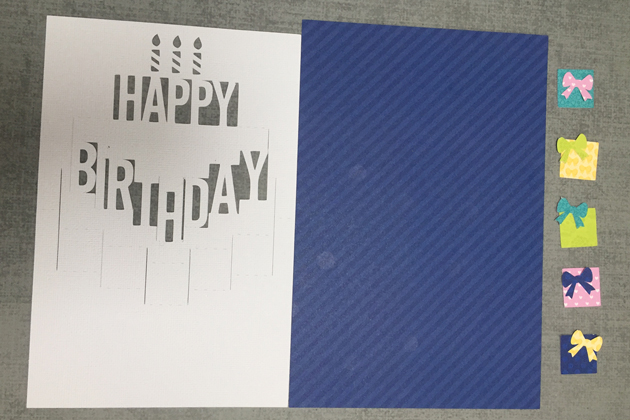
This card is really pretty easy to make,  but I know a lot of people get intimidated by the folding.  I started by cutting my pieces.
Next I started folding the insert or pop up piece.  It’s easiest to start folding from either the very top or very bottom score lines.  That way it’s a little easier to keep track.   I put together this graphic showing which way to fold which lines.   The V means a valley fold, the upside down V means a mountain fold.

Here is what it looks like from the side when it is folded:

And from the front.  I do recommend you go slowly and have a little patience.

Once you have the pop up insert folded, it helps to open and close it a few times to sharpen the folds.  Next step is to add adhesive to the back of the insert.   You want to add adhesive only to the outer parts of the card.  The blue area on the graphic below shows the pop up portion.  You do not want to add any adhesive to those parts.

Once you have the adhesive added, I find it easier to fold the insert and center it onto one side of the card base.  Make sure the outermost side folds are flush with the center crease on the card base.   You can then fold the other side over to adhere, and it should be centered.

Lastly, add the presents with their bows to the front panels beneath the BIRTHDAY letters.  I also added some enamels to the bows for some sparkle!

That’s it for me today, thanks for stopping by to peek!


Center Box Card with Michelle

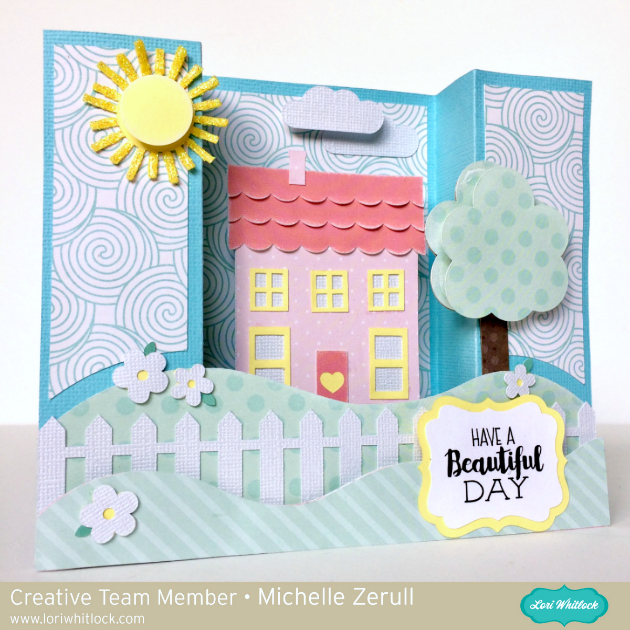
One of my favorite reasons to send a card is for no reason at all. An unexpected card is certain to bring a smile. I, Michelle, would like to share a Center Box Card that I made with my Silhouette Cameo and SVG files from the Lori Whitlock SVG Shop. You can also find the Beautiful Day file at the Silhouette Design Store.

Center Box Card Beautiful Day

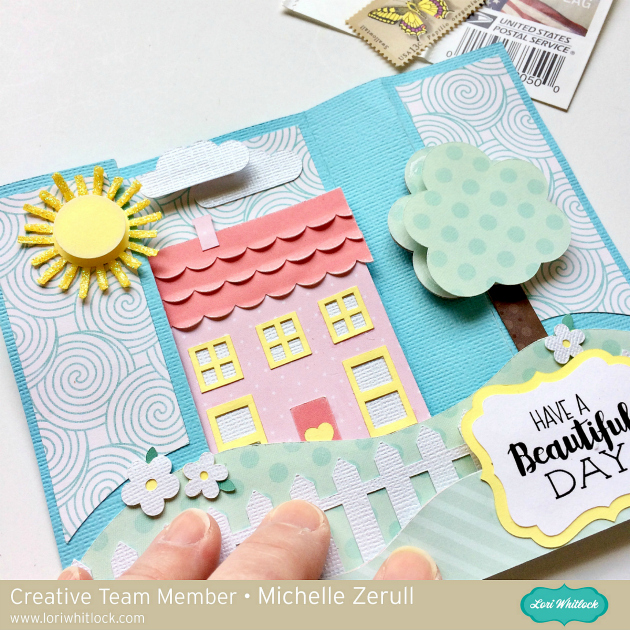
Although it wasn’t needed, I made a few slight variations to the design using my Silhouette Designer Edition Software. (which can also be found here at Lori’s shop) This was the first time that I had made one of these cards and I thoroughly enjoyed it. Lori has a YouTube Video that shows how to assemble these cards step by step. So easy! I also love that this card is 3-D, yet it lays flat for mailing. I even made my own coordinating envelope, which is a FREE file at the Lori Whitlock SVG Shop.

Lori Whitlock Center Card Folds Flat for Mailing


Thanks for letting me share and I hope that you have a beautiful day!

~Michelle

A New Friday $5 Bundle!

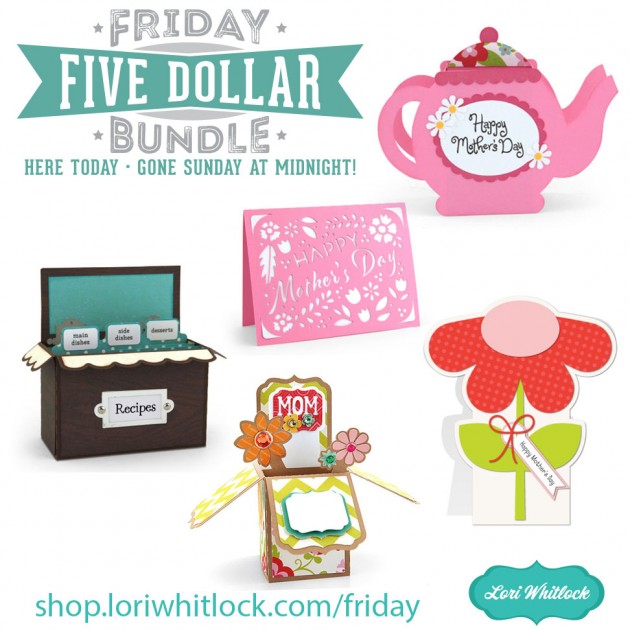
Hi Everyone! Today we have a new Friday $5 Bundle! It will ONLY be available until Midnight Sunday and when it’s gone it’s gone. These SVG files can be used with Cricut Explore, Silhouette Studio (with the Designer Edition upgrade), Scan N Cut, and any other cutter that will work with SVG files. Help spread the word by telling your friends and announcing it on social media!

Now through Sunday, you can pick up this Mother’s Day themed themed bundle including 6 beautiful SVG files for just $5!


The cost of this bundle is $5, for $9.95 worth of SVG files, over a 49% savings! It’s the perfect Mother’s Day bundle! But don’t wait, this bundle will only be around until Sunday at midnight!

Have a great day!

Pineapple Box Tutorial with Brigit

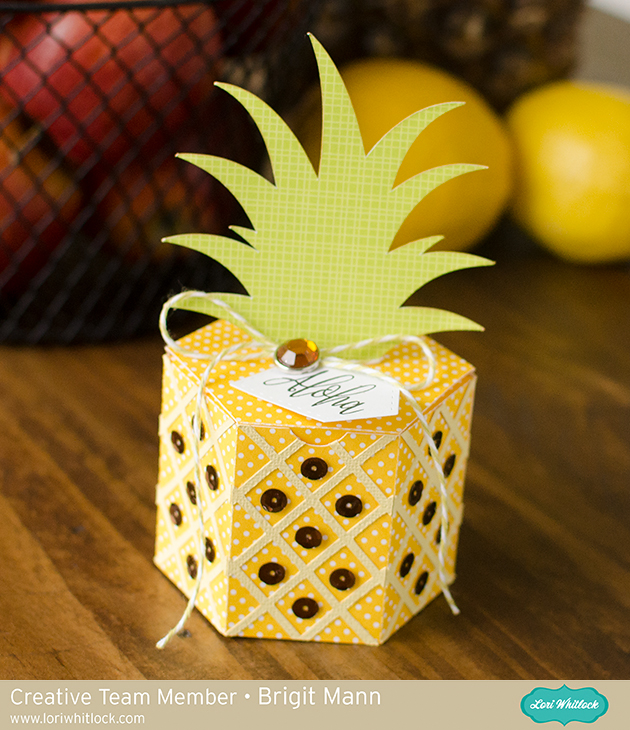
Hello everyone, it’s Brigit here today sharing a quick tutorial on making this adorable pineapple box. I just added the criss-cross panels from the shaped card pineapple file. You can get both of these files from the Silhouette Design Store, here and19 here.

I used Silhouette Studio to edit my project, I have the business edition and use the files from Lori’s shop so I’m able to save my project as an svg and cut it out with my Cricut Maker.

I imported the pineapple shaped card and only kept the criss-cross piece.

I imported the pineapple box next.

I zoomed in really close and sized the criss-cross to fit inside one of the sides.

I double clicked on the criss-cross piece which brought up point editing and I selected the point in the corner and moved it so it would reach the score lines, I did that on all four corners.

I duplicated until I had 6 pieces, saved, imported into Cricut Design Space and cut out.

Added some twine, decorative brad from Echo Park’s For the Record 2 collection and some brown sequins. The sentiment is from My Creative Time and paper is from Doodlebug Design.

Hope you enjoyed this project, thanks for stopping by and have a wonderful day!!

Doodlebug Design Cut File Feature: Fun in the Sun

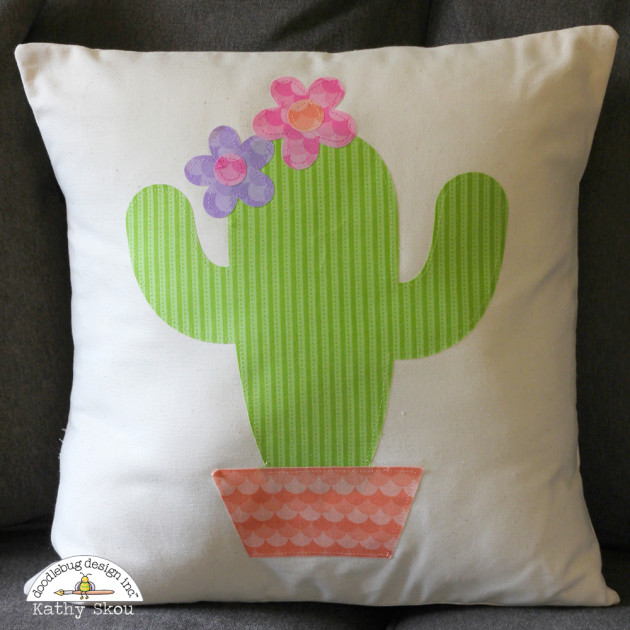
Hi Everyone!  Today I’m showcasing another fabulous project using Doodlebug Design’s cut files!  This fun Cactus throw pillow was created by Kathy Skou for Doodlebug Design.

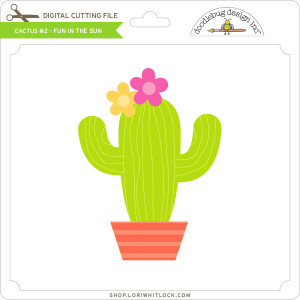
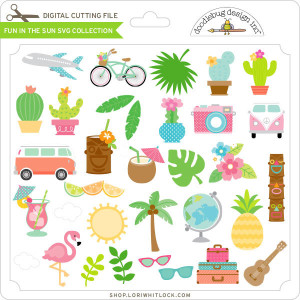
Kathy used the Cactus #2  File  from the Fun in the Sun Collection to make this pillow.

What a fun way to decorate a room!    For more views, see the original post here.   New Doodlebug Design SVG files are being added to the Lori Whitlock SVG Shop on a regular basis, so stop by to see all of the fun SVG files HERE!

Have a great day!