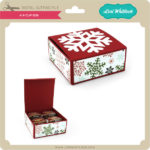
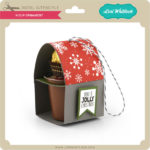
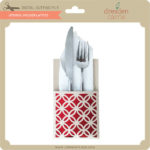
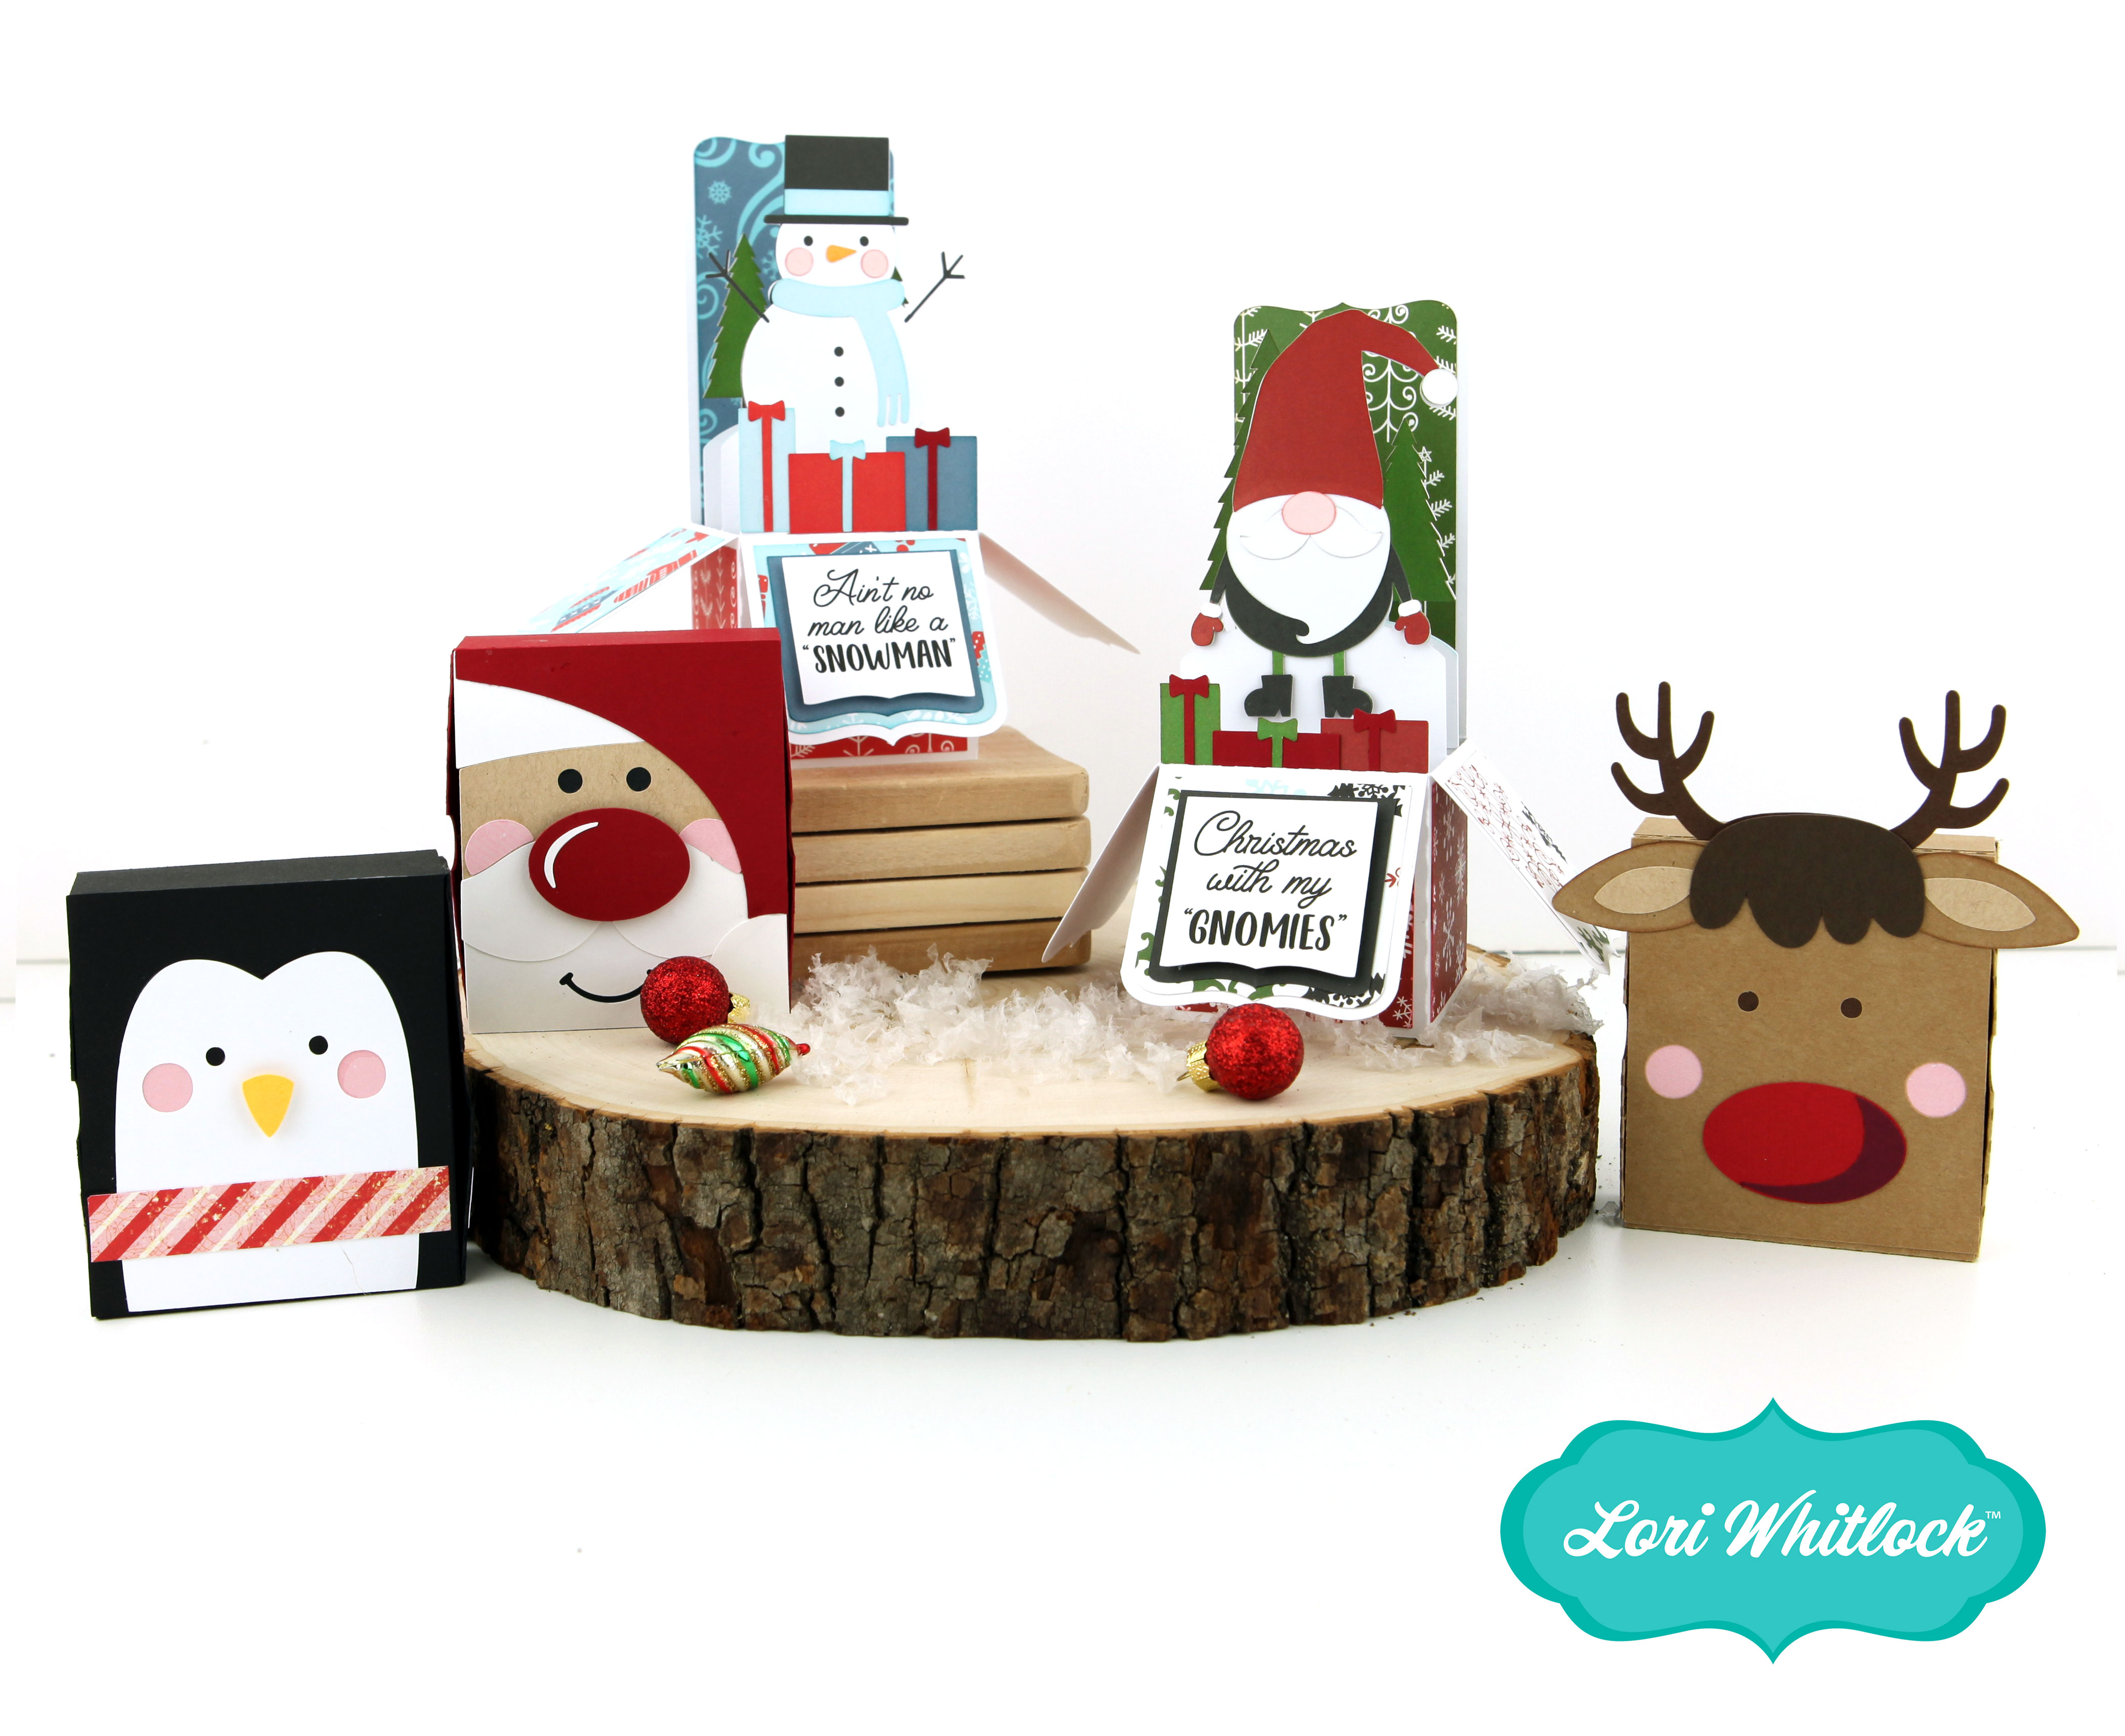
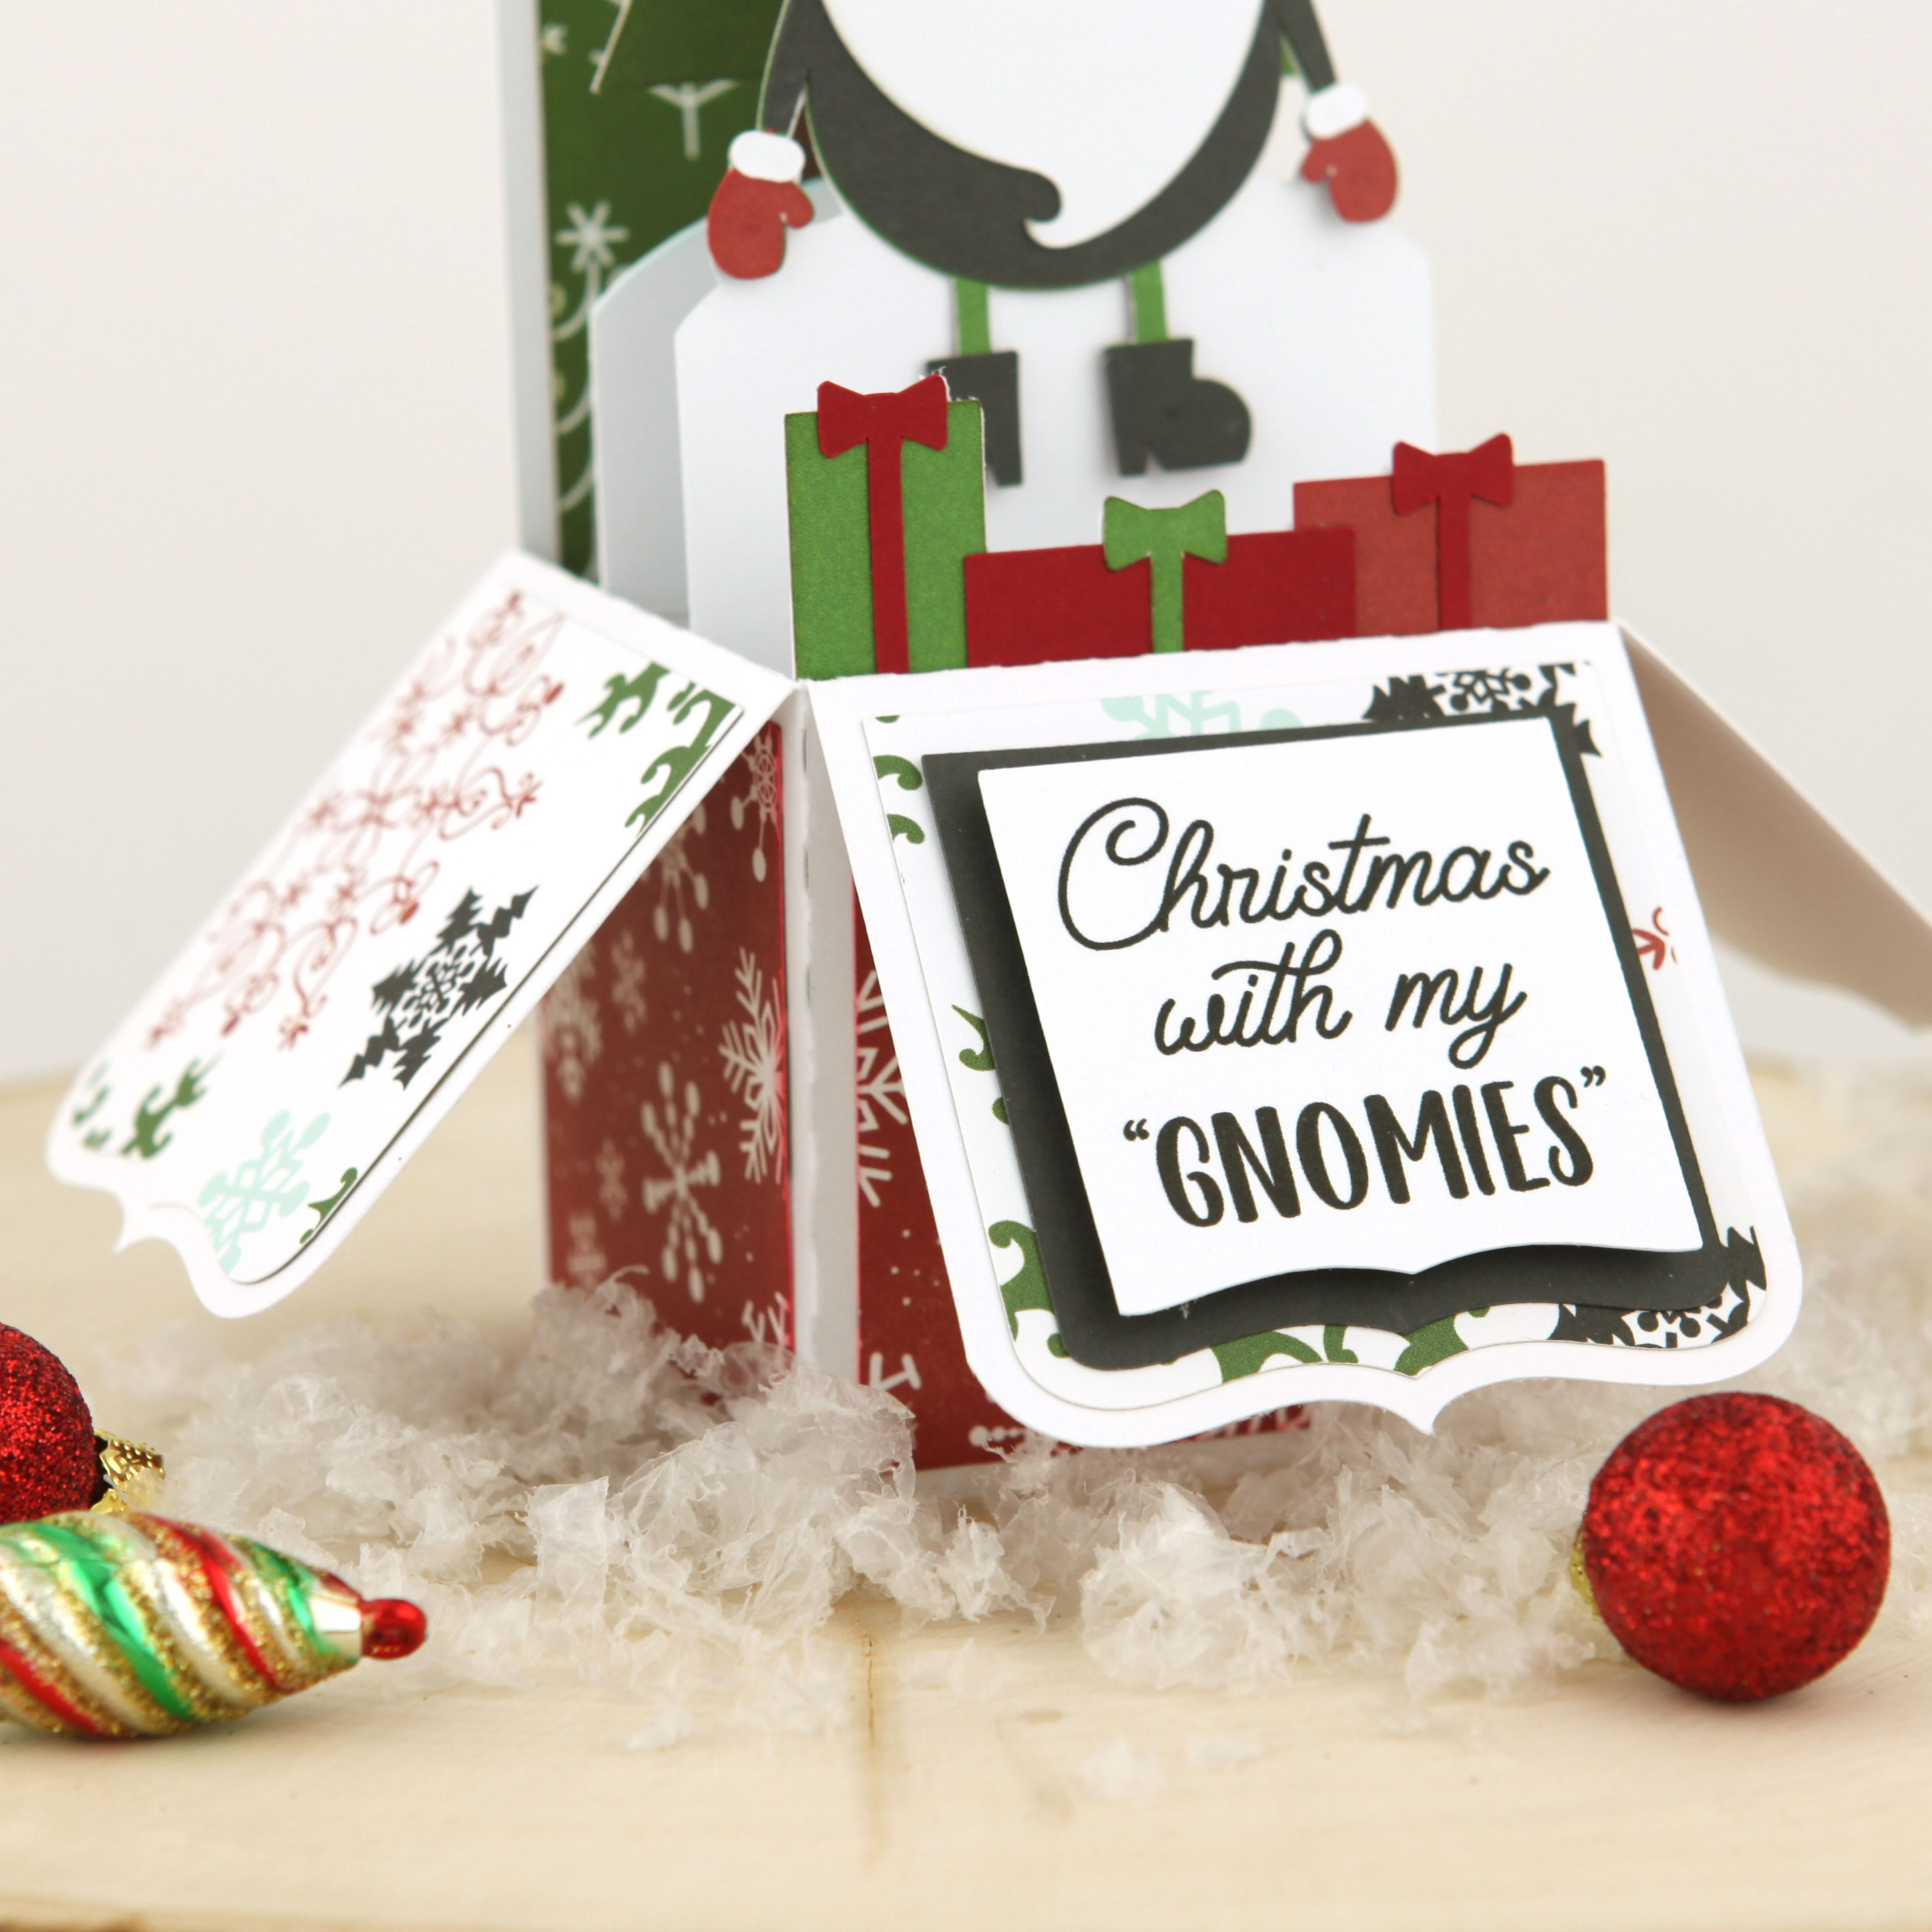
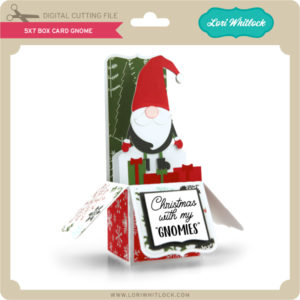
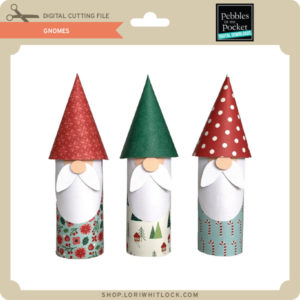
Anita here today to share an adorable gift set that I made for a dear friend who happens to love gnomes. Lori Whitlock has several different cards which you can customize to make adorable cards and gifts. This card is a box card ( you can find a tutorial here ) and the cut file is called 5X7 Box Card Gnome and you can find it here in Lori’s shop and here in the Silhouette store. I used one of Lori’s wonderful new Echo Park collections called Celebrate Christmas. The Notebook is from her Celebrate Christmas line also, and is called Lined Inserts. My friend was thrilled to receive this gift.
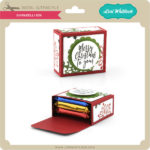
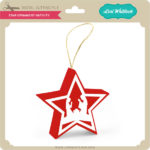
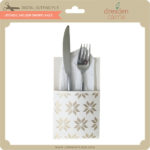
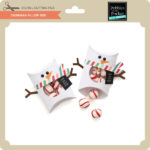
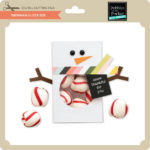
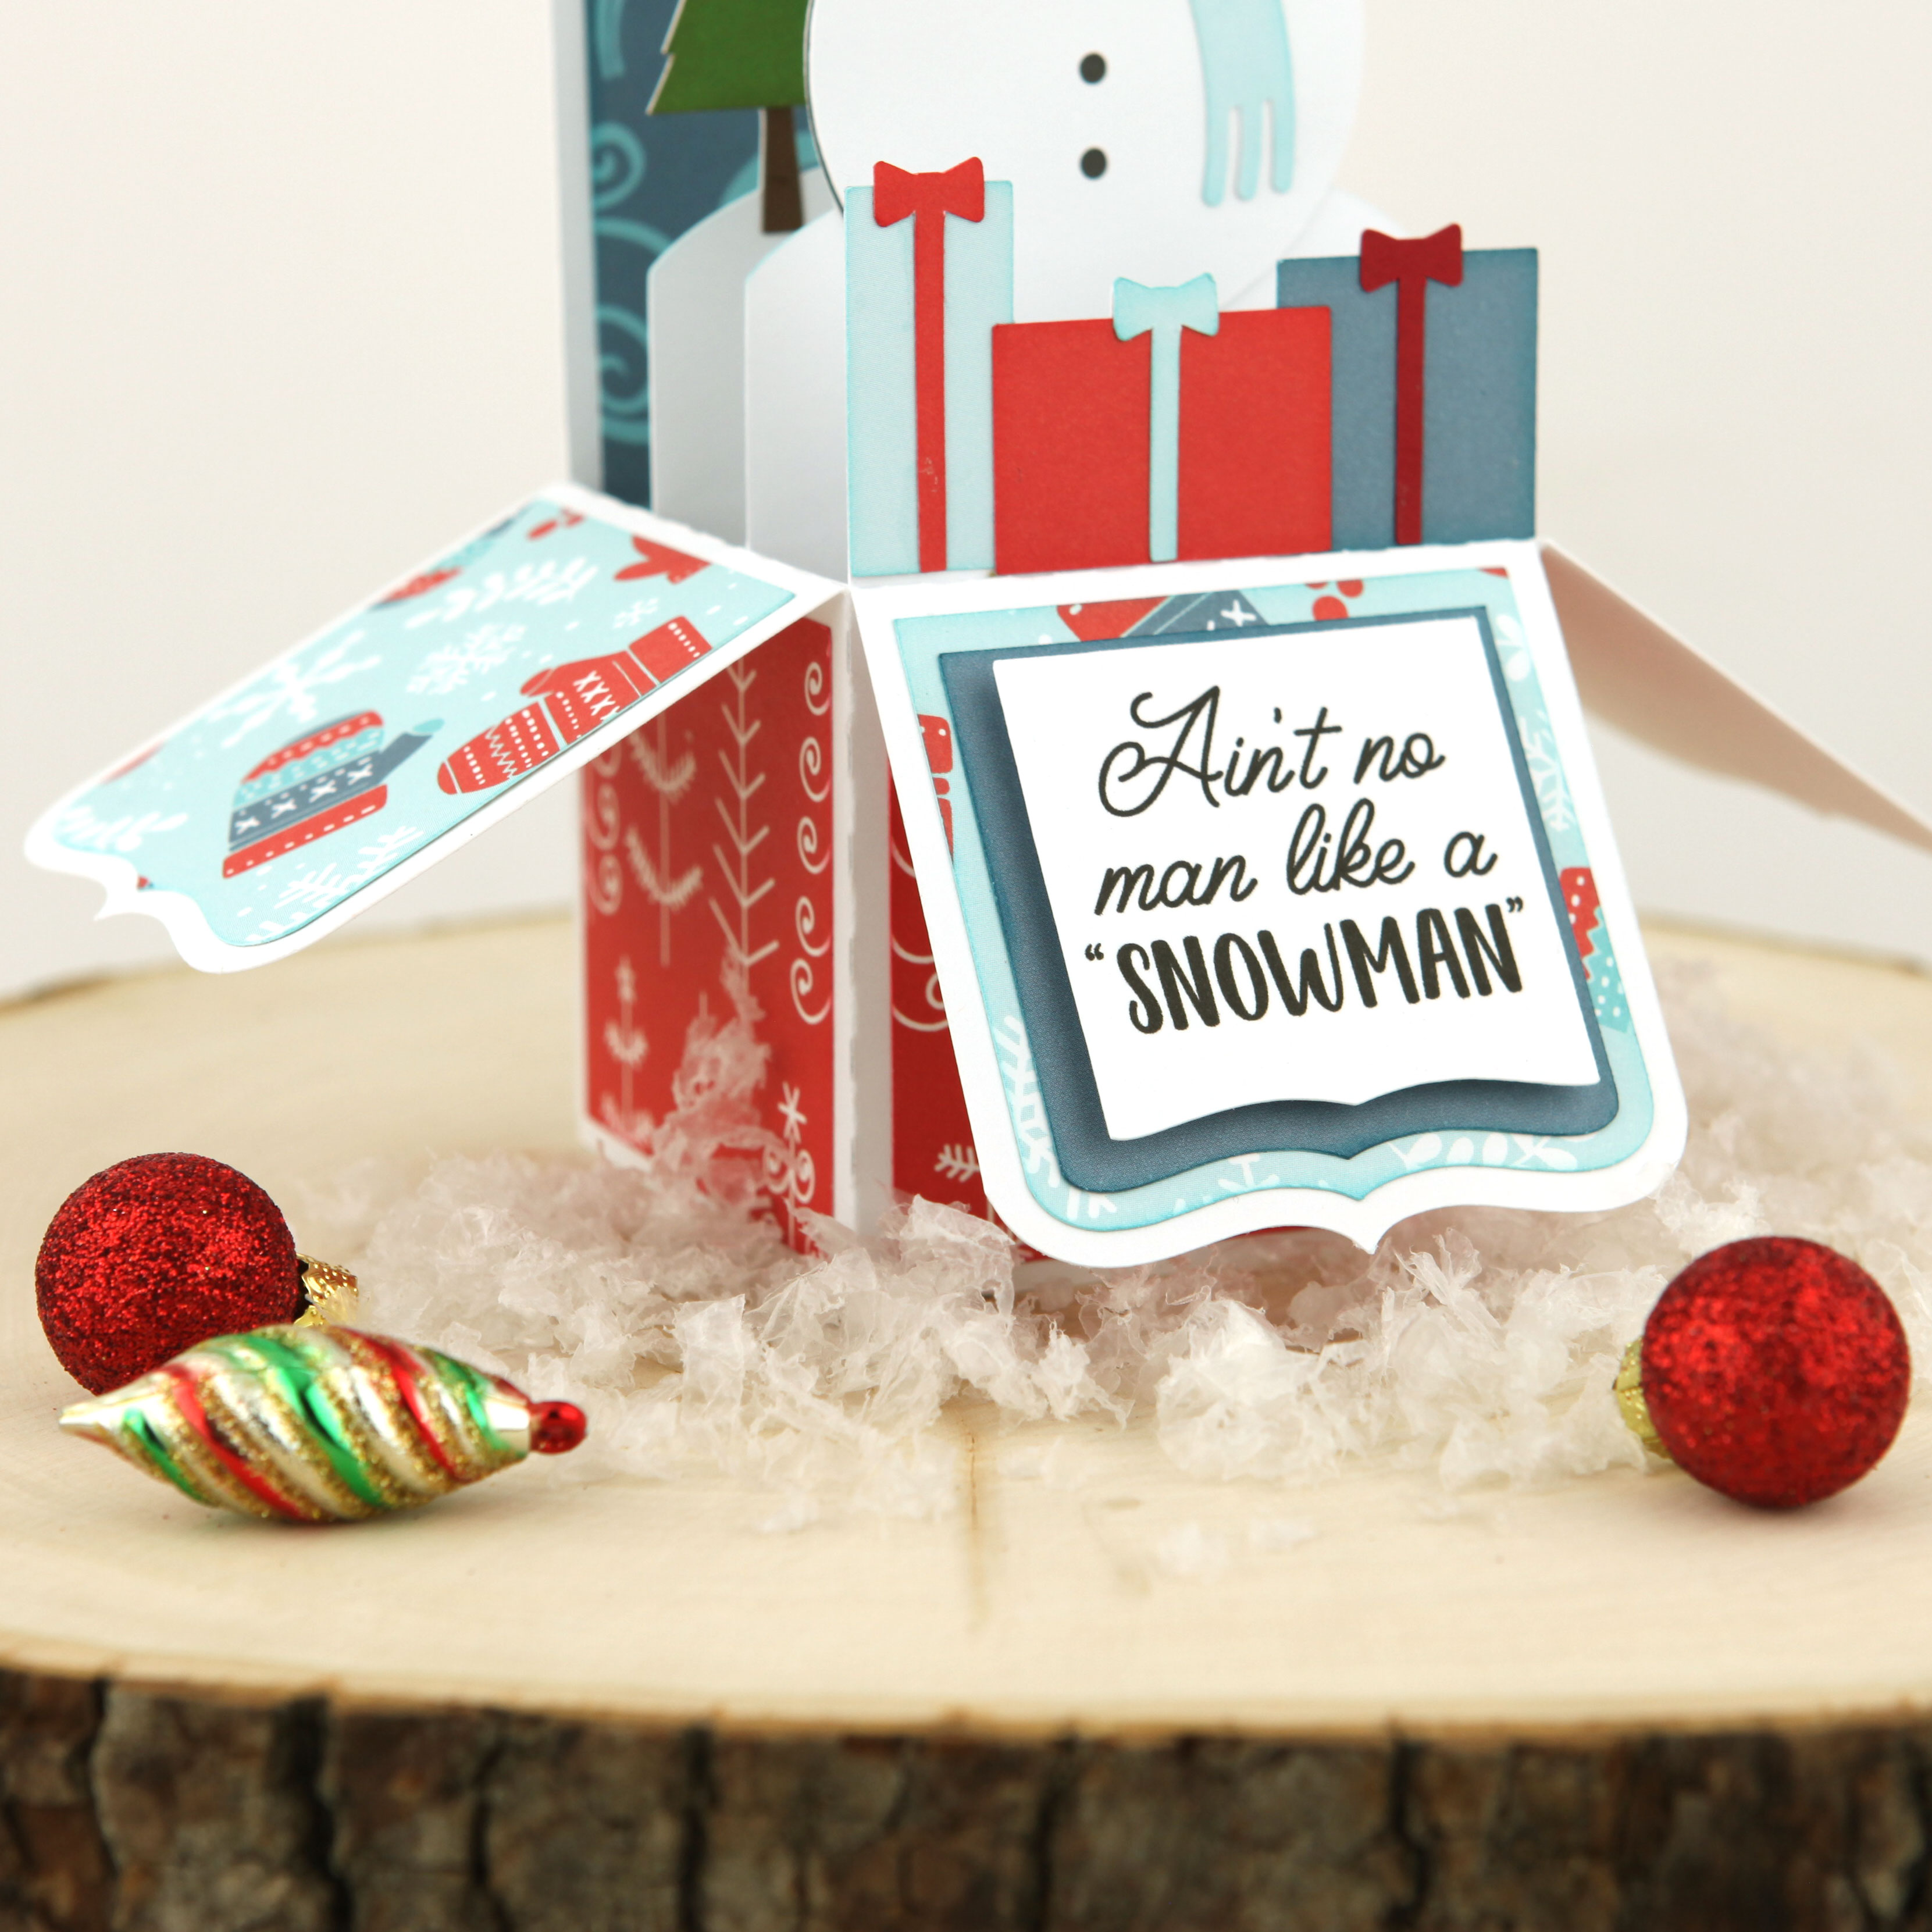
 Here is the card open and standing up.
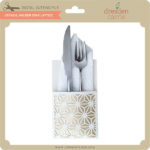
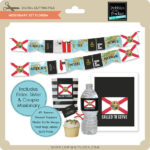
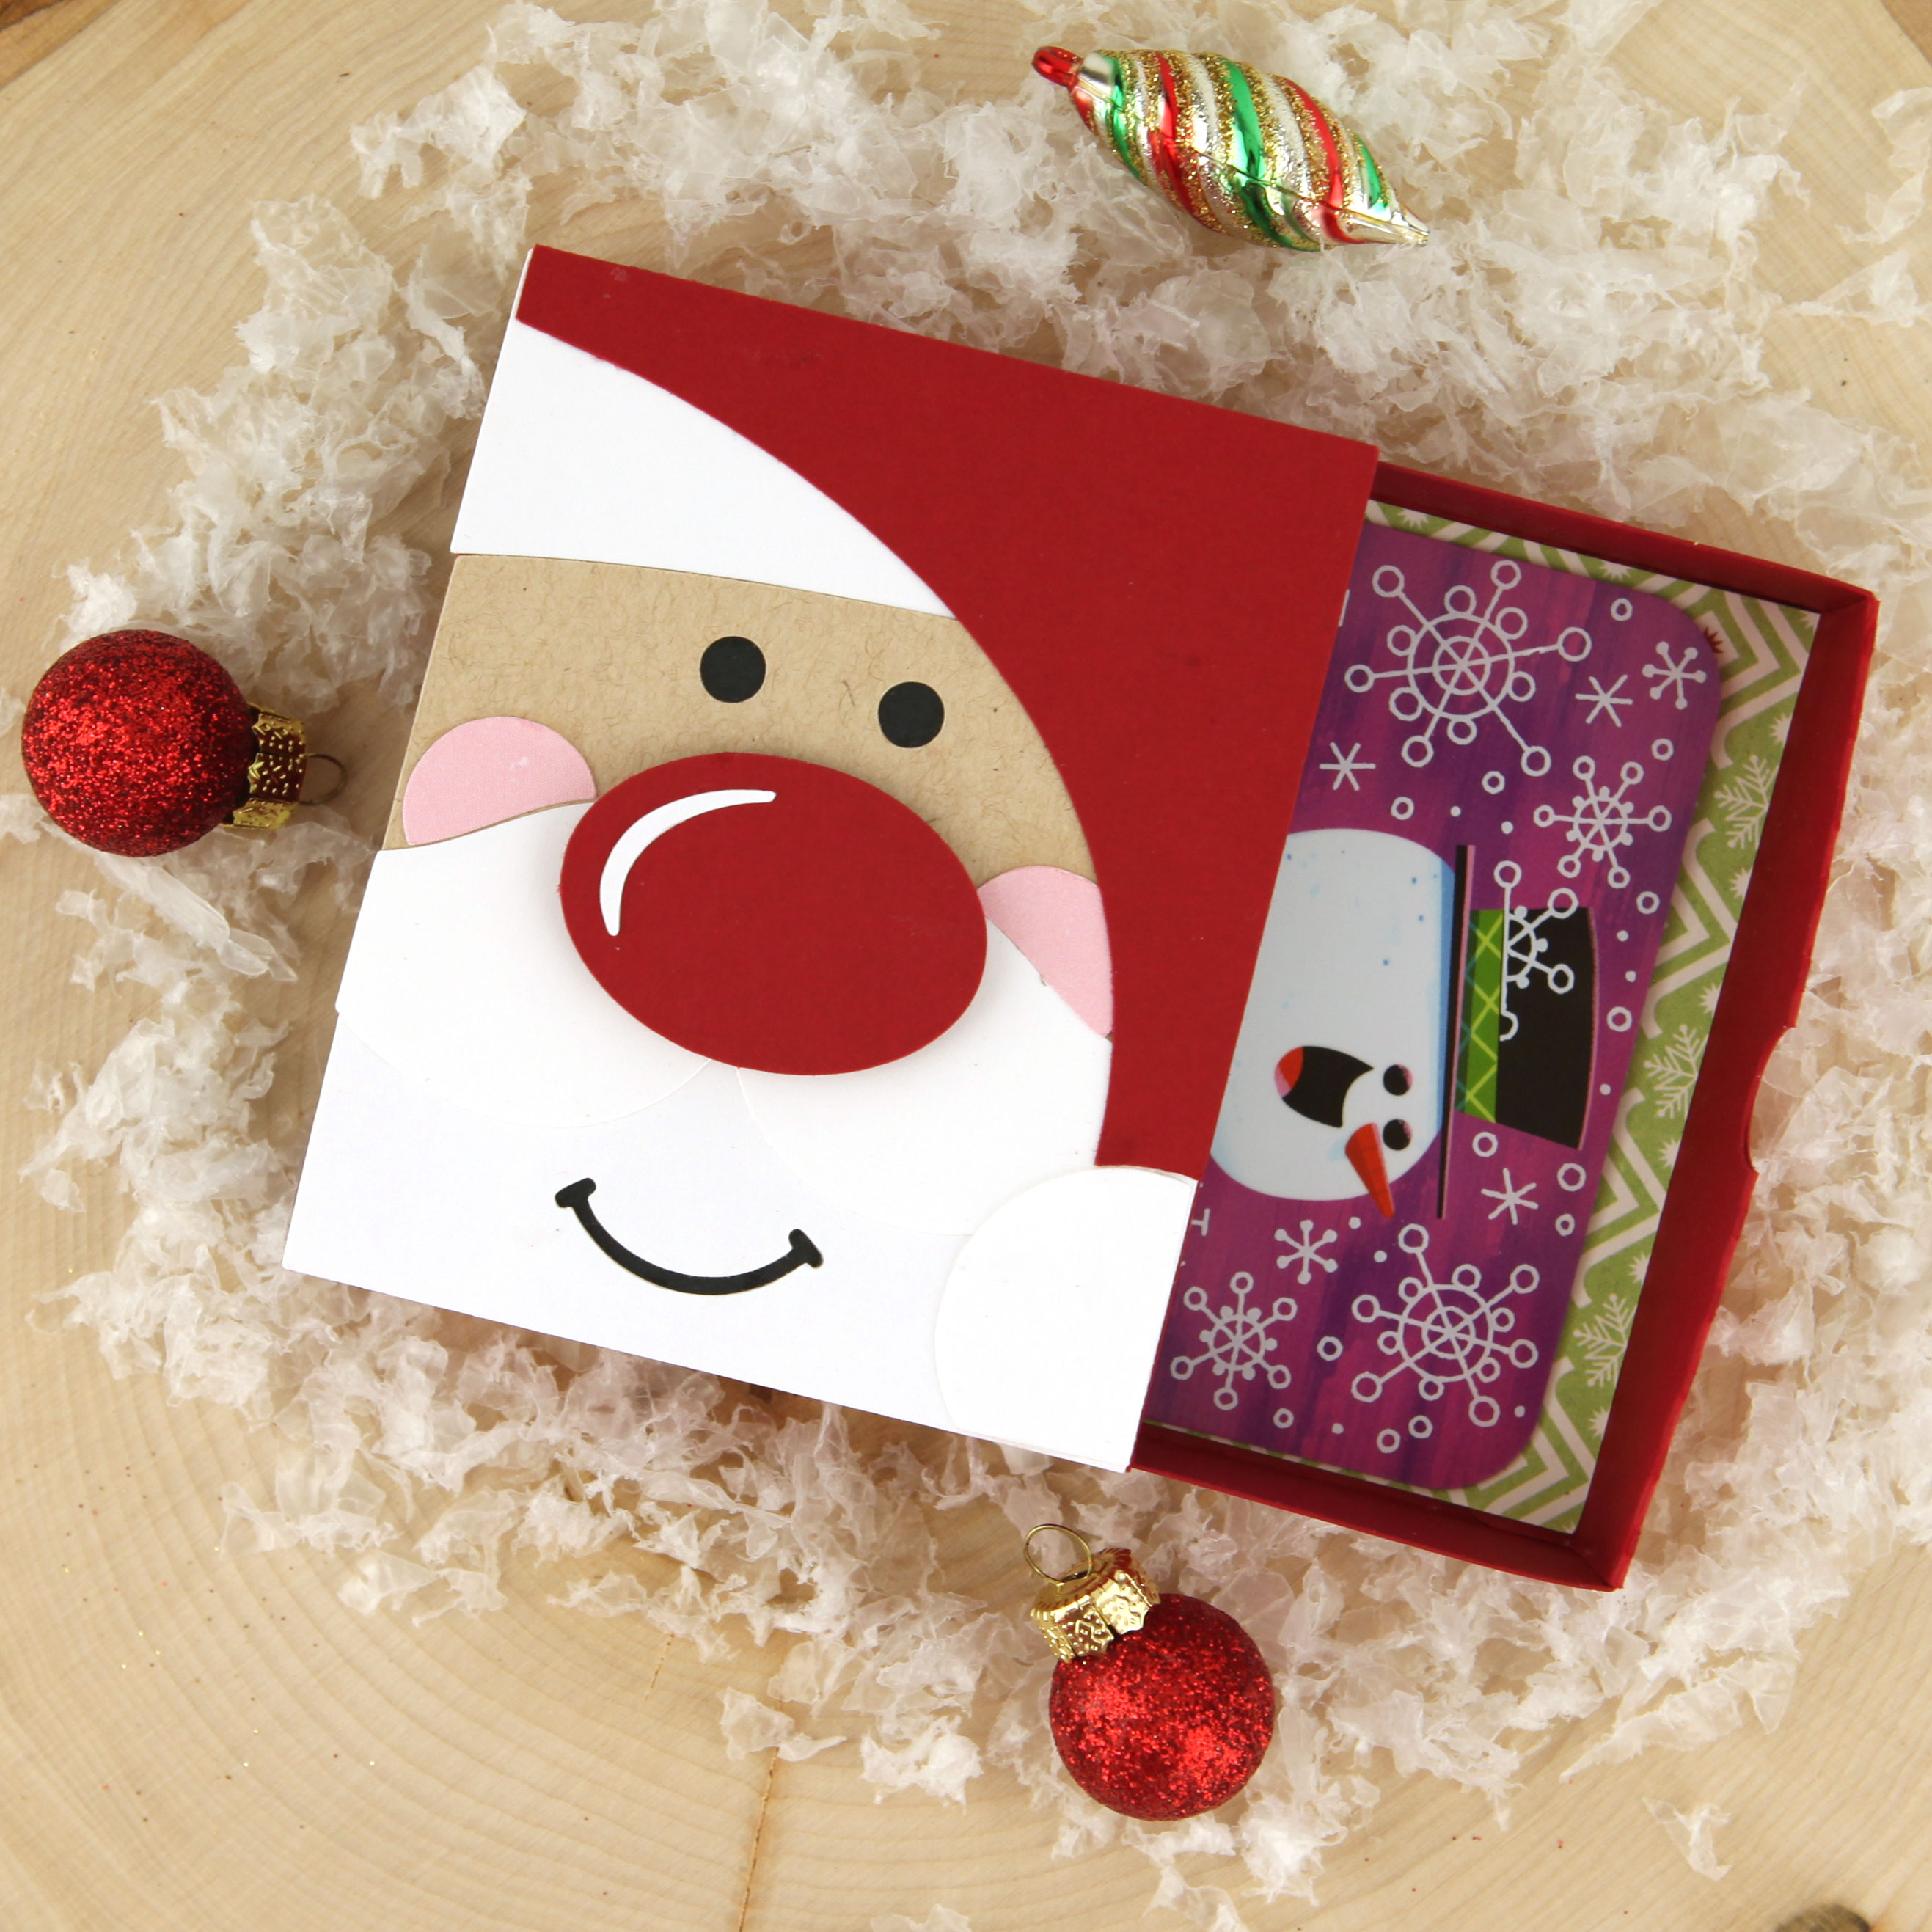
 Here is a close up of the notebook.
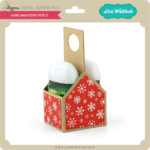
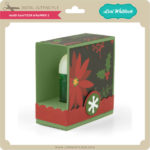
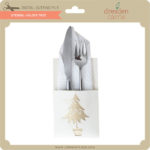
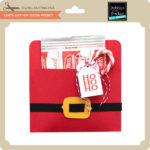
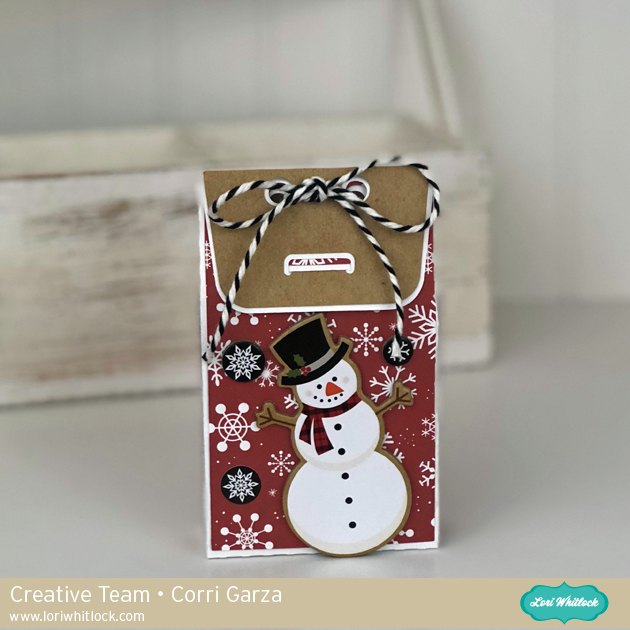
 Lastly this is a photo of the card folded flat and ready for mailing. That’s it for me today. Happy Holidays everyone.
Hugs,
Anita