Pocket Shaped Bag by Brigit

I love anything denim so when I saw this pocket shaped bag from Lori’s shop I knew it was going to be my next project! You can get this bag also from the Silhouette Design Store here.
I wanted to add snowflakes so I used the ones from the Christmas snowflake border edge card, I just did a release compound path took the shapes and added them to the layer and did a make compound path and then I did a duplicate solid layer to cut out in white. You can get that card here in the Silhouette Design Store.

I also added the 3D poinsettia, you can get that here at the Silhouette Design Store. The stitching came out awesome, I love it!

Thanks for stopping by and have a wonderful day!

Last Day! 30% Sale Ends Tonight!

The holidays are upon us and we all know that means it’s crafting season. Today is the last day of the 30% off sale so it’s time to stock up on all those files you’ll need to craft with this holiday season at Lori Whitlock SVG Shop.  Just use code NOV2018 at checkout!  Don’t miss out!

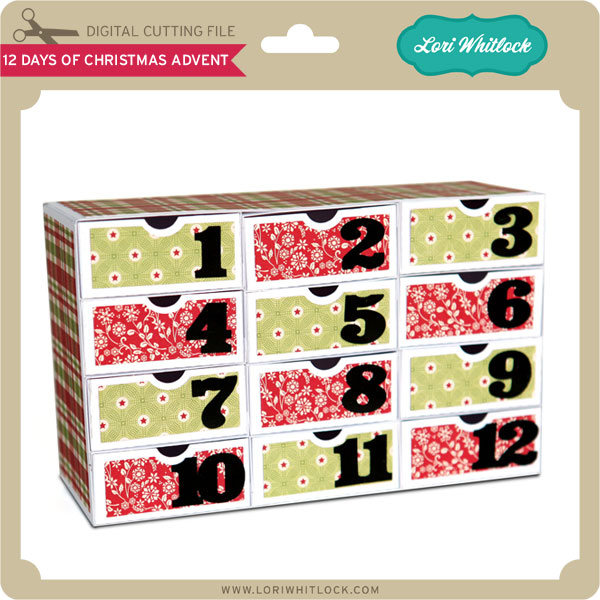
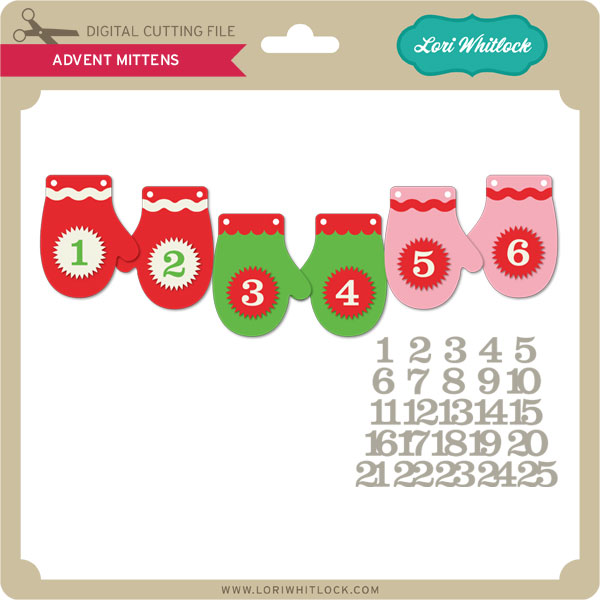
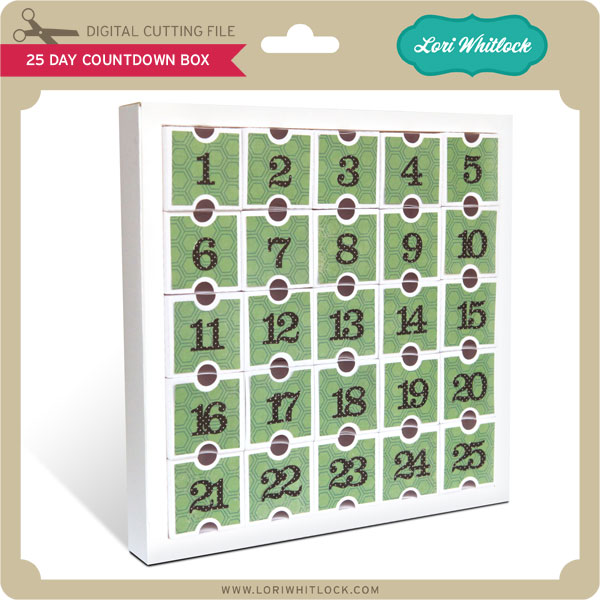
Here are some of my favorite files that would be fun to make for Thanksgiving and even a few advent calendars that you might want to get started on…

HAVE A GOOD WEEKEND!

Lori

3D Pumpkin Pie Tutorial with Corri

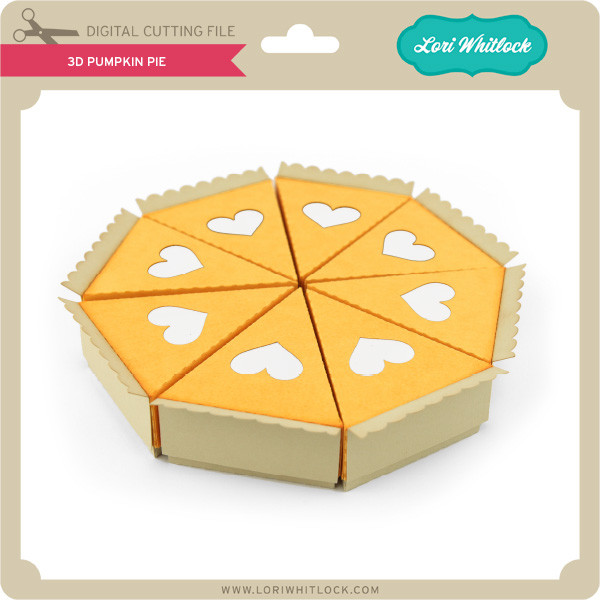
Hi everyone!  Corri here today with a quick tutorial for this adorable 3d Pumpkin Pie (Silhouette, SVG)

To get started you need to cut 8 each of the pieces.  You will have box bottoms, box tops plus the small scallop pieces to create the crust on each slice and the hearts.

To assemble the bottoms of the slice boxes, fold along all the perforations.  Next, apply glue to the glue tabs and hold in place while they dry.

To assemble the tops of the boxes, first, glue the white hearts to the inside of the box behind the hearts.  I found it was easier to apply the glue to the box rather than the die cut heart.  This helps keep the glue from bleeding over the edges.   Next, fold along the perforations, apply glue to the glue tabs and form the box.  Finally, apply the “crust” to the back edge of the box.

Now,  just arrange your slices in a circle to form the complete pie.

This pie is super adorable!  You could fill each box with candy for your guests on Thanksgiving Day

I hope you like this quick project today!  Thanks so much for stopping by!

Turkey Favor Box by Brigit

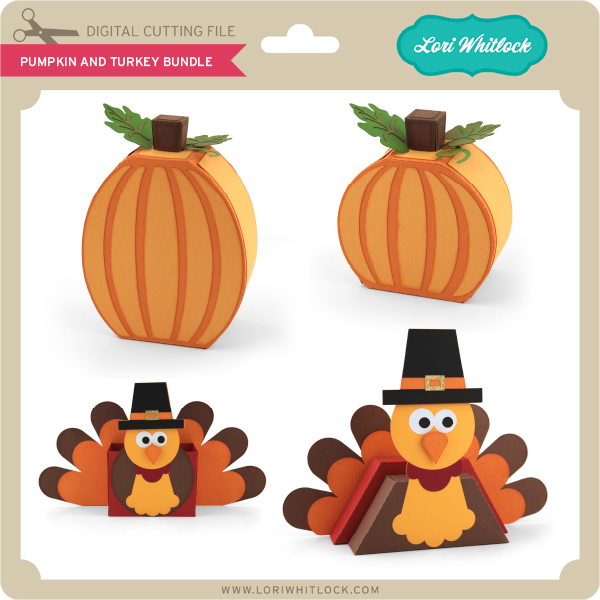
Hello there, now that Halloween is over I’m starting to plan for Thanksgiving. I thought this Turkey Favor Box from the November Kit of the Month from Lori’s shop would be perfect for the kiddies.  It is also available as a stand-alone file in Lori’s Shop here.

You can get this box also at the Silhouette Design Store here. I used some of Doodlebug Design’s Petite Prints and a cute tag from Echo Park’s Celebrate Autumn chipboard phrases to piece it all together.

Thanks for stopping by and have a wonderful day!

Fold and Tuck Lantern Tutorial with Michelle

Can you believe that it’s November already? I love November! I love that I can craft Fall projects, as well as Holiday projects. Today I would like to share a tutorial for the Hexagon Fold and Tuck Lantern Found in the Lori Whitlock SVG Shop as well as the Silhouette Design Store. It’s my first Holiday project of the season!

Hexagon Fold and Tuck Paper Christmas LanternThis is such a fun project. The lantern looks difficult, but it’s not. It is an easy project. Let me show you step by step, how to put it together.


  1. Using your electronic cutting machine, cut all three paper elements. Double sided paper looks wonderful with this project since you will be seeing the underside.
  2. Using the main large piece, the body of the lantern, carefully lift the chevron elements to a vertical position, as shown. I like to do one row at a time.
  3. Take the last vertical chevron piece and tuck the arrow portion under the empty piece behind it as shown in the photo. Continue tucking the chevron arrows until you complete the row.
  4. Repeat steps 2 and 3 until all rows are completed. Doesn’t that look awesome?
  5. Fold along all score lines. There is a large glue tab at the end. Apply your adhesive along that tab and glue the ends together to form a tube. Sit the tube aside to dry completely.
  6. Now you will form your lid. Fold along all score line. Apply a small dot of glue to one of the triangle tabs and glue it to the lip of the lid as shown. Continue gluing the triangles one at a time until the hexagon lid is formed. Sit the lid aside to dry completely.
  7. Now it is time to attach the base to the bottom of the lantern. Fold along all score lines. Place the inside color up facing you. Working quickly, apply a bit of glue to all tabs.
  8. Take the hexagon body tube and place it right over the base as shown from the top view.
  9. Using a pencil or bone folder, make sure the tabs are securely attached to the inside of the base as shown.
  10. Allow your lantern to dry completely before decorating.

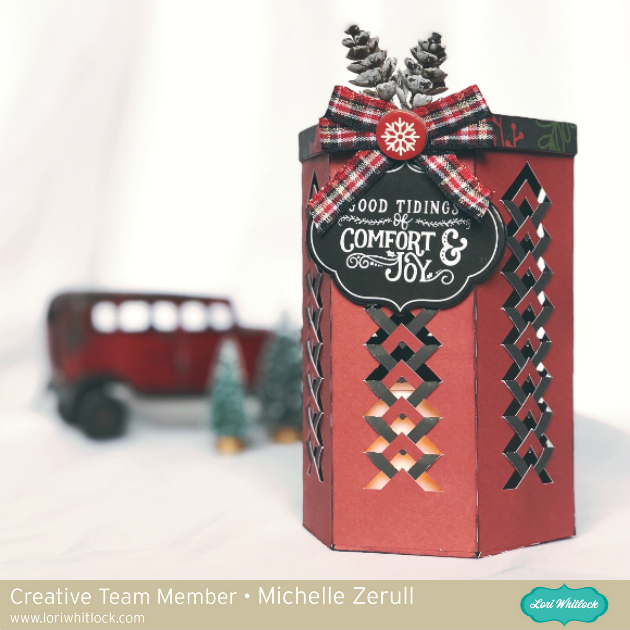
Now that’s finished, you can have fun decorating it! Using hot glue, I added a tiny spray of pinecones and chipboard elements from the Echo Park Paper Celebrate Christmas collection. I also put a battery-operated LED light inside. It makes a beautiful display of light and shadows! Remember to never use a real candle. The paper will burn!

Hexagon Fold and Tuck Lantern

Thanks for visiting today. Don’t forget to share your own Hexagon Fold and Tuck Lantern with us on the Lori Whitlock Facebook page or post it on Instagram and hashtag it #loriwhitlock so we can see what you’ve made.

Have a great day!

Michelle