Hi there! Today I am sharing an assembly tutorial for the Mug Lighted Shadowbox Snowman (SVG, Silhouette). This shadowbox would make a great gift or beautiful decoration for the holiday season. I used The Magic of Winter collection by Echo Park Paper Co.
This project was a little bigger than I thought. It stands at eleven inches tall and eight inches wide. I needed four sheets of white cardstock, two sheets of navy, one patterned paper and smaller scraps for the red, orange, and pink elements. I used some ballon lights to light mine, but a short strand of fairy lights will also work.
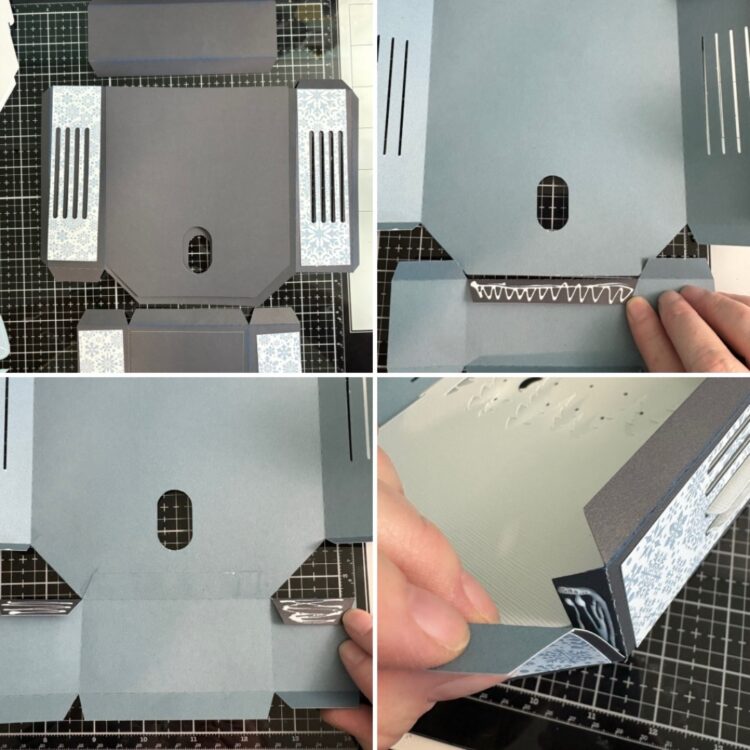
First, I folded all of the score lines as mountain folds with the navy color facing out. I then glued down the decorative panels to the mug base. The bottom of the mug base has three segments I glued the longest middle tab to the base of the mug to give it a good anchor making sure everything was lined up and straight. After the middle tab was dry, I glued the two shorter tabs to the base. (I thought it might be easier to leave one side open while I added the white panels, it isn’t. Just glue all the tabs.)
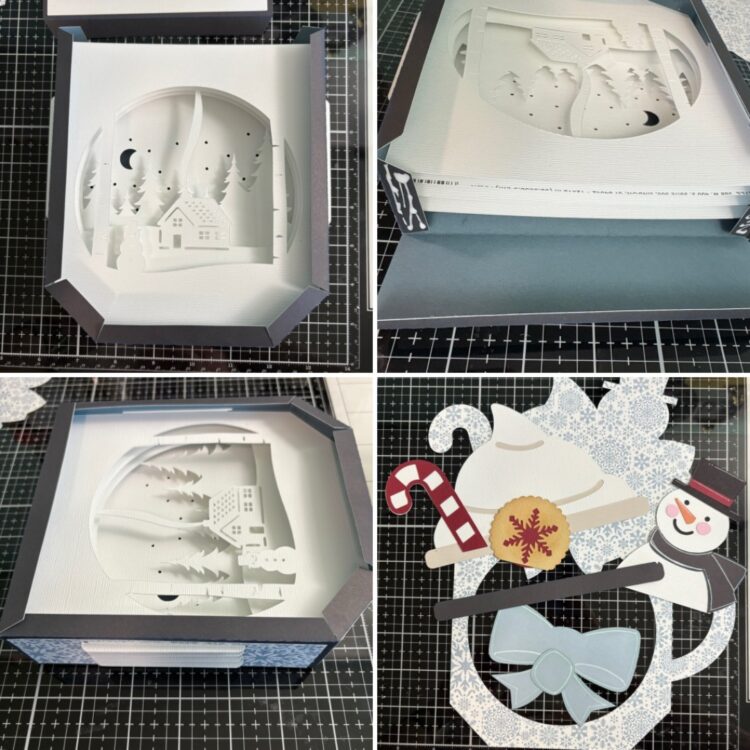
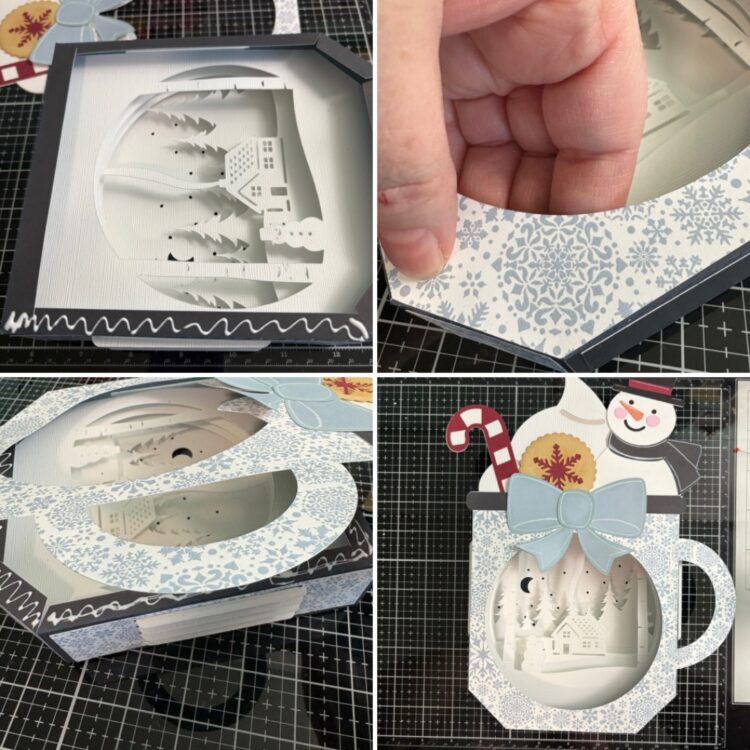
I added the white panels to the inside of the mug base. No glue required, they just slide in and sit in the notches that my machine cut. I then glued the top of the mug into place using the same method as the bottom. I folded all the tabs into place for the decorative front. I assembled the cookie, candy cane, and snowman. I added some white highlights to all of my elements with a paint pen. Then glued them into place on the front of the mug.
I added glue to one side tab of the mug base and lined the edges up waiting till everything was dry and secure. Once the tab was dry, I lifted the top to add glue to the remaining tabs and secured the top into place.
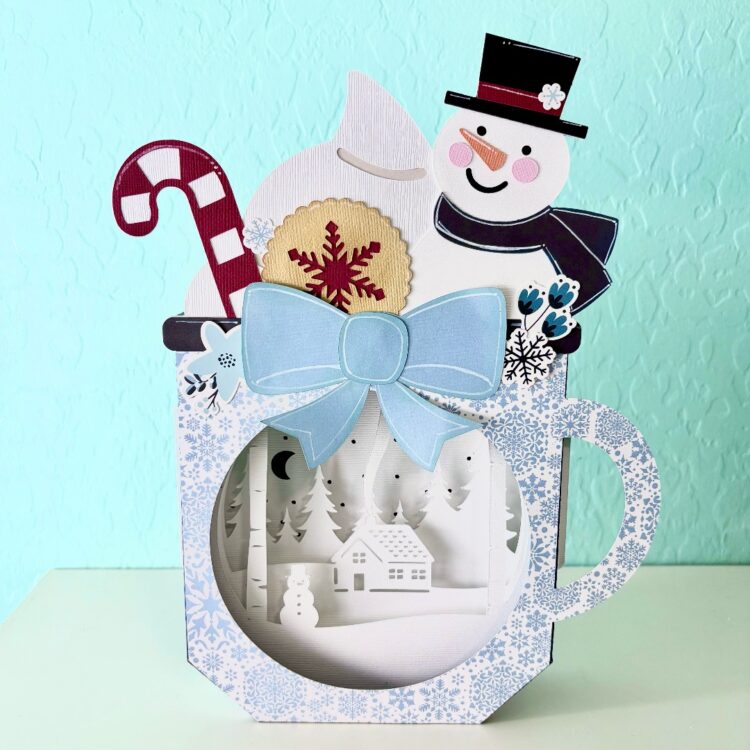
I added a few stickers from the collection. I also slipped a few lights into the back to see it lit up.
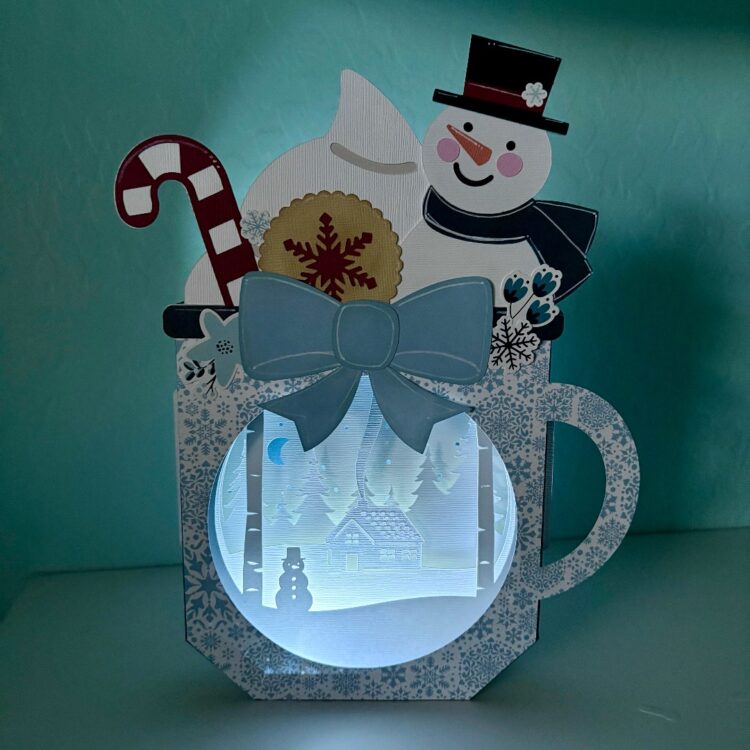
This shadow box is darling and was fun to make. There are several other versions of this style of shadow box that you can find
here.
Thanks for stopping by today!
Brandie