Shamrock Heart Pop Up Card

Happy St. Patrick’s Day!  It’s a super fun day to get your green on.  It’s always been a special day for me, as my parents met on St. Patrick’s Day at a church dance.  They have been together 56 years now, isn’t that amazing ?  So for me,  shamrocks and hearts kind of go together.  This Heart Circular Pop Up Card  you can find in Lori’s shop or here in the Silhouette Design Store, reminded me of a shamrock.  You can either cut four of the designs and get a square shape or cut five and get this wonderful flower shape.  I love how cute it turned out.  Lori has a tutorial that you can view and see how easy these pop up cards are to put together.  I have made a couple of these now and I just love them.

Tie your little album shut and then they just explode with happiness!

Isn’t this just too fun?

I cut five sets and embellished the pages.  I will go back and add some photo’s and tags when I find the perfect pictures to add.  You can just adhere the bottom of the patterned paper hearts, that way they become pockets to add little tags too.  You can find another example of the pockets and tag idea here.

This little album just makes me happy.  I hope you all have a Happy St. Patrick’s Day and may we will all find that Pot of Gold at the end of a Rainbow!

Tuesday New SVGs & a Free File

ALL WEEK, this SVG file is FREE with any $1.99 purchase!

Hi Everyone! We have a FREE file with purchase all this week! Simply add this Lucky Mini Candy Bar Wraps file to your shopping cart along with ANY $1.99+ purchase from the SVG Shop and this file is yours FREE. Be sure to use Coupon Code: LUCKY (case sensitive) at checkout. This offer is good through next Sunday.

(Your cart must reach at least $4.98 before the coupon will be applied and then $2.99 will be subtracted from your total at checkout. The files will be available for immediate download after you pay for your order by visiting MY ACCOUNT>COMPLETED ORDERS>ORDER DETAILS inside of your account. Only one discount code per order allowed.)


In addition, don’t forget about this special ! You can get this Free Kit of the Month with any $20 purchase (Purchase must be in one transaction.) Simply add the 2021 March Kit of the Month to your shopping cart along with ANY $20.00+ purchase from the SVG Shop and this file is yours FREE. Be sure to use Coupon Code: MAR21KOTM (case sensitive) at checkout. This offer is good through March 31, 2021.

(Your cart must reach at least $27.95 before the coupon will be applied and then $7.95 will be subtracted from your total at checkout. The files will be available for immediate download after you pay for your order by visiting MY ACCOUNT>COMPLETED ORDERS>ORDER DETAILS inside of your account. Only one discount code per order allowed.)

Check out the new SVG files releasing this week!  Just like always, the NEW SVG files will be ON SALE 25% OFF through the weekend in the SVG Shop! These downloads include SVG files that may be used with Cricut Explore, Silhouette (Designer Edition upgrade required), Eclips, Brother Scan and Cut, and any other software that will open SVG files. No coupon code necessary, the newly released files are all discounted in the shop! Be sure to go get them while they are on SALE this week.

This week I have an awesome new style of Shadow Box Cards! There will be a tutorial for this new card style coming to our YouTube channel this week. We we also have darling new files from Doodlebug Design and Jillibean Soup and Bella Blvd.

CLICK HERE TO GO TO NEW FILES

Thanks for visiting the blog today! Please let us know if you need any help with your files. We want to make sure everyone is happy with their purchase. Have a great week! SHOP HERE

30% Off SVG Files Ends Tomorrow!

Are you crafting this weekend?  Maybe making some St. Patrick’s Day or Easter Crafts?  Don’t miss out on the March Sale in the Lori Whitlock SVG Shop! All SVGs, Fonts, Pattern Fills and Commercial Licenses are 30% off when you use code MAR2021 at checkout! Don’t wait! Sale ends tomorrow!


There are some great Spring and Easter Project Bundles in the shop including these fun projects…

Spring Project Bundle
Spring Pop Up Card Bundle 

Have a great day!

Box Card Truck Front End Easter Bunny Tutorial

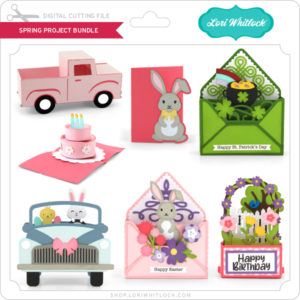
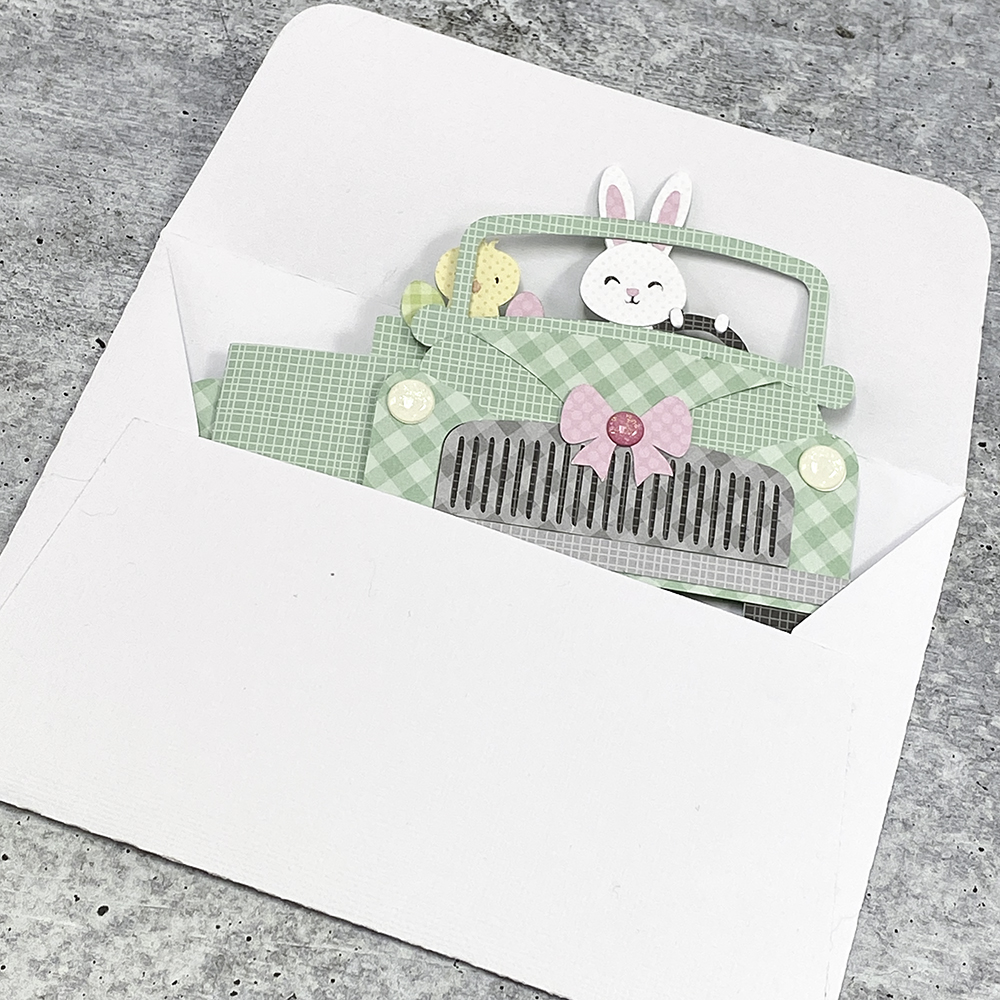
Hi Everyone!  Have you seen the adorable Box Card Truck Front End Easter Bunny file (SVG, Silhouette) ? I think this is just about the cutest card I’ve ever seen!  I love the little bunny with his paws on the steering wheel!  Take a peek…

And the card is even cute from behind…  In fact it’s just like Lori’s Box Card Truck Back files, and it’s assembled in the same manner.

Best of all it folds flat and fits into a 5×7 envelope.

This card might look complicated but it’s really easy to assemble.  I’ve outlined the steps for you below.

Above are the pieces that make up the file.  Before starting the main assembly, I print and cut the Easter License plate and glued it to it’s backing piece.  I also glued the chick & bunny to the insert piece and backed the gray grill with the black paper.  Finally I added the tires to the card.  If you ever need help with where to place the little pieces, it’s helpful to reopen the file in your cutting software… Lori groups all of these pieces together so you can see how they go.

I began with the back of the truck.  You can see how I layered the pieces above.  I started by gluing the back base piece to the card base, lining it up just above the tires.  Next I added the decorative rectangle.  It’s positioned slightly towards the top of the card rather than centered.  To finish I added the bumper (there are 2 bumper pieces in the file, the back one is slightly shorter in length), the tail lights and the license plate.

Next I assembled the front of the truck.  Starting with the front base piece, glue on the “butterfly” looking piece, alighing the bottoms and centering the pieces.  Center the triangular piece along the top edge of the base.  Next add the longer bumper piece, the grill and headlights.  Finish off with the bow.  Glue this to the front of the truck, aligning the bottom of the front piece with the bottom edge of the card base.

At this point I added some enamel dots to both the front and back.  It’s easier to do this now.

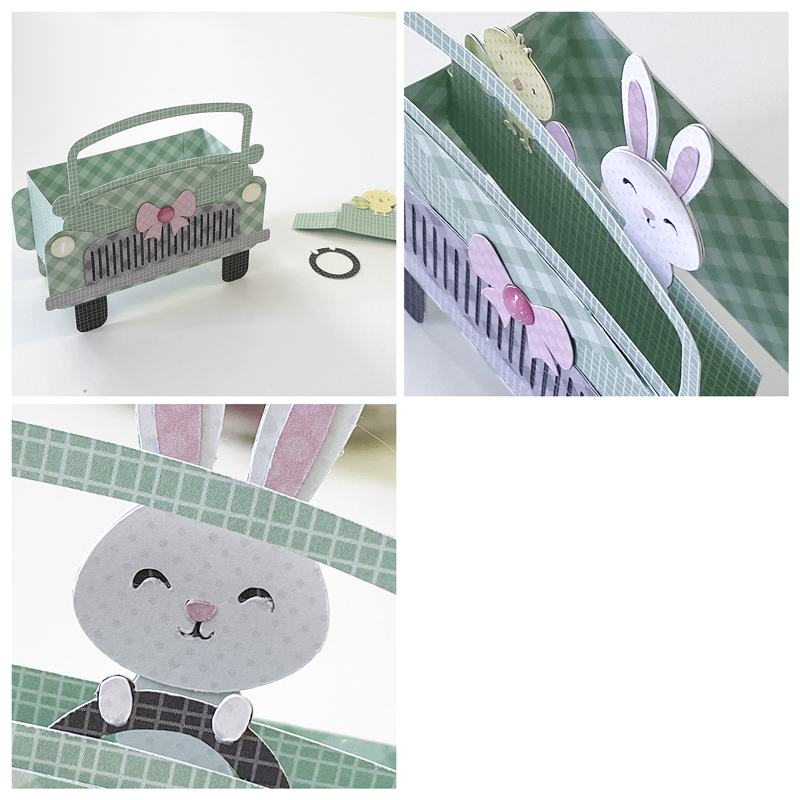
With the front and back of the truck done, I folded the card base into a “box” shape and glued.  The tab goes on the inside of the card.  Fold the side tabs on the insert backward, and add adhesive to both tabs.  Slide the insert into the box and press the tabs to the sides to secure.  I did mine about a half inch back from the front of the card.  The tops of the tabs should be flush with the top of the card base.  Lastly I added the steering wheel.  It’s glued behind the front of the car, so it sticks up slightly.  It’s easier to do this now because you can line it up with the bunny.

The bunny and chick are now ready to drive off on their adventure!

That’s it for me today, thanks for stopping by to peek.


BLOG * INSTAGRAM