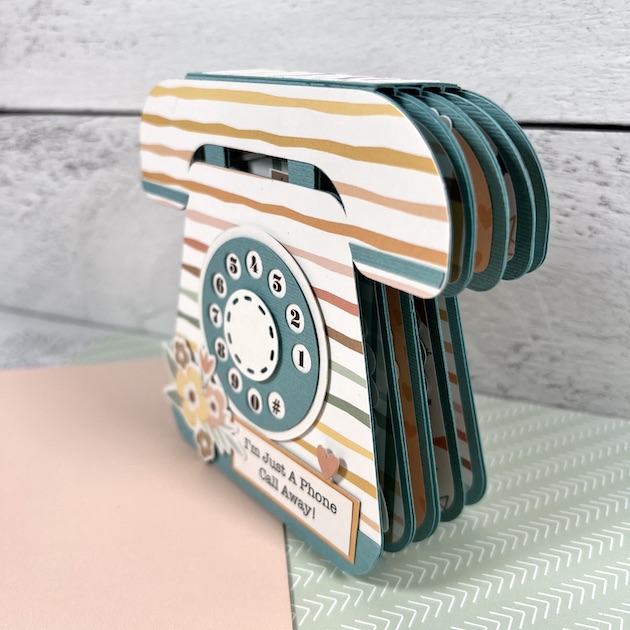
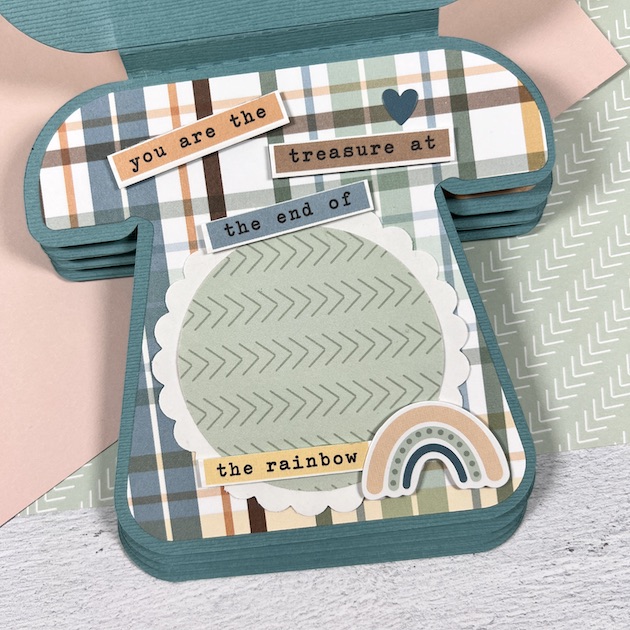
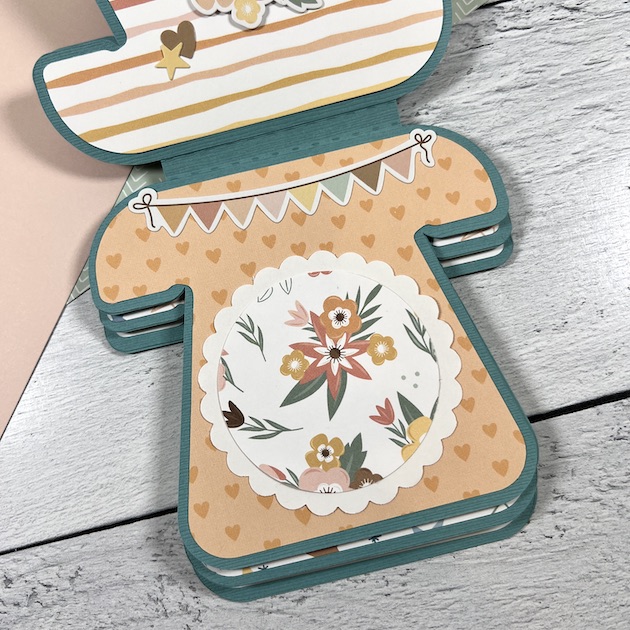
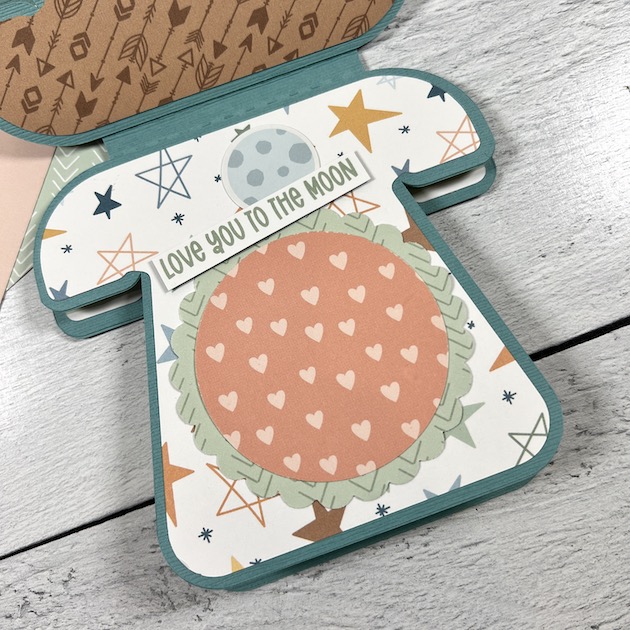
As the breeze gently rustles and the chirping of bird fills the air, it’s clear: spring has sprung, spreading its infectious cheer! Inspired by this joyful season, we’re super excited to share our newest creation of 3D birdhouse SVG files! Picture the smiles and warm fuzzies as you give these sweet creations to your friends and family. It’s not just crafting—it’s spreading the springtime spirit. So, let’s dive into spring together! Explore our 3D Birdhouse Bundle and let your creativity take flight (each project is sold separately, also)! And, of course, the best part is: ALL new releases are 25% OFF until Sunday at midnight!
These downloads include SVG files that may be used with Cricut Explore, Silhouette (Designer Edition upgrade required), Eclips, Brother Scan and Cut, and any other software that will open SVG files. Be sure to go get them while they are on SALE this week.
ALL WEEK, this SVG file is FREE with any $1.99 purchase!
Hi Everyone! We have a new FREE file with purchase this week! To get it, simply place an order of $1.99+ in the Lori Whiltock SVG Shop and this French Door Easel Card Spring will automatically be added to your cart for FREE! No coupon code necessary! This offer is good through next Monday.
(Your cart must reach $1.99+ before the FREE file will automatically be added. The files will be available for immediate download after you pay for your order by visiting ORDERS > ORDER # > RED DOWNLOAD ARROW)
Another deal we have going until the end of the month is the FREE 2024 April Kit of the Month with any $20+ purchase (purchase must be in one transaction). Simply place your qualifying order in the Lori Whitlock SVG Shop and this file will be automatically added to your cart for FREE. No coupon code necessary. This offer is good through April 30, 2024. Grab this one while you can.
(Your cart must reach $20+ before the FREE file will automatically be added. The files will be available for immediate download after you pay for your order by visiting ORDERS > ORDER # > RED DOWNLOAD ARROW)
Thanks for checking out the NEW FILES and be sure to go grab the freebies of the week/month with your purchase.
Have a great day!
Lori


.JPG)


