Pumpkin Spice Everything with Mitsyana

Hello, Friends! How many of you are ready for Thanksgiving Day? Do you have a special feast planned? Any PUMPKIN on that menu?  Well, if you are like me you then you love all things Pumpkin Spice. In fact, you probably wait for this time of year to come just so you can kick up your heals and indulge in all things pumpkin spice related!!

Lately, I have really enjoyed coloring and find it very relaxing. So I used images from Lori Whitlock’s Pumpkin Pie Print & Cut Stamps set to create this CAS (Clean and Simple) Pumpkin Spice EVERYTHING card!

Image 1

I started by opening my ecal software and creating my digital card front by opening each image and adding it to my virtual “mat”.

To get your images centered perfectly within your card shape, highlight the group of images (everything you want to be centered) and click on the “Align” button. Here’s the tricky part…Click on “H Align” to align images vertically, meaning images will line up in a row from up to down/ down to up… and “V Align” for images to align horizontally, meaning the lineup side to side.

I’m making a long A10 sized card, so I want them to be centered/ lined up vertically so I click on the center “H Align”.

Once I get the layout of my virtual card to the way I like, I duplicate the image. I  do this because I can make multiples of the same card or I have a back up in case I butcher my first attempt I have a spare. LOL

Don’t worry about the lines being there, these were just guides to remind me where the parameters of the card are. I intend to trim this off.

Then, I print from directly inside my ecal software. Click “File” on the menu bar and select “Print”. Easy peasy! I printed my images onto kraft cardstock using a laser printer. I used a laser printer as opposed to an ink jet because the ink is automatically heat set and will not run when if you plan on using markers.

I colored the little whipped topping with a white opaque marker. This would’ve definitely re-activated the ink if it was an ink-jet printer and it would have created nasty smearing and smudging.

For this project, I chose to color the rest of the images with color pencils. I love the way color seems to pop when applied to a darker paper. They almost look like they are glowing!

I printed another set, this time on white cardstock. Then, I cut out the banner pieces.

I ran the banners through my Xyron Sticker maker.  I then attached them to their matching digis on the kraft print.

I cut the Kraft card down to measure 3.75″ x 9″. I mounted it onto mirror cardstock measuring 4″x 9.25″. Then layer it onto patterned paper measuring 4.25″ x 9.5″.

I attached my card front to a 4.25″ x 9.5″ (folded) card base.

And here is my finished card.

I really hope you enjoyed today’s project and hope you have a very memorable and delicious Thanksgiving!!

Happy Crafting!!

~Mitsyana
Thanksgiving Goodies + 30% Off

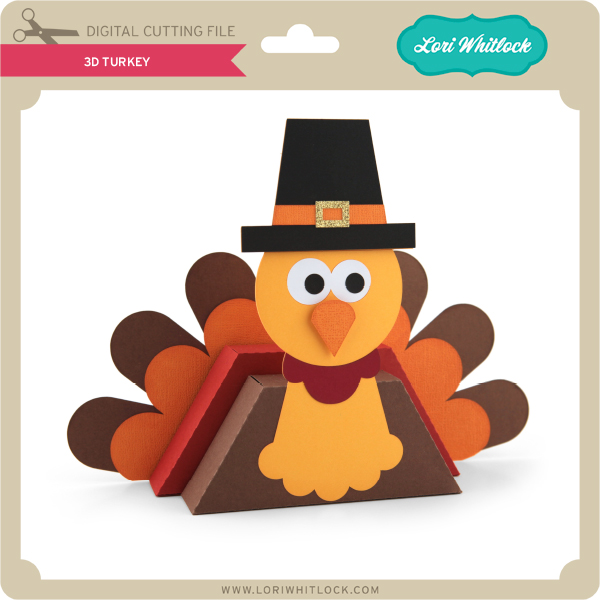
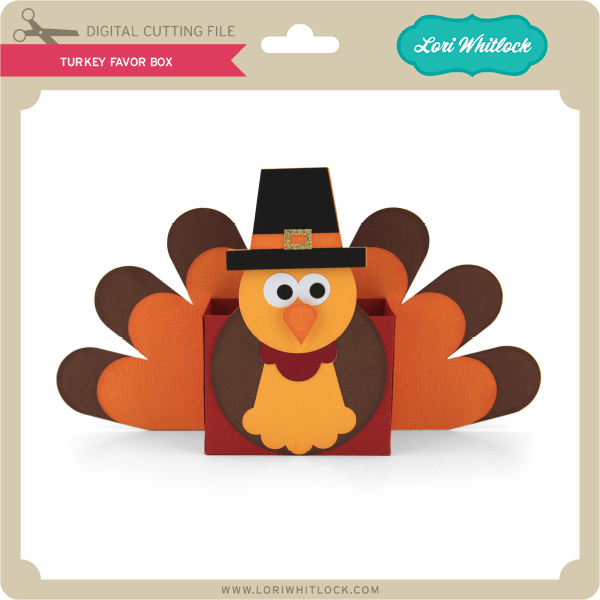
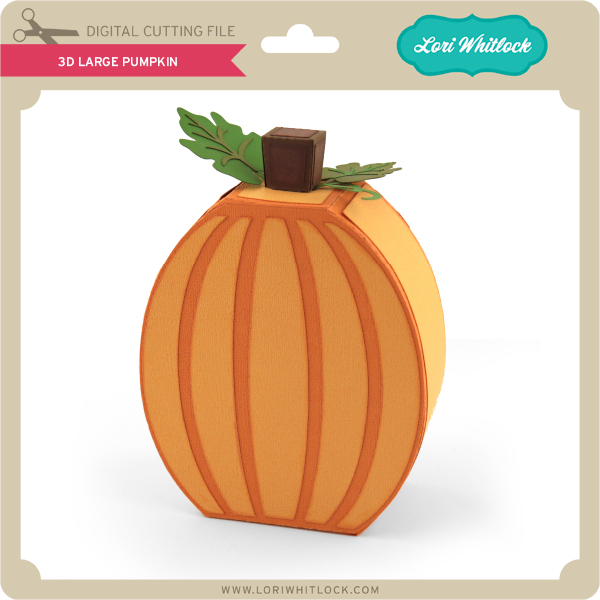
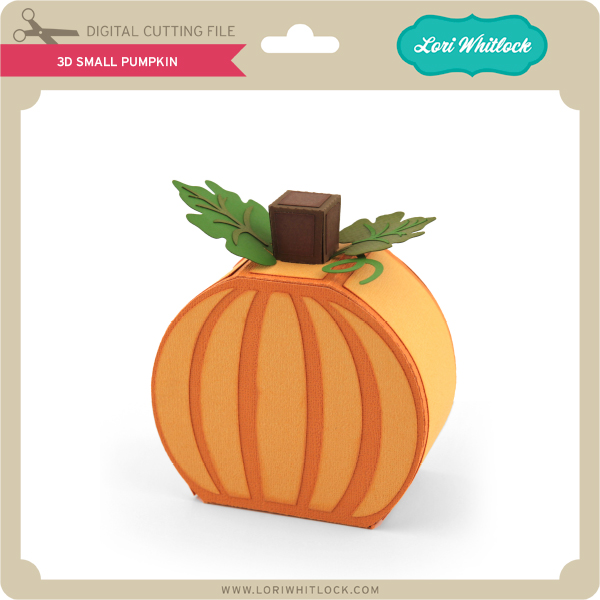
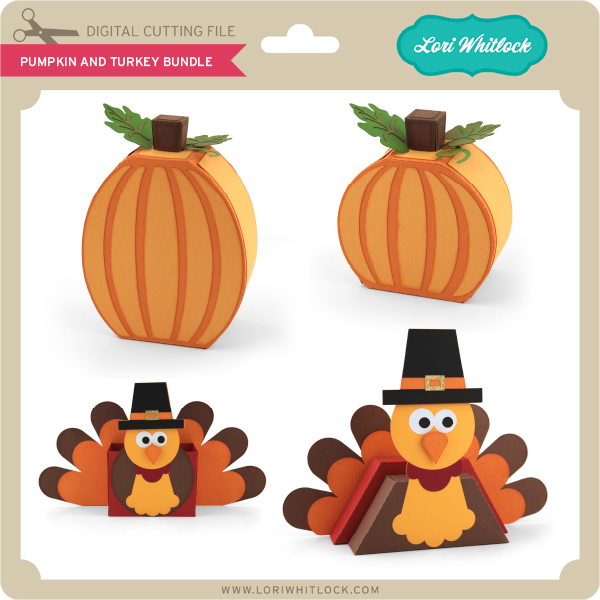
With Thanksgiving coming up in less than a week, it’s the perfect time to make a cute centerpiece for the big day. Get crafting this weekend with these cute pumpkins and a couple of turkeys. Pick them up HERE through Monday and take advantage of the 30% OFF sale going on right now. Use code: NOV2017. Have fun crafting!

A New Friday $5 Bundle!!

Hi Everyone! Today we have a new Friday $5 Bundle! It will ONLY be available until Midnight Sunday and when it’s gone it’s gone. These SVG files can be used with Cricut Explore, Silhouette Studio (with the Designer Edition upgrade), Scan N Cut, and any other cutter that will work with SVG files. Help spread the word by telling your friends and announcing it on social media!

Now through Sunday, you can pick up this Christmas themed bundle including 5 beautiful SVG files for just $5!


The cost of this bundle is $5, for $10.95 worth of SVG files, over a 54% savings! A perfect bundle of files to have on hand! But don’t wait, this bundle will only be around until Sunday at midnight!

Have a great day!

Ends Monday! 30% Off all Files!

Are you crafting this weekend?   Maybe some Thanksgiving decorations or getting a head start on Christmas?  Don’t forget about the November Sale happening now in the Lori Whitlock SVG Shop!


All files are 30% off through Monday! Just use code NOV2017 at checkout! Have a great day!


Holiday Dog Bandanas with Anita

Hi:

Anita here with a fun and easy tutorial to make your furry friend a dog bandanna.  My son and daughter-in-law have three dogs and they like to include them in their Christmas photo.  I made some personalized bandannas for my fur grand dogs using some of Lori’s fun fonts and heart cut files.  For Lily and Sully’s bandannas, I used the Wide Marker font at 288.0 pt which can be found here in Lori’s store and here in the Silhouette store.    For Scout’s bandanna I used LW Thick at 288.0 pt which can be found here in Lori’s store and here in the Silhouette store.  The cut file for the hearts is called 4 hearts and can be found here in Lori’s store and here in the Silhouette store.   I found a doggie bandanna pattern on the internet from Sew Caroline and the free pattern is here.

Here are the supplies that I used for Lilly’s bandanna.  You can really use any heat transfer vinyl.

I measured across the part of the bandanna where I wanted to put the letters so that I would have a sense of how wide the name could be and fit nicely.

Lori’s fonts are so easy to find in your Silhouette font library and they start with the letters LW.

I had fun experimenting with some of Lori’s different fonts to see which one I liked the best.


Heat transfer vinyl has a clear plastic sheet which is sticky over the front of the vinyl which allows you to protect the vinyl while ironing it on.  You are going to want to place it with this clear/front side face down on your mat.  You can cut vinyl without a mat but I didn’t want to move my rollers so I put it on a mat.

As you can see from above there are many different types of heat transfer vinyl.  I chose to use a metallic one so that is what I selected in the cut settings.  Notice that the letters are not mirrored on my mat.

Isn’t Silhouette so smart?  They know I am cutting with vinyl and asked me if I wanted to mirror my design.  Given that I was cutting out letters I said to send them mirrored.  I also chose to do two passes as my blade isn’t brand new and I was asking it to cut through three layers.  I could also have mirrored it before sending it to cut.

Wows, my mat is looking well-loved.  Here are the letters cut out and the extra vinyl removed.  Don’t remove the top plastic sheet, you need it on until the letters are ironed down.

Everything is ironed down now.  I used a plastic pressing sheet and did not heat it for the 45-60 seconds as they recommend on the package because my iron runs really hot and I didn’t want to bubble the vinyl. I usually choose a middle point and put the first letter down there and then add the rest one at a time.  I find that things move less that way when ironing.  Apply even pressure, not steam and don’t move your iron back and forth.

I used Velcro circles on each corner point and stitched them down.  I used a seam ripper to gently peel away the top plastic piece, you could also use a pin.   If the vinyl starts to pull up then you might have to reheat it.  Be careful to not overheat it.

Here is Lily’s completed bandanna.

Here are all three bandannas.  Can’t wait to see how the Christmas photo turns out.

Hugs,

Anita