Don’t Miss this Font Bundle + Freebie!

Hi Everyone! I wanted to let you know about a fabulous font deal over at Fontbundles! The Script Font Bundle Volume III  is full of beautiful fonts!

For the first time EVER, Fontbundles has made this bundle  a “Pay What You Want” Font Bundle.  It includes 13 Script Fonts with Commercial Use – you decide what to pay! (minimum $1)  That’s $148 worth of fonts! It’s only available for 16 more days. So don’t delay or this deal will be gone.

Get all these fonts at your own price! Worth $148.00

Hurry though, this is only available for a limited time. Click HERE to go check out the Script Font Bundle.

And, be sure to go DOWNLOAD THE FREEBIE that I designed using the Mimosa font from this bundle. Mimosa is full of gorgeous swashes and extra characters – I love it! Enjoy and have a great day!

Gift Card Booklet with Kathy

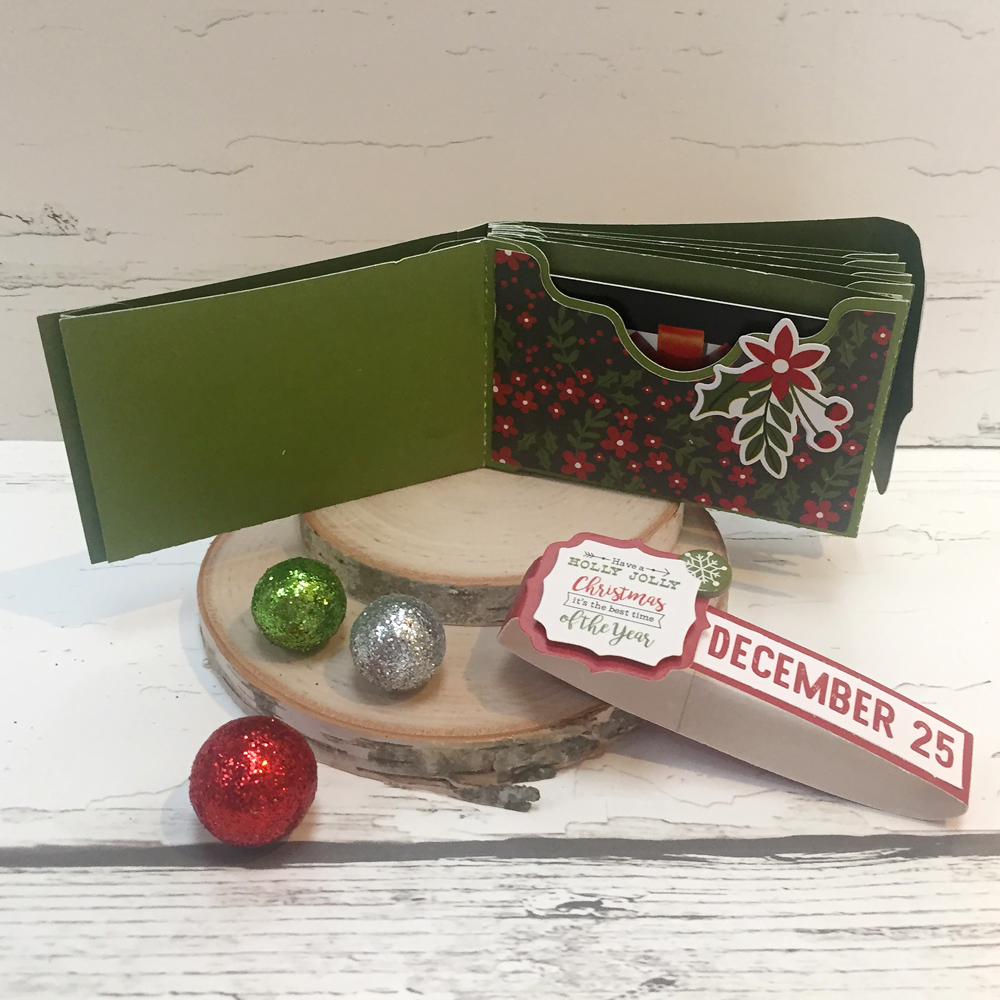
Hi Everyone!  It’s Kathy today with a little gift card booklet I made from a mini album file.  Every year, I give my college girl a few gift cards to her favorite places in a cute little package.  It’s one of her favorite Christmas gifts!  This year, I made a fun book using Lori’s 4×6 Horizontal Pocket Mini Album Tabbed Pages  (available here in the Silhouette Store) and some papers and embellishments from Echo Park’s A Perfect Christmas.  Take a peek….

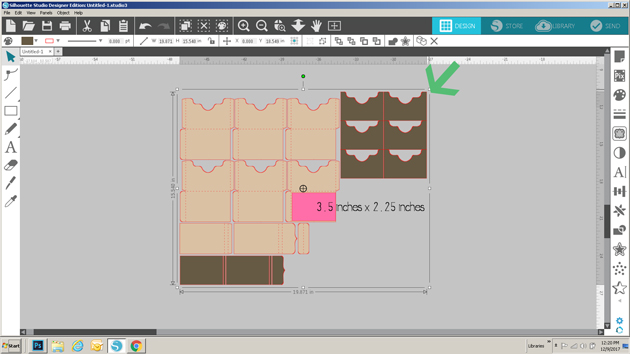
To make the mini album a better size for gift cards, I had to resize the file.  To do this, I first loaded the file into my Silhouette.  Next, I ungrouped the file and deleted the tabbed pages since I was not using them.  I then regrouped the remaining pieces.  To size them I drew a rectangle on my mat measuring 3.5″ x 2.25″ which is slightly larger than a standard gift card.  I placed the rectangle over the base of one of the gift card pockets and clicked on the upper right corner of the grouped shapes and dragged down until the pocket size was close enough to the rectangle size.

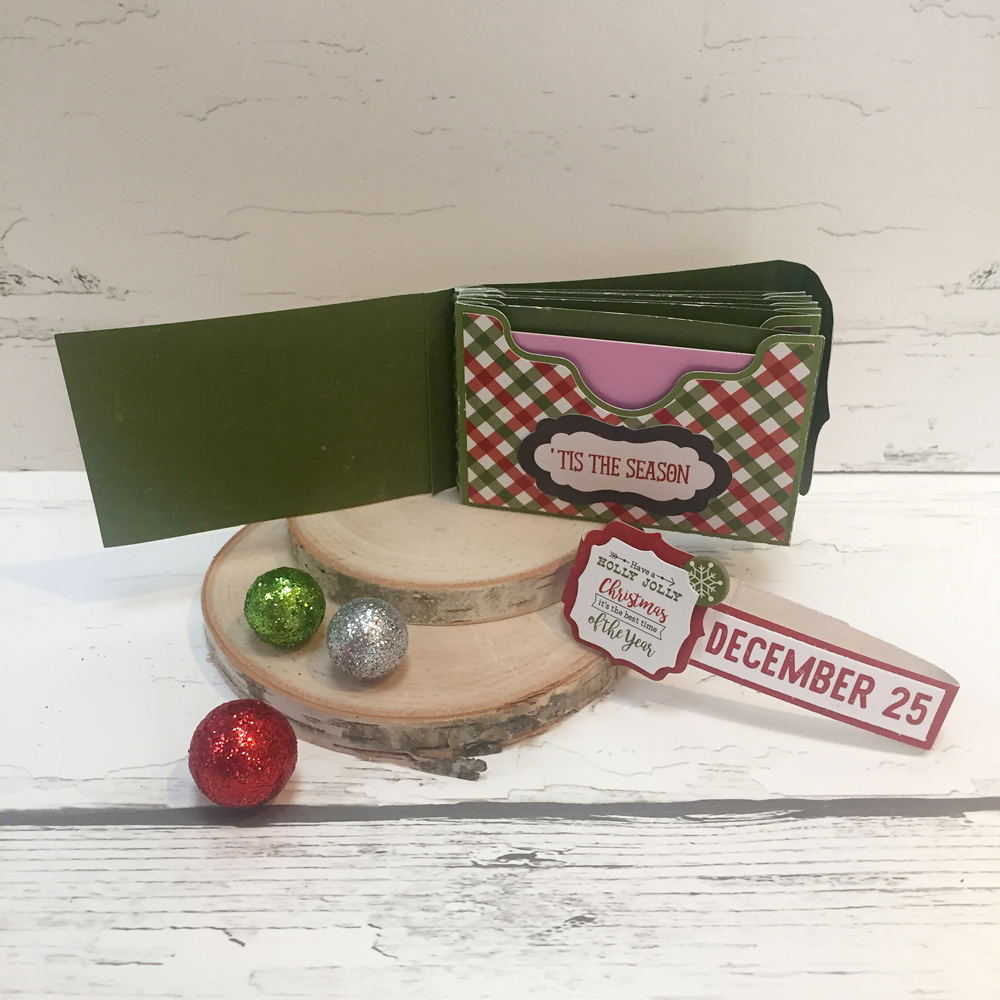
This sized all of the pieces perfectly!  Here are some close-ups of some of the inside pages…

I added a belly band to the book to keep it closed since it was a little thick once the cards were inserted.  To do this I simply cut a 0.5″ strip of colored paper from a 12″ x 12″ paper and wrapped it around the book.  I trimmed the extra and secured the band with my tape runner.  Now to finish my shopping and fill it all up!  That’s it for me today, thanks for stopping by to peek!

Doodlebug Cut File Feature: Milk & Cookies

Hi Everyone! Today I’m showcasing another fabulous project using Doodlebug Design’s cut files! This fabulous Santa Treat Box was created by Brigit Mann for Doodlebug Design.

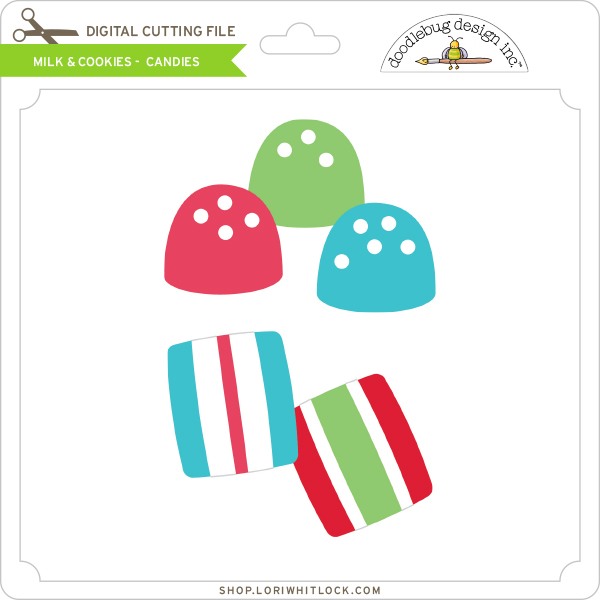
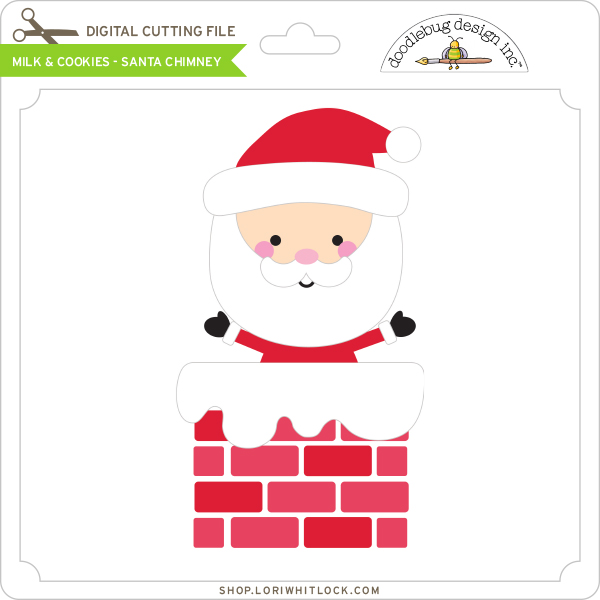
Brigit  used the Santa Chimney file and the Candies File (for the gumdrop treat bag)  from the Milk and Cookies Collection .    She also used my Bunny Box which she altered for the Chimney box.


Who wouldn’t want to receive this sweet treat!!  For more views, see the original post here.

New Doodlebug Design SVG files are being added to the Lori Whitlock SVG Shop on a regular basis, so stop by to see all of the fun SVG files HERE!

Have a great day!


Christmas Border Edge Cards Adding Color Tutorial by Brigit

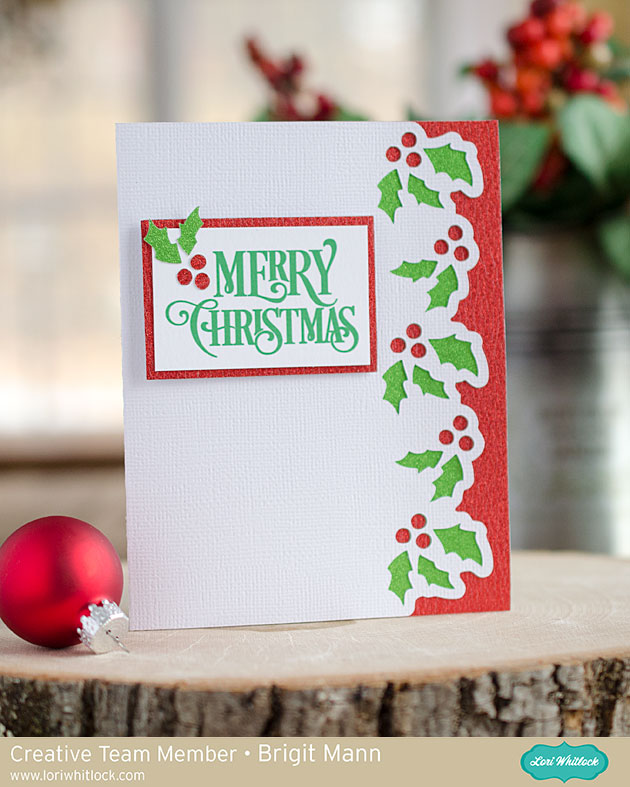
Hello there, it’s Brigit, I have a quick tutorial on how to add colors to these Christmas Border Edge Cards. When I have a large amount of cards to send I love simple cards and this is a quick and easy way to add a splash of color to them.

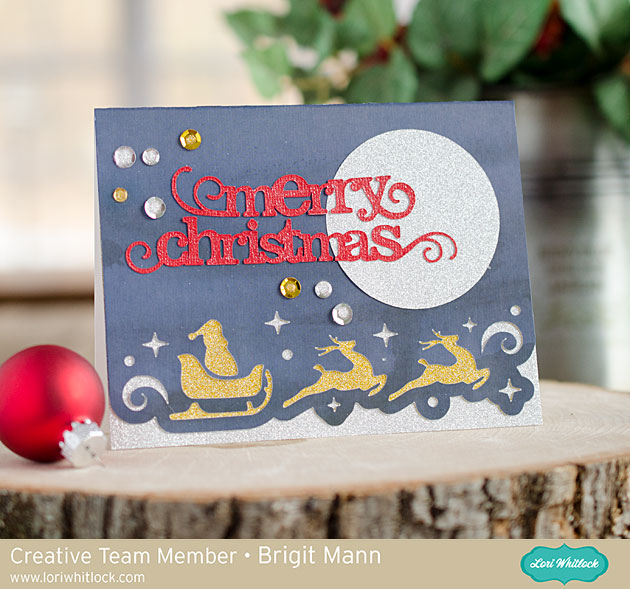
Here are three that I made from the bundle but I’ll show you the Christmas Holly Border Edge Card, (Silhouette Design Store – Christmas Holly Border Edge Card) in the tutorial.

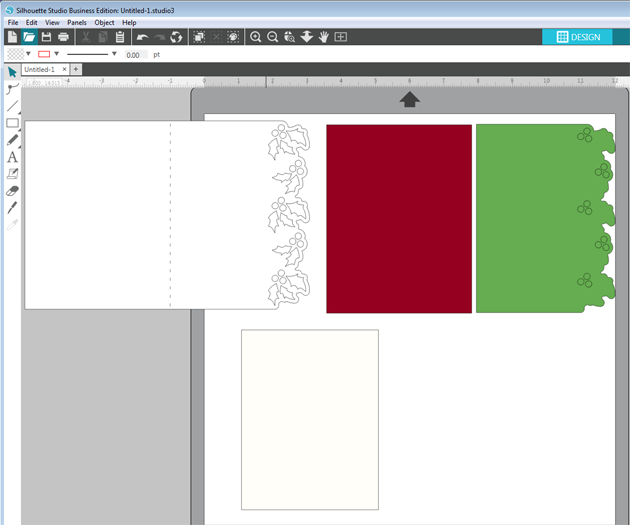
First I ungrouped and then duplicated the card base, next I used the knife tool to slice the card in half.

On the holly border edge half I right clicked and did a release compound path and deleted just the leaves.

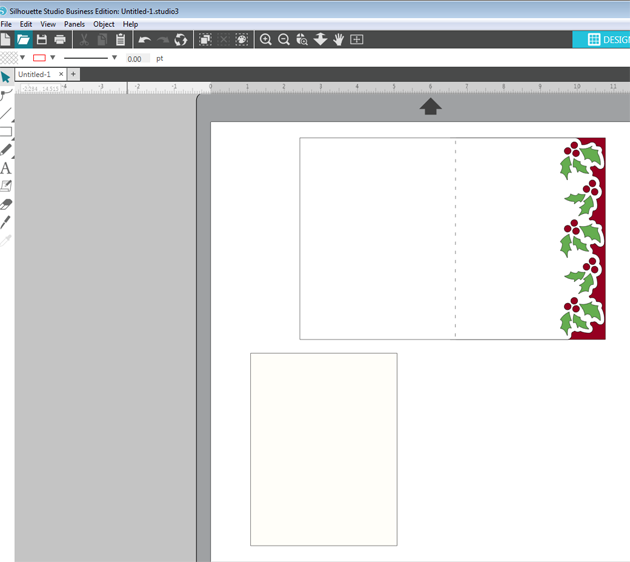
After deleting the holly leaves I selected the card and berries, right clicked and selected make compound path.

Here they are layered back up, super simple! You may have to shave a little off of the green so it fits nicely inside the card without hanging out further than the the back.

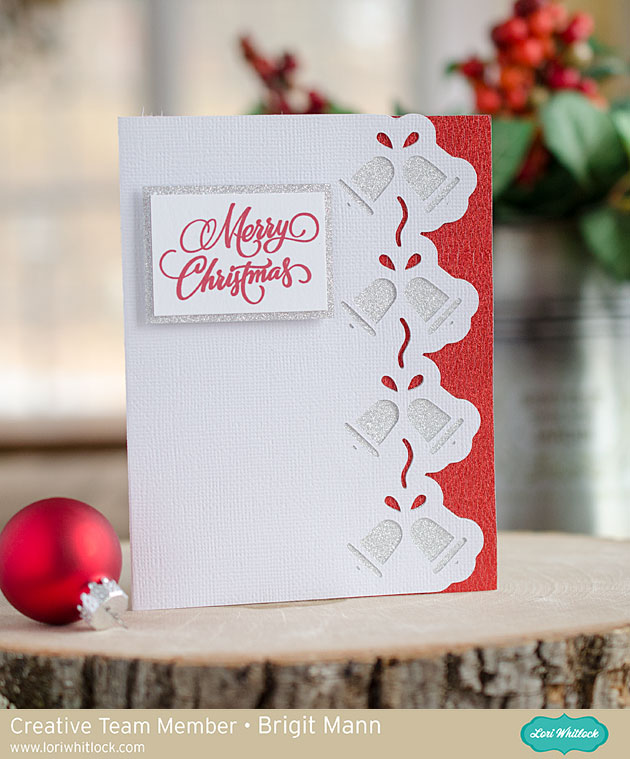
Here is a closeup of all the cards I made…


I really like the simplicity of the white with the colored glitter paper, I kind of wished I did the Santa one the same. For the sentiment I did a print and cut using the Merry Christmas Title 2 which you can get here in the Silhouette Design Store.


I did another print and cut using the Merry Christmas from the 3 Christmas Greetings, in the Silhouette Design Store you can get it here.

This Merry Christmas Flourish Phrase sentiment is a cut file.   Thanks for stopping by and have a wonderful day!!

Digital Inspiration with Ashley

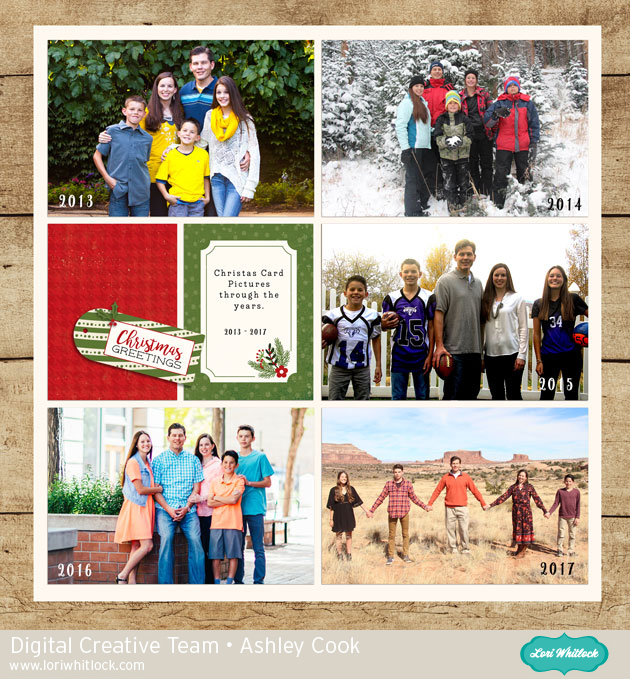
A few years ago, I started keeping one Christmas card that I sent to be displayed with my Christmas decorations.  I find my own family likes to look at the family pictures of years past.  I thought it would be a great idea to also capture these Christmas Card photos through the years on a layout.  I created this one for years 2013-2017.  I’ll have to dig through my digital files to find my older pictures, but how fun is this?  This would also be great if you take a yearly family pajama picture!  I used A Perfect Christmas from Echo Park, designed by Lori.  All of the digital files are 50% off during the month of December at Snap, Click, Supply, so it’s a great time to stock up on some lovely kits.  Here is a link to Lori’s Gallery at Snap Click Supply.

Have a great day!